How Do I Get My Motorhome Ready for Spring?
Get all the advice, tips, and suggestions you need to ready your rig for adventure.
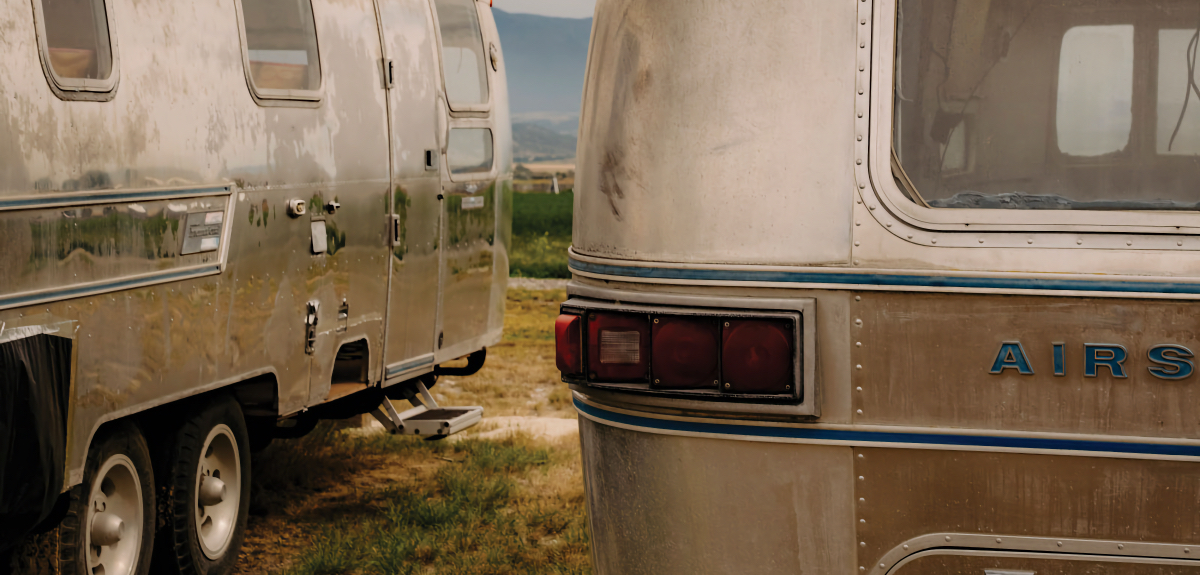
Image Caption:
Summer motorhome adventures aren’t far off! That means it’s time to start de-winterizing and preparing your recreational vehicles so that you’re ready to roll when the open road beckons. If you recently purchased a motorhome that you winterized for the first time this past season, it’s natural to ask: How do I get my motorhome ready for spring 2021?
Fortunately, we’re going to cover the most important spring motorhome preparations to make before you set out on local or long-distance RV trips this summer.
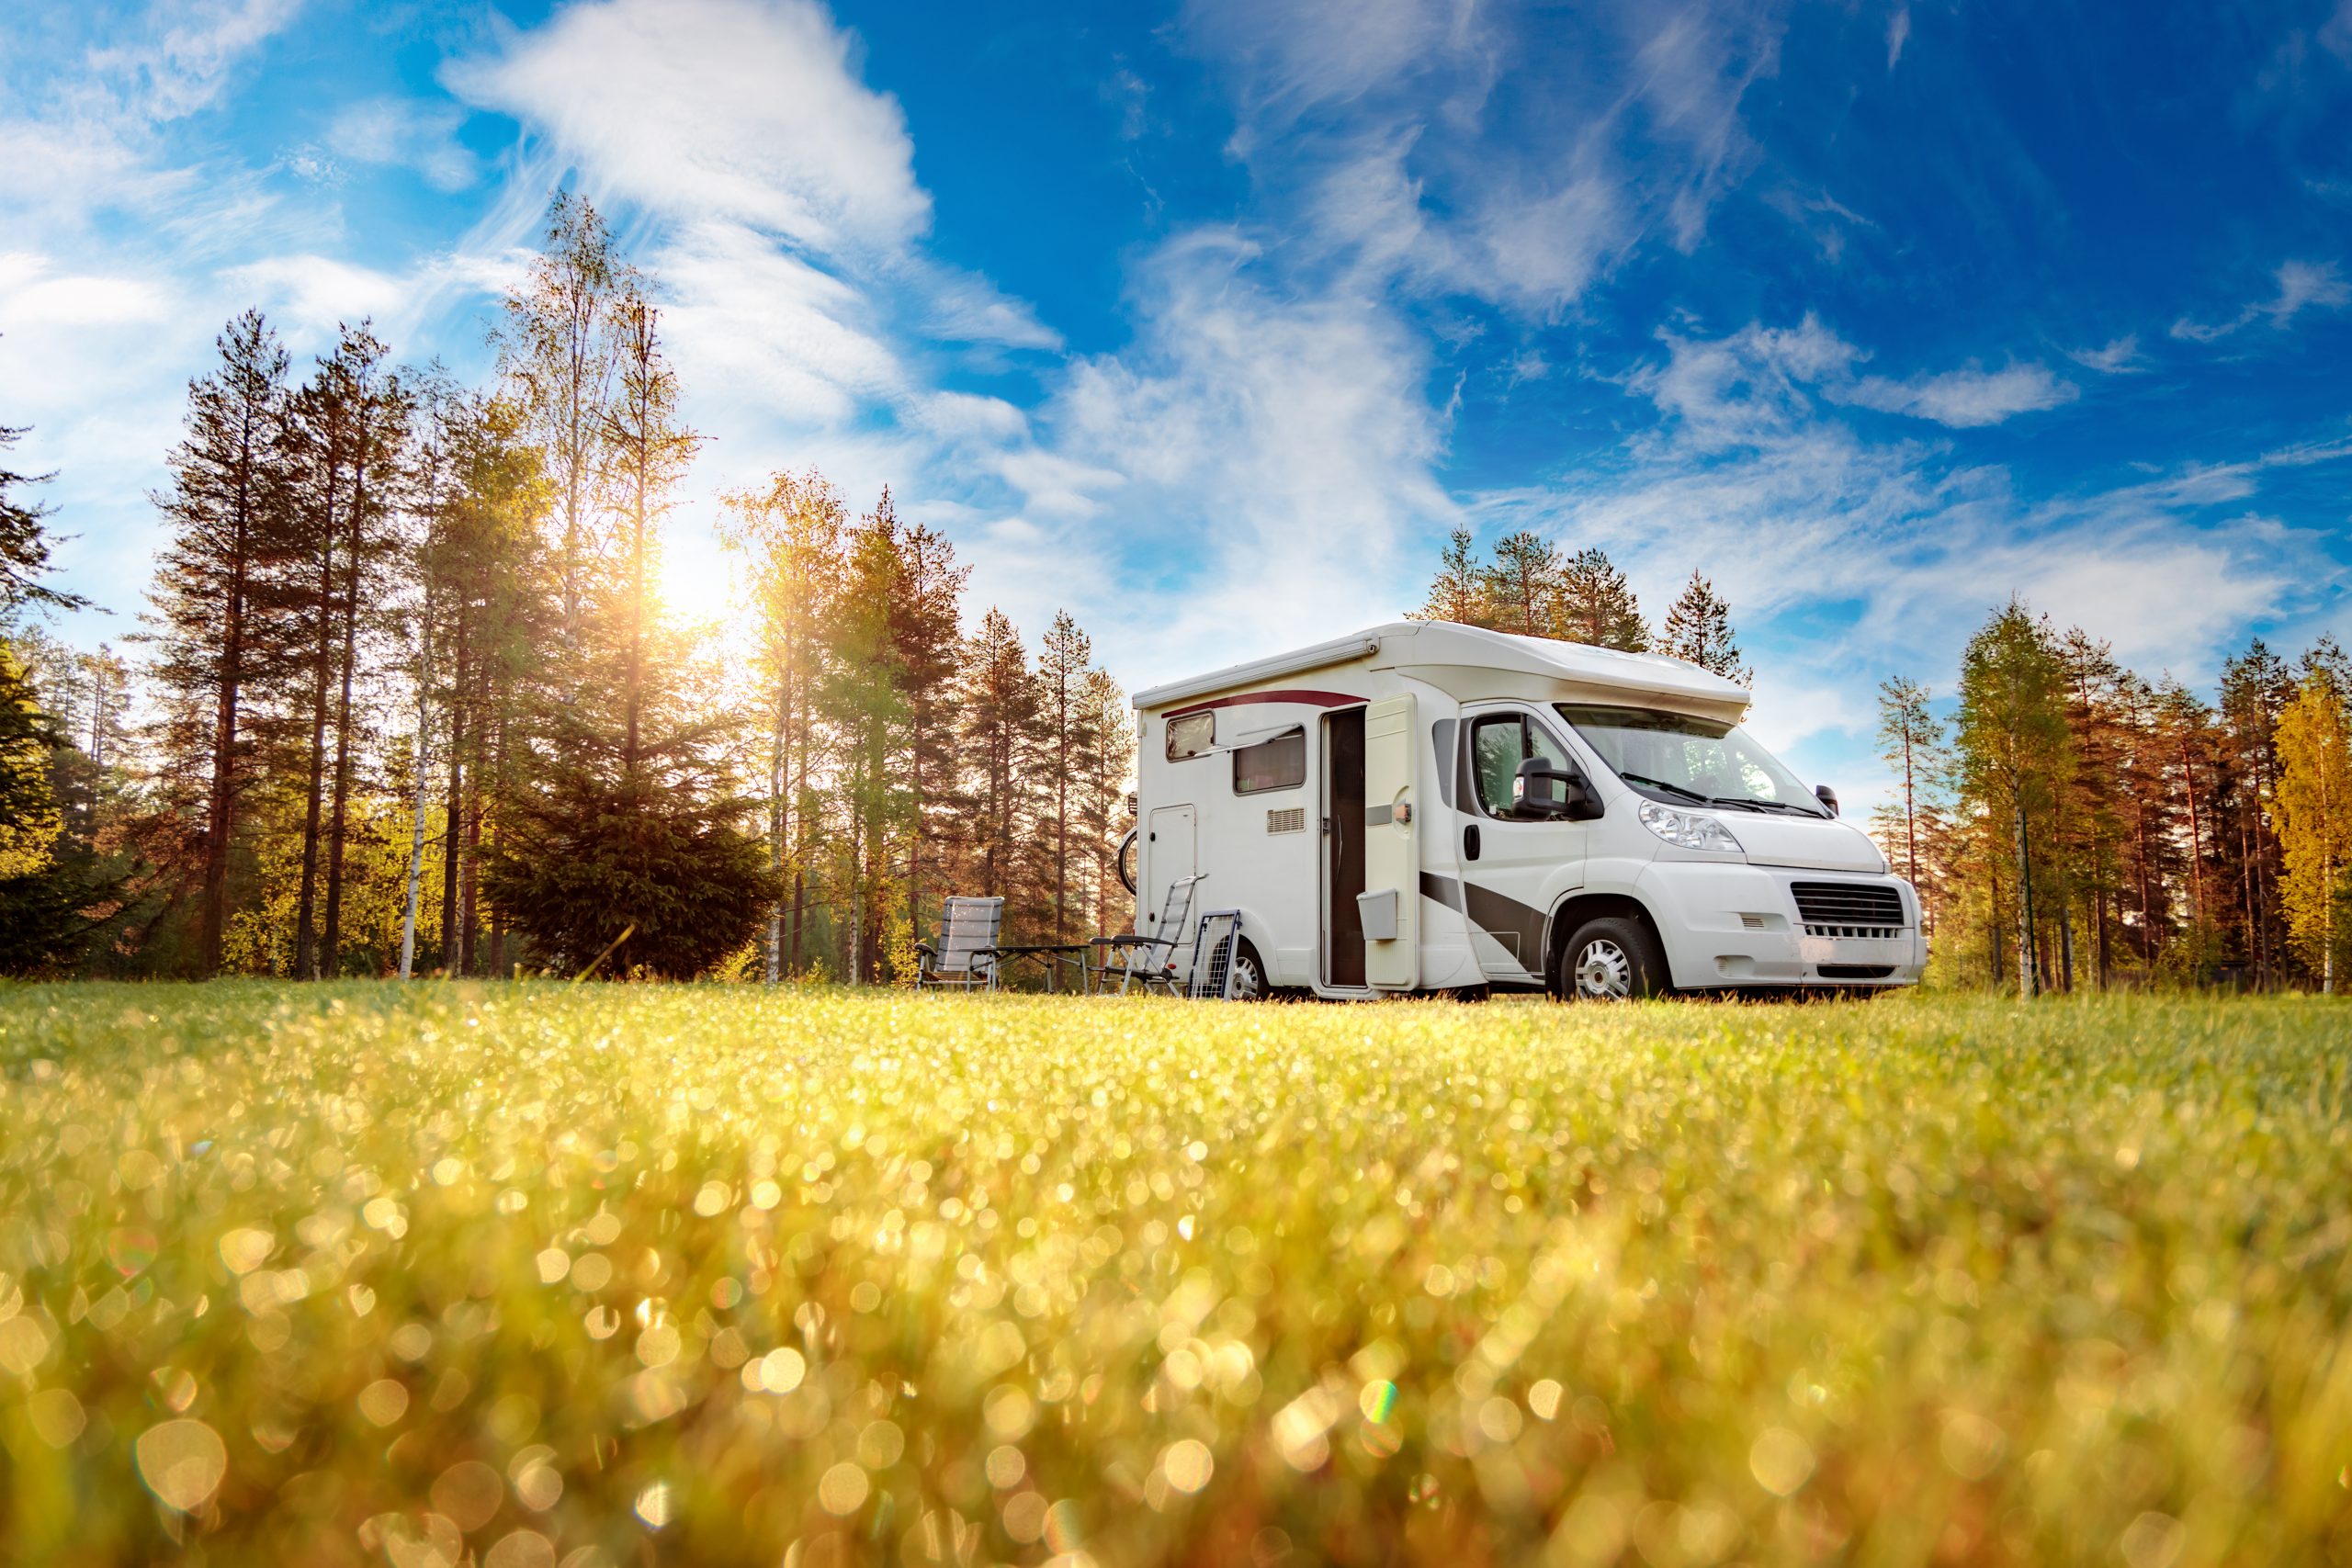
Image from Shutterstock.
Check Your Batteries
Checking the charge on both your engine and coach batteries is the best place to start when getting your RV ready for spring. Many manufacturers recommend storing your batteries in your garage or a climate-controlled area if you don’t use your RV through the winter.
However, don’t worry if you didn’t do this. The reality is that your battery is going to discharge slightly as it sits throughout the winter months. In fact, batteries can lose up to 10 percent of their charge per month when in storage.
Many of your motorhome’s other appliances rely on the DC power that your battery provides. So you’ll want to make sure your batteries are in good condition before checking any other appliances. Hook your digital multimeter up to each battery separately and check the voltage output. If you are using lead-acid batteries, you’ll also need to manually check the water level in your batteries.
Flush Your Water System
Assuming you winterized your motorhome to prevent the pipes from freezing, you’ll need to drain the antifreeze from your pipes and tanks. To do so, hook up a city water connection to your motorhome’s city water inlet and set up your sewer hose to drain your tanks.
Open your grey and black water tanks and allow them to begin draining for 20-30 seconds. Then, turn on the city water to begin flushing the pipes and tanks. You want to flush every ounce of antifreeze through your system, so be sure to open all faucets to allow fresh water to flush the entire system.
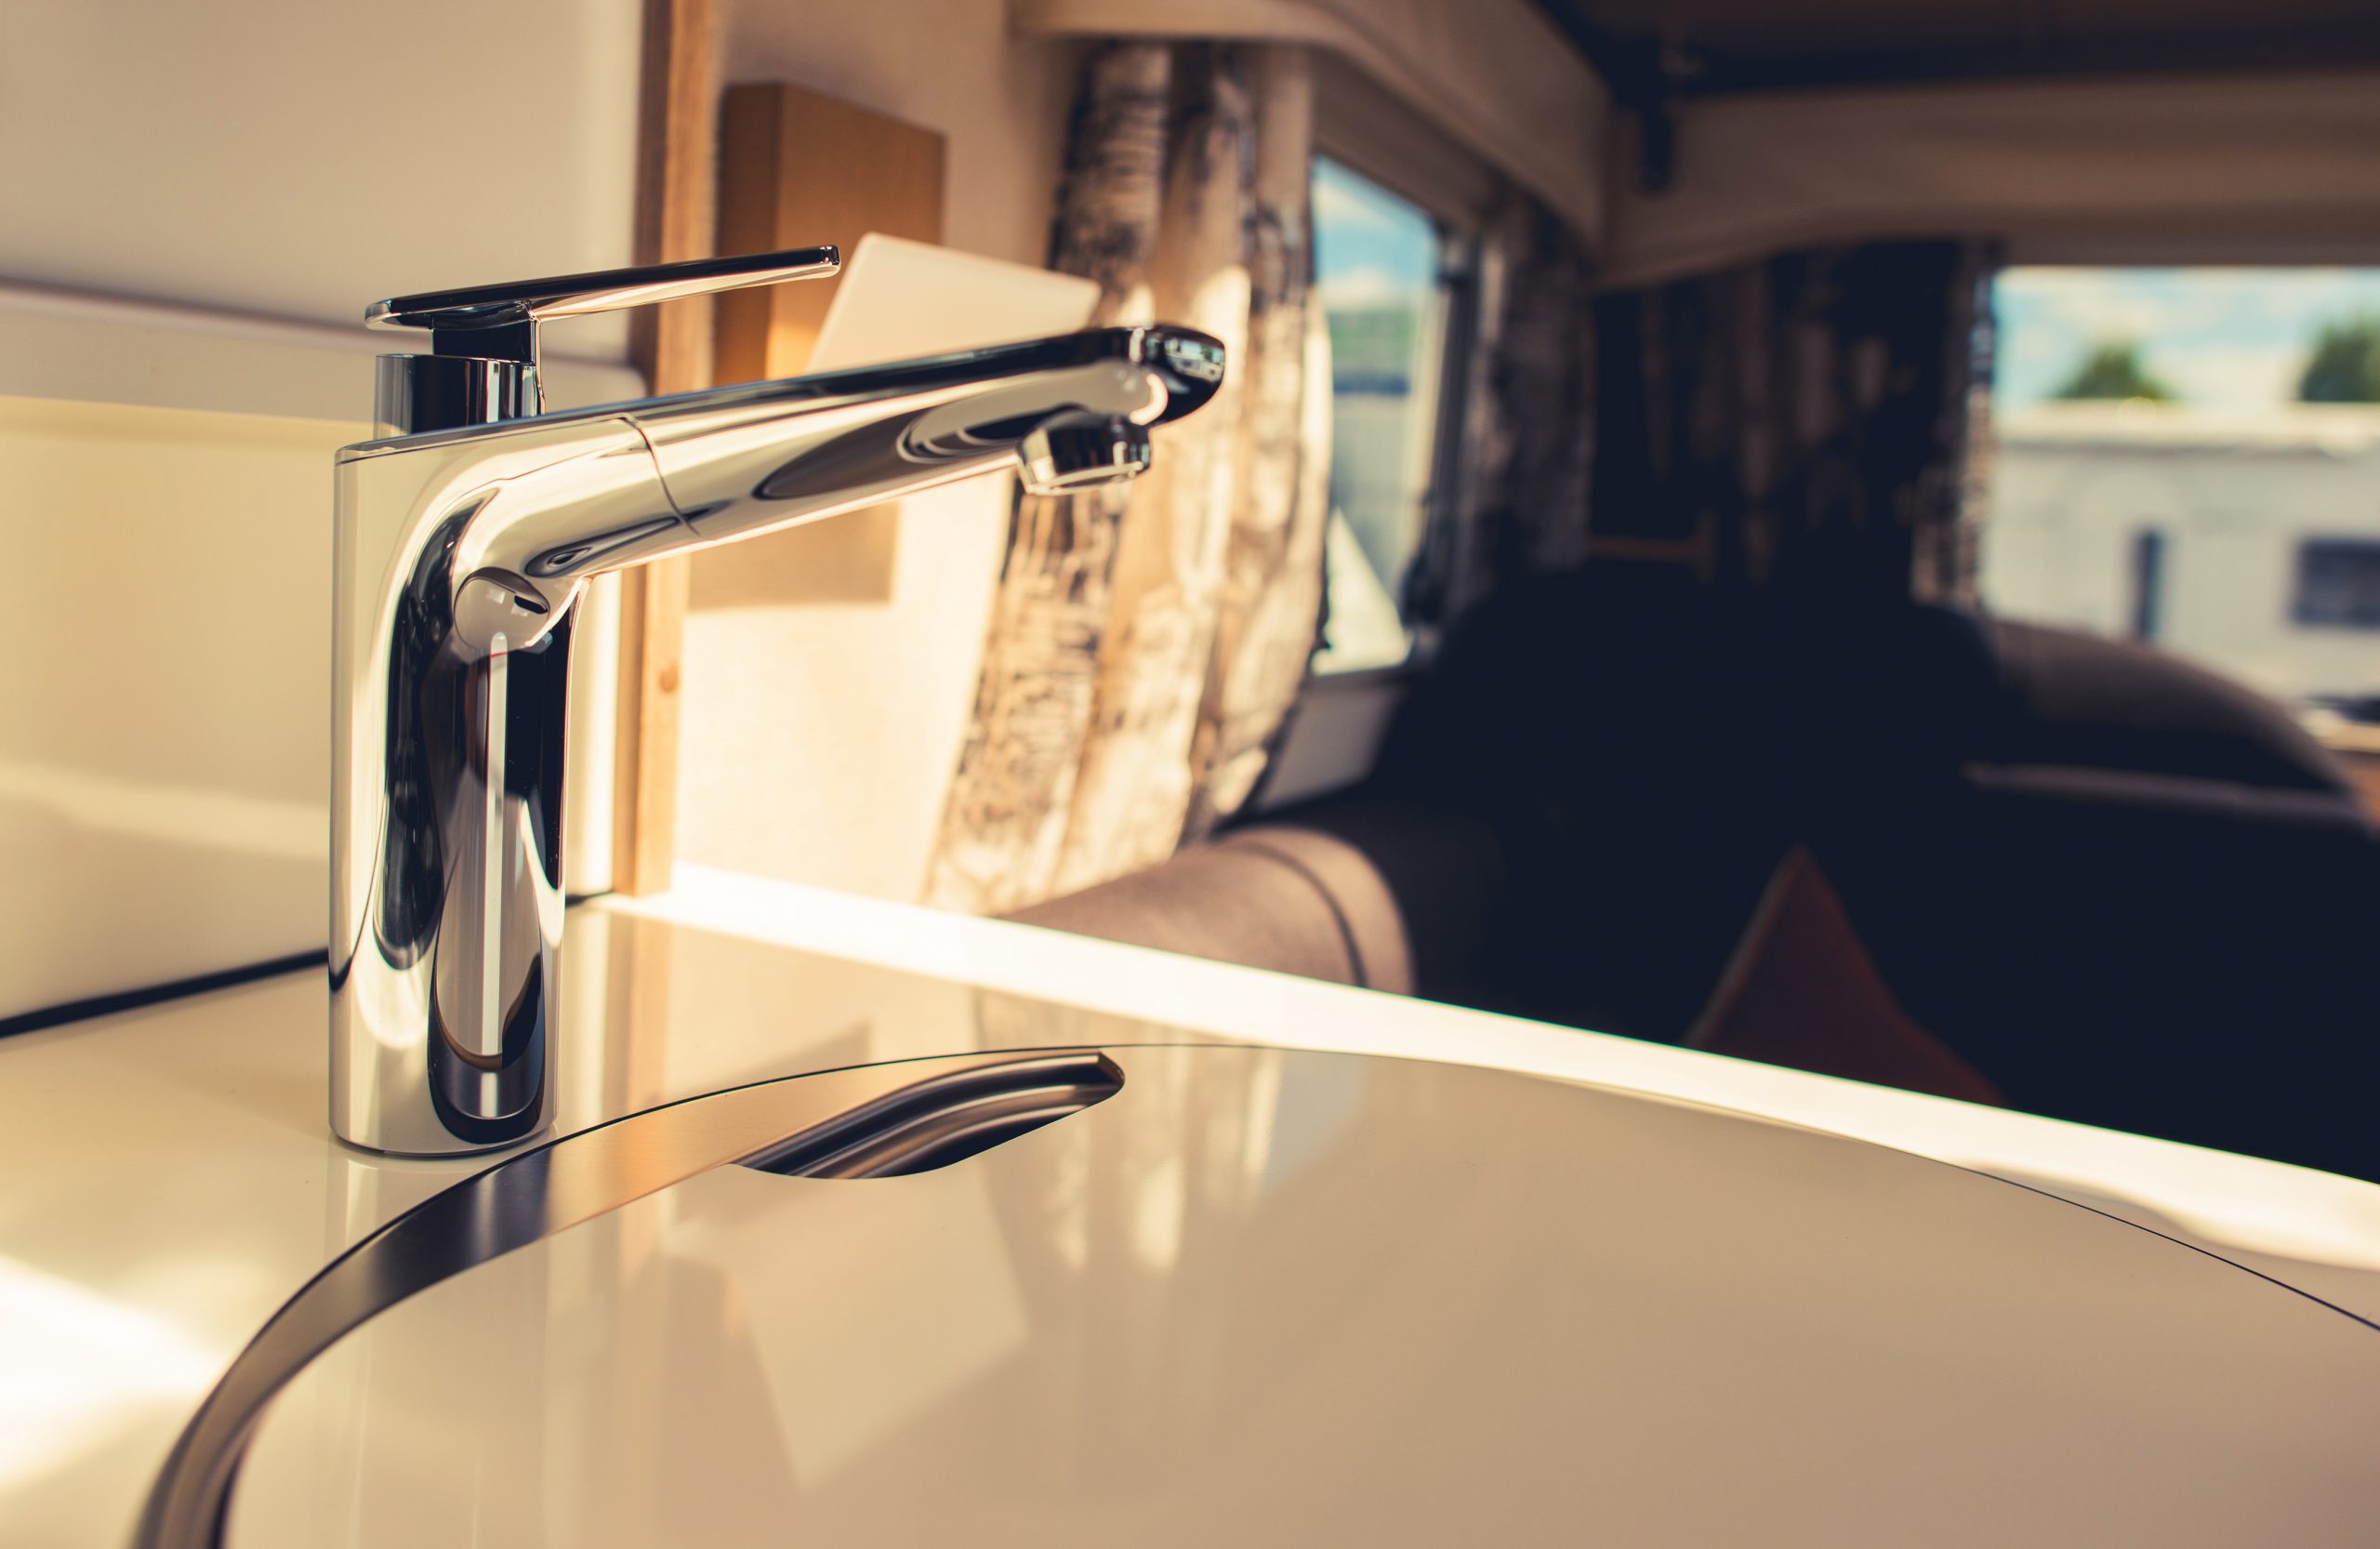
Flushing all the pipes is a key step to get your motorhome ready for spring (Image from Getty).
If you have an outdoor shower, make sure to open this faucet as well. After this initial flush, shut off the water supply and move that hose from your motorhome’s city water connection to your freshwater fill inlet. Fill your freshwater tank to about 80 percent capacity and then flip on your water pump and check all internal faucets to make sure the water is running clear.
Now you can turn off all faucets and refill your freshwater tank. Then fill the water tank for your water heater with fresh water. On some motorhomes, this may be an automatic function when you turn on your water heater. You’ll want to turn your water heater on and run warm water through all of your faucets for several minutes until any remnants of antifreeze are completely flushed.
Check for Water Leaks
Water leaks can cause the kind of damage to your motorhome that isn’t cheap to fix. So after you flush your water system, close up your black and grey water tanks and top off your freshwater tank with potable water.
From here, turn on your water pump and let it run until you stop hearing the pump pressurizing the system. Once you’ve pressurized your system, turn the pump off and grab a flashlight or headlamp. Check underneath all sinks, around your toilet, and in all underneath compartments to make sure your water system isn’t leaking anywhere. Be thorough in this check.
Check Generator
When you’re satisfied that your water system isn’t leaking, it’s time to check your generator. Before you fire it up, head outside and check the oil level on the unit itself. If it’s low, top it off before starting your generator.
When your generator has been sitting for several months, it may not start up immediately. It’s okay to crank it several times, but we recommend giving it a small break in between your start-up attempts. Also, avoid cranking your generator for more than 10 seconds at a time if it doesn’t start within that time frame. Once you do start it up, run it on about 50 percent load for 30 minutes.
Check Appliances
Once your generator is running, check your microwave, air conditioning units, and any other appliances that require generator power for their operation. To be thorough, it’s also a good idea to check that these appliances function properly when you’re plugged into shore power.
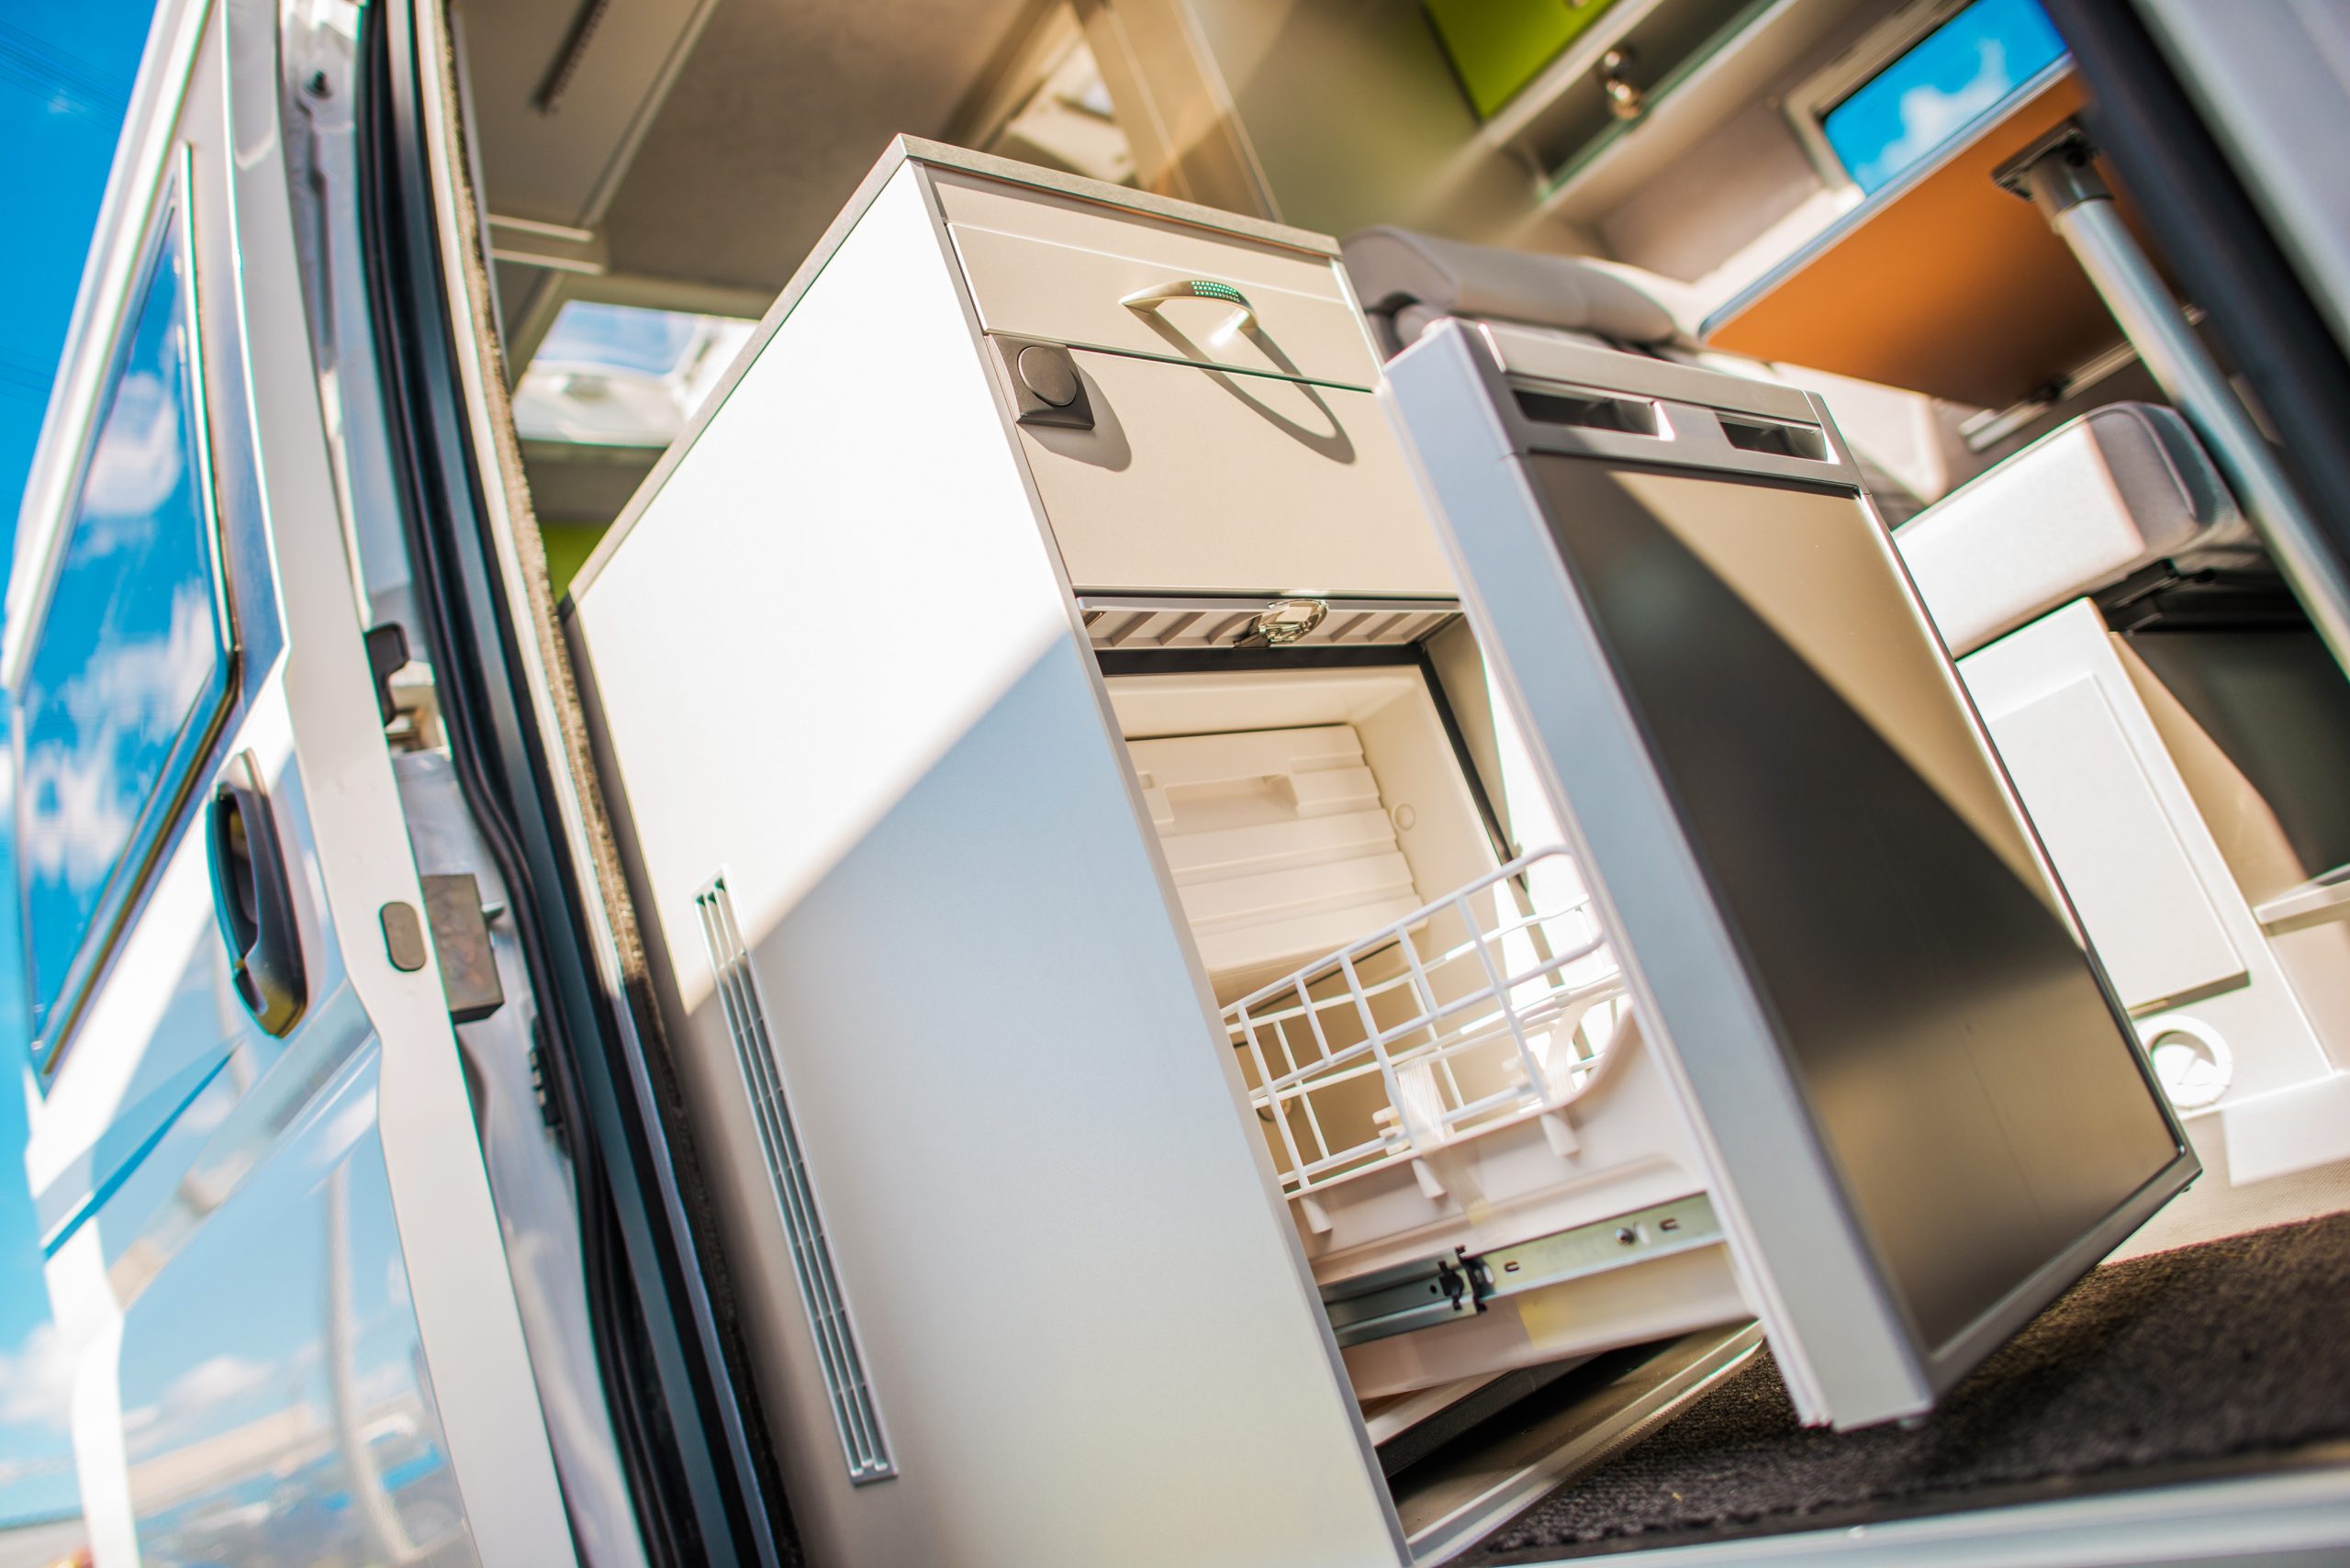
In order to ensure your motorhome is ready for spring, you’ll need to check all appliances (image from Getty).
After you’ve checked the larger appliances that require power from your generator, shut your generator down and check the smaller appliances that require only DC battery power. Then you can progress to checking any propane-powered appliances, such as your stovetop range and oven. Just make sure your propane tank (or tanks) is filled to at least one-quarter of its capacity before checking any of your propane-reliant appliances.
Check Tire Condition
Before you roll anywhere, you’ll need to be sure that your tires are in great condition. Check the depth of your tire tread (using a tire tread depth gauge or a shiny new penny), the condition of the sidewalls, and wear from the inside to the outside of the tire.
Tires that are unevenly worn can be a sign that your motorhome requires an alignment service. You should replace tires with tread less than 2/32nds of an inch (some recommend 4/32nds to be the minimum depth before replacement).
Also, look for cracks, bulges, or gouges in the sidewalls of your tire. These can be the result of hitting curbs or your tires sitting in the sun for too long. Deep cracks, large bulges, or gouges larger than the diameter of a dime are all red flags that tell you it’s time to replace the tires on your motorhome.
Give It a Bath
Even if you covered your motorhome for the winter, find a nice warm spring day to give it a quick bath. Start with the roof and work your way down so that you don’t have to double up your efforts. Also, it’s a good idea to apply an even coat of RV wax after your rig is squeaky clean. If you want to save a little time, however, you can also use a concentrated wash-and-wax solution to remove dirt and make your RV shine for your upcoming summer adventures.
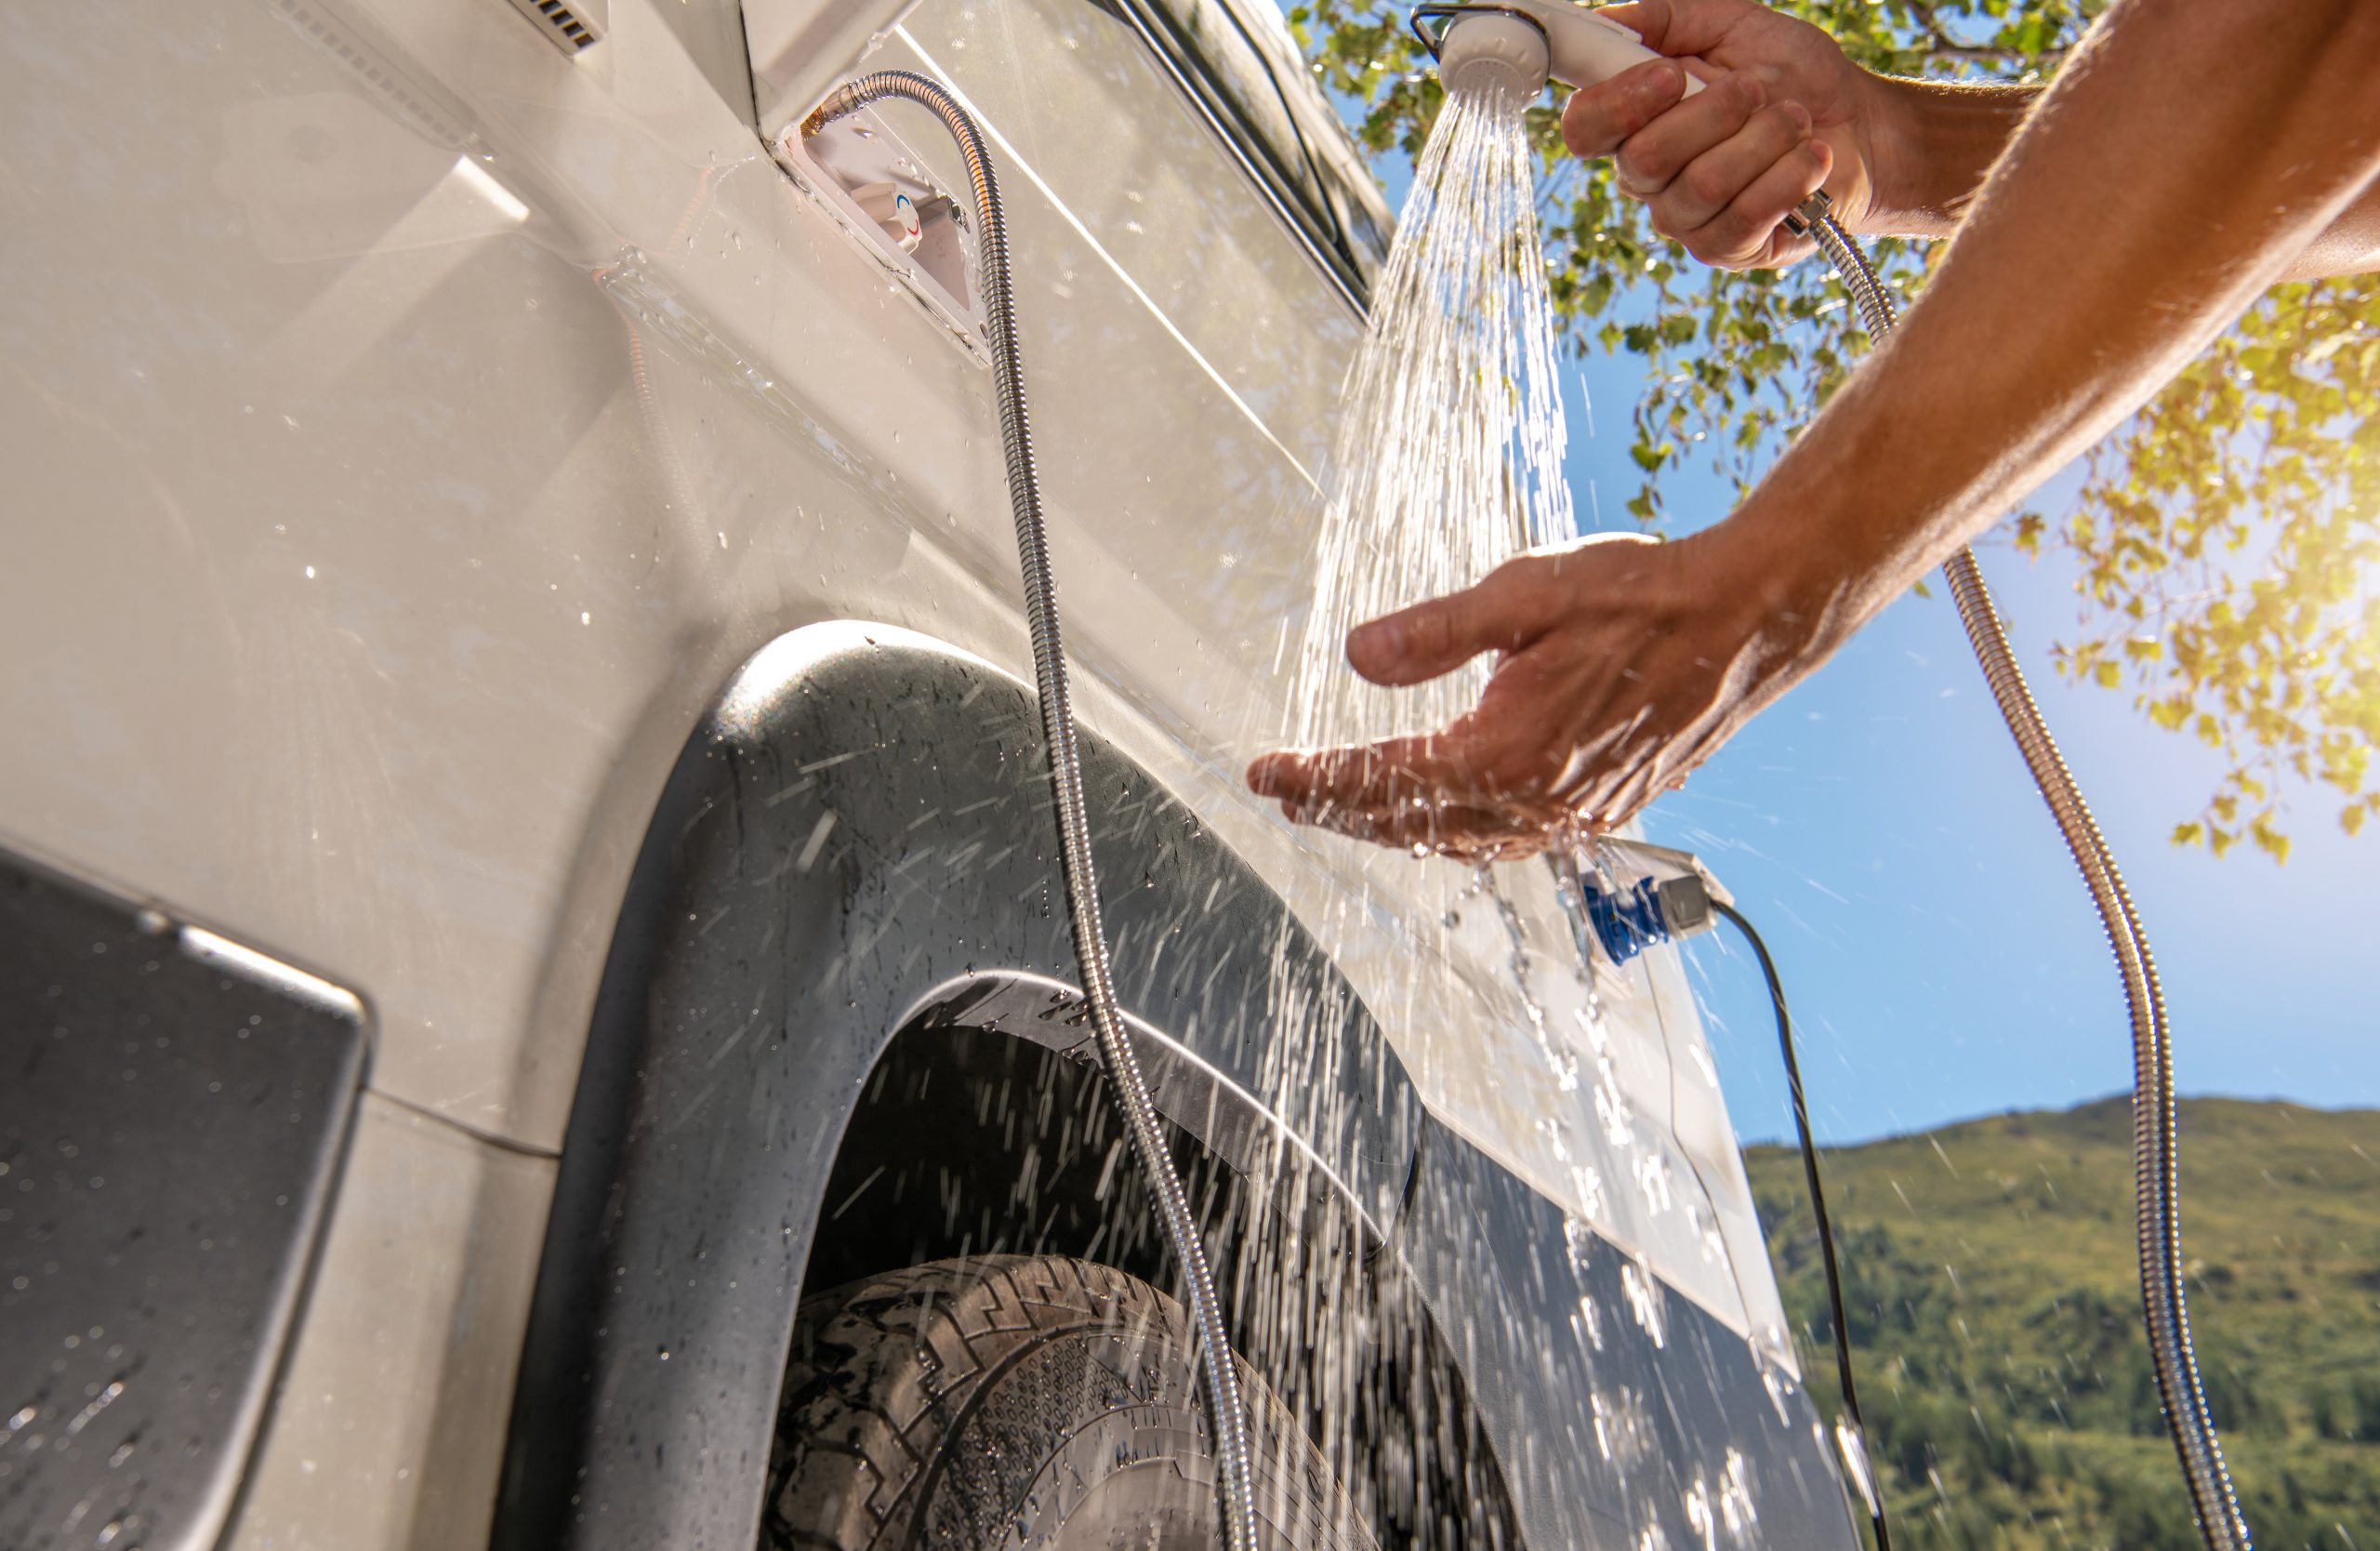
Give your motorhome a spring cleaning (inside and out) before taking it out on its first adventure (image from shutterstock).
Schedule An Appointment With An RV Mechanic
You can certainly perform some basic engine maintenance every spring. This includes checking all fluid levels, looking at the condition of your drive belt, and inspecting for leaks. That said, it’s a good idea to schedule a more complete inspection with a motorhome mechanic before you hit the road this summer.
This is especially important if you plan on covering several thousand miles to visit more remote destinations. Regular engine maintenance and upkeep are critical to the longevity of your motorhome or RV.
Ask your mechanic to provide you with a full pre-trip inspection report. Also, don’t hesitate to get a second opinion if you don’t quite trust the word of the first mechanic you visit. Over time, keeping detailed records on the service performed on your motorhome will help you avoid getting overcharged for repairs or maintenance when you visit a new mechanic in the spring.
Final Thoughts
These tips will certainly help you get your motorhome ready for spring 2021. That said, we’d also recommend checking out our ultimate RV spring checklist for a slightly more comprehensive list of checks to perform on your motorhome every spring.