Should You Paint Your RV’s Cabinetry? (And How to Do it)
One of the many ways to change up the interior of your RV.
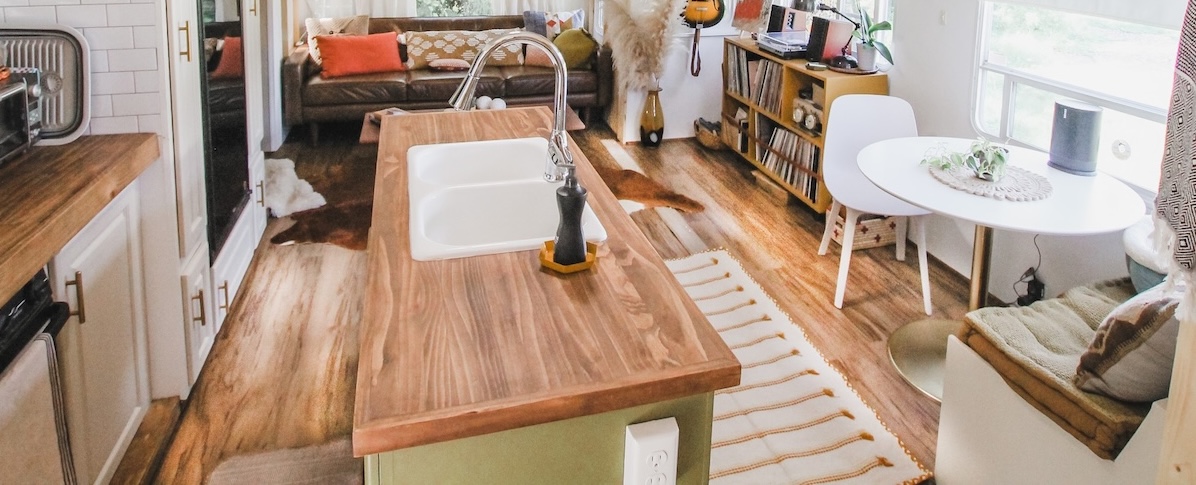
Image Caption:
Are things looking a little stale inside your RV? Time for a change? One step you can take that will make a world of difference is to update your interior’s cabinetry. What exactly this entails, however, is up to you.
For some folks, all it takes is the simple addition of new hardware. For others, complete replacement is the way to go. You can also take matters into your own hands and freshen things up with a new coat of paint.
While painting does offer a huge aesthetic impact to your cabinetry with great bang for your buck, it will require some significant time, space, and elbow grease to get it done right. Before committing, let’s go over the proper steps to produce a quality paint job for your cabinetry so you can decide if this particular DIY project is right for you.
Prep Work
Before you even look at your paintbrush, you’ll want to get everything out of your cabinets and if possible, move everything in the immediate area out of the way. Soon, dust will be airborne, and paint may splatter, so taking proactive steps to protect your stuff and keep it clean will save you headaches down the road.
Next, you’ll want to remove all cabinet doors and the front panels of your drawers. It’s helpful to have a good selection of screwdrivers around, or better yet an impact driver, to make sure you don’t strip any of the hardware. Pro tip: label your doors and drawers so they get back to their home spots.
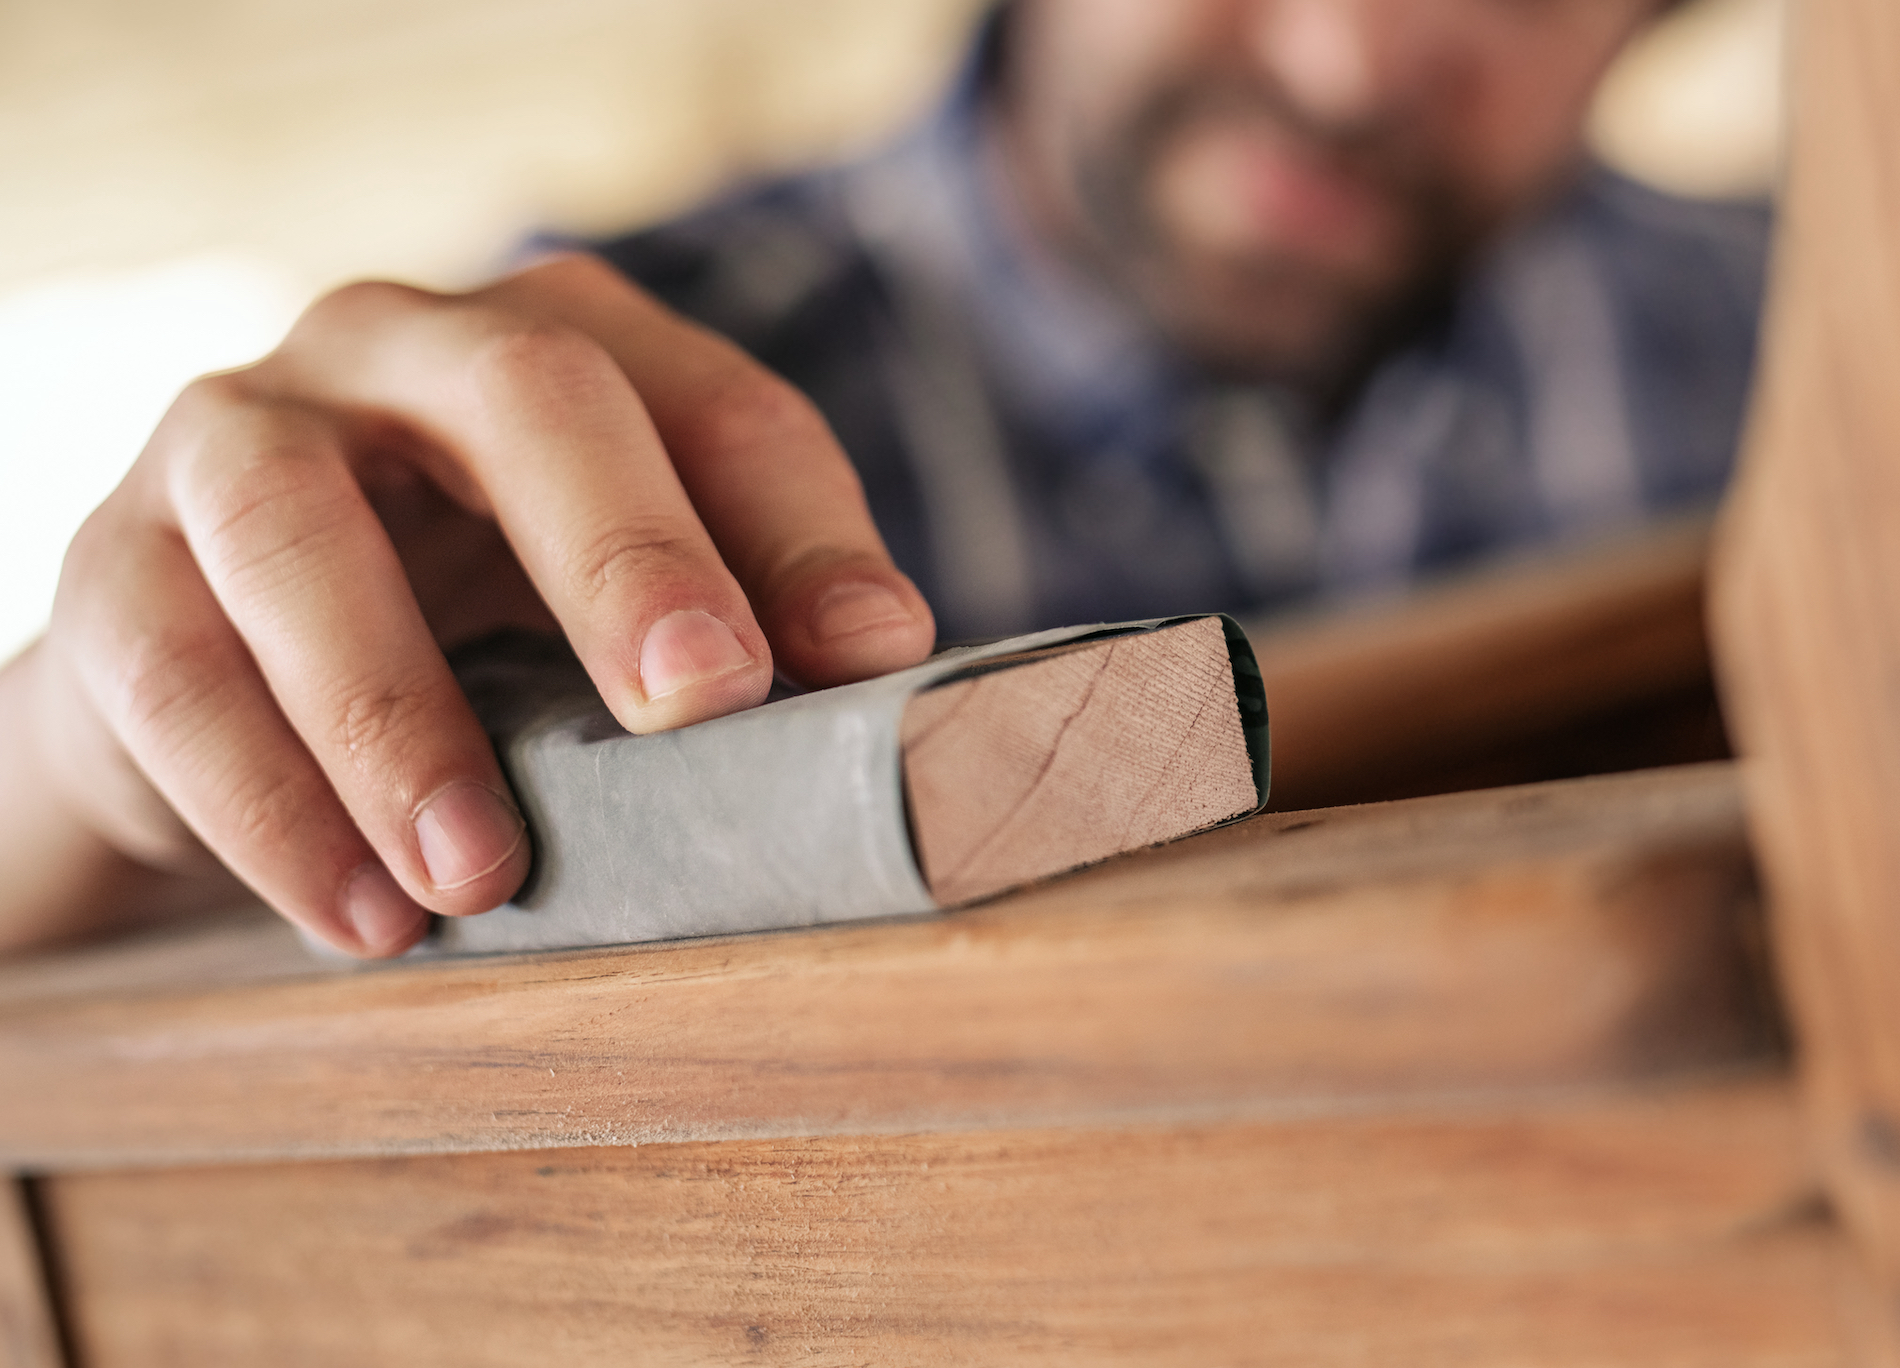
Image from Shutterstock
Your next move will be to degrease your surfaces. You’ll surely be reminded of all the fish fries and stovetop bacon and egg breakfasts as you work to get all the oils off your cabinetry. While a diluted dish soap solution will do the trick in most cases, professional painters swear by TSP (trisodium phosphate) which you can find at most home improvement stores. Wear gloves, though, because you won’t want to get this stuff on your skin.
Once everything dries, it’s time to get sanding. Start out with a semi-coarse sandpaper, around 100-grit. If your cabinets previously had a clear coat on them, like polyurethane, sand evenly until they appear dull. For cabinets that were already painted, you don’t necessarily have to get all the old paint off, but you’ll need to ensure the sandpaper has at the very least scuffed up the surface. For phase two of sanding, move to a little finer grit like 120 or so to smooth everything down.
Lastly, vacuum up all dust from sanding and wipe down the cabinetry with a lightly damp cloth or tack cloth. Any lingering dust can get stuck in the paint and ruin all your hard work.
Painting
Alright, it’s primetime! And while we are ready for the main event, we’re not breaking out the actual paint just yet. What I mean is actual primer.
Primer helps cover old finishes and helps the paint adhere better to surfaces. It may be tempting to save tons of time and skip this step, but you’ll end up with an uneven and fragile paint job that’ll be damaged in no time.
Depending on the difference between your new and old shades as well as the quality of your paint, applying two-to-three coats of primer will be ideal. They make primers for all sorts of applications, so be sure to talk to the folks at your local hardware store to make sure you’re choosing one suitable for cabinetry.
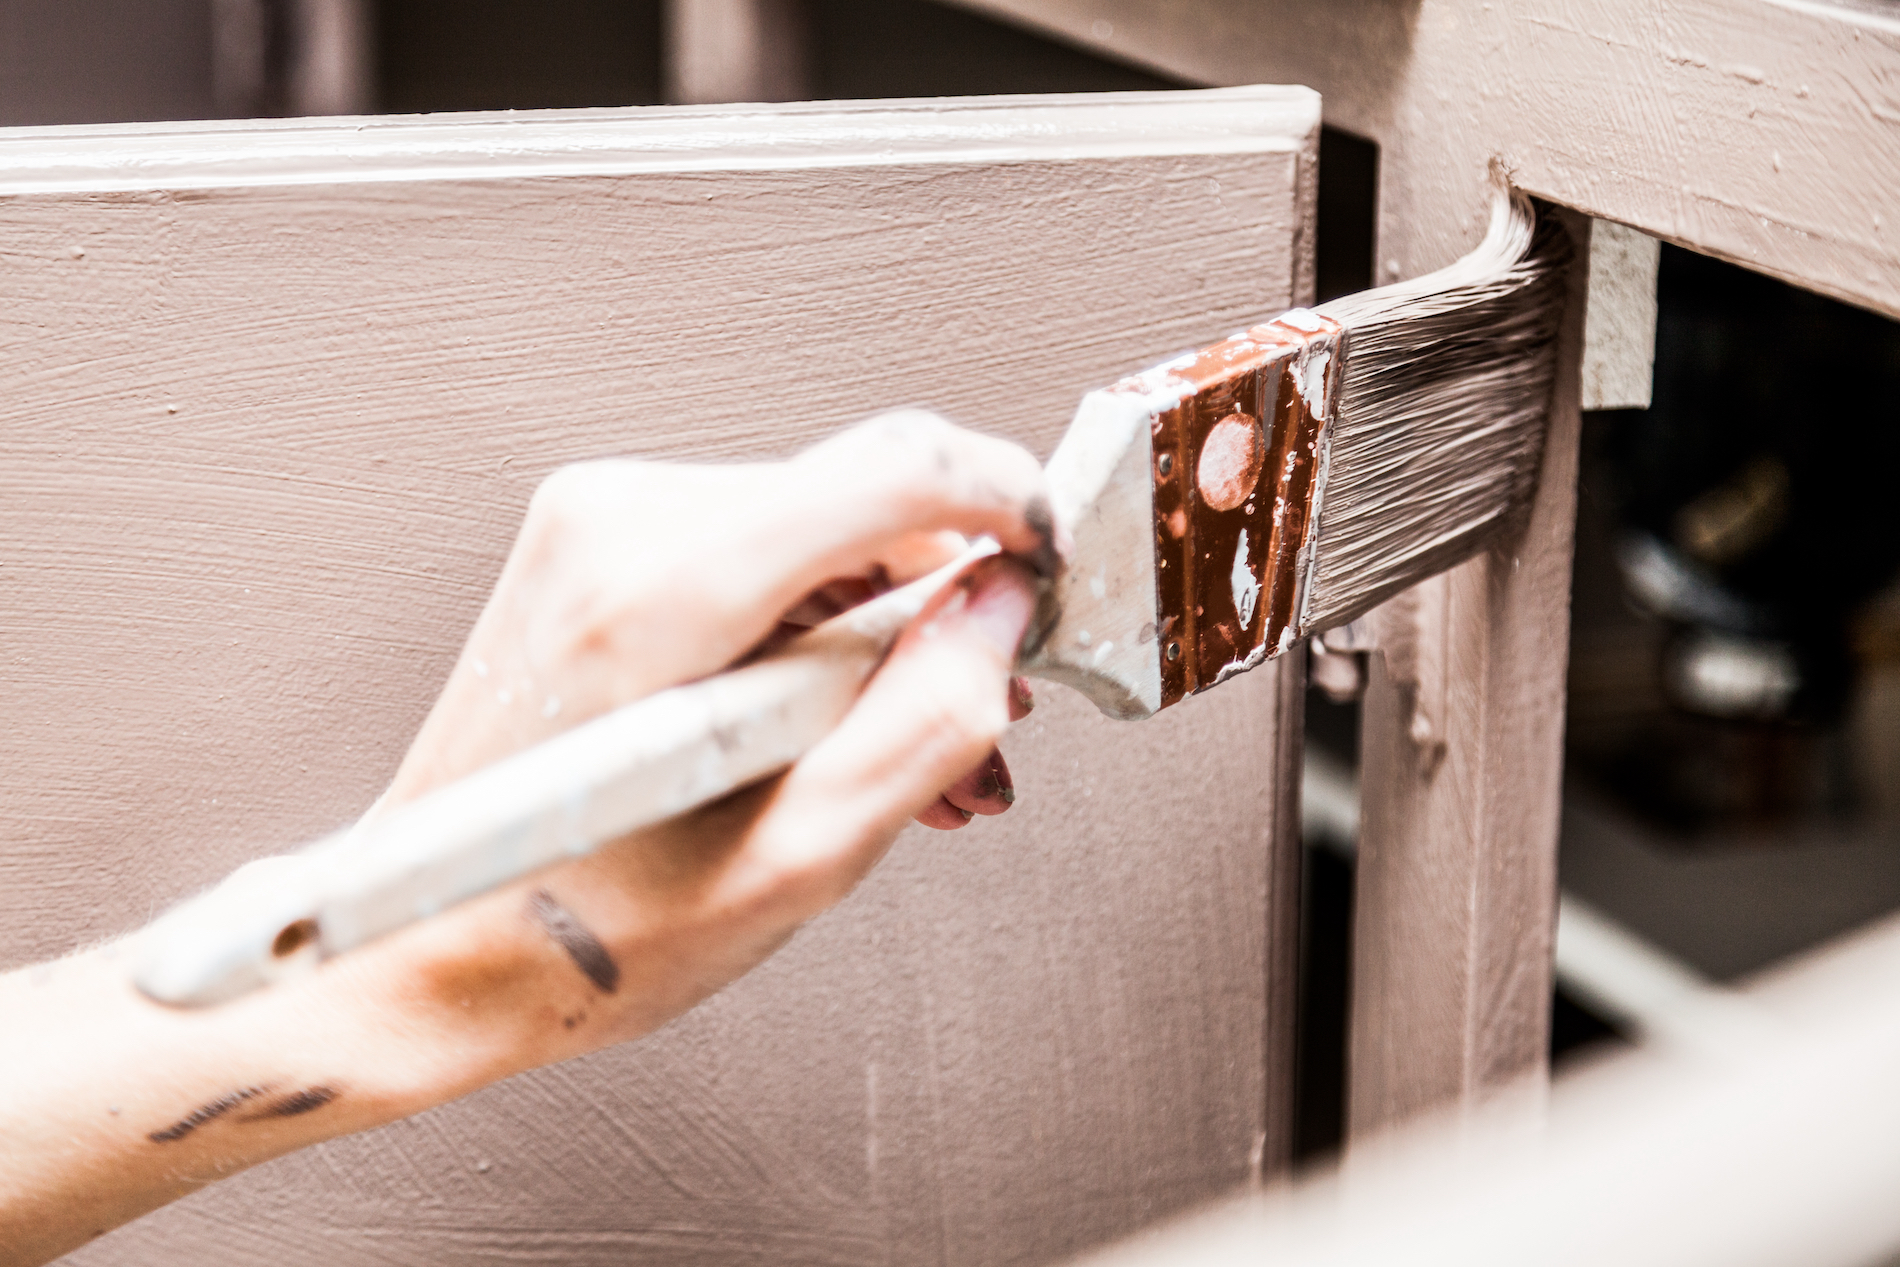
Image from Shutterstock
After the primer is fully dry (verify proper dry time on the can), you can move on to proper paint. You may want to consider a paint with a satin sheen, or even glossier, as these paints are easier to clean and are more resilient to everyday wear and tear.
As you start painting, bear in mind that it is far better to do multiple light coats (two to three) than one thick coat that ends up dripping paint all over. It is also best practice to lightly sand between coats with an extra-fine sanding sponge.
Finishing Touches
For extra resilience, consider adding two-to-three coats of a clear coat like polyurethane. It will add significant robustness to your finish and buy you extra time before your next paint job is required. Now, it will make the surface glossier, so if this is not an appearance, you’re willing to accept, forgo this step.
Lastly, put everything back in its rightful place. Be sure to wait until your last coat completely dries, though. If you rush bringing everything back together, the paint won’t have had time to properly harden, and you could risk damaging it.
And that’s it! You’ve updated your cabinetry with a beautiful new finish. Congrats!
Now, painting cabinets to your own cabinets is not for everyone. If these steps sound like too much to take on, there are plenty of alternatives.
Alternatives
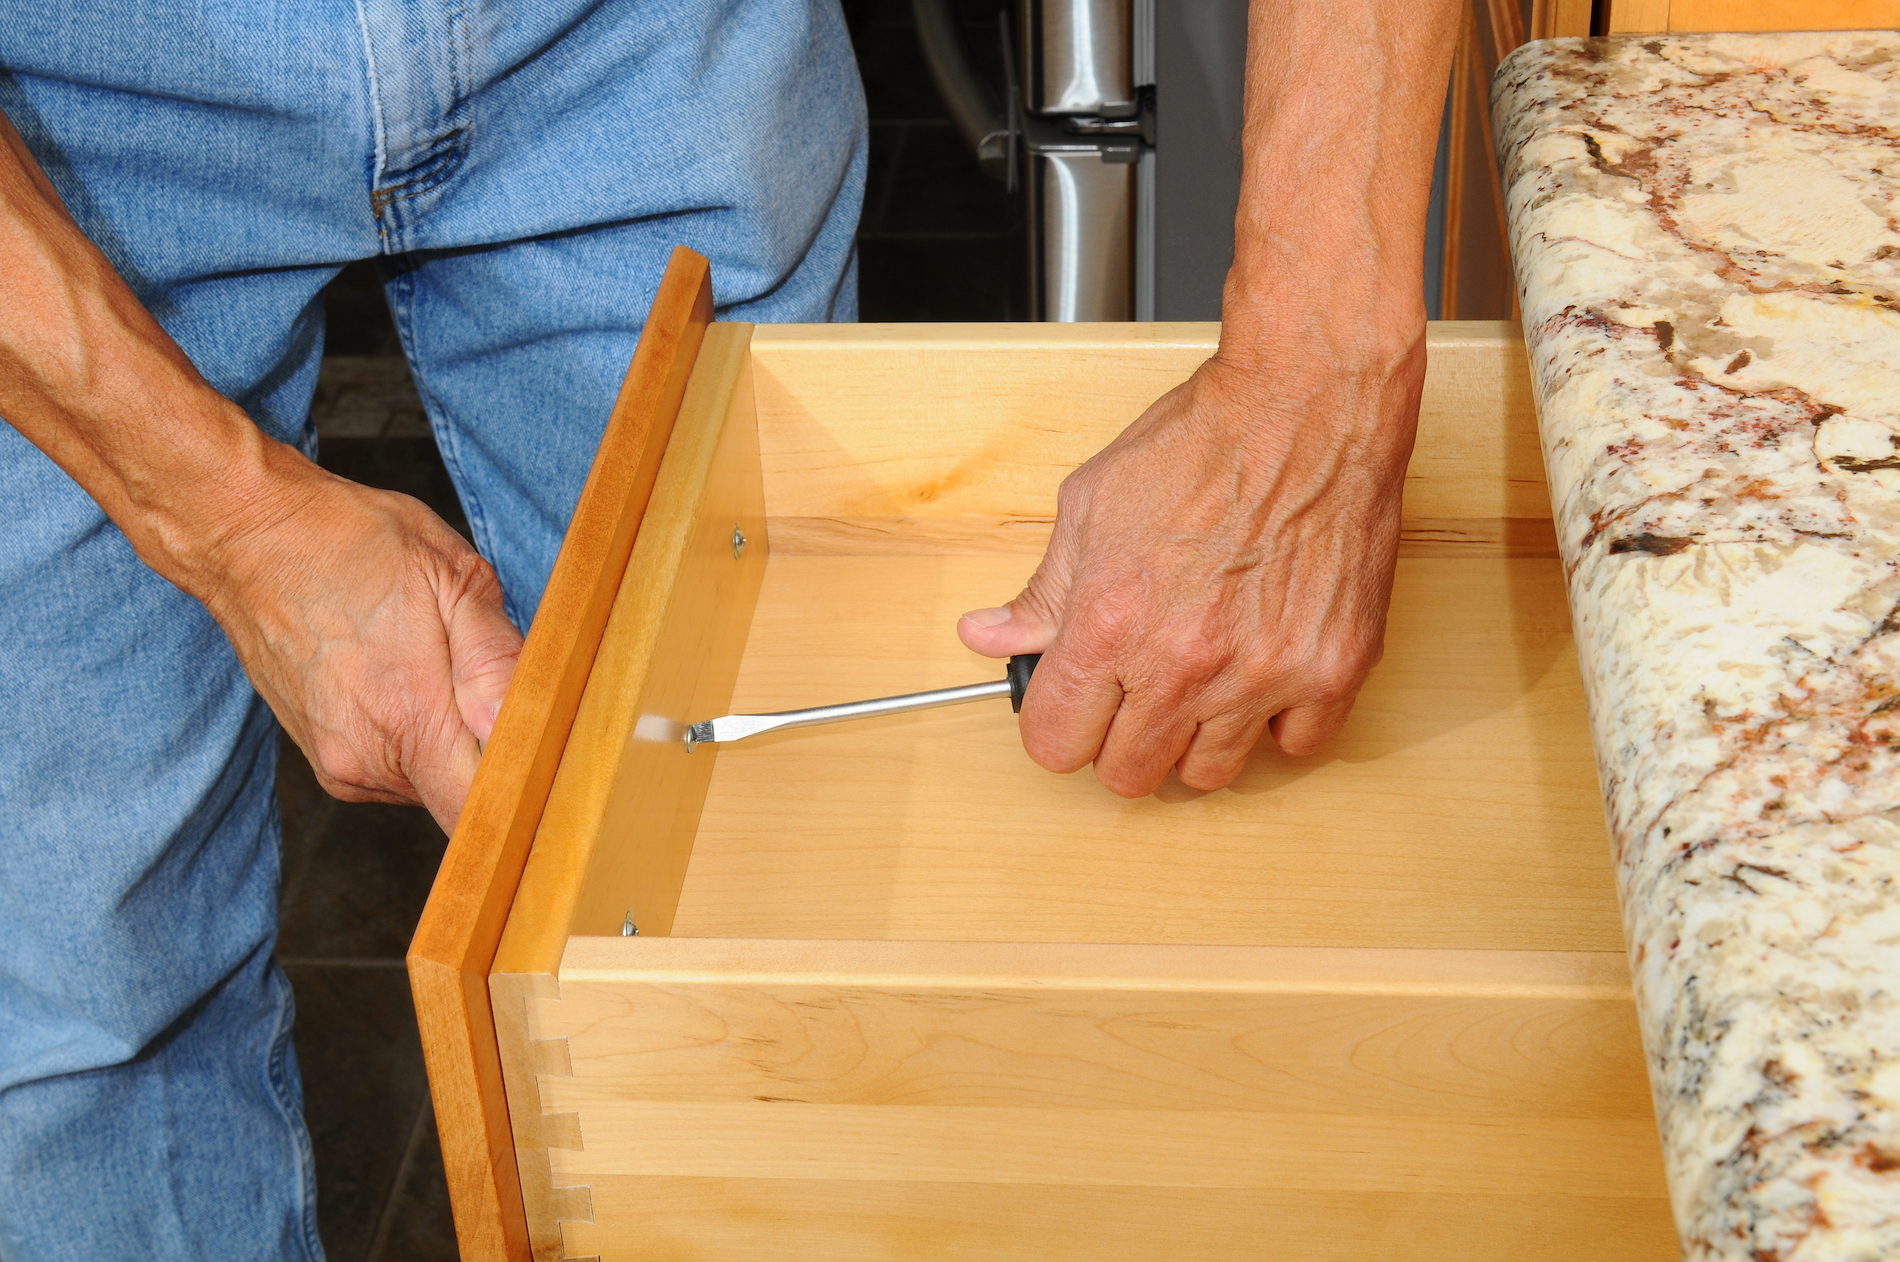
Image from Shutterstock
As we mentioned earlier, simply replacing your cabinet hardware can make a major impact on the look and feel of your space. Armed with just a screwdriver, you can get your whole rig done in a jiffy.
In your kitchen, you can also update your sink basin and fixture to add a new layer of sophistication with modern accents.
Other interior changes you can make that will have a huge impact are things like furniture updates, light fixtures, new bedding sets, rugs, or even just the introduction of some new home decor around the RV.
As you can see, even if painting your cabinets isn’t for you, there are plenty of other ways to spruce things up inside your RV.