A Complete Guide to Caring for Your RV Batteries
From the Types of Batteries to How to Clean, Store, and Refill Them
Image Caption:
Proper battery care is something that even experienced RV and travel trailer owners neglect. While batteries don’t require a whole lot of maintenance, failing to properly care for them can leave you without power when you need it most.
To help you maximize the life of your batteries, check out this complete guide to caring for your RV batteries. It covers tips for cleaning, storing, charging, and discharging your RV batteries. It also outlines which RV battery types require the most care (and which require the least!).
So let’s get started!
RV Battery Types (and Their Needs)
For the most part, all RVs require deep-cycle batteries. There are three main types of deep cycle RV batteries: flooded lead-acid, sealed lead-acid, and lithium-ion batteries.
Below, they’re ranked from most maintenance required to least.
Flooded Lead-Acid
Flooded lead-acid batteries must be charged regularly to maintain optimum efficiency. Even with regular charging, something called ‘off-gassing’ will occur naturally. That off-gassing requires you to refill your battery with distilled water according to a regular schedule. This is why this battery type is considered the most maintenance-intensive of the four.
Sealed Lead-Acid (Gel and AGM)
There are actually two types of sealed lead-acid batteries for RV use. They are gel batteries and absorbed glass mat (AGM) batteries. Both attempt to solve the issues with flooded lead-acid batteries by sealing the battery to the exterior environment. This eliminates off-gassing and the need to refill your battery with distilled water.
Generally, you will find more RVs with AGM batteries than gel batteries. This is because gel batteries require much slower charging, which makes them quite inefficient for mobile living. That said, they both don’t require very much in the way of regular battery maintenance.
Lithium-Ion
Lithium-ion batteries are a different type altogether. They utilize lithium ions to move between the anode and cathode in a solution of lithium salts. This is opposed to the electrolyte solution found in flooded and sealed lead-acid batteries.
This battery type is also fully sealed, which means it experiences zero off-gassing. It also charges more efficiently than the other two types and can be fully discharged without sustaining any long-term damage. Plus, lithium-ion batteries typically weigh about half of a comparable flooded lead-acid battery. For these reasons, these are generally considered the most low-maintenance RV batteries.
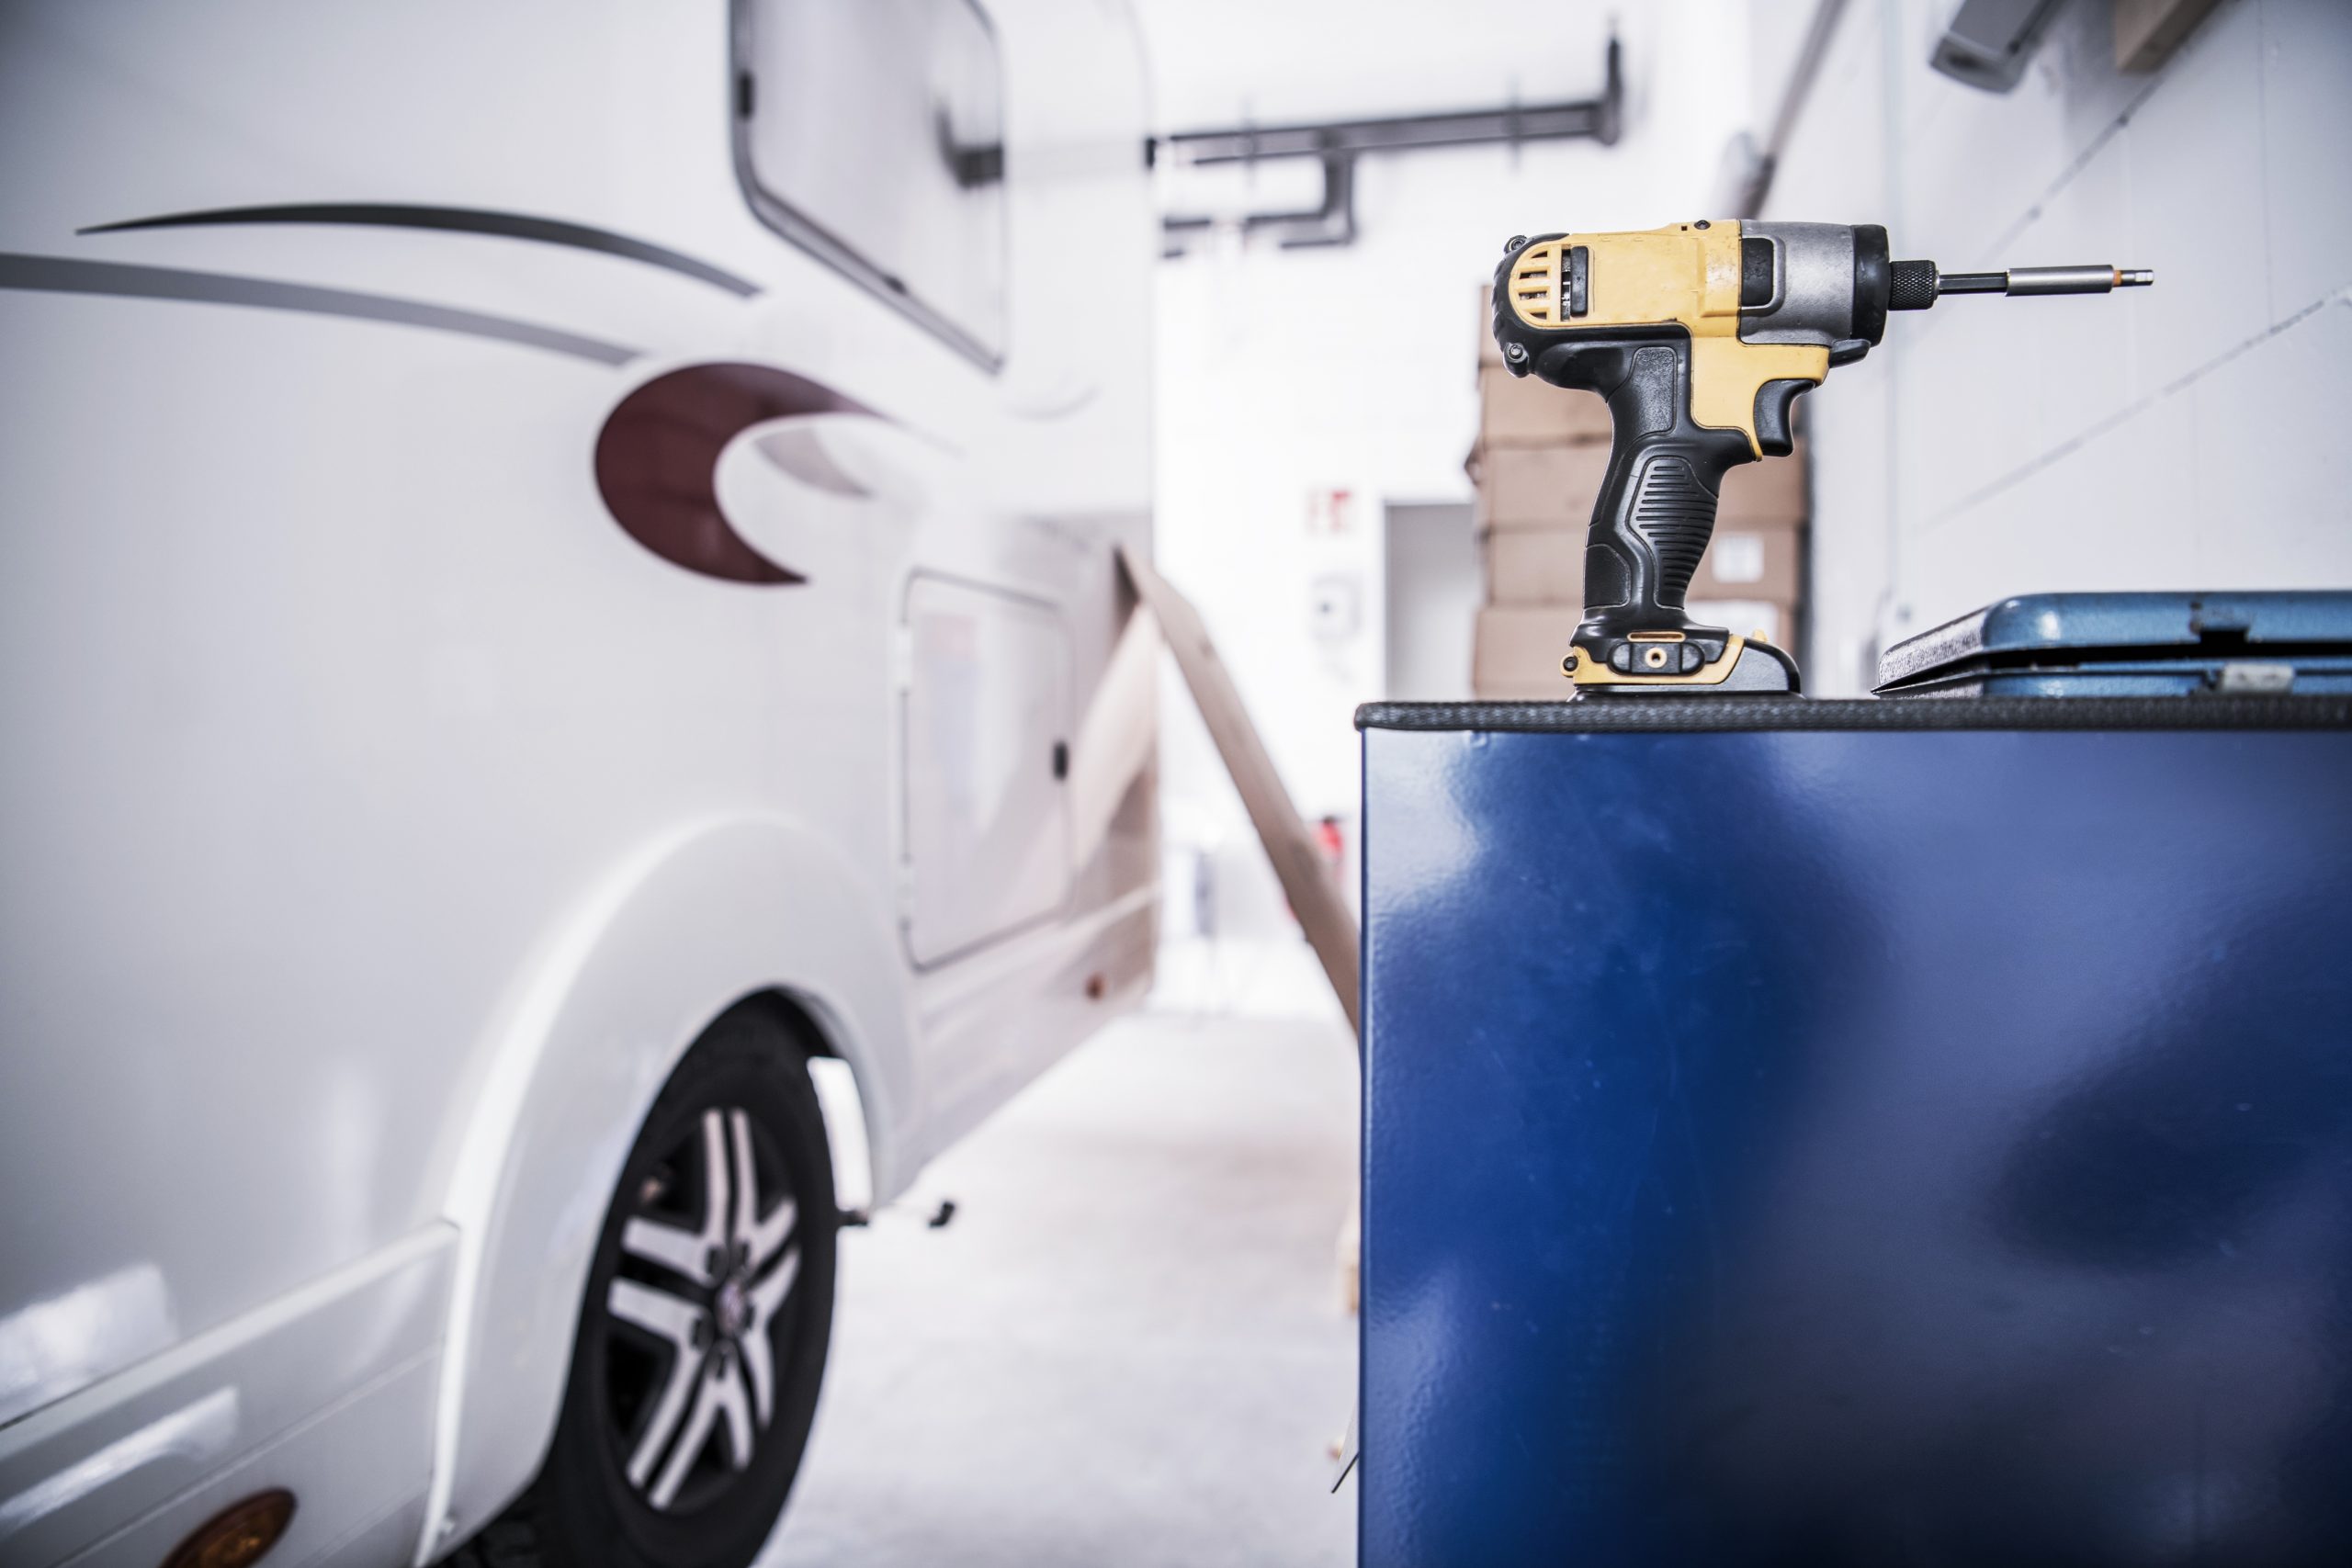
Image from Getty.
How To Clean RV Batteries
Here’s a quick step-by-step process for cleaning your RV batteries:
Step 1: Disconnect Batteries
To begin, you should disconnect your batteries from your RV’s electrical system. While you only need to disconnect one lead (positive or negative) to open the electrical circuit, I’d recommend disconnecting the leads to both terminals (because you’ll want to clean them later!).
You don’t have to remove the batteries from their mounting locations to clean them. That said, this is a good time to clean underneath the batteries as well, as this is an area that often accumulates dust, leaves, and other debris. So, go ahead and remove your batteries from their mounting locations before proceeding.
Step 2: Mix Cleaning Solution
Experts recommend a very simple cleaning solution for RV batteries. It requires a one-to-six ratio of baking soda to clean water. Mix that solution thoroughly to completely dissolve the baking soda. Then, spray it onto the battery terminals and allow it to sit for about five minutes.
Step 3: Clean Exterior
While your solution is busy breaking up rust or battery acid that has accumulated on the terminals, go ahead and give the outside of your battery a wipe down. One pass with a wet rag followed by a second pass with a dry rag should do the trick.
At the same time, take this opportunity to clean the area underneath the battery in your RV. If you have access to an air compressor or leaf blower, use one to quickly blow any dry debris out of the battery housing areas.
Step 4: Clean Terminals and Leads
Once five minutes have passed, use a hose to spray the baking soda solution off the terminals gently. Then, wipe them down to make sure you remove 100 percent of the cleaning solution. From there, use a battery terminal cleaning brush to gently scour the terminals and expose fresh metal on the leads.
Before you put your battery back in place, go ahead and use your multi-purpose battery terminal cleaning brush to clean your battery leads as well. Remove as much battery acid and rust as possible. This will ensure a strong electrical connection when you do place the battery back in its housing and re-connect your leads.
How To Refill RV Batteries (Flooded Lead-Acid Only)
If you have a flooded lead-acid battery in your RV, you should be checking its water level on a monthly basis. When the level dips below the top of the lead plates, top it off with de-ionized and distilled water. Never use tap water or sulfuric acid when refilling a flooded lead-acid battery!
Depending on the exact battery you have, you may or may not need to disconnect the battery before refilling it. Look for specific directions and refill warnings on the top of your battery before proceeding. Most flooded lead-acid batteries will provide specific instructions for you to follow during the refill process.
How to Store RV Batteries
If you live in a place where winterizing your RV is a requirement, I’d recommend storing your battery separate from your RV as part of your winterization process. Here are a few RV battery storage tips:
- Disconnect positive and negative leads
- Remove the battery and clean terminals, leads, battery body, and mounting location in your RV
- Fully charge the battery
- Add distilled, de-ionized water to proper level (flooded lead-acid batteries only)
- Store in a cool, dry place. The ideal temperature range will stay between 32°F and 80°F (0° and 27°C) for the duration of the winter
- Check battery charge every 30 days (recharge if below 75% of capacity)
- Avoid leaving battery on trickle charge for more than 48 hours at a time
How to Charge and Discharge RV Batteries
If your RV’s electrical system is functioning properly, you really shouldn’t have to pay too much attention to your battery on regular basis. Still, these tips for charging and discharging your battery will help you maximize its lifespan.
- Avoid discharging your battery past 50% of its capacity
- Maintain a minimum battery voltage of 10.5 volts at all times
- Check batteries more frequently when traveling in hot climates. Hot temperatures and overcharging can severely decrease your battery’s lifespan.
- Always use stage-charging to charge RV batteries.
- Bulk charging is the first stage, which lasts the first few hours and returns the battery to about 90% of capacity. Absorption charging is the second stage, which brings the battery from 90% up to 100% of capacity. Float charging is the third stage, which keeps the battery fully charged.
The great news about RV batteries is that they are quite durable and they don’t require all that much in the way of regular care. That said, the more you invest in an RV battery, the more you will benefit from the tips we’ve outlined in this complete guide to caring for your RV batteries.