Learning the actual wheel weights of your coach will allow more accurate inflation, which leads to improved handling, safety and overall tire life
Every year, we hear about motorhome tire blowouts and the resulting accidents that could be avoided with one simple fix: proper tire inflation. In fact, low tire pressure is the most common cause of tire failures on motorhomes, so it’s critical to place “check tire pressure” at the top of your pretrip checklist.
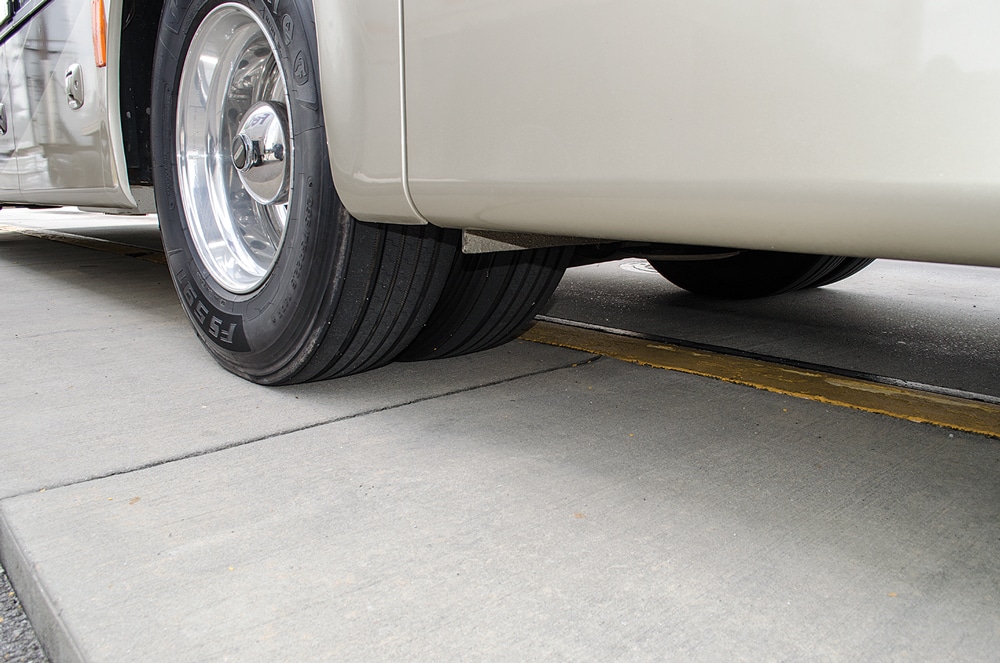
As a tire rolls on the surface of the road, it flexes, which is why you can sometimes see a slight bulge on the bottom sidewall of a stationary tire. When a tire is operated at low pressure, it flexes too much. This constant flexing builds a lot of internal heat in the tire and will ultimately lead to its failure. A properly inflated tire flexes less
and therefore generates less heat. In addition to reducing the chance of tire failure, there are many other benefits of proper tire inflation, such as better handling, improved traction, increased fuel economy, longer tire life and improved braking.
|
When deciding what pressure to run, many owners simply refer to the info plate provided by the manufacturer of their coach, while others may even ask their neighbor or tire dealer what pressure to run. Even if you have the exact model coach as someone else, there are just too many differences in the weight due to your cargo, holding-tank levels, LP-gas tank and of course the number of passengers and the cargo you are carrying to safely use someone else’s tire pressure. In the absence of good weight data, some owners opt to use the pressure stamped on the tires. While this approach will ensure they are not
underinflated, it may result in an overly stiff ride, so the best approach is to take a little time and get your coach correctly weighed.
Determining the correct pressure is not difficult, but it does require a few steps. First, you must get an accurate “four-corner” weight of your coach. If you have a tag axle, you need to weigh all six tire positions. Some owners opt for using axle weights only as opposed to getting all four corners weighed, but if possible, it is far better to obtain the weight of each tire position. Many motorhomes have heavy areas due to large battery bays, water-tank positioning or even poor planning by the manufacturer, and this is why four-corner weighing is so important. We are looking for the heaviest corner, and that will be used for tire pressure determination across that axle (you should never use different tire pressures across the same axle, even if the coach is heavier on one side). Of course, you have some responsibility when it comes to your rolling weight, so don’t carry things you don’t need. After obtaining your four-corner weight you can also rearrange items in your storage banks in order to minimize heavy corners as much as possible.
If you’re going to the trouble to have your coach weighed, it’s best to plan ahead and weigh it when it is loaded as you normally drive. So if you travel with your tanks full, then you should weigh the coach with them full and pack all of the gear you normally take with you on a trip – and have all passengers hop on board.
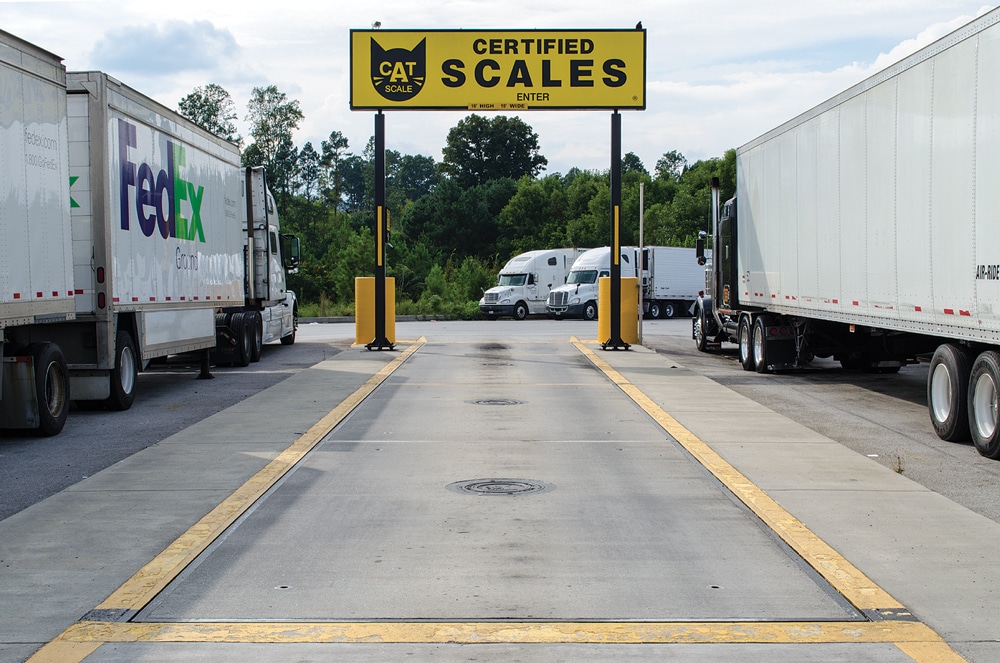
When selecting a scale, it is critical to use a certified scale; otherwise, the data you obtain may be wrong. We found a large truck stop that had a certified CAT Scale. CAT Scale Co. has a large network of scales throughout North America, but there are other companies offering this service as well. In order to obtain a true four-corner weight, you will have to find a scale that has a large apron on each side of the scale. Many truck-stop scales may not offer this extra space, so look around before you commit to a location. This space will allow you to drive the coach off each side so that you can obtain weights for the left front and rear tires, then reposition the coach to obtain the right front and rear weights. The apron must be level to the scale.
A typical truck-stop scale (such as the one we used) consists of at least three different segments or platforms so you can position each of your axles on the scale segment and obtain accurate data for that axle. If you are attending a large motorhome rally, another option is to have your coach weighed there or at other events where a vendor will likely be offering detailed motorhome weighing services using individual wheel scales.
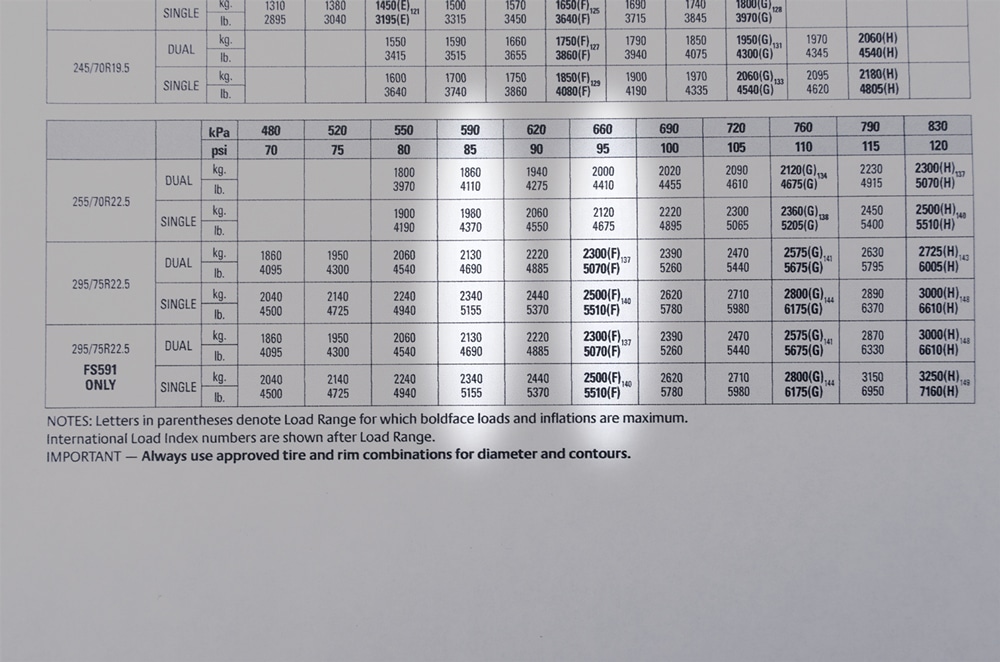
After you obtain your motorhome’s weights, you will then need to refer to the tire manufacturer’s load/inflation table for the exact tire on your coach. These charts often include many similar tires, sizes and load ranges, so make sure you select the correct chart. These charts can be found online or the coach manufacturer may have included one with the owner’s manual when you bought the coach. If your coach is not running on the original tires, that old manual may not be relevant any longer.
Now that you have a basic understanding of the process, let’s take a step-by-step look at how we weighed our coach and determined the ideal pressure for our setup. This coach is a 2008 Tiffin Phaeton that has a front axle rated at 12,000 pounds and a rear axle rated at 20,000 pounds. The tires on this coach were recently replaced. It currently has Firestone FS591 Plus tires. The size of the tires is 295/75R22.5 in load range G (14 ply). The minimum pressure required for the tires to carry their maximum load is 110 psi. The CAT Scale we used was found on Interstate 75 in Ringgold, Georgia, at exit 345. The truck stop is called Kangaroo Express, and it has a very large scale area, which was ideal for us to obtain the data we needed. The total cost to weigh the coach three times (all position weight, right side only, then left side only) was a meager $14.50.
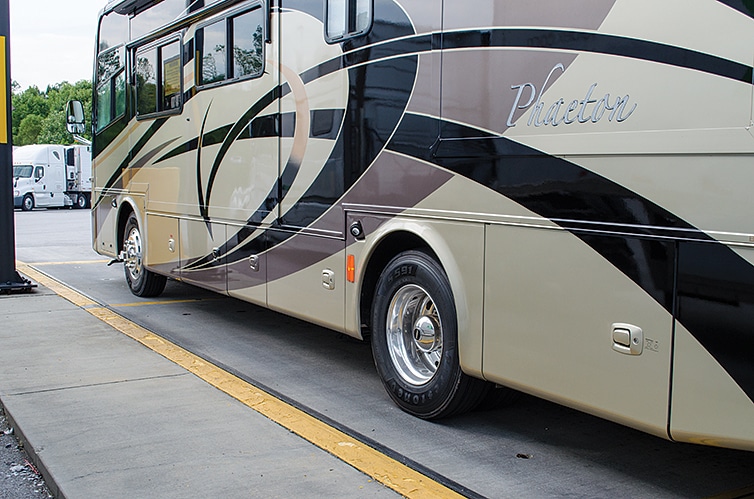
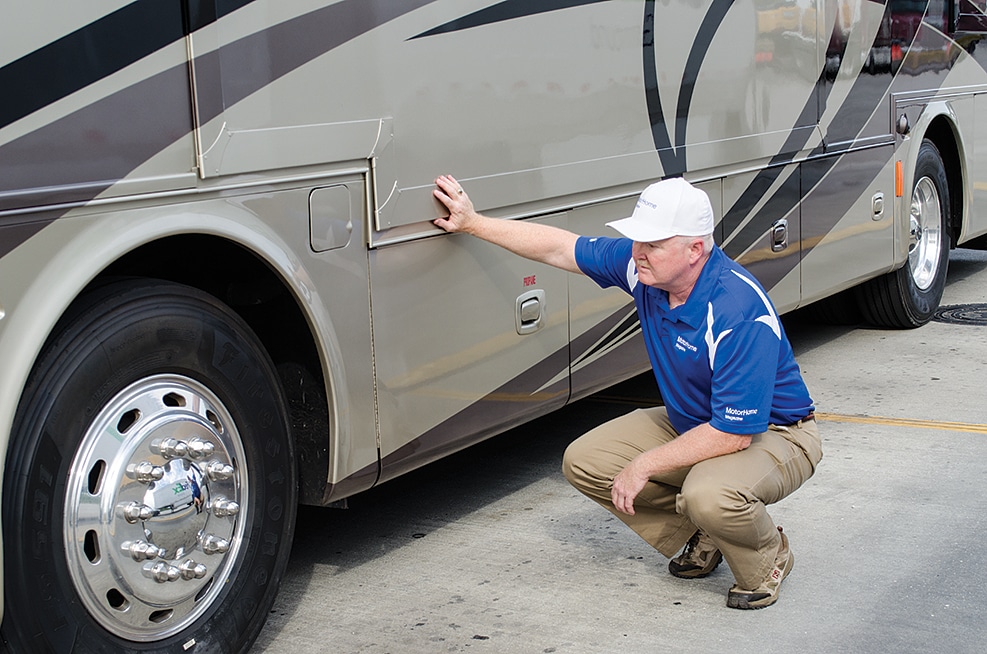
[1] Approaching the scale, you should be able to see the lines or segments on the scale pavement as well as the yellow boundary that indicates the area that is outside the weighing area. This allows you to position the coach with the steer tires and rear tires on different sections of the scale. Notice how this scale has a wide area outside the yellow line (apron) that is level with the scale. |
|||
|
|
|||
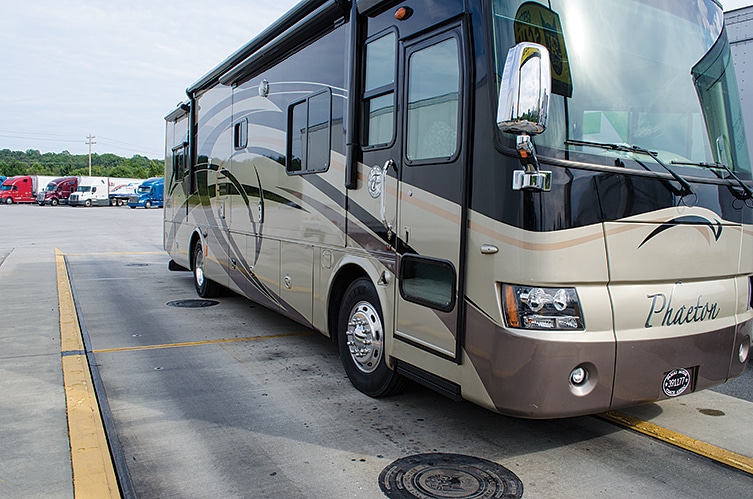
[2] Notice how the front axle is positioned on one segment of the scale, while the rear wheels are on a different segment. After getting the coach in position, press the button on the scale (a long-handle broom helps you push the button) to notify the weigh master you are ready for the weight to be taken. |
|||
|
|
|||
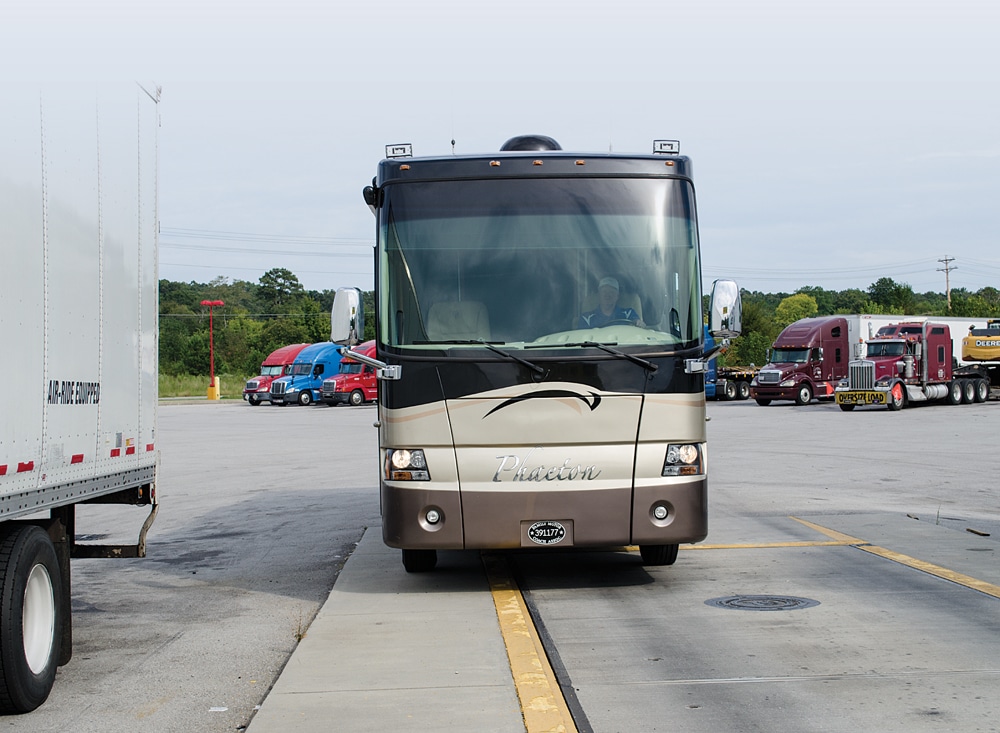
[3] Next, we backed the coach off the scale and repositioned it with only the right (passenger-side)wheels on the scale. Always make sure the front and rear wheels are positioned on different segments of the scale, then press the button again to notify the operator you are ready for the weight to be taken. If you have to get out of the coach, remember your own weight is part of the equation. |
|||
|
|
|||
[4] Notice that the rear wheels are outside the yellow line, which means they are completely off the scale. |
|||
|
|
|||
[5] We then backed the coach off the scale again and this time positioned it so that only the left wheels were on the scale. |
|||
|
|
|||
[6] Each time you drive the motorhome on to the scale, try to position the wheels so that they are approximately in the same position on the scale each time. This will help ensure that the data you obtain is as accurate as possible. |
|||
|
|
|||
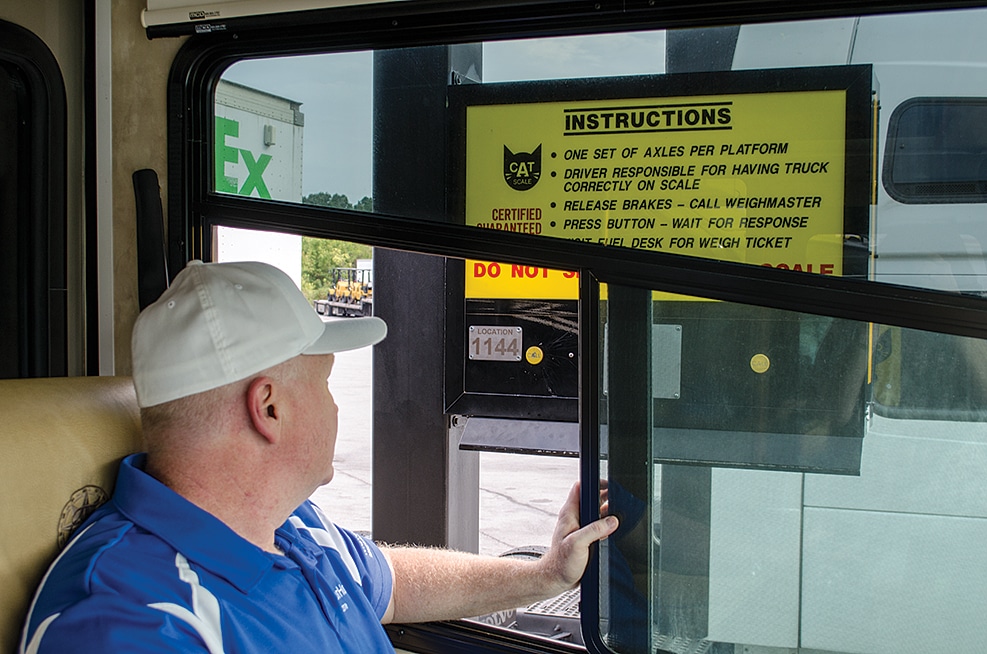
[7] Here is a typical CAT Scale control board that includes some basic instructions for 18-wheelers and a call button to notify the weigh master that you are ready for a weight to be taken. |
|||
|
|
|||
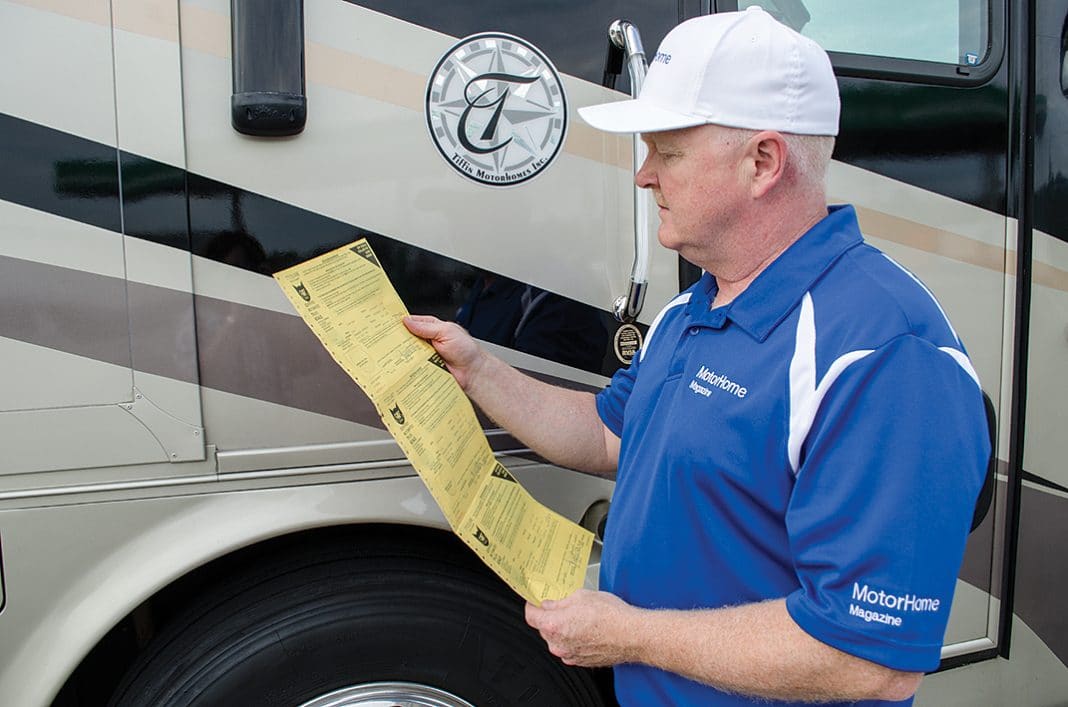
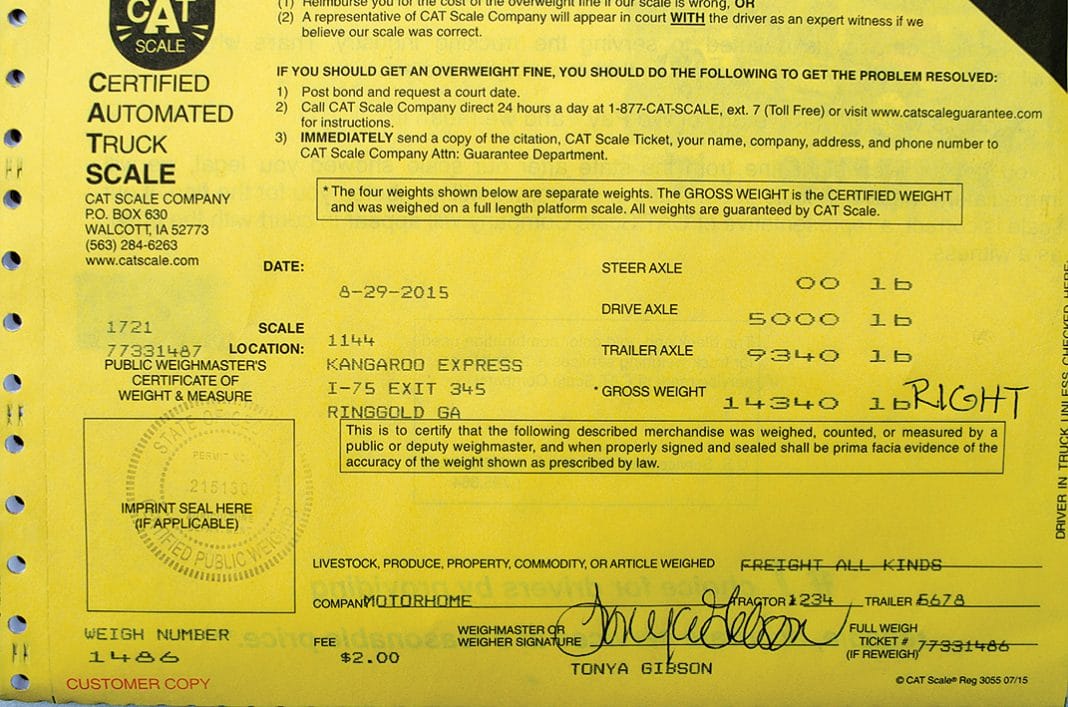
[8] After all the weights are taken, you can obtain a certified printout from the weigh master. That is the data we will use to determine the proper pressure for the tires. |
|||
|
|
|||
|
|||
|
|
|||
[10] To determine the front tire pressure, we can see that for the weight of 5,155 pounds (closest to our actual right front weight, but not below) on a single tire, the suggested pressure is 85 psi. As we mentioned earlier, the passengers were not in the coach so we will use 95 psi as our minimum front pressure. This will allow us some weight capacity to spare if we happen to have the water tanks full, extra cargo or passengers aboard. At 95 psi, each front single tire is rated to carry 5,510 pounds or 11,020 pounds total, which is well below the axle rating of 12,000 pounds. That means we still have some room for pressure increases if loading conditions change. |
|||
|
|
|||
[11] Looking at the right side weight again, we see the right rear weighs 9,340 pounds. Divide that by two because there are two tires and the weight per tire is 4,670 pounds. We use the same chart as above, except this time we refer to the line that says DUAL because these are dual rear tires. For the weight of 4,690 pounds (closest to our actual, but not below) we see the suggested pressure is 85 psi. As mentioned above, we want to allow some extra cargo carrying capacity for times when our holding tanks are full so we moved up the chart to 95 psi, which gives us 5,070 pounds of capacity per tire. This brings the total tire carrying capacity to just over 20,000 pounds, and since the axle is rated at 20,000 pounds this means 95 psi brings us to our axle weight limit. |
|||
|
|
|||
[12] Once you determine the ideal pressure for your tires, use a high-quality gauge such as this digital one from Snap-On to set the pressure. Remember, this pressure needs to be set and checked only when the tires are cold. We suggest you check the pressure in each tire every day you plan to drive the coach. This is the only way to be sure the pressure is correct and it could save you a blowout or accident due to low tire pressure. |
|||
|
|
|||