Streamline the process of installing a motorhome cover with these simple tips
If it weren’t for pesky things like a budget, homeowner’s association rules, time and space, we would all likely have our own motorhome garage at our residence to protect our coach. Unless you live in a rural area free of homeowner’s associations and have lots of property, it’s unlikely that you will ever be allowed to construct an RV garage on your property. Many owners rely on offsite storage and in some cases those facilities offer covered storage, but of course the cost is much higher than just storing the coach in an uncovered lot. In our case, we have a motorhome driveway at home but do not enjoy the benefits of a full garage; therefore, the use of a motorhome cover is necessary.
For most of us, a motorhome is a major financial investment not only in the initial purchase, but also the maintenance and upkeep. Covering the coach helps protect its appearance and resale value, and it also helps lower monthly maintenance costs. By protecting the coach with a cover, the roof’s caulk joints, acrylic roof vents and skylights, as well as the tires and paint, stay looking new. It’s a small price to pay to keep your coach looking good for as long as possible.
In most cases, for the price of covered storage for a few months you can purchase your own cover and keep your motorhome protected all the time. For some reason there is a misconception that motorhome covers are hard to use or can damage the coach’s finish, but our experience is just the opposite. Covers such as the all-new Elements brand that we used here are very soft and do not damage the coach, plus they offer a lot of protection from UV rays and weather. This particular cover is sold at Camping World at a regular price of $546.99 (for our Tiffin Phaeton), but can be found for as little as $436.99 when on sale. It comes with a manufacturer’s 2-year warranty, but living in the southeastern U.S., in our experience we get between 3 and 4 years’ use out of one before a replacement is needed. That is about $100 a year, which we consider a bargain. Tire covers can be found on sale for $62.43 a pair depending on the size your coach requires.
|
|
|
|
|
||
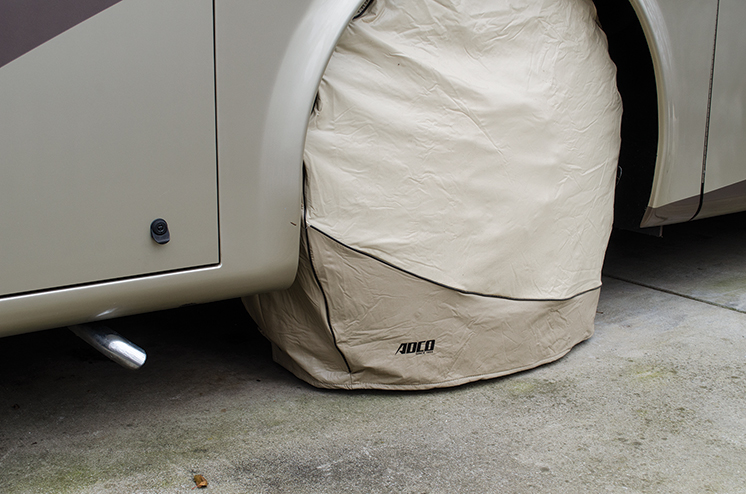
| First we installed the ADCO tire covers from Camping World. It’s a lot easier to put the tire covers on before positioning the motorhome cover.
|
||
 |
||
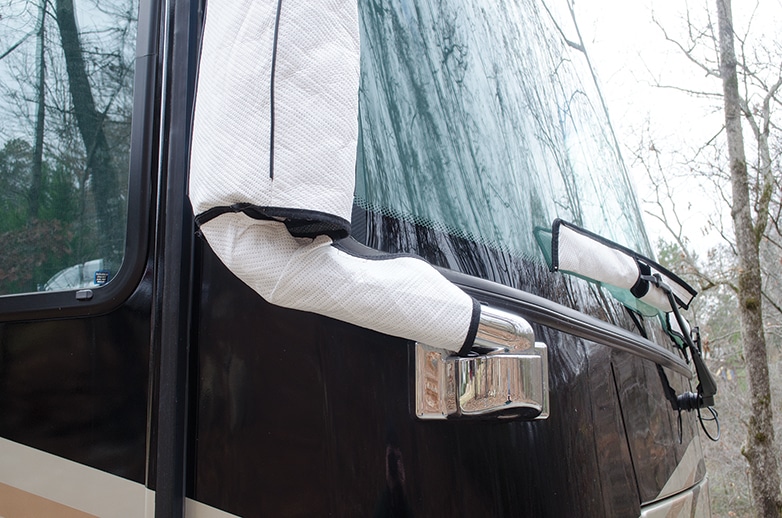
| It’s a good idea to cover the mirrors and wiper blades as well. We use these whether the coach is covered or not, and, as you see in the photo, it might be necessary to fold the mirrors in to allow the cover to fit tightly against the motorhome. These covers are also available from Camping World.
|
||
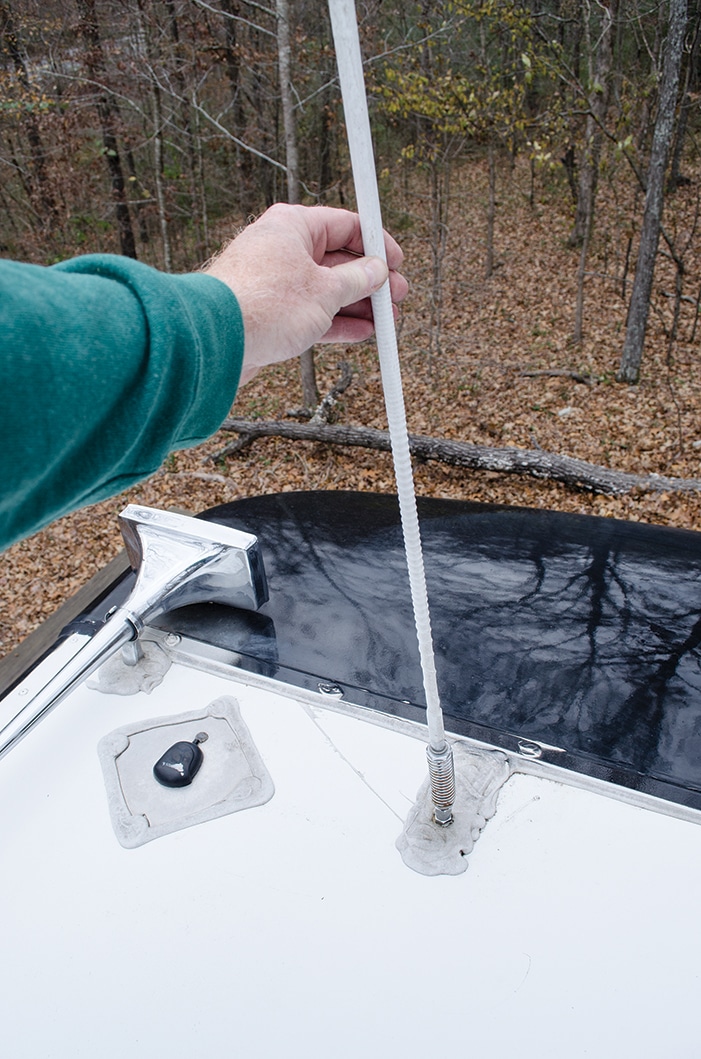 Next you need to climb on the roof and make sure it is clear of debris. Then remove or fold down any antennas. You will need to make sure there is nothing left on the roof that can tear or rip the cover once it is installed. After removing the antennas, simply lay them on the roof next to an air conditioner or satellite dome for safekeeping until the next time you use the coach. Next you need to climb on the roof and make sure it is clear of debris. Then remove or fold down any antennas. You will need to make sure there is nothing left on the roof that can tear or rip the cover once it is installed. After removing the antennas, simply lay them on the roof next to an air conditioner or satellite dome for safekeeping until the next time you use the coach.
|
||
 |
||
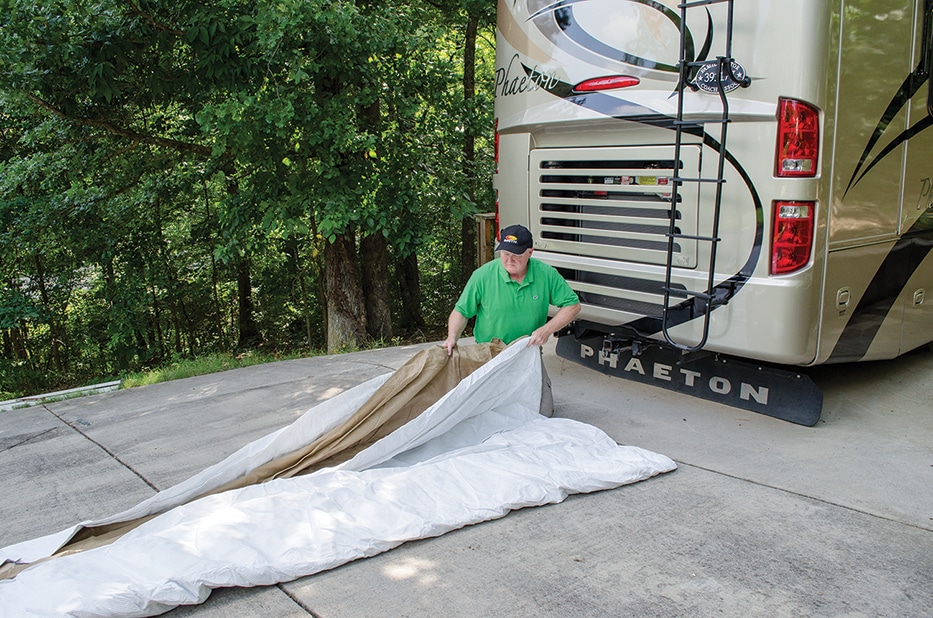
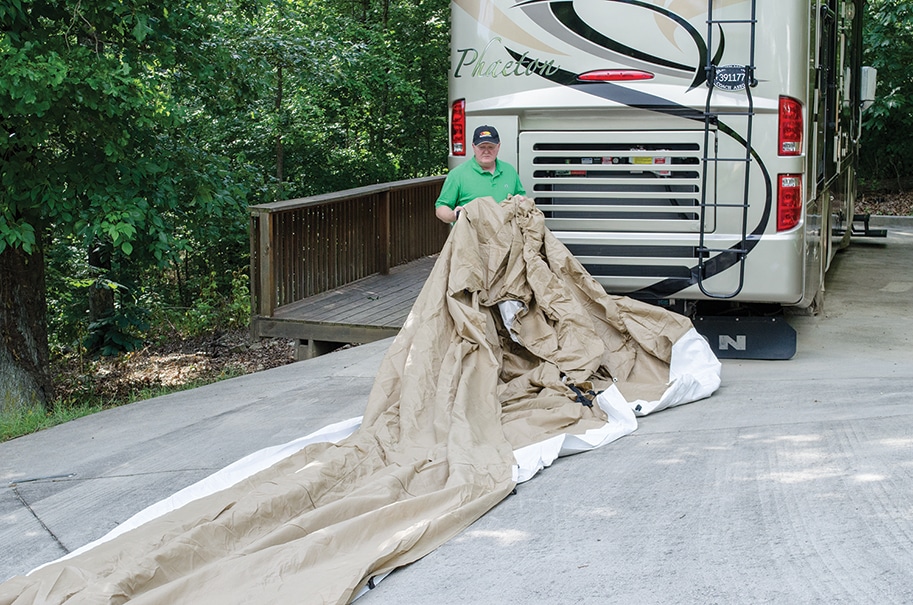
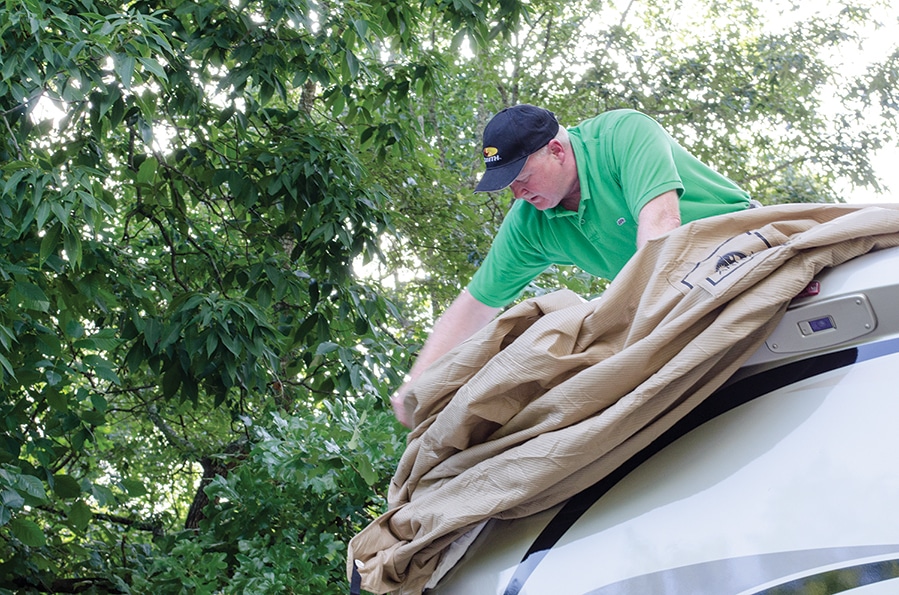
| Next you will unroll the cover behind the coach in preparation for pulling it up the ladder. The cover is rolled up and folded on itself several times in both directions, so make sure you get it completely open.
|
||
 |
||
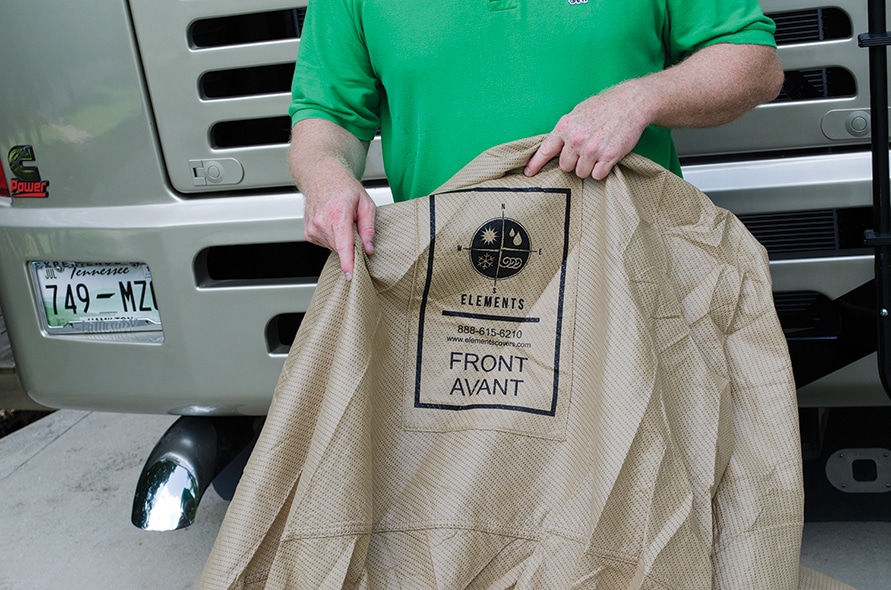
| When unrolling the cover look for the large sewn-in tag labeled front. This is the part that you will carry with you up the ladder and to the front of the coach.
|
||
 |
||
| Once you completely unroll the cover and properly position the front tag, it helps if you fold the sides of the cover “inside out” back on to the white part of the cover (the top). This makes the cover narrower for an easier trip up the ladder, and it makes draping the sides of the cover off the roof easier as well.
|
||
 |
||
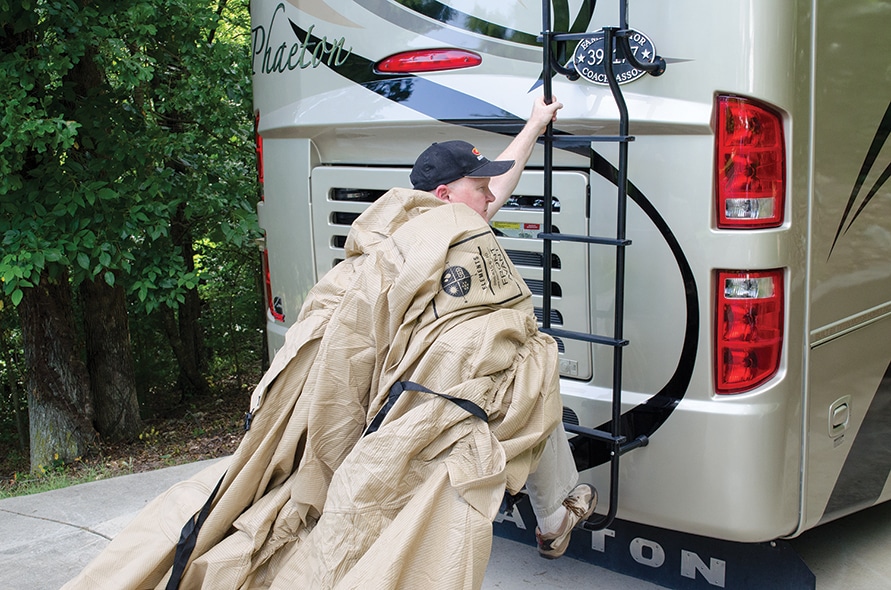
| Pull the entire cover close to the coach to make it easier and safer to climb up the ladder. Be sure to keep one hand securely on the ladder at all times. Notice the front logo is going up first.
|
||
 |
||
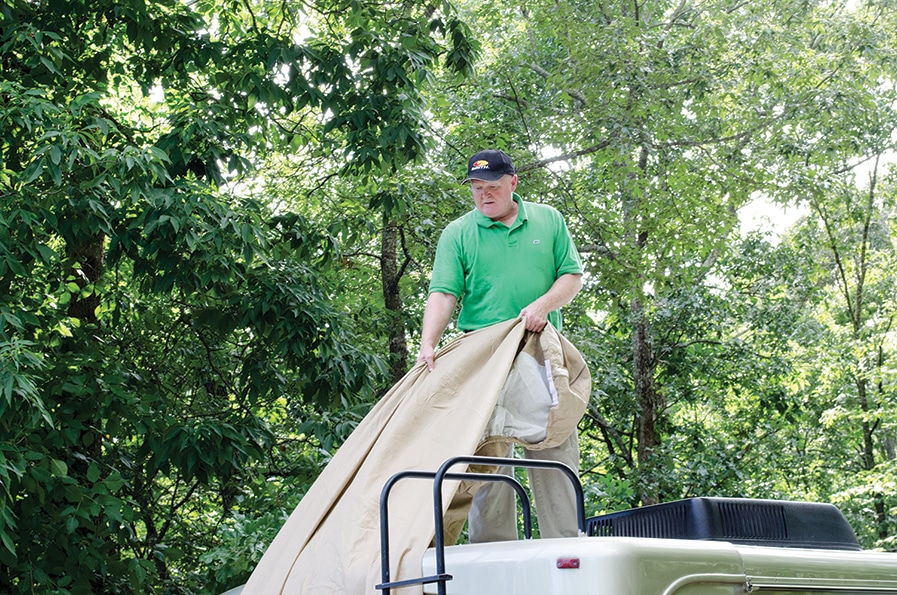
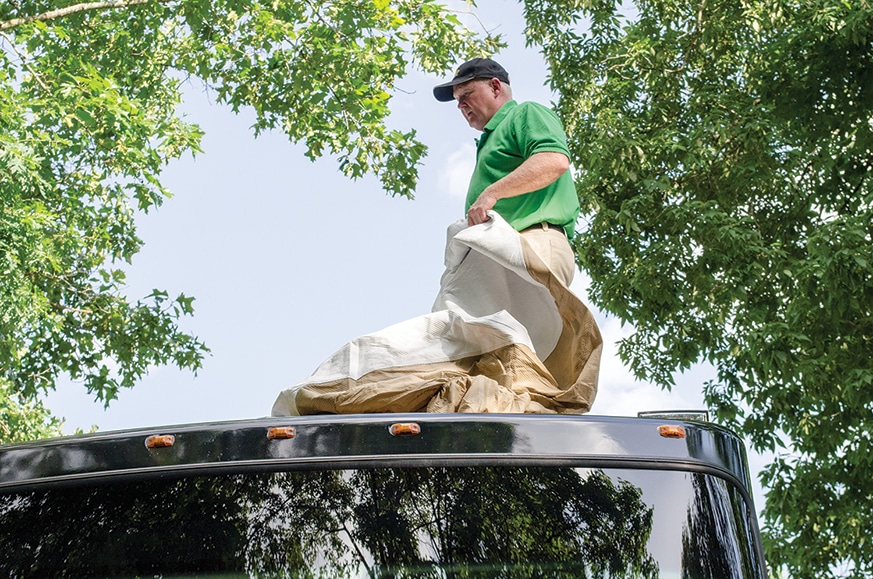
| Once you get on the roof, pull the balance of the cover all the way to the front of the coach. Your helper can assist by “feeding” the cover to you as you walk toward the front of the coach. Watch carefully to make sure you do not step on any vents, skylights or antennas, etc., as you pull the cover forward.
|
||
 |
||
| Now that you have the entire cover on the roof, you need to make sure the white Tyvek roof portion of the cover is all the way to the end of the front cap and positioned evenly between the left and right sides of the coach.
|
||
 |
||
| This particular motorhome doesn’t have extended gutter downspouts but if it did, you would need to cover them as shown in this photo before dropping the cover down each side of the coach.
|
||
 |
||
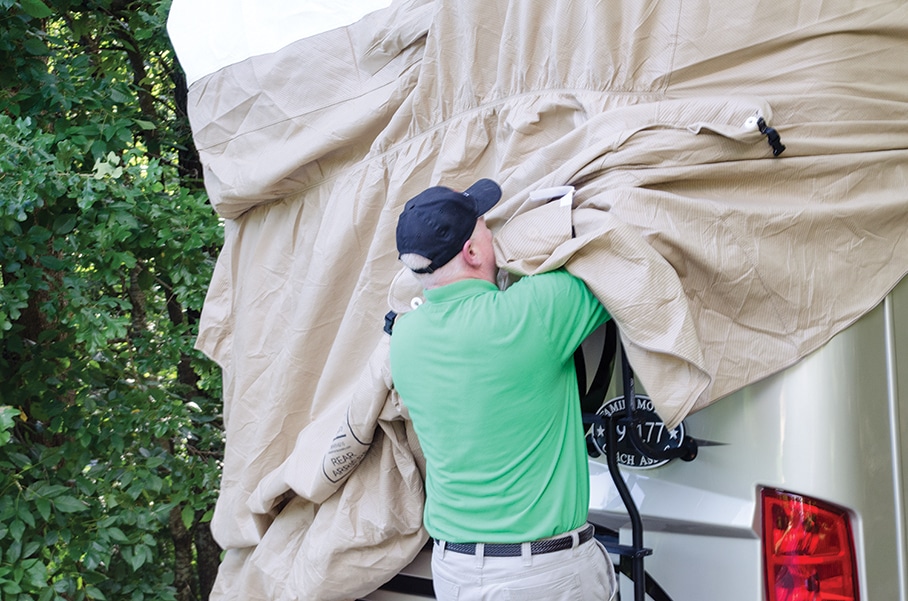
| Starting first at the front of the coach and then moving down both sides, drape the sides of the cover off the roof and make sure they clear any obstacles such as the awnings and slide toppers. If you have any particularly sharp corners, cover them with a towel or a piece of foam to prevent tears in the cover. We also found that it is easiest to get the front of the cover to drop over the mirrors and front cap if you first unzip the front access panel. This gives you more slack for the cover to clear those obstacles.
|
||
 |
||
| After you have the front and both sides of the cover draped off the roof, make your way to the rear. We also opened the rear zipper to give the cover some slack before pulling it over the rear cap. If you can utilize one person on the roof and one on the ground it makes this entire process much easier.
|
||
 |
||
| After the opposite corner is over the rear cap of the coach, move to the ladder side and start climbing down while pulling the remaining corner of the cover with you.
|
||
 |
||
| As you near the bottom of the ladder make sure the cover is completely free and clear of any obstacles and descend the ladder carefully while always keeping one hand securely on the ladder.
|
||
 |
||
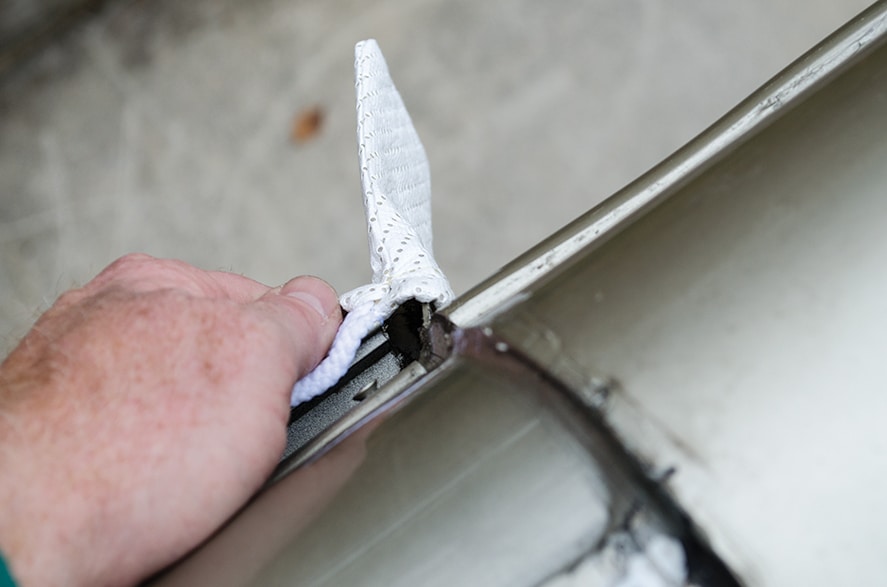
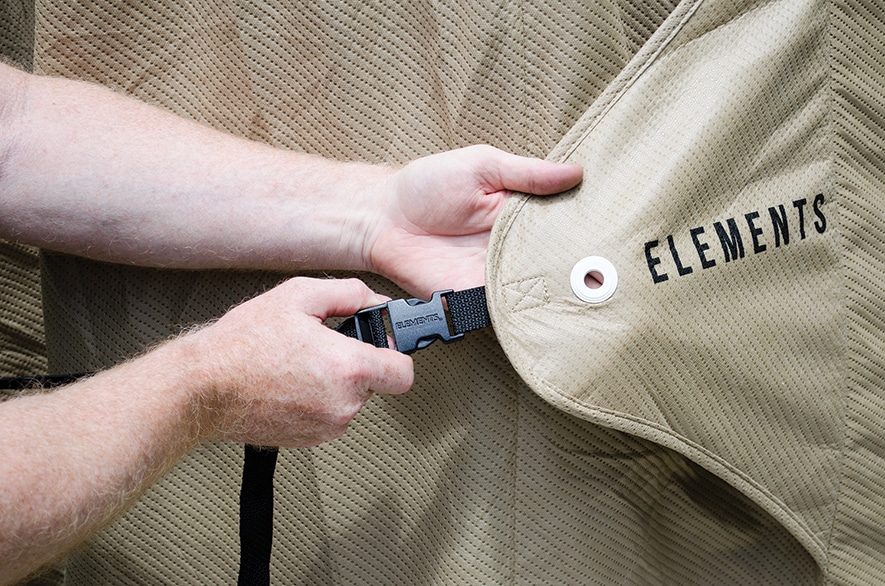
| On the front and rear of the cover are two straps that help tighten and secure the cover. Snap both of them in and pull the straps until they are just snug. If you unzipped the front and rear access panel of the cover, make sure you zip them up before tightening the straps. Here you can see the use of a noncorrosive poly reinforcing grommet.
|
||
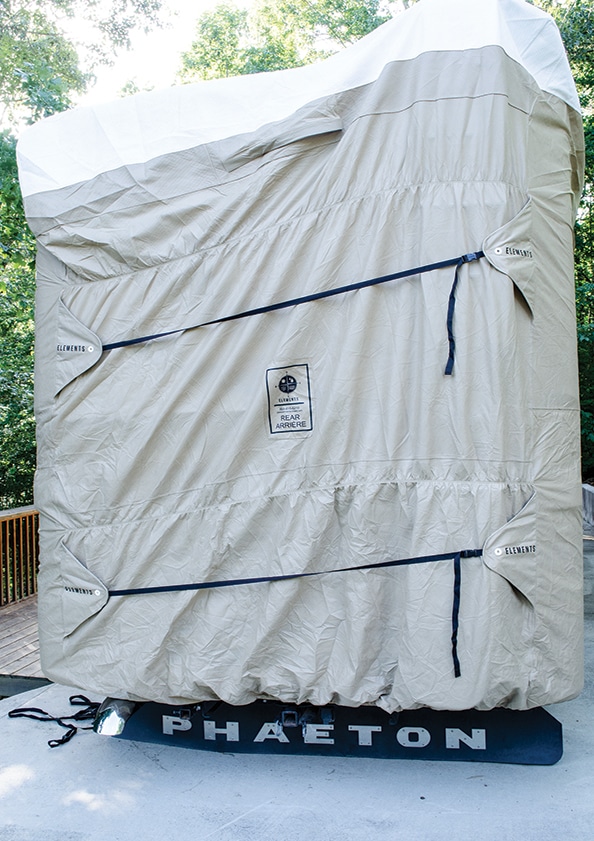 After the straps are properly buckled it should look like this. Don’t worry if the ladder causes the cover to be uneven, this is normal. After the straps are properly buckled it should look like this. Don’t worry if the ladder causes the cover to be uneven, this is normal. |
||
|
|
||
 |
||
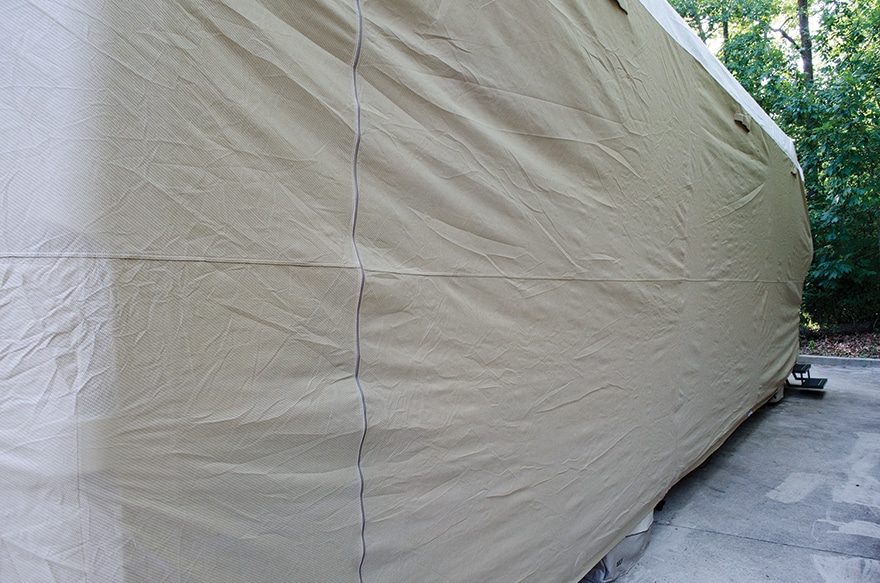
| After the cover is installed properly it should appear like this. Now your coach is completely covered and it will be clean and ready for use next time without the harmful UV damage that often occurs on uncovered motorhomes.
|
This Elements cover is different from other major brands and it offers several major advantages. When compared to other brands, the sides are made from a heavier material to ensure it lasts longer. It also has a heavy-duty Tyvek roof panel that is 10 percent stronger than other brands you may have used in the past. Another major advantage is that the front- and rear-cap fabric is reinforced with elastic inserts. This elastic really makes a big difference in keeping a tight fit. It also has an integral inner panel sewn into the backside of the cover to help prevent it from wearing on the front and rear bumper area. Another advantage we noticed is that the sides extend completely down below the cargo bay doors so the coach is 100 percent covered. For those who need in-and-out entry into the coach while it is covered, the Elements brand has an answer for that. On the entry side there are two full-length zipper panels to allow easy in-and-out privileges. I have used motorhome covers for more than 10 years and this is by far the best one I have ever used.
This particular motorhome is 8 years old and when not in use it is covered about 70 to 80 percent of the time, including the tires. Though the coach is not new, most of the people we meet while traveling think it is. We credit that to taking good care of it with regular washing and waxing and keeping it covered when not in use. UV damage is a factor for anything that is exposed to the sun and your coach is no exception. If you look at the condition of a motorhome that is kept outside and uncovered you will see signs of UV damage. The rubber around the windows starts to get chalky, the tires will show cracks around the sidewall area, and even the paint and trim on the coach will start to deteriorate in just a few years if left unprotected.
Of course if you are a full-timer, covering up is not an option for you, but for those of us who store our coach part of the year, covering them makes a lot of sense. The Elements cover shown here blocks 99.8 percent of UV rays and features three-layer construction to help make it last. Unlike tarps or poly sheets, the fabric in this cover actually breathes to let moisture pass through the material, which eliminates trapped moisture. It also has vented sections on the front, rear and both sides to improve airflow, which will virtually eliminate mold and mildew even when stored for long periods of time. This particular cover also has handy tie-down straps that go under the motorhome to help prevent the cover from flapping in the wind or being blown off during storms.
Another big concern of most owners is getting the cover on the roof and installing it properly. We found that most people who can climb on the roof can also install a cover, so long as they follow the right steps. Climbing a ladder always has risks, so proceed with caution and make sure you have a helper with you in case you need assistance. All you really need is some self-confidence, a good pair of shoes (no flip flops or slip-on shoes) and the desire to protect your coach from the forces of weather.
Installing a cover can usually be done with two people in about 30-45 minutes after you get the process down pat. Follow along as we show you some tips that will make installing a cover a much easier process.
Under Wraps
Help fend off the damaging effects of weather by selecting the right cover for your coach |