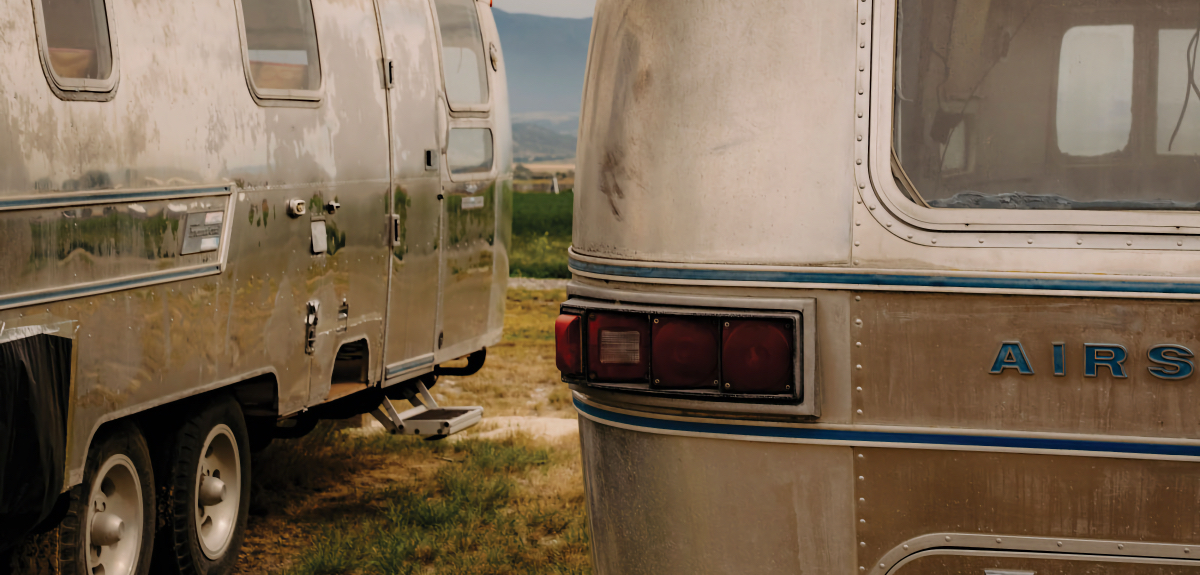
An RV Winterization Checklist
A little care and preventative mainenance now will keep your RV safe in the winter ahead.
Image Caption: Image Courtesy of MAD.vertise/Shutterstock
As winter draws closer, many of us will bid farewell to our faithful traveling companion (FYI: that’s your RV) for a few months. But fear not. Proper RV winterization now will ensure that it’s ready for fun again once the flowers start to bloom in the spring and ensure it will be around for many more springs after that.
The term “winterizing” can mean different things to different people, depending on where you live and how you store your rig at the end of the camping season. If you’re in a sunny southern state and your RV is in a carport next to your house, very little is necessary to prepare it for the off-season. In fact, there may not even be an off-season. On the other hand, off-site storage in cold, wet, windy or otherwise inhospitable climes requires more due diligence to protect your RV from the evils of broken pipes, water intrusion, and other forms of damage.
Below is a list of recommended maintenance and prep that you should adhere to before putting your motorhome or travel trailer away for a long winter’s nap. Check all that apply.

Photo Credit: Amelia Pearn/Getty
Give the Interior a Thorough Cleaning
Sweep, vacuum, scrub, and otherwise clean the inside of your rig. Empty the cabinets and pantry of food and crumbs and check the refrigerator to make sure nothing was left in there either. This will not only make for a fresh-smelling living space when you return for your next trip in the spring, but it will also make your RV less attractive to rodents and insects. Speaking of which, there are a number of recommended, humane ways to keep critters out — from peppermint oil and various potpourris to Kanberra gel, wipes, and spray. Use those for a little extra protection from animal invaders.

Dump the Tanks
You already know you should dump the black and gray tanks, but make sure to flush and drain them thoroughly before putting the vehicle in storage. Depending on how much time you’ve spent in the RV, you may also consider using a gray-water tank cleaning product to prevent odors. Completely drain the freshwater tank using the low-point drain, and open all faucets to evacuate the remaining water in the system. You definitely don’t want any water to freeze in the hoses and pipes over the winter months.
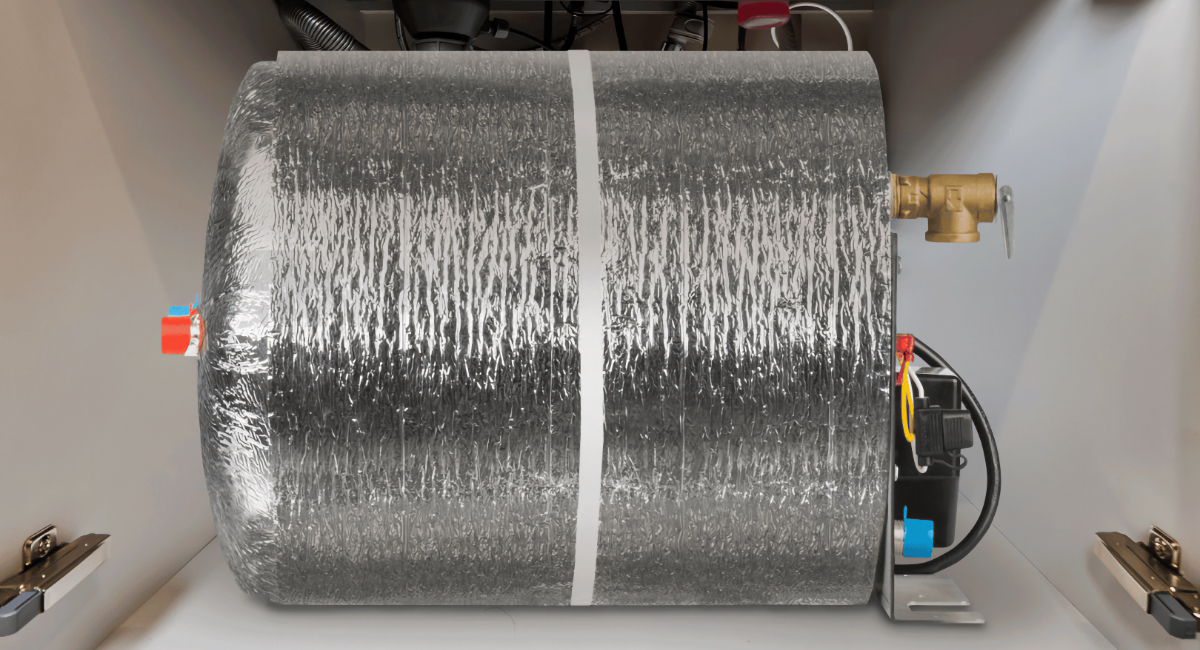
Photo Credit: Dometic
Drain the Water Heater
If the water heater has an anode rod, check its condition and replace it if necessary. In any case, use a flushing wand on the end of a garden hose to remove any rust or debris at the bottom of the tank after draining. Be sure to turn off power to the unit and let it cool down before proceeding. Newer models often have a drain plug that can be opened to let excess water flow out.
Winterize the Plumbing System
If you live in a climate where the RV will be exposed to freezing temperatures consistently, have it winterized by a qualified service center. If you’re a confident DIYer, you can also do this yourself. Just make sure to follow the manufacturer’s directions closely. An improperly winterized system can result in expensive damage from split pipes and broken hoses.

Add Antifreeze
If you run the risk of having your RV exposed to below-freezing temperatures, be sure to put some RV antifreeze in each sink trap, toilet and shower/tub drain. This will help prevent water in these locations from turning to ice and potentially causing significant damage.
Vent the Interior
It may seem counterintuitive, but keep one or more roof vents partially open so air can circulate within the RV. If you don’t intend to cover the rig for the winter, use a roof-vent cover, like those from Maxxair, which will keep rain and snow out while letting air in. If you store your rig in a dry, dusty area, keep the vents open but use a properly fitting, high-quality RV cover to prevent dirt from reach the interior.

Keep the Interior Dry
Most areas experience wet weather during the winter months, so make sure to use some form of desiccant product to remove moisture from the air. If you’re plugged in at your home, leave a dehumidifier running. This will prevent wood cabinets from warping and upholstery and carpet from mildewing. Just be sure to remove the water from the desiccant bucket or humidifier regularly.
Preserve the Batteries
Charge, then disconnect and remove the batteries. Extremely cold or hot temperatures can shorten battery life, so it’s a good idea to store them in a warm, dry place for the winter months. Place the power cells on wooden blocks and attach a maintenance (“trickle”) charger so they’re ready to go when you are.

Photo Credit: Getty
Protect the Tires
Make sure the tires are properly inflated to prevent “flat spots” caused by underinflation. Use tire covers to protect them from ultraviolet rays in sunny areas. Also, keep in mind that tires that sit for extended periods in water or on concrete can rot or crack, so place each tire on a heavy plywood square where it’s dry and can breathe. Better yet, invest in some Park Smart Tire Savers.

Inspect the Exterior
Thoroughly wash the outside of the RV, and if it has a rubber roof, use one of the many available products designed to keep it protected while in storage. Check for any cracks or loose sealant that may allow moisture in, and patch or fill as needed. Basically, you don’t want any moisture getting inside your rig when it isn’t being used for several months.
Keep the Fuel Fresh
If your RV has an onboard generator, be sure to run treated fuel through it prior to closing things down for the winter. Owners of toy haulers equipped with fuel tanks should add fuel stabilizer and fill the tanks to prevent condensation. Fuel stabilizer also prevents corrosion, varnish, and gumming and keeps stuff from growing inside the tank. This is especially important if you’re storing diesel.

Photo Credit: James Adinaro
Top Off the Propane
Give any propane cylinders, as well as mountings, fittings, and hoses, a thorough inspection and close all of the valves for storage. Refill the tanks in the spring so they’re ready to go for a new camping season.

Prevent Pests
Some insects are attracted to the smell of LP gas, which can lead to blocked igniter tubes, valves, and other important parts. Cover the openings to the water heater and refrigerator compartments with RV screens designed to keep out flying pests. Be sure to keep those screens clean and free from debris while in storage.
Schedule Repairs
If the RV requires repairs that need to be completed at an RV service facility, the off-season is the best time to get them done. Those facilities tend to be much less busy in the winter than they are in the spring, which will save you time—and possibly money—when you’re ready to hit the road again. By having your rig serviced in the off-season, you won’t have to deal with any downtime when you do want to travel and camp.

Image Courtesy of Camco
Cover the RV
If your motorhome or travel trailer isn’t stored in a garage, then it is a good idea to invest in an RV cover and skirt to protect it from the elements. This helps prevent snow and ice from getting under the vehicle or even reaching the interior, preventing potential damage in the process. It will also help keep rain, sleet, dirt, and wind from damaging the exterior, keeping the RV looking—and performing—great after it comes out of its long winter nap.
That’s our list of the most important things you should do to winterize your RV. Taking these steps will ensure it goes into storage in good condition and is ready for use when the weather starts to warm back up. Proper maintenance and care will also add years to the life of your vehicle and save you money in the long run. A little TLC now means your motorhome or trailer will be ready to go for many adventures to come.

Kraig Becker is a writer in the RV, outdoors, and adventure travel space. Over the course of his career he has contributed to such outlets as Popular Mechanics, Outside Online, Business Insider, TripSavvy, Digital Trends, GearJunkie, The Adventure Blog, and countless others. An avid runner and cyclist, he enjoys camping, hiking, mountain biking, kayaking, and just about any other outdoor activity. His travels have taken him to seven continents and on many amazing adventures.