Tech Q&A — January, 2023
Tire Talk, Adding Solar Power, a Frosty Fridge, Keyless Entry, and Tank Troubles
Image Caption:
Tired of Blowouts
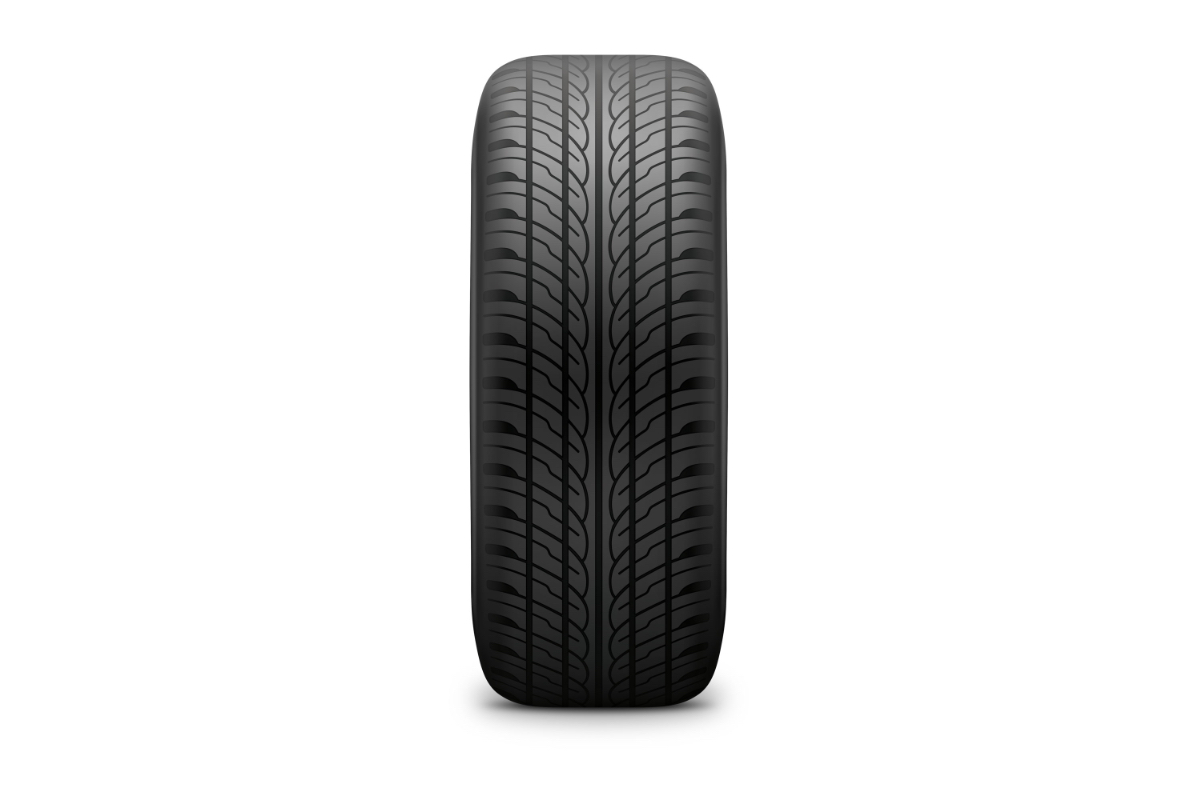
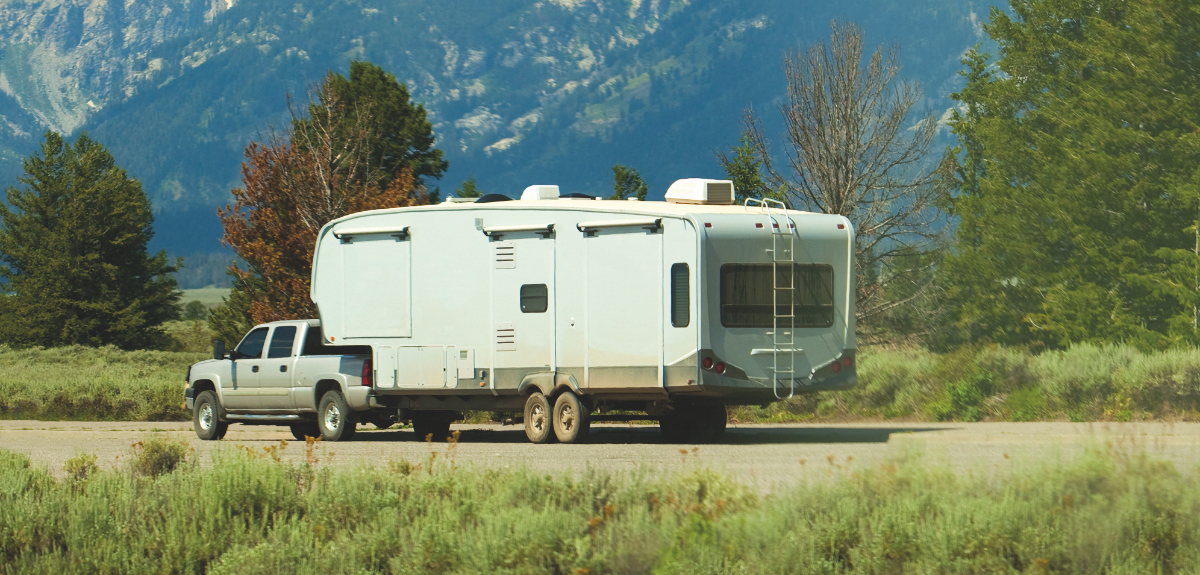
Q: There have been numerous blowouts of my RV’s ST225/75R15 tires across 20,000 miles while towing my 9,500-pound GVWR Open Range model 18UF2910RL fifth-wheel. The most recent cost $8,800 in repair. Thus, I was all set to swap out the wheels and ST tires for light-truck tires. But I’ve been told that the Goodyear Endurance ST tires if treated properly, will not blow out or suffer tread separation, which is what causes the damage.
When outfitted for a trip, my Open Range’s trailer axle weight, as measured by a CAT scale, is 7,140 pounds. Because it is a dual axle, each tire then carries about 1,785 pounds. Goodyear recommends that for the Endurance ST tire with an E rating and a max pressure of 80 psi, the tire would need only 40 psi. I would never feel comfortable with that low pressure.
I have been inflating the non-Endurance (Carlisle, Westlake, Max Tow) E-rated tires to 75 psi cold, as stated on their sidewalls, with “cold” being whatever the ambient temperature is in the morning—whether it’s 40º F or 85º F. I have seen the TPMS reporting pressures of 83 psi when towing on a hot day. I have been buying Endurance tires as the non-Endurance tires blow or wear out, so I only need to buy one more to have a full set of four. That appeals to me as opposed to five new wheels and light-truck tires. One Endurance tire is one-tenth the cost of five wheels and tires.
Is my RV suffering blowouts (of non-Endurance tires) because tire pressure is too high, especially on hot days? I’ve been fanatical about keeping cold pressure at 75 psi. Maybe that’s not such a good idea. Have Endurance STs been around long enough that we know from experience that they don’t blow out any more frequently than light-truck tires?
—Bill Wessale, Spring Branch, Texas
A: Endurance ST tires are made in the USA and have a good reputation. Most of the other ST trailer tires are made overseas in Asia and have poor reputations. I doubt that running 75 psi caused the failures unless the tires were C or D-rated. Tires are designed with a safety margin above maximum inflation pressure to allow for increased pressure due to warm-up.
I would run the Endurance ST tires on my own trailer. They’re good tires, but any tire can have a blowout, even Goodyears. The 40-psi pressure you quoted is correct for that load on that tire. Goodyear has legal liability with its load inflation tables and wouldn’t provide information that would cause failures. If you are concerned about excess hot pressure, run a bit more than the pressure recommended for the weight you have, based on the weight/inflation chart for the specific tire you are running, but stay below max inflation. When I stop after highway driving, I make it a habit to get out of the cab quickly and place my hand on the tire treads to feel how hot they are. An inexpensive infrared digital thermometer can also provide detailed temperature information.
Don’t forget to have your trailer tires balanced. It’s a good idea for the same reason it’s a good idea for your tow rig. If a tire shop says they shouldn’t or don’t need to be balanced, they’re wrong. Go ahead and balance them anyway and it will improve tire durability and save some wear and tear on the trailer.

Photo Credit: Getty
Tires During Storage
Q: Do you recommend jacking up trailer axles to keep tires off the ground during winter storage if the trailer is parked on concrete? I have gotten a range of answers to this question, from “Don’t do anything” to “Remove and store the tires.” Lance, the maker of my trailer, specifically suggests not jacking up on the frame but on the axles. However, that does not take any load off the torsion suspension. If the trailer is not jacked up, do you see any benefit to putting an insulator, such as wood,between the tires and the concrete driveway?
—Brian Sack, Middleton, Idaho
A: Yes, it’s best to take the weight off the tires during storage, regardless of what surface they are on. Leaving weight on tires causes flat spots, and if the tires go flat due to slow air loss and are left that way unnoticed, they will be ruined. Manufacturers are concerned that their coaches will be jacked up improperly and unevenly, which may stress or damage axles and frames, etc. It’s where you jack it up by the frame that matters. The frame between tandem torsion axles is a heavily reinforced area that can be used to lift the axles off the ground. Torsion axles should be lifted by this reinforced area. Jacking up by the frame away from the axle(s) can stress the frame. (Leaf-spring axles can be safely lifted under the U-bolt plates out near the wheels. Never lift them at the middle of the axle.)
It’s also good to support the frame evenly with jack stands instead of leaving the weight on the springs. Removing the wheels and tires and storing them out of the weather is ideal but covering them with tire covers is the next best thing. If you must park for an extended period on pavement, at the very least, place a barrier board under each tire (some RVers use inexpensive plastic cutting boards). The under-tire board helps block moisture from wicking up into the tire rubber, so something that’s waterproof, such as plastic or metal, is ideal and an even better choice than a piece of wood.
Solar Add-On
Q: We are new to RVing. I was very interested to see the article on solar power in the October 2022 issue. We have a 2021 Keystone Bullet Crossfire travel trailer that was solar-prepped at the factory, but it does not have panels. I understand that there is a Zamp connector, but I have no idea what that means. Keystone has not responded to my emails and the dealer only further confused me when I asked him these questions: Can I simply buy a solar panel and plug it into the Zamp connector? Do I have to worry about overcharging the battery? Should I buy a different battery if I do use solar?
My goal is nothing other than to recharge the supplied battery in order to extend boondocking capabilities using 12-volt-DC-powered components such as lights, the refrigerator, and water-heater controls, plus some USB ports.
—Jan Rasimowicz, Woodbridge, New Jersey
A: Zamp is a brand of solar controllers and accessories, and the connectors are quite common. Your RV dealer parts and service personnel should know that and be more helpful. You must use a solar controller, but you don’t have to change batteries unless you want more power storage capacity. If you just want to recharge the battery to extend your stay, try adding about 100 watts of solar panels along with a solar controller using the existing battery.
The plug on the side of your trailer, sometimes labeled “Solar on the Side,” is designed to accept the output plug from one of the portable solar-panel sets available from Zamp, Go Power!, and others. Those portable solar panels include a charge controller to regulate the voltage, so all you need to do is plug in the panels, and you’re off to the races. No other RV modification is necessary.
Check out the video above for more information.
Frosty Fridge
Q: I have a Jayco fifth-wheel trailer. The fridge gets cold, the aluminum fins inside get cold and frosted, but the fridge’s ceiling drips water. My Jayco dealer says I can’t get a door seal for it and have to get a new door with a seal. But I’m not sure if that’s the problem. Any suggestions?
—Rejean Ayotte, Feeding Hills, Massachusetts
A: To determine if the door gasket is leaking, take a piece of paper (or a dollar bill) and close it in the door gasket, then see if it is clamped firmly or fits loosely. Do this repeatedly, all around the gasket. If you find loose areas, that’s where the leak is. Carefully inspect the gasket sealing surfaces to see if the gasket is damaged, pulled loose, or the door is misaligned or adjusted wrong.
You didn’t mention what model fridge you have, so I can’t assist in finding parts. And you don’t need to buy a complete door, the seal is almost always available separately; you just may need to search for it.
Extending AGM House-Battery Life
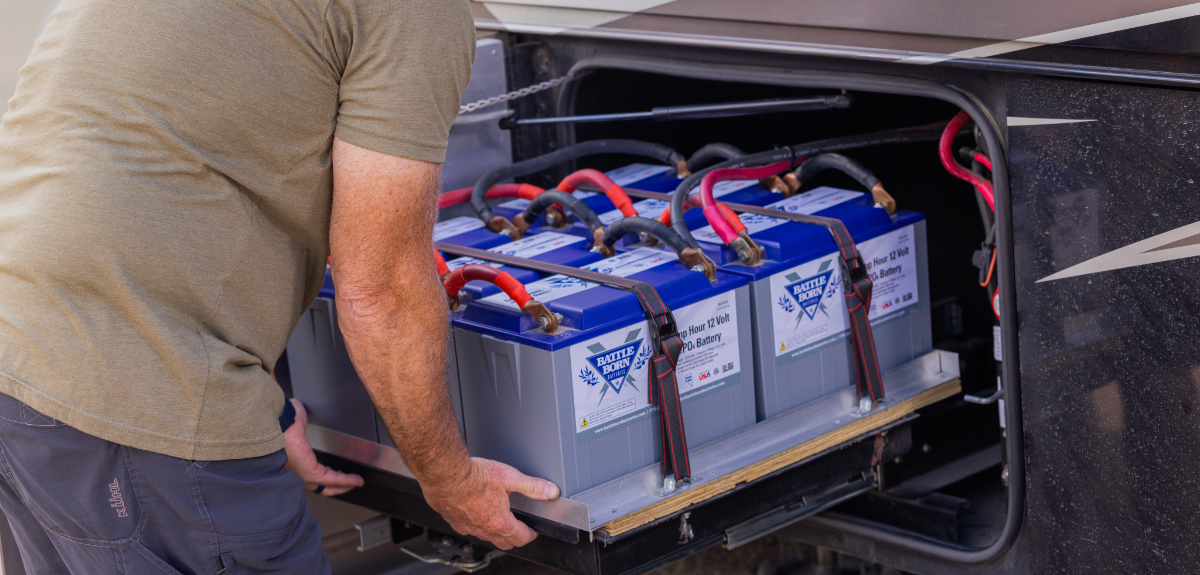
Q: I recently had to replace the house batteries (six 12-volt AGM) on my Winnebago Journey after only about 3-1/2 years. We rarely camp without hookups, so they are used mostly in transit to power a residential fridge and a few other accessories. Then we plug into 50-amp service at our destination.
During storage, I start and run the coach every month or so up and down the interstate before returning it to storage. Until recently, power was unavailable at our covered storage site, but now 30-amp is available. I’ve not used a maintenance charger, but I read elsewhere that, yes, I need to watch and track how they draw down and charge for approximately a week out of every four to keep them in top shape. I was thinking I could do that with the 30-amp service, I can now access where I store the coach. Would the onboard inverter serve as a trickle charger for the house batteries on 30-amp service?
I’ve had regular wet-cell, lead-acid house batteries last twice as long in another coach, although those were 6-volt. Is there an optimum way to use these types of batteries to get a longer service life?
—David Waye, Richmond, Virginia
A: Golf cart 6-volt batteries are tough and long-lasting and give a lot of bang for the buck. The residential refrigerator uses a lot of electricity and is probably the culprit in your RV’s battery problem. Have you paid attention to how deeply the batteries have been discharged? Drawing them down below 50% charge, or leaving them in a discharged state even overnight, can seriously weaken or ruin them. Carefully monitor battery charge level routinely.
A trickle charger that includes a variable-rate feature is a good idea, though you might need two or three for that many batteries. The best bet is a “smart” maintenance charger that adjusts the charge to what the batteries need, with a float mode for storage. Check the onboard inverter to see if it includes a “smart” charging function.
You didn’t mention what model-year coach you have, but I believe the Journey has a smart-charging function. If it does, use that. Otherwise, use a maintenance charger designed for six 12-volt batteries, such as a Battery Tender multiple chargers. Charging should be the same regardless of whether you are plugged into a 30-amp or 50-amp 120-volt outlet.
Freshwater Tank Overflows
Q: My RV’s freshwater tank overflows when I am hooked up to a water faucet. What causes this to happen?
—Joe Allen, New Braunfels, Texas
A: You didn’t mention what make and model RV you have. There may be a manual selector valve to direct water into the water system or tank. Check for that. Do you have the owner’s manual? And you’re sure you’re connected to the city water inlet port instead of the freshwater fill for the holding tank?
Quite often, this problem is caused by small debris in the one-way check valve, causing it to stick open. It may be located in or adjacent to the electric onboard water pump. It needs to be cleaned out or replaced. Watch the video above for more information on how to fix this issue.
Lithium Battery Upgrade Requirements
Q: We have a 2019 Forest River Sunseeker 3010D Class C motorhome. I’m considering changing over to lithium coach batteries. Besides changing the actual batteries, what other accessories are needed?
—Frank Roehl, Southern Pines, North Carolina
A: Check the power converter/inverter to see if it has a lithium battery charging setting. If it does, you’ll need to select that setting. If not, change the converter. If you have solar panels, make sure the solar voltage regulator has a lithium setting. If they don’t, you should upgrade these items. The alternator won’t be able to fully charge the lithium batteries due to the voltage regulator setting, so you’ll have to depend on the converter and/or solar charging.
Once you drill down to a battery style and manufacturer, that company will have conversion information available to help you make a successful lithium battery installation. They want their customers to enjoy the successful use of their products.
Freshwater Filling Foible
Q: My girlfriend and I recently purchased a Grand Design Reflection 150 series 230RL. We love the trailer, it’s an upgrade from our previous 20-foot travel trailer. Our one problem with the trailer is filling the freshwater tank for dry camping. The trailer is equipped with the Nautilus P1 system. The only way to get water into it is to pressure fill through the Nautilus system. There is nothing on the outside of the trailer to fill like on our old trailer.
Each time we’ve tried to fill the freshwater tank for boondocking (even with my girlfriend watching the indicator on the panel inside), immediately when it reaches full, the tank begins to drain out the overflow. By the time we arrive at our destination, the freshwater tank is empty. Any ideas on how to remedy this so we can keep the tank full for use?
—Jim Carlier, Calimesa, California
A: To fill the freshwater tank with city water, turn the white knob to the right, the blue knob to the left, the red knob up, and the green knob to the right. The YouTube video above describes how to use your Nautilus system.
Once you fill the tank, it will start to overflow. You may also need to extend the overflow outlet higher on the coach, or extend the line up, then back via a U-turn fitting to create, in effect, an inverted P-trap to avoid having the water slosh out while driving. The RV manufacturers apparently haven’t figured out how to do that yet, so it’s often up to the end user to correct the poor design from the factory.
Reader Comment: Lockset Keys
I’m addressing Michael Landry’s comments on RV locksets in the October 2022 issue. Another problem is many of the compartment locks use the same key. I’ve found since, in talking to other RVers, there seems to be only “one key fits all.” Our 2017 Forest River Forester keys opened compartments on two different Keystone trailers.
Yet another problem is that so many RV brands use TriMark keyed locksets for these doors. After two failed locks within four years, I gave up. I ordered an RVLock brand keyless-entry door handle, which fit the hole in the door almost exactly (needed a little filing).
Now we always leave our keys in the motorhome because the RVLock needs only a code to open. Yes, we do need to beware of dead batteries, so we replace them each spring. We just don’t want to walk to the pool or lake with a set of keys in a pocket. The RVLock includes a remote fob, and it cost $250 (versus $125 for the standard replacement TriMark lockset).
—Kevin Kiefer, Gardnerville, Nevada
Thanks for sharing your experience, Kevin. This should help a lot of readers. I would still consider hiding an entry key somewhere around the rig, just in case dead batteries leave an RVer locked out.
Have a Question?
Looking for answers on all things RV, including systems, engines, accessories, or construction? Submit it to our expert at [email protected], and it may be selected for publication. You must include your name, city and state, phone number (will not be published), and type and model of your RV.


