Rigs + Gear: A Long Winter’s Nap
Put Your RV to Bed this Season with These Simple Tips
Image Caption: Photo Credit: James Adinaro
For many RVers, the arrival of winter means, sadly, putting the rig away until the return of warmer weather. But it’s not a park-it-and-forget-it procedure. The best-known part of winterizing—the process of getting your rig ready for hibernation—involves removing the water from your RV’s water system so it won’t experience any damage from freezing plumbing. That’s certainly very important, but there are several other aspects of winterizing you should pay attention to. Let’s hit the highlights …
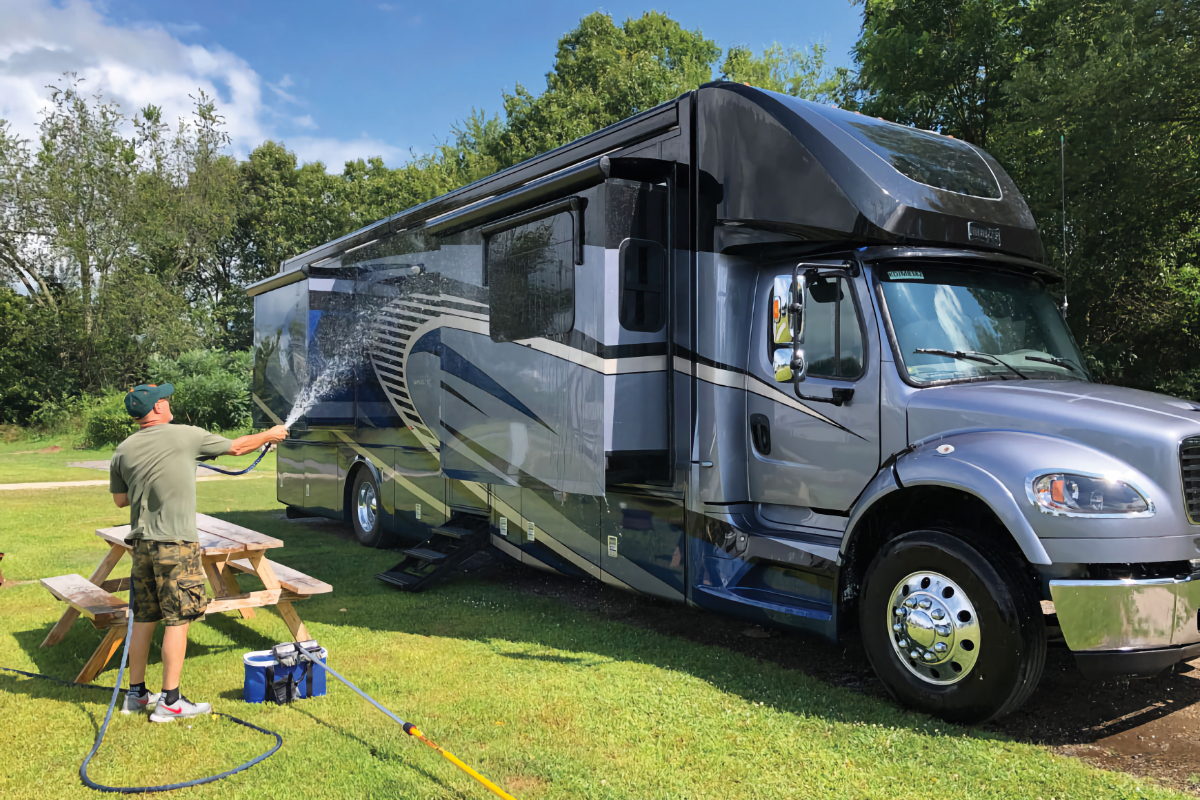
Photo Credit: James Adinaro
Clean Up Your Act
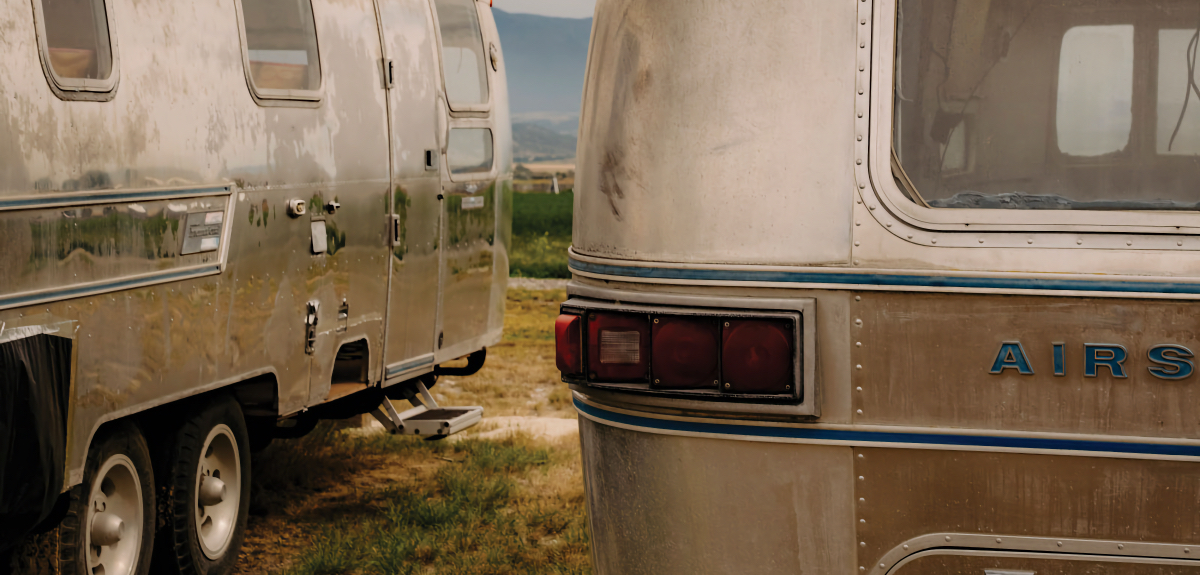
Any winterization process should begin with a thorough cleaning of (at minimum) the RV’s exterior. There’s no magic to the cleaning, just the usual application of elbow grease and the appropriate products. There are many RV-specific cleaners designed to be safe for exterior paint or fiberglass surfaces, window seals and moldings, and so on.
Start with a thorough washing, then apply wax to help protect the finish. This up-close-and-personal time with your RV’s exterior is also an excellent time to keep an eye open for any defects or damage that need to be taken care of.
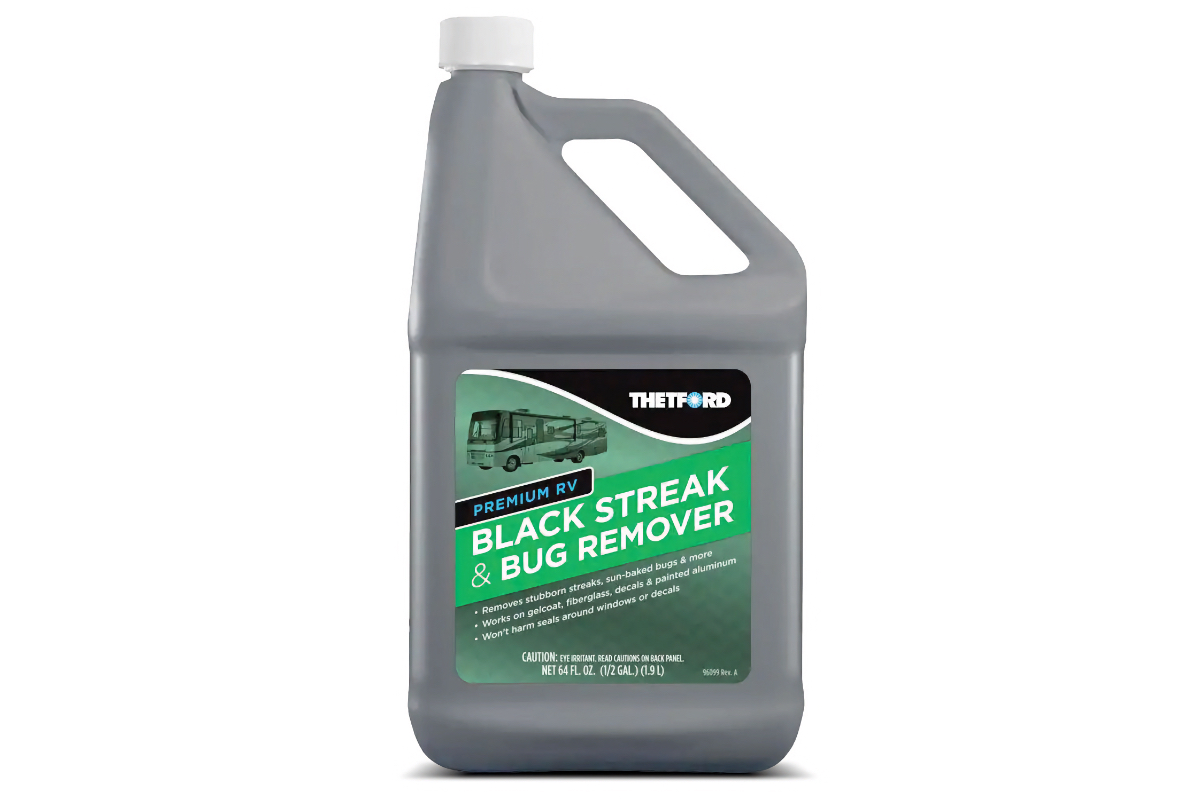
Photo Credit: Thetford
And don’t forget to clean the roof using a detergent designed for your RV’s roof material. Fiberglass, aluminum, EPDM rubber, or other roof surfaces all have their appropriate cleaners available. While you’re up there its a good time to be inspecting the sealants around roof components like roof vents. Sealants are addressed a bit later in this article.
A thorough interior cleaning will pay big dividends when you reopen the RV in the spring. Vacuum all the fabric surfaces and maybe even use an upholstery cleaner on them. Wipe down all hard surfaces, including the ceiling and walls with a disinfecting cleaner and especially clean the refrigerator’s interior. Once the fridge is clean, keep the doors propped open to prevent mold from growing inside. There are simple gadgets available for this. Any surface that can harbor bacteria can become a monster by the spring so clean in the fall and you’ll be glad you did.
Water System
This is arguably the most important step in winterization. The exact steps to winterize your rig will be found in the owner’s manual. It will tell you what drains where, which valves to flip, where those valves are located, and the order in which to do things. In broad terms, there are three ways to approach winterization:
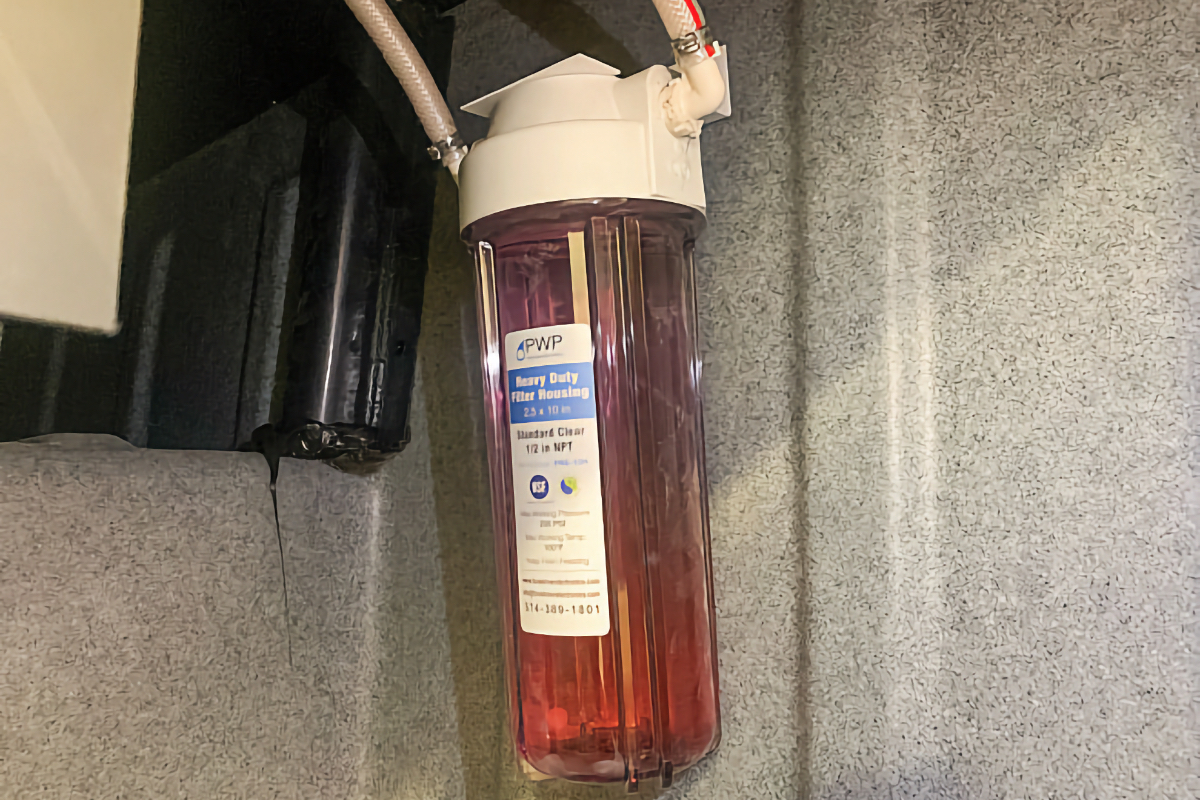
Photo Credit: James Adinaro
The Pink Stuff
The first and most well-known way to winterize the water system involves removing the water from your RV’s plumbing and replacing it with a nontoxic RV antifreeze, which is usually pink. You can complete this process yourself with nothing more than a few gallons of antifreeze and the RV’s onboard water pump. Drain all the water from the rig, remove any water filters, switch some valves (to avoid filling the water heater with expensive antifreeze), bypass the freshwater tank, and use the short winterizing hose to siphon antifreeze out of a jug and pump it through all the fixtures of the RV’s plumbing system. This “winterizing hose” and appropriate valving are usually included on new RVs and are relatively easy to add to an existing model.
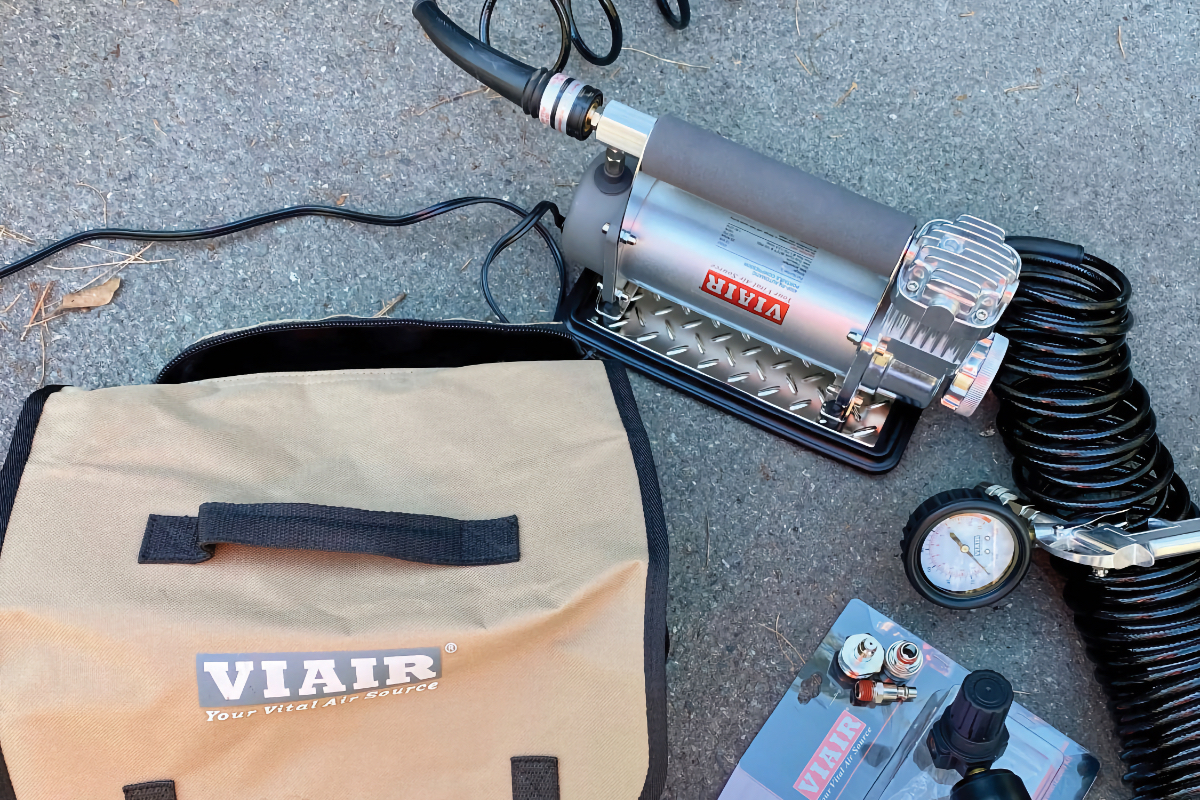
Photo Credit: James Adinaro
Compressed Air
Another way to winterize the water system uses compressed air to blow all the water out of the RV’s plumbing. By forcing all the water out, there’s nothing to freeze, and the RV shouldn’t experience any damage. This approach requires a capable air compressor with a filter, a pressure regulator, an adapter to connect the compressed air to the plumbing system, and attention to detail. It starts the same way by draining the water system and removing any water filters. You then run the compressed air through each of the RV’s fixtures, which forces the water out.
Florida
The third alternative is to simply drive your rig to someplace where it can’t freeze. Beyond the drive, there’s no special care required. Mostly, this method just makes me jealous because I haven’t been able to try it. Many call this method snowbirding.
Florida aside, whichever method you choose, you’ll need to pay attention to a few things. First: It’s important to winterize ALL other RV’s water fixtures. Sinks and showers are obvious, but you’ll also need to pay attention to toilets, refrigerator ice makers, and outdoor hose and shower connections, to name a few. Also, you’ll need to pay attention to the black- and gray-water systems by completely draining them of water and adding a bit of RV antifreeze (to protect any drain traps) as insurance. A bit of antifreeze in the holding tanks also helps protect the gate valves and keeps the seals from drying out.

Photo Credit: Getty
The advantages of the pink antifreeze method are that it’s pretty foolproof—since the pink liquid is easy to spot—and that it’s easy to winterize all the parts of the RV’s water system just by using the onboard water pump (which is also winterized in the process). The downside to the antifreeze method is that you have to buy more antifreeze, and there’s a good amount of rinsing required to get the freshwater system back in shape for use. (the pink antifreeze is nontoxic, but it will taste funny if you don’t rinse it out completely.)
The compressed-air method doesn’t put antifreeze in the RV’s water lines, so you don’t have to rinse it out to use the rig again. For campers who take their rigs out in the winter, as we do, this is certainly easier than standing in the snow and rinsing out the plumbing system multiple times before each trip. The disadvantages of this method are that it requires special equipment, and it could be easy to miss something, like getting all the water out of the RV’s water pump. A mistake could cost you plenty. This is the only way I’ve ever winterized our RV, and despite a decade of wintering in northern Utah with temperatures well below freezing, I’ve never had a mishap.
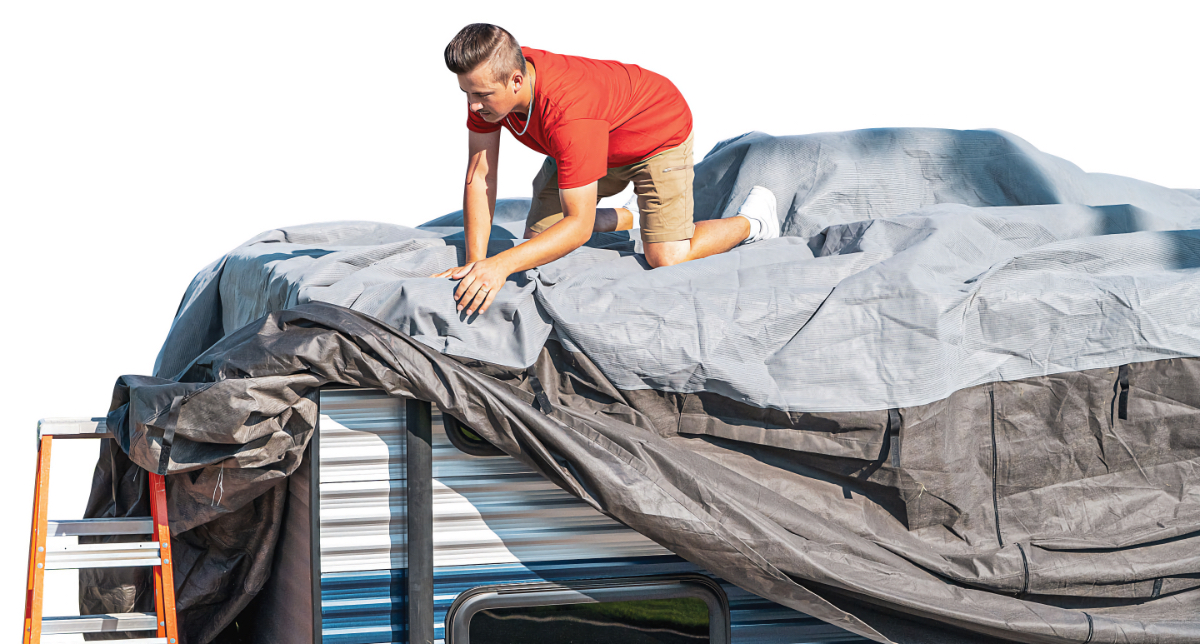
RV Covers
In an ideal world, we’d all have giant heated garages with 15-foot-high doors, and we could just park our rigs inside them. Back here on Earth, not everyone has that luxury, but we all still need a way to protect our RVs from the elements while they’re in storage. Moisture, bird droppings, UV damage (even in the winter), leaves, and tree debris …they can all stain or damage your RV’s exterior while it’s in storage. An RV cover is your best defense.
There are a lot to choose from (check out campingworld.com), so please do get a cover specifically made for RVs, and don’t just throw a plastic tarp over your rig. Plastic tarps can trap moisture inside and ultimately create as many problems as they solve. Dedicated RV covers will be breathable. Another bonus: A dedicated RV cover will have a door flap so you can access your RV while it’s in storage without unwrapping the whole thing. Finally, you’ll want the cover to fit tightly, so make sure to get one properly sized for your rig.
Quick Tip: RV covers help extend the life of your RV, so it makes sense to try to extend the life of your RV cover as well. Before installing an RV cover, make sure to first mitigate any sharp edges on your RV itself: Rain gutters, antennae, and other sharp protrusions can tear holes in the RV cover if you’re not careful.
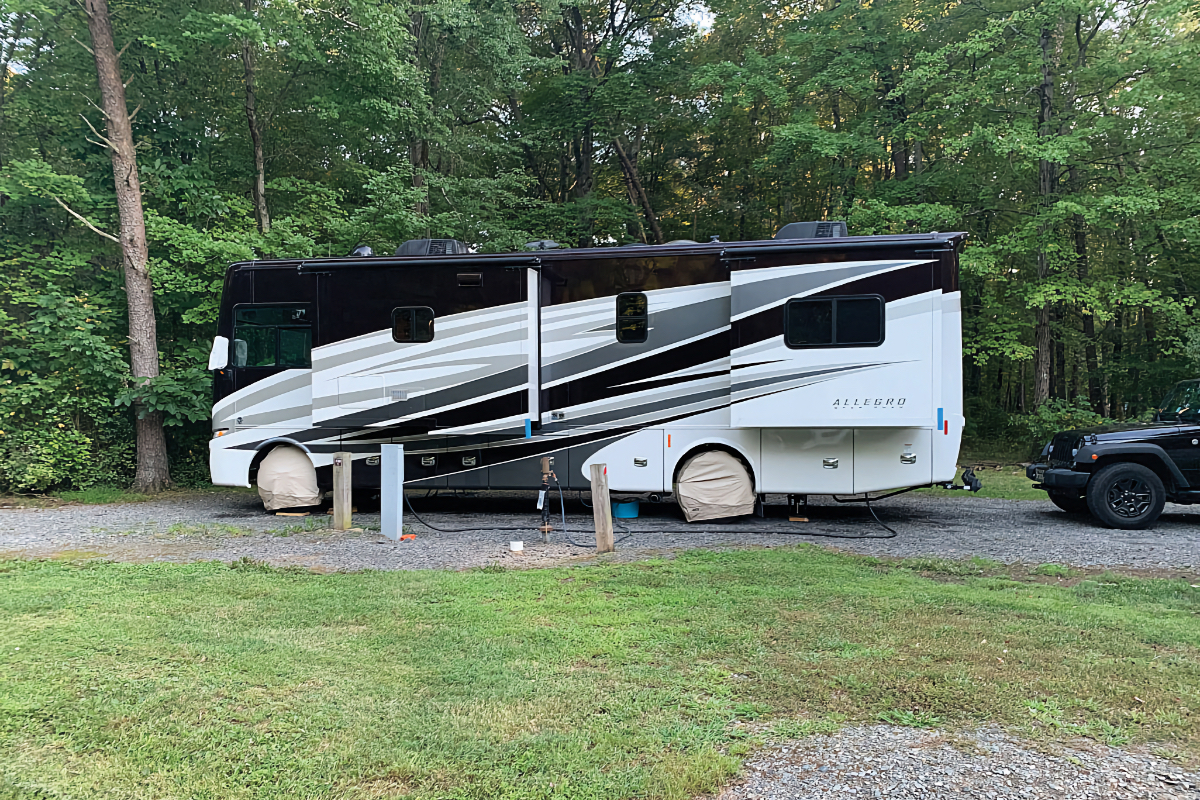
Photo Credit: Donya Carlson
Tires
Since the whole RV is riding on its tires, it makes sense to pay a little attention to them when putting your RV away for the winter. The absolute least you should do is to properly inflate the tires before putting your rig in storage. But remember that when the tires get dead-of-winter cold, they will naturally lose pressure. Continental, for example, recommends increasing the normal inflation pressure before storage but NEVER going above the maximum recommended cold-inflation pressure on the sidewall of the tires.
Do pay attention to where you park your RV and try to avoid parking it on soft earth or where there’s standing water it will degrade the tires over time. If you can’t avoid parking on soft earth, put down some water-impervious pads or a vapor barrier. Inexpensive plastic kitchen cutting boards are a popular option for this purpose. Taking things to the next level would have you protect against tire flat-spotting by placing the RV on jack stands for storage. While some recommend against this due to the alleged stress it can place on other parts of the chassis, tire manufacturers encourage and, in fact, recommend it. Michelin advises, “If tires are on a vehicle parked for a long period, the weight of the vehicle needs to be taken off the tires by jacking it up or removing the tires.”
Finally, there are tire covers. Many RVers use these during the summer months, but they can provide important protection against UV rays during winter storage as well. Here, as with RV covers, you’ll want to get something made specifically for tires. You can also apply a non-petroleum-based liquid protectant for further UV and rubber degradation insurance.
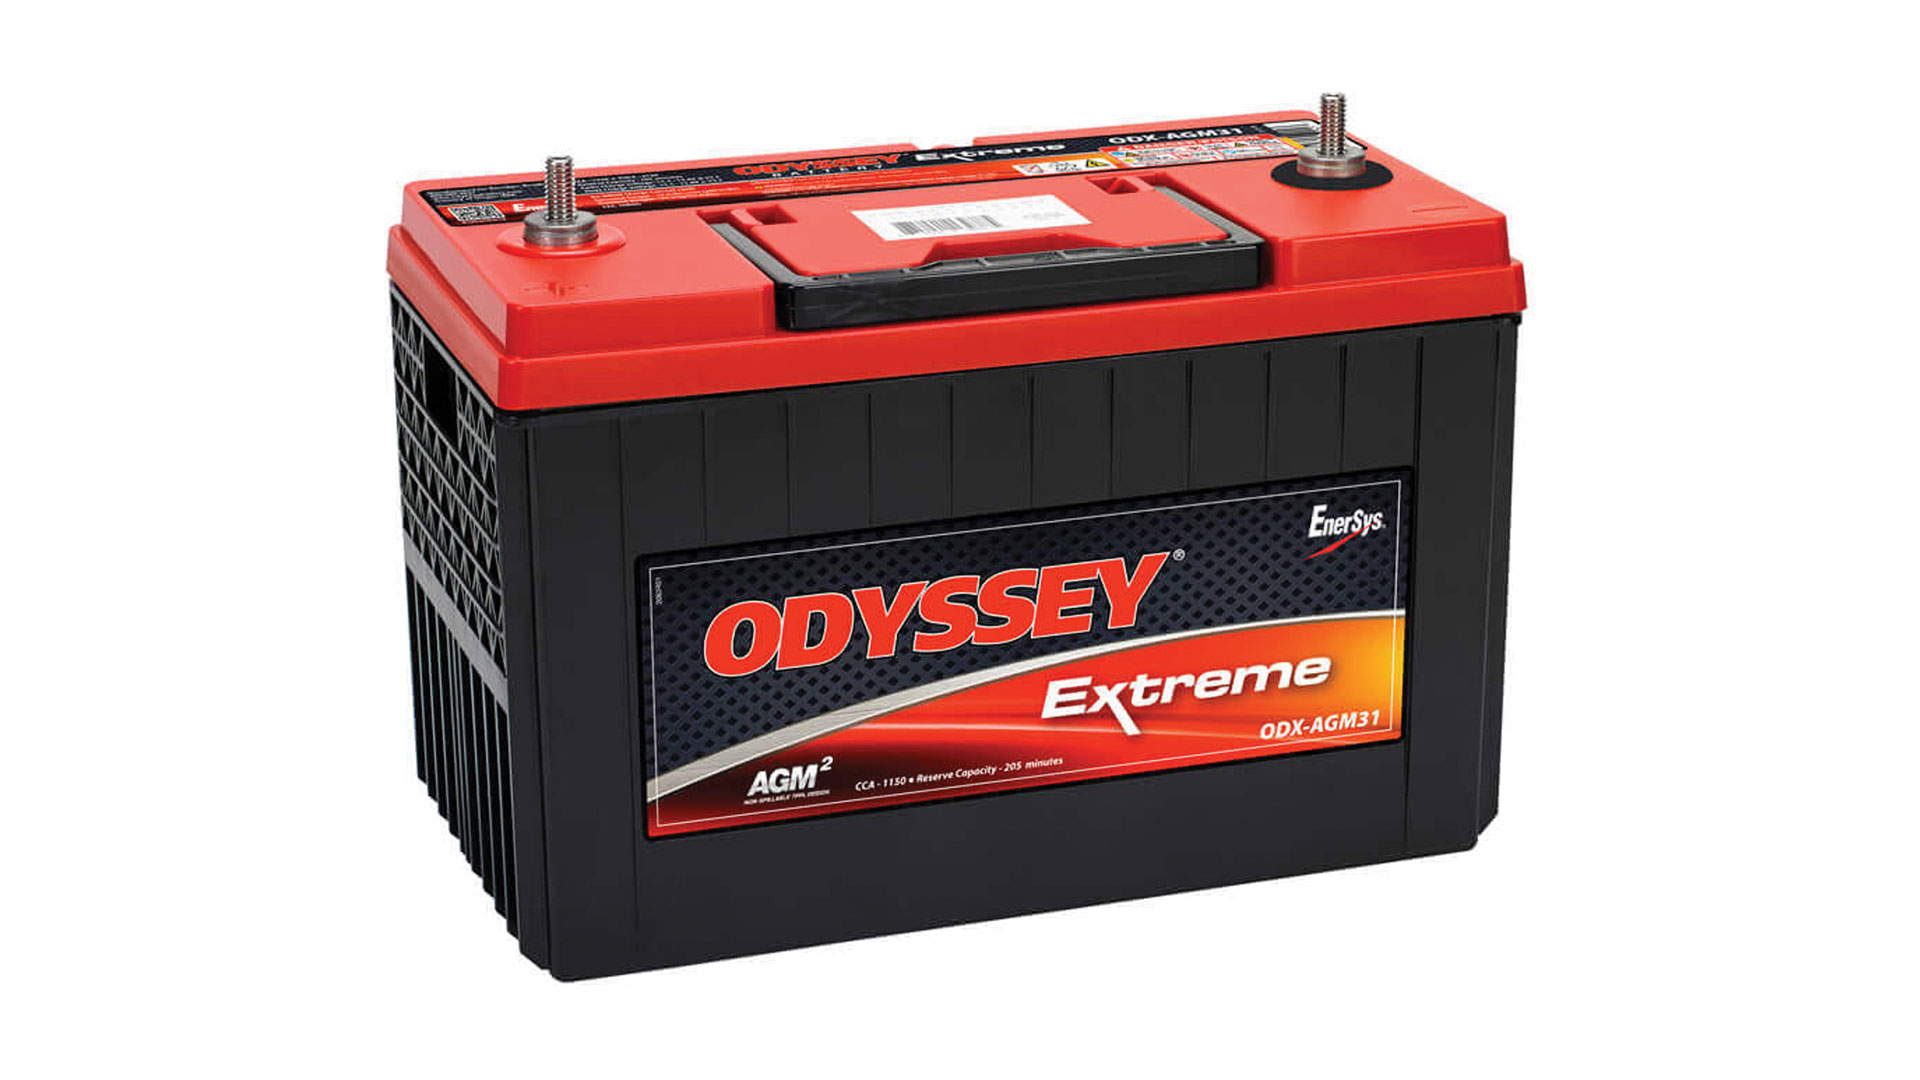
Photo Credit: Odyssey Battery
Batteries
RV batteries are expensive and can degrade if you don’t care for them properly. Storing them appropriately in the winter is a crucial part of the battery care regimen. Lead-acid batteries should be fully charged and disconnected. Remove them from the RV and store them in a cool but not freezing and dry place. While they’re in storage, check the charge every 60 days or so and charge them if they get below 70% or roughly 12.4 volts charge. The use of a trickle-type battery tender is also a good step.
Lithium batteries are also a popular choice, and they require different storage handling. The storage procedures for lithium batteries vary by manufacturer and will be found in their manuals. Lithionics Battery, as an example, suggests leaving the batteries on and maintained with solar or an appropriate battery charger. For batteries that have internal heaters, that’s all that’s required. If that isn’t practical, then they recommend discharging to about 50%, turning them off, and then following a charge-and-storage temperature schedule based on how long they’re stored.
Stop Your Engines!
If your RV is a motorhome, and you plan to store it for the winter, it’s a good idea to add a fuel stabilizer before putting it into storage. Gasoline, in particular, can start to go bad in as little as three months. Diesel will last longer but could still be subject to gelling or algae growth over time. Fuel stabilizers are additives that will combat fuel breakdown, and they’re simple to use. Just select a stabilizer that’s compatible with your vehicle and fuel type, add it to the tank, top off with fuel, and then run the engine a bit to get the treated fuel throughout.
Both motorhome and towable owners will want to pay attention to this if they have a generator. A gasoline- or diesel-powered generator can have its fuel go bad just as any other engine would.
Finally, any engine would benefit from an oil and filter change before storage. The oil and filter collect soot and impurities over time, and there’s just no point in storing those so they can spend the winter corroding the engine.
Critters
We RV with a cat, so we’ve always been 100% critter-free when RVing. I don’t think our cat is a particularly skillful hunter, mind you. I just think the critters can smell him and think the better of trying to get inside. But putting our RV into storage requires us to pay a bit more attention to keep it free of unwanted guests. Rodents, especially, can cause a lot of damage by gnawing wires, chewing through things, making nests, and leaving droppings everywhere. You don’t want this.
The bare minimum you need to do for critter prevention is to thoroughly clean the inside of your RV and remove all traces of food from the inside. The idea is to not provide any motivation for critters to come inside. It’s also a good idea to remove any towels, linens, or bedding, anything that could be used to make a nest for rodents to keep warm.
Another good idea is to check underneath the RV for any place animals might squeeze through to gain entry. If you find gaps, seal them with brass wool (it doesn’t rust like steel wool) or with an expanding foam sealant. I don’t particularly enjoy poisons or traps inside the RV, but placing them outside, near parts in contact with the ground, can be a good strategy where rodents are known to be a problem—so long as other animals can’t gain access to them.
Seals and Sealants
When putting your RV away for the winter, it’s easy to overlook the seals and sealants because they’re mostly on your RV’s roof. But don’t neglect this important step when winterizing. A minor leak or gap in the RV’s roof sealant is one thing … but a leak that’s had snow melting and freezing on top of it for months can easily become a catastrophe.
So, a sealant checkup before storage is just smart. Start by thoroughly washing and drying the RV as previously discussed. Then closely inspect all the sealants on the RV, checking for cracks, gaps, or separation. In many cases, you can apply new sealant directly over the old, making sure you’re applying a compatible sealant, of course.
This is by no means a comprehensive list of the steps needed for winterization but should get you off to a great start to protect your RV from the elements during the cold winter months.