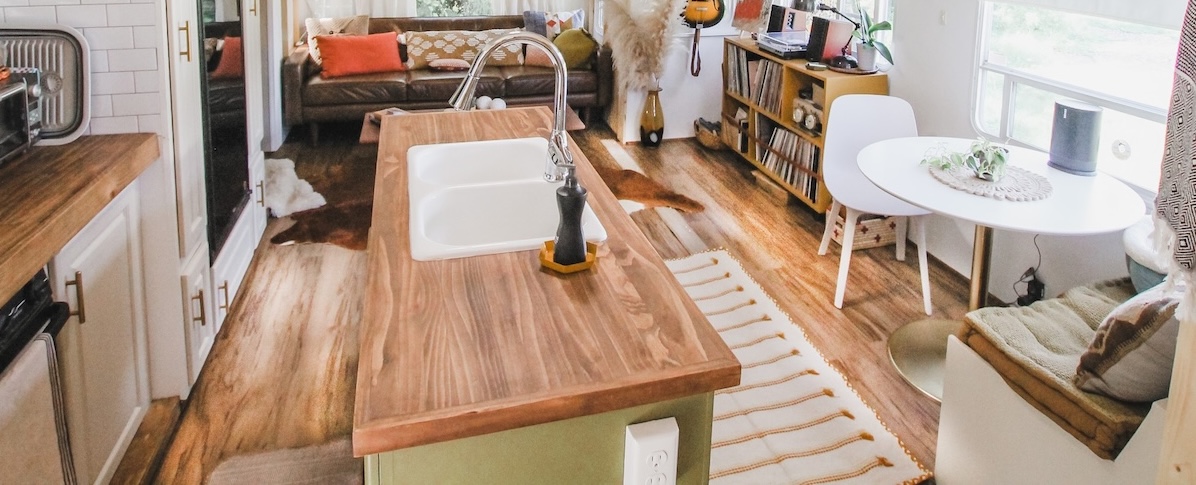
RV Mod Made Easy: DIY Bunks
Here's How a Family of Full-Timers Transformed the Sofa-Bed Slide Area of Their Fifth-Wheel into a Bunkhouse for the Kids
Image Caption: Image Courtesy of Lindsay Lane
Over the past two years interest in the RV lifestyle has skyrocketed. Between the changes in the travel industry, and the ability for many people to work remotely while living full time in a home on wheels or vacationing, RVing is becoming accessible to more people than ever before.
Making the initial decision to purchase an RV may seem like the biggest challenge is conquered but with so many floorplan options available you may soon realize that deciding to buy an RV was the easy part. After narrowing down the type of RV you want to purchase you may find that the rig needs some modification to fully meet your needs. Most people have a must-have list but there are times even that can’t be fully checked off.
The great news is you can always adapt your space through DIY projects to make it work for you and your family.
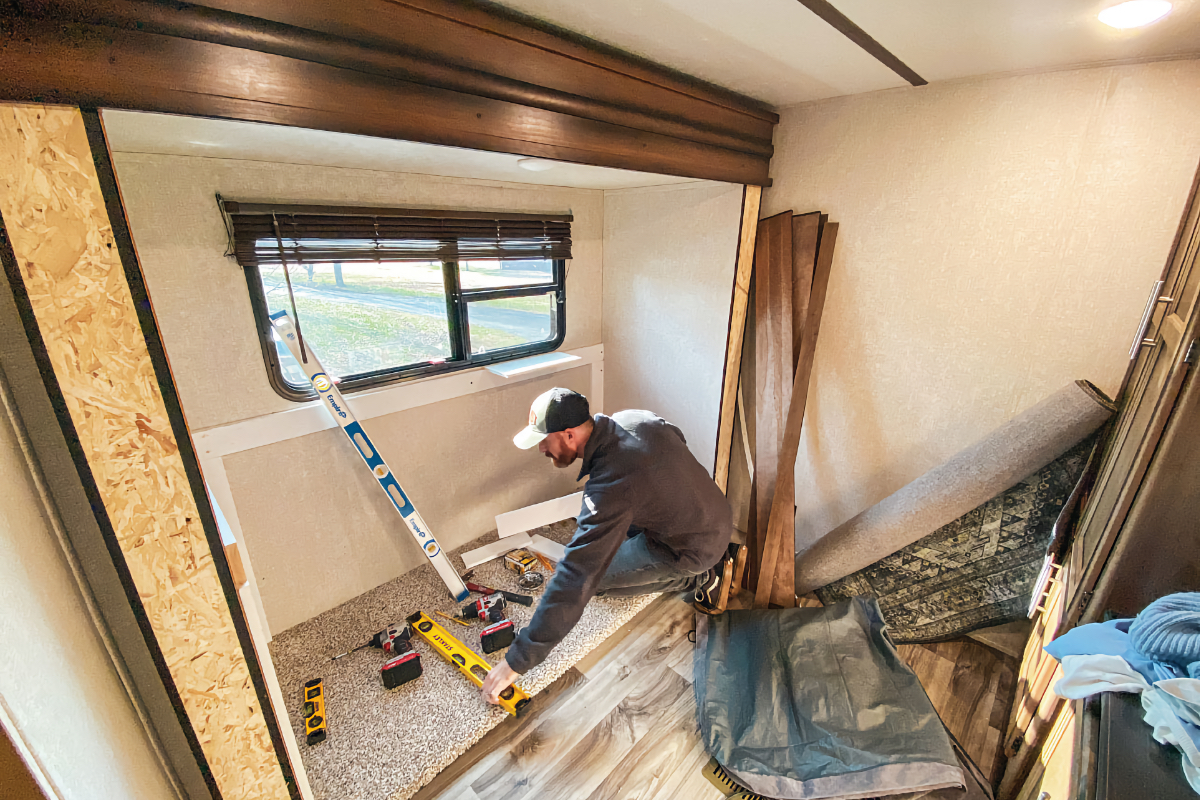
Image Courtesy of Lindsay Lane
Making a Change
Our family decided to make the switch from a toy-hauler travel trailer to a mid-bunk floorplan fifth-wheel but knew we would have to get creative with the sleeping arrangements for our children. The loft would comfortably sleep our two boys and we decided the bunk room would be the girls’ designated space.
Most mid-bunk fifth-wheels, including the Keystone Cougar 368MBI we purchased, come with a sofa bed in the mid-bunk room. With two girls calling that room their bedroom we knew that such an arrangement was not going to work in that space for them. Since our family travels for extended periods of time the nightly task of pulling out the sofa to make a bed would get old, quickly. We also knew that each girl would prefer her own bed.
A second challenge for their space was where to hold all of their clothing. Mid bunks typically come with a wall-cabinet unit but with two teen girls that cabinet just wasn’t going to adequately house all of their clothing.
Given these needs, we knew the sofa bed had to go and something had to be put in the slide space to meet the needs of each girl.
We decided that the best use of the space in the room would be to create built-in bunks in the slide. We contemplated purchasing an already built bunk-bed system and then modifying that to fit the space. Unfortunately, with the furniture shortage of the past two years the bunk beds we thought would work best were constantly out of stock. So, Plan A was out.
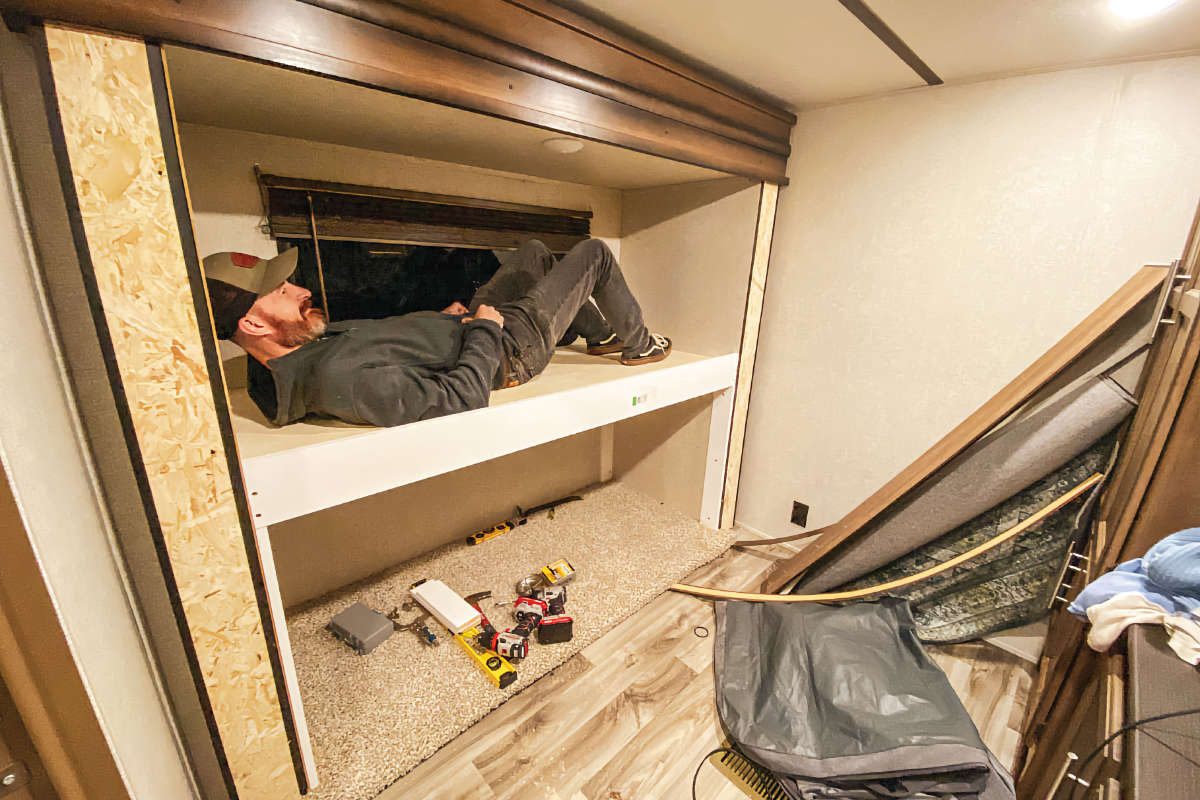
Image Courtesy of Lindsay Lane
Custom Bunk Room
Moving on to Plan B, we decided to build a custom bunk into the existing slide. Working around the stock window we would be able to frame in a platform within the slide walls. We also decided that creating built-in storage would help solve the issue of where all the clothes would be housed.
Once that decision was made, we went to work.
- We removed the slide trim and removed the sofa bed and sold it.
- We took measurements of the walls within the slide to give us the size of the beds we would be able to build. We decided that for clothing storage, two drawers would be built under the bottom bunk. These would provide drawers that were the depth of the bed and allowed each girl to keep the bulk of her clothing there. Because we were adding the drawers below the bottom bunk, and we had to work around the existing window in the slide, we were limited on how tall the top bunk could be in the slide area.
- We measured the back wall and cut a piece of 1-by-4-inch pine to length. We also identified and marked the studs in the wall. You can use a stud finder or strong magnet to help find the locations. Knowing those locations would be needed over the next few steps.
- In order to determine the tallest height that the top bunk could be, we took a scrap piece of plywood that would be the same thickness as the plywood we’dbe using as the decking of the top bunk and butted it up to the bottom of the window. Then we butted the top of the 1-by-4 to the scrap piece, so the scrap piece was sandwiched in between the 1-by-4 and the window. We then screwed the back 1-by-4 into the wall after checking for level into the marked stud locations.
- We measured the two side walls, subtracted 3/4-inch from one end of each board, and cut 1-by-4s to fit the sides. Making sure to align the side pieces to the back piece, we again screwed the boards into the side-wall stud locations. To further support the weight of the top bunk, we also cut vertical boards to span from the floor to the bottom of the back and side boards. The side and back boards will essentially sit on top of these vertical supports.
- We connected a 1-by-6-inch board to go across the front, screwing the end into the side supports. The 1-by-6 was used so that `the mattress would be inset in the top frame to hold it in better.
- To finish the top frame we added 1-by-4 supports turned flat about 16 inches apart in-between the back wall support and front board and fastened them with pocket holes and screws. To complete the top bunk, we simply cut a piece of 1/2-inch plywood slightly smaller (1⁄4-inch) than the frame’s inside opening, to allow slack, slid it under the window, and fastened it to the top supports and frame ends with screws.
- For the bottom bunk we repeated the same process for the back and side frame, except we used 1-by-6-inch boards placed directly on the slide floor. The 1-by-6 opening would allow extra space for the drawers underneath.
- The bottom drawer frames were built from 1-by-4 boards, and we used drawer slides attached to 1-by-3 runners spanning from the back frame board to the front. We used L-brackets to fasten the runners and help support the weight of the drawers. After drilling holes in the drawer fronts and attaching handles, the drawers were complete.
- Finally, we had to find mattresses that would fit into custom-built beds. There are companies that customize mattresses, however, we decided to purchase a 5-inch queen memory foam mattress. By doing this we were able to cut the mattress in half and trim it lengthwise for each mattress to fit on the top and bottom bunks. This is a very budget-friendly way to get comfortable, custom-sized mattresses for any space you may need them in!
Since customizing this space for our girls they have slept extremely comfortably in their very own space in our RV. So many times we may see a rig we like overall, but it doesn’t check off every box for us. Customizing with DIY projects in these tiny spaces will make your RV so much more livable and fitted to each specific need.
Pro Tip: Selling the sofa bed was a great way to offset the costs associated with building our own bunks in the bedroom.
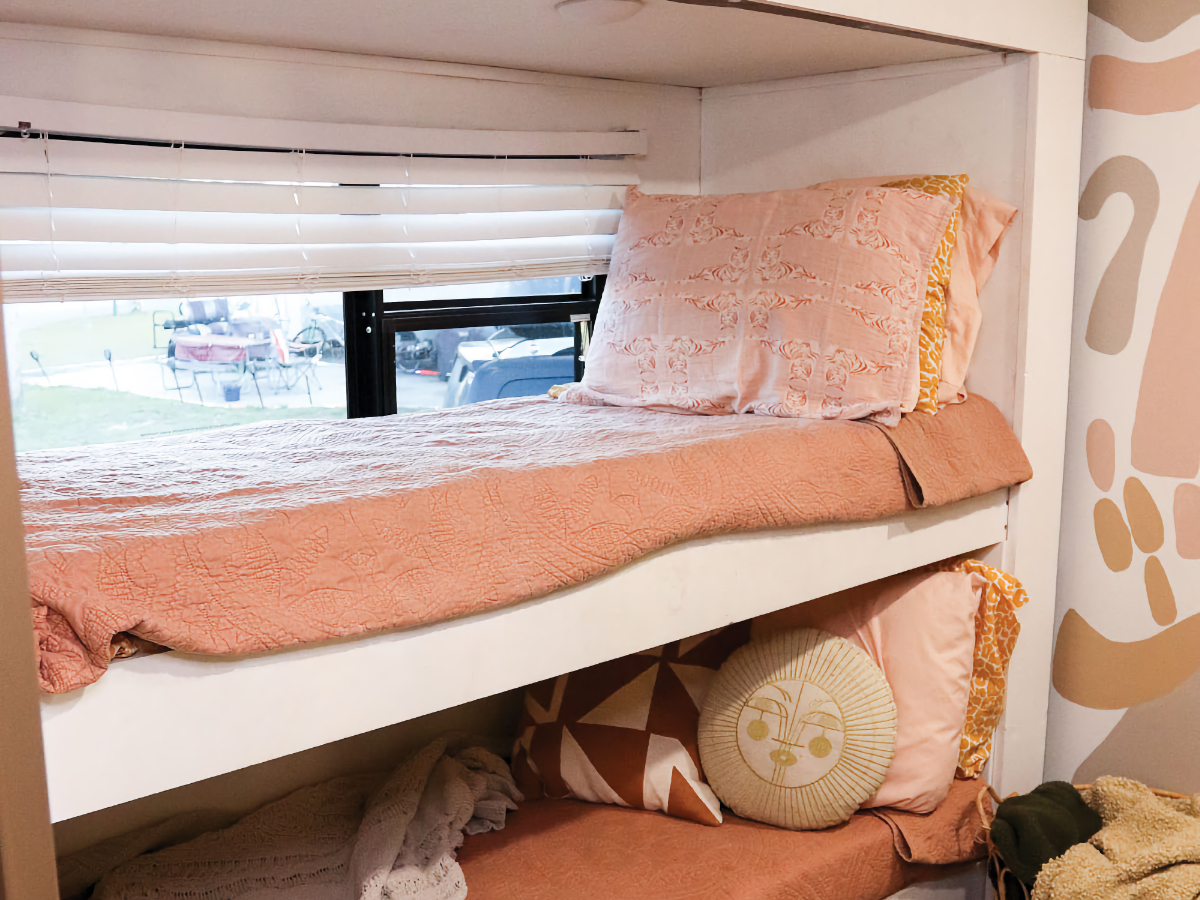
Image Courtesy of Lindsay Lane
To DIY, or Not to DIY?
Trying to decide which type of DIY project you may want to tackle in your RV? Ask yourself the following questions to help you decide the best use of your space, time, money, and energy.
Will the Project Solve a Problem?
If so, will it make living in your space easier and more enjoyable? Or does it simply add comfort or aesthetic value to the space? Solving a problem makes the time, effort, and money spent well worth it.
Do You Have a Budget in Mind for the Project?
Of course you do! But don’t forget to add a little cushion for unexpected costs, inflation of materials from start to finish, and even added details you may decide to include at the end.
How Much Time Do You Have to Tackle the Project?
Whether it’s a day, weekend, week, month, or longer, giving yourself a time frame to tackle the problem sets a realistic timeline and DIY project goal. Taking on a project that’s realistically too big to tackle in a short amount of time, like over the course of a weekend, may lead to sloppy mistakes or frustration in the end. So, make sure you’re realistic when it comes to the project you decide on within the time frame you have to complete it. If you truly enjoy this type of carpentry and custom-building work on a fun-endeavor-type level, the time frame to completion is far less important.
Do You Have the Tools Needed or Access to the Tools Needed to Complete the Project?
If you are missing some of the necessary tools, consider investing in the ones you’ll use again in the future and/or borrowing or renting ones that are not likely to be needed again. Make sure you are prepared with what you need ahead of time so there are no surprises mid-project. Also, don’t forget to think through where you’ll store these tools if you’re already on the road in your RV.
If You’re Already Traveling When You Plan to Take on This Project, Where Will You be When You Start and Finish it?
Think through your timeline; you don’t want to find yourself having to move spots mid-project and end up frustrated. Tackle the project when you’re in a location long enough to take it on. Planning ahead and thinking through each step is a surefire way to make sure you’re completely happy with the result and all of the steps you took along the way.