Spring Service on Your RV’s Appliances
How to Make Sure Everything Is Running Smooth and What to Do If It's Not
Image Caption:
While it may still be a little soon for your first shakedown RV trip of the season, it’s definitely time to start preparing your rig for a full summer of adventures. Performing spring service on your RV’s appliances is a necessary step to make sure everything functions properly for the season ahead.
When you dream of your ideal RV trip, appliance malfunctions probably don’t flash through your mind. But they can turn an otherwise great trip into a royal pain in the you-know-what. So here are a few spring service recommendations to add to your seasonal RV maintenance checklist.
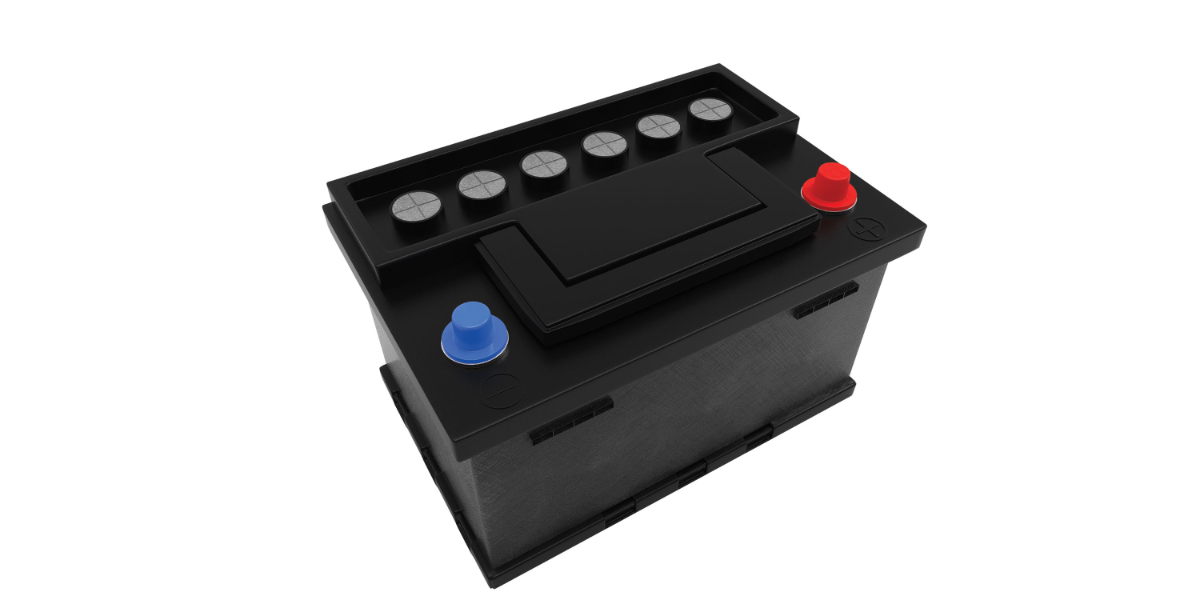
Battery Check
While your RV’s main and coach batteries aren’t technically an appliance, many of your other appliances do rely on them for power. So, the most logical place to start your spring service is with a voltage test on both (or all) of your RV batteries.
Even if you properly stored our RV battery before winter set in, it’s likely that it discharged up to 10% of its capacity while it was in storage. That means your first step should be to fully charge your batteries. From there, use a digital multimeter or battery system tester to check that your batteries are holding the appropriate charge.
Tip: If you invest a little more in a full system battery testing unit, it will also allow you to test the operation of your alternator.
If you removed your batteries from your RV for the winter, this is also a great opportunity to clean all of the terminals using a wire brush. Also, you may need to add distilled water (for lead acid batteries only) to your battery if the level is below the plates. But this should only be done after the battery has been fully charged.
Water Pump (and Water System)
I don’t think it’s going out on too skinny of a limb to say that the operation of your RV’s water system is critical to your ability to enjoy your RV adventures. So, you’ll want to start by de-winterizing your RV’s water and septic systems. From there, you’ll need to run several gallons of freshwater through the entire system to flush out any remaining antifreeze.
If you’re concerned about sanitizing your RV’s water system, you can also use this opportunity to run a small amount of bleach through the water pipes and your water pump. I recommend using no more than one-quarter of a cup of bleach per 15 gallons of freshwater you add to your tank.
Add your bleach solution to a gallon or so of freshwater and mix completely before adding it to your RV’s freshwater tank. Then run your water pump for several minutes so that the bleach solution fills all water pipes and the water pump. You can let that solution sit for about 12 hours before using plenty of freshwater to flush all the bleach out of the system.
After that, fill your freshwater tank completely and turn on your water pump. Then check all of the faucets and the shower inside your rig to make sure you’re getting ample water flow at your desired pressure. Also, if your rig has an outdoor shower, you should use this opportunity to check its function while you have remaining water in the tank.
Extra Tip: You might not want to use all of the water in your tank for this check, as you’ll need some for another check later on.
LP Appliances
Next, it’s time to test any of your appliances that run on liquid propane. In most RVs, that includes your water heater, stove and oven, and your central furnace. To test all of these appliances, you’ll need to make sure your RV’s propane tank has enough gas supply for an adequate test. I recommend starting with at least one-quarter of your propane tank’s capacity for these tests.
Stove and Oven
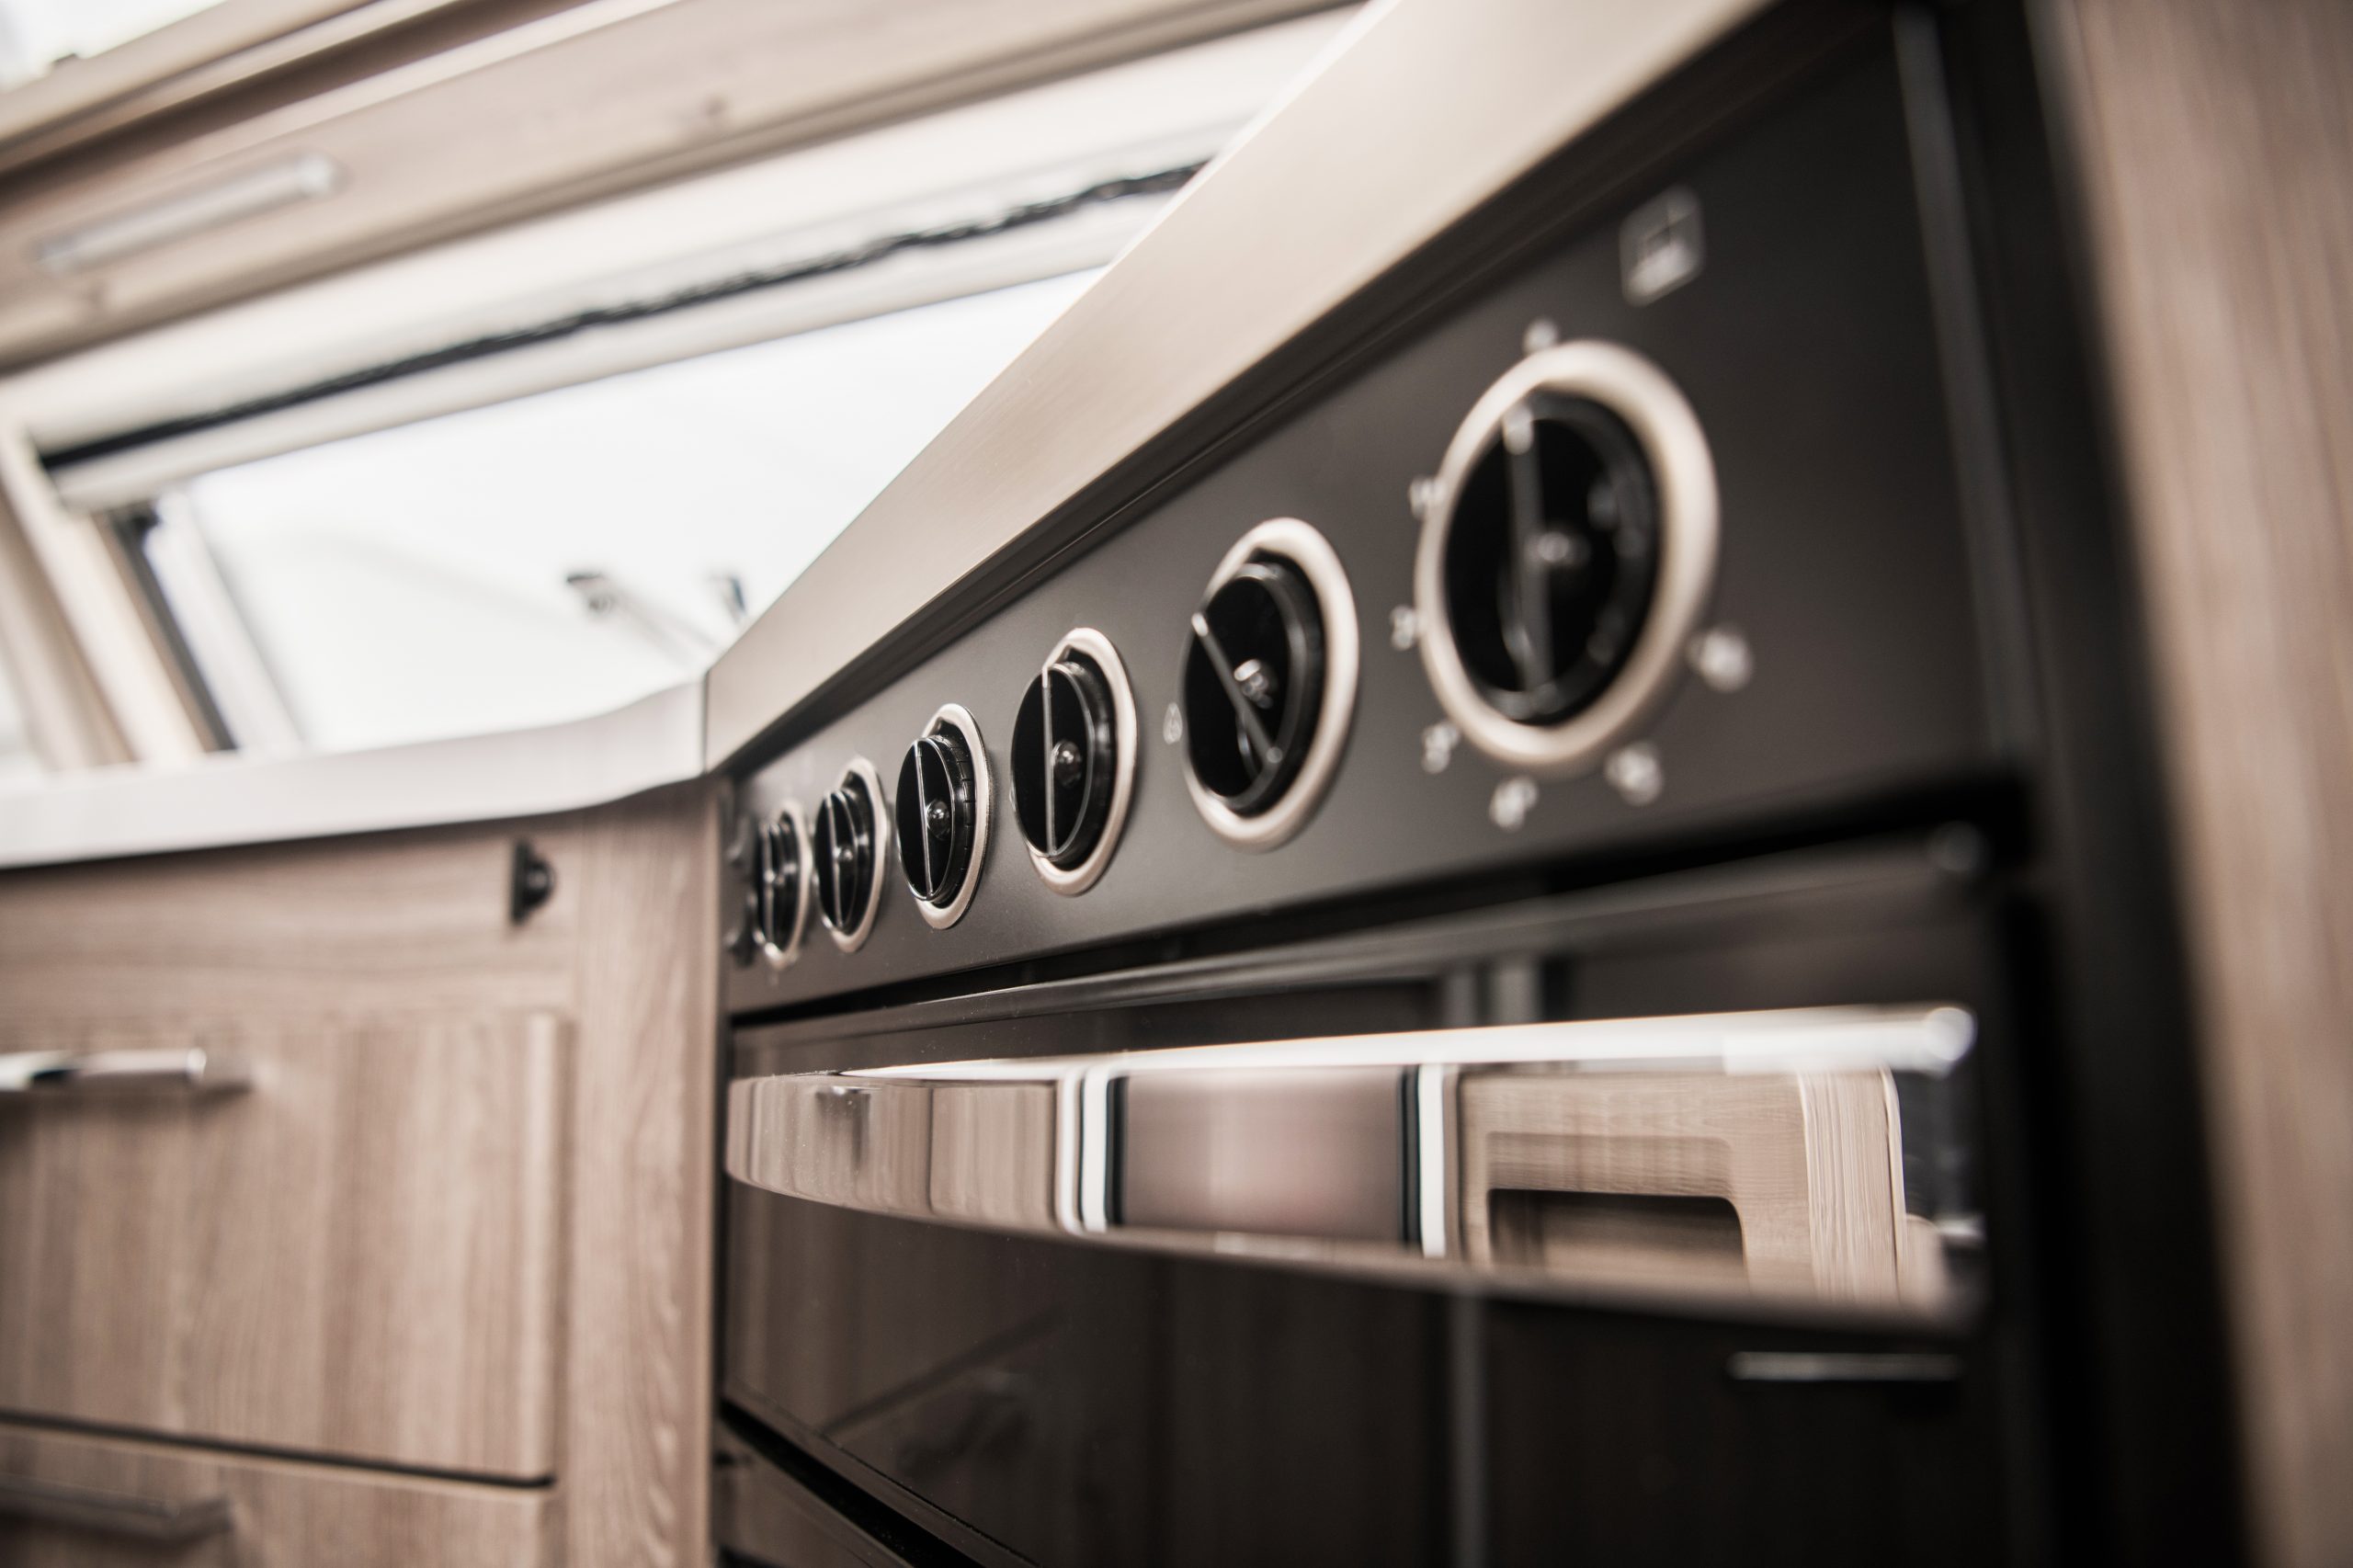
Image from Getty
Once you have enough propane in your tank, it’s time to test your appliances one at a time. Start by lighting all of the burners on your stovetop and allowing them to burn for several minutes. Check that all openings are producing a flame to make sure food leftovers aren’t causing any blockages.
Once you’re satisfied with the operation of the burners on your stovetop, shut them all down and fire up the oven. Check whether it lights as it should and how quickly it comes up to temperature. With a propane oven, you should be able to look at the propane line and clearly see a strong flame coming out of each hole in the line. If any holes appear blocked, a mild wire brush can be used to clean the line, but this should always be done when the oven is turned off and cooled down.
Water Heater and Central Furnace
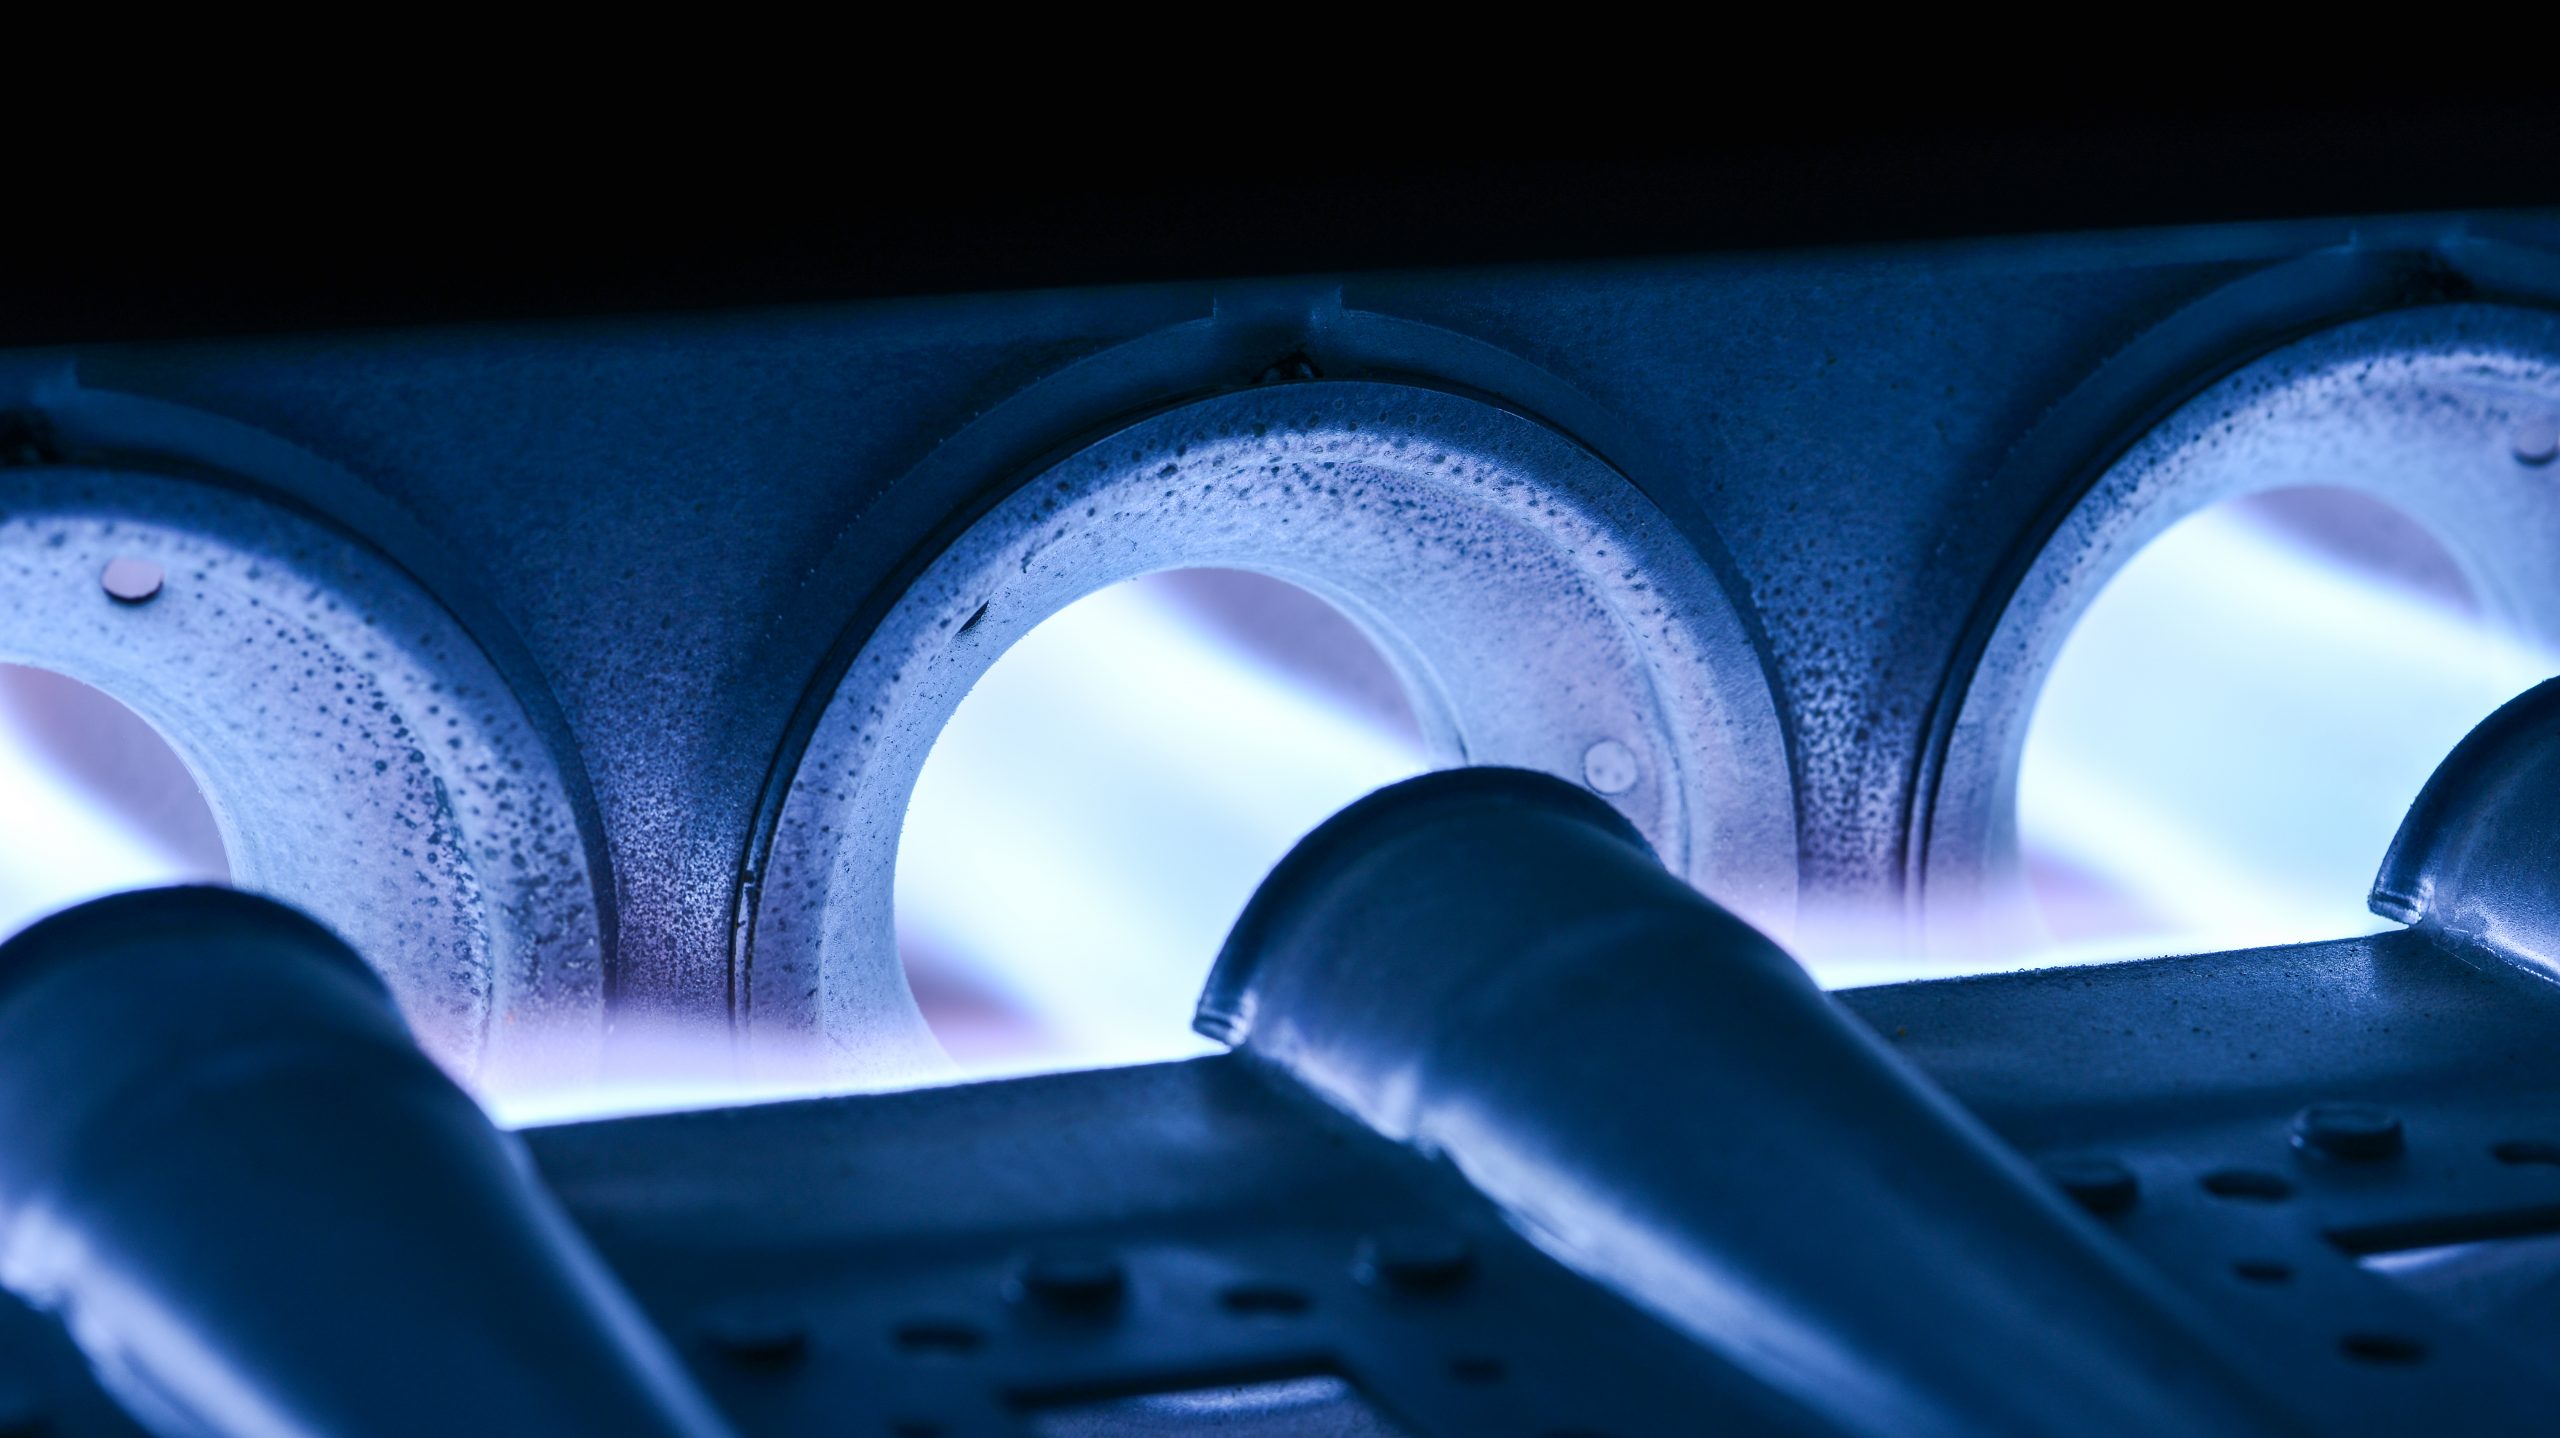
Image from Shutterstock
Now, it’s time to check your water heater and central furnace. These checks can be done in conjunction because these appliances require a little more time to test completely. Start by flipping the switch to turn on your water heater and then adjust the thermostat on your heating system to your desired temperature. If it’s warm outside, make sure to set the thermostat low enough that you can audibly hear the heater kick on.
You’ll need to wait 10-15 minutes for your water heater to warm up enough water for you to test the hot water supply in your sinks and shower. During this time, you can take note of whether or not your central furnace is cycling on and off as it should. However, you may consider leaving your thermostat adjusted to your desired heat for several hours to make sure your furnace is still providing the kind of continued service you’ll rely on while camping.
Generator
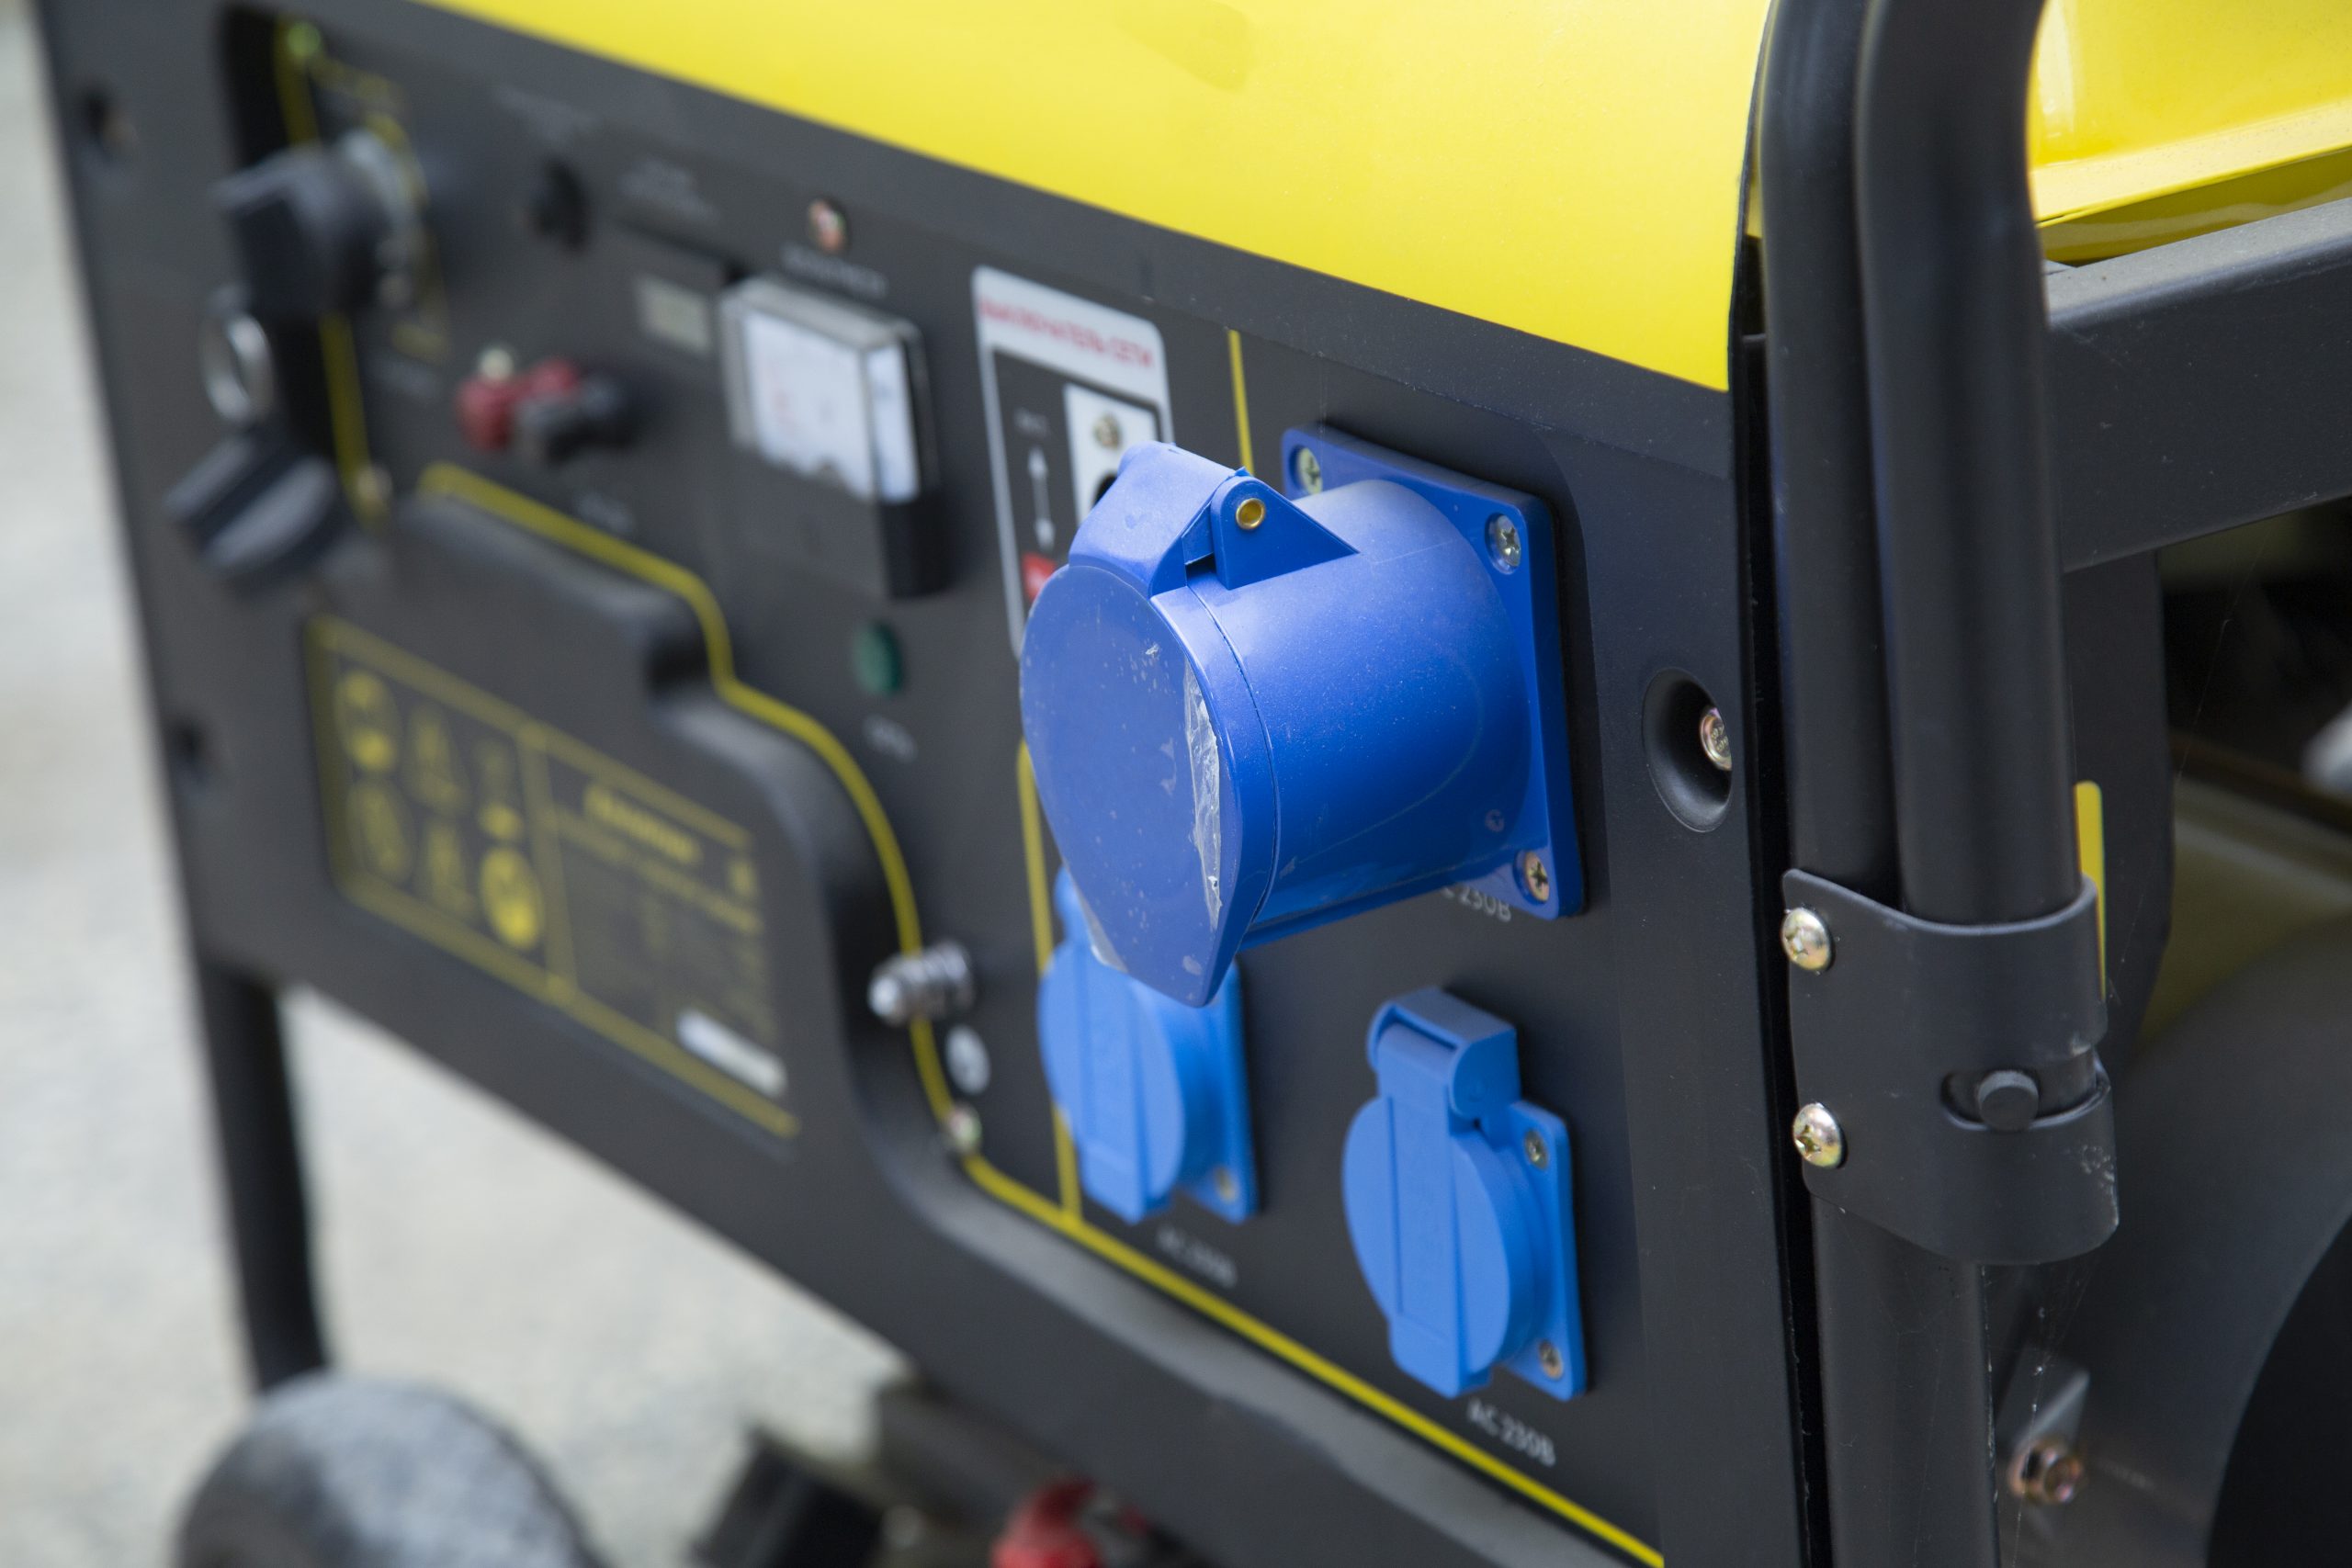
Image from Getty
Now it’s time to fire up your generator. But before you do, check the oil level in your generator to make sure it’s filled to the prescribed level. Every generator also comes with an owner’s manual that recommends specific service intervals. So, this spring is a great time to check that manual and make sure your unit doesn’t need a more comprehensive service.
Whether it does or not, you should also check your generator’s exhaust system for holes or leaks before starting it up. This is also a good time to check for any nests or dwellings that have been built by critters in your RV’s generator compartment while it has been in storage.
If you haven’t fired up your generator all winter, we recommend starting it and allowing it to run for about two hours at half-load. If, for any reason, your generator doesn’t start or stops running after a short time, contact a local service facility or authorized mobile RV mechanic to have it professionally serviced.
Final Thoughts
It’s important to know that even the most thorough of spring service checks won’t always turn up underlying issues that have developed during the winter. That’s why we always recommend identifying a nearby campground or off-grid area for a ‘shakedown’ cruise at the beginning of your RV season.
By staying close to home (and maybe even bringing an extra vehicle with you) you’ll be able to troubleshoot any issues that should be addressed before you head out on longer RV trips later in the summer.
Even if your initial check-in your driveway doesn’t turn anything up, there’s the possibility that things rattle or shake loose when you drive your rig for the first time. So, there are many great reasons why you should always start your RV season with a short, local trip to make sure everything is still running properly.