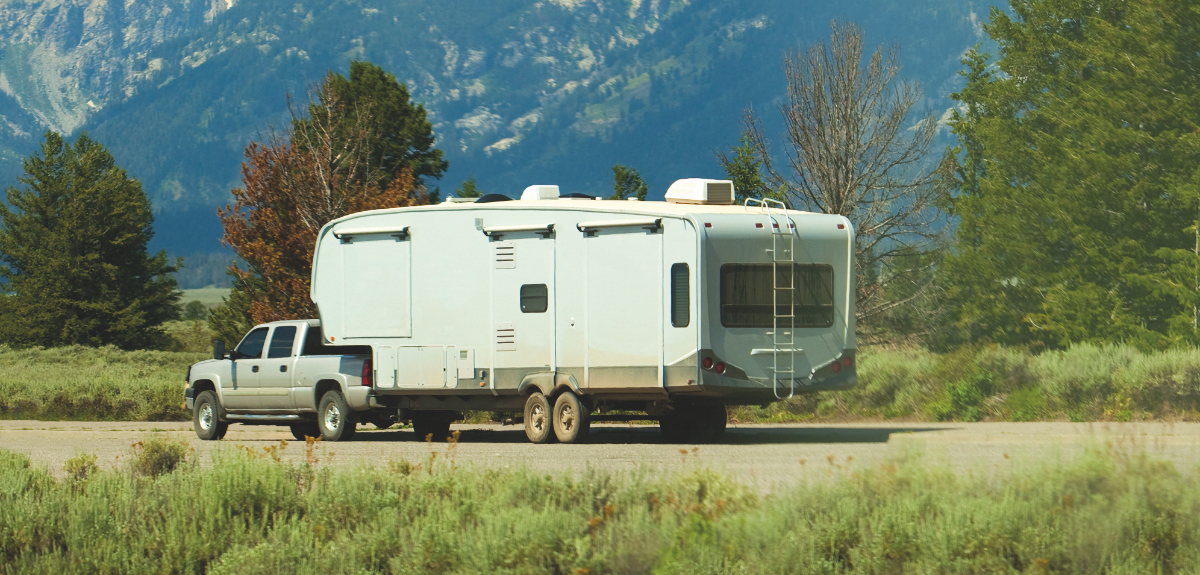
How to Perform an RV Tire Inspection
Why to Check Your Tires and What to Look Out For
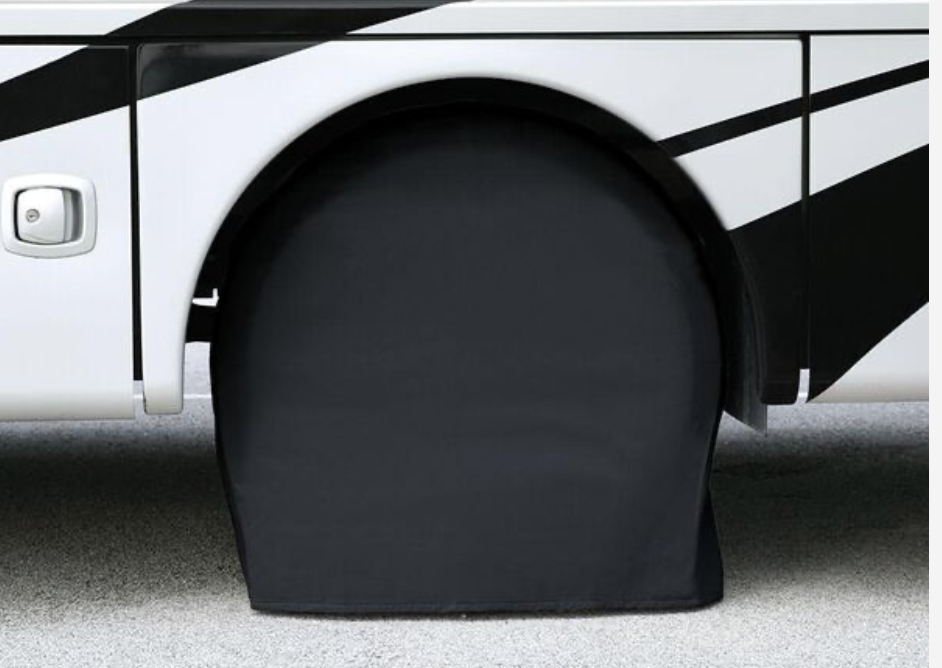
Image Caption:
Every experienced RVer needs to know how to perform an RV tire inspection. The health of your tires is critical to your own health and safety while you’re traveling or living in your recreational vehicle.
There are many useful tools you can use to check the status of your RV tires. You just need to know how to use these tools and identify when it’s time to replace your RV tires completely. I’ll cover that along with other helpful information in this quick guide for performing an RV tire inspection!
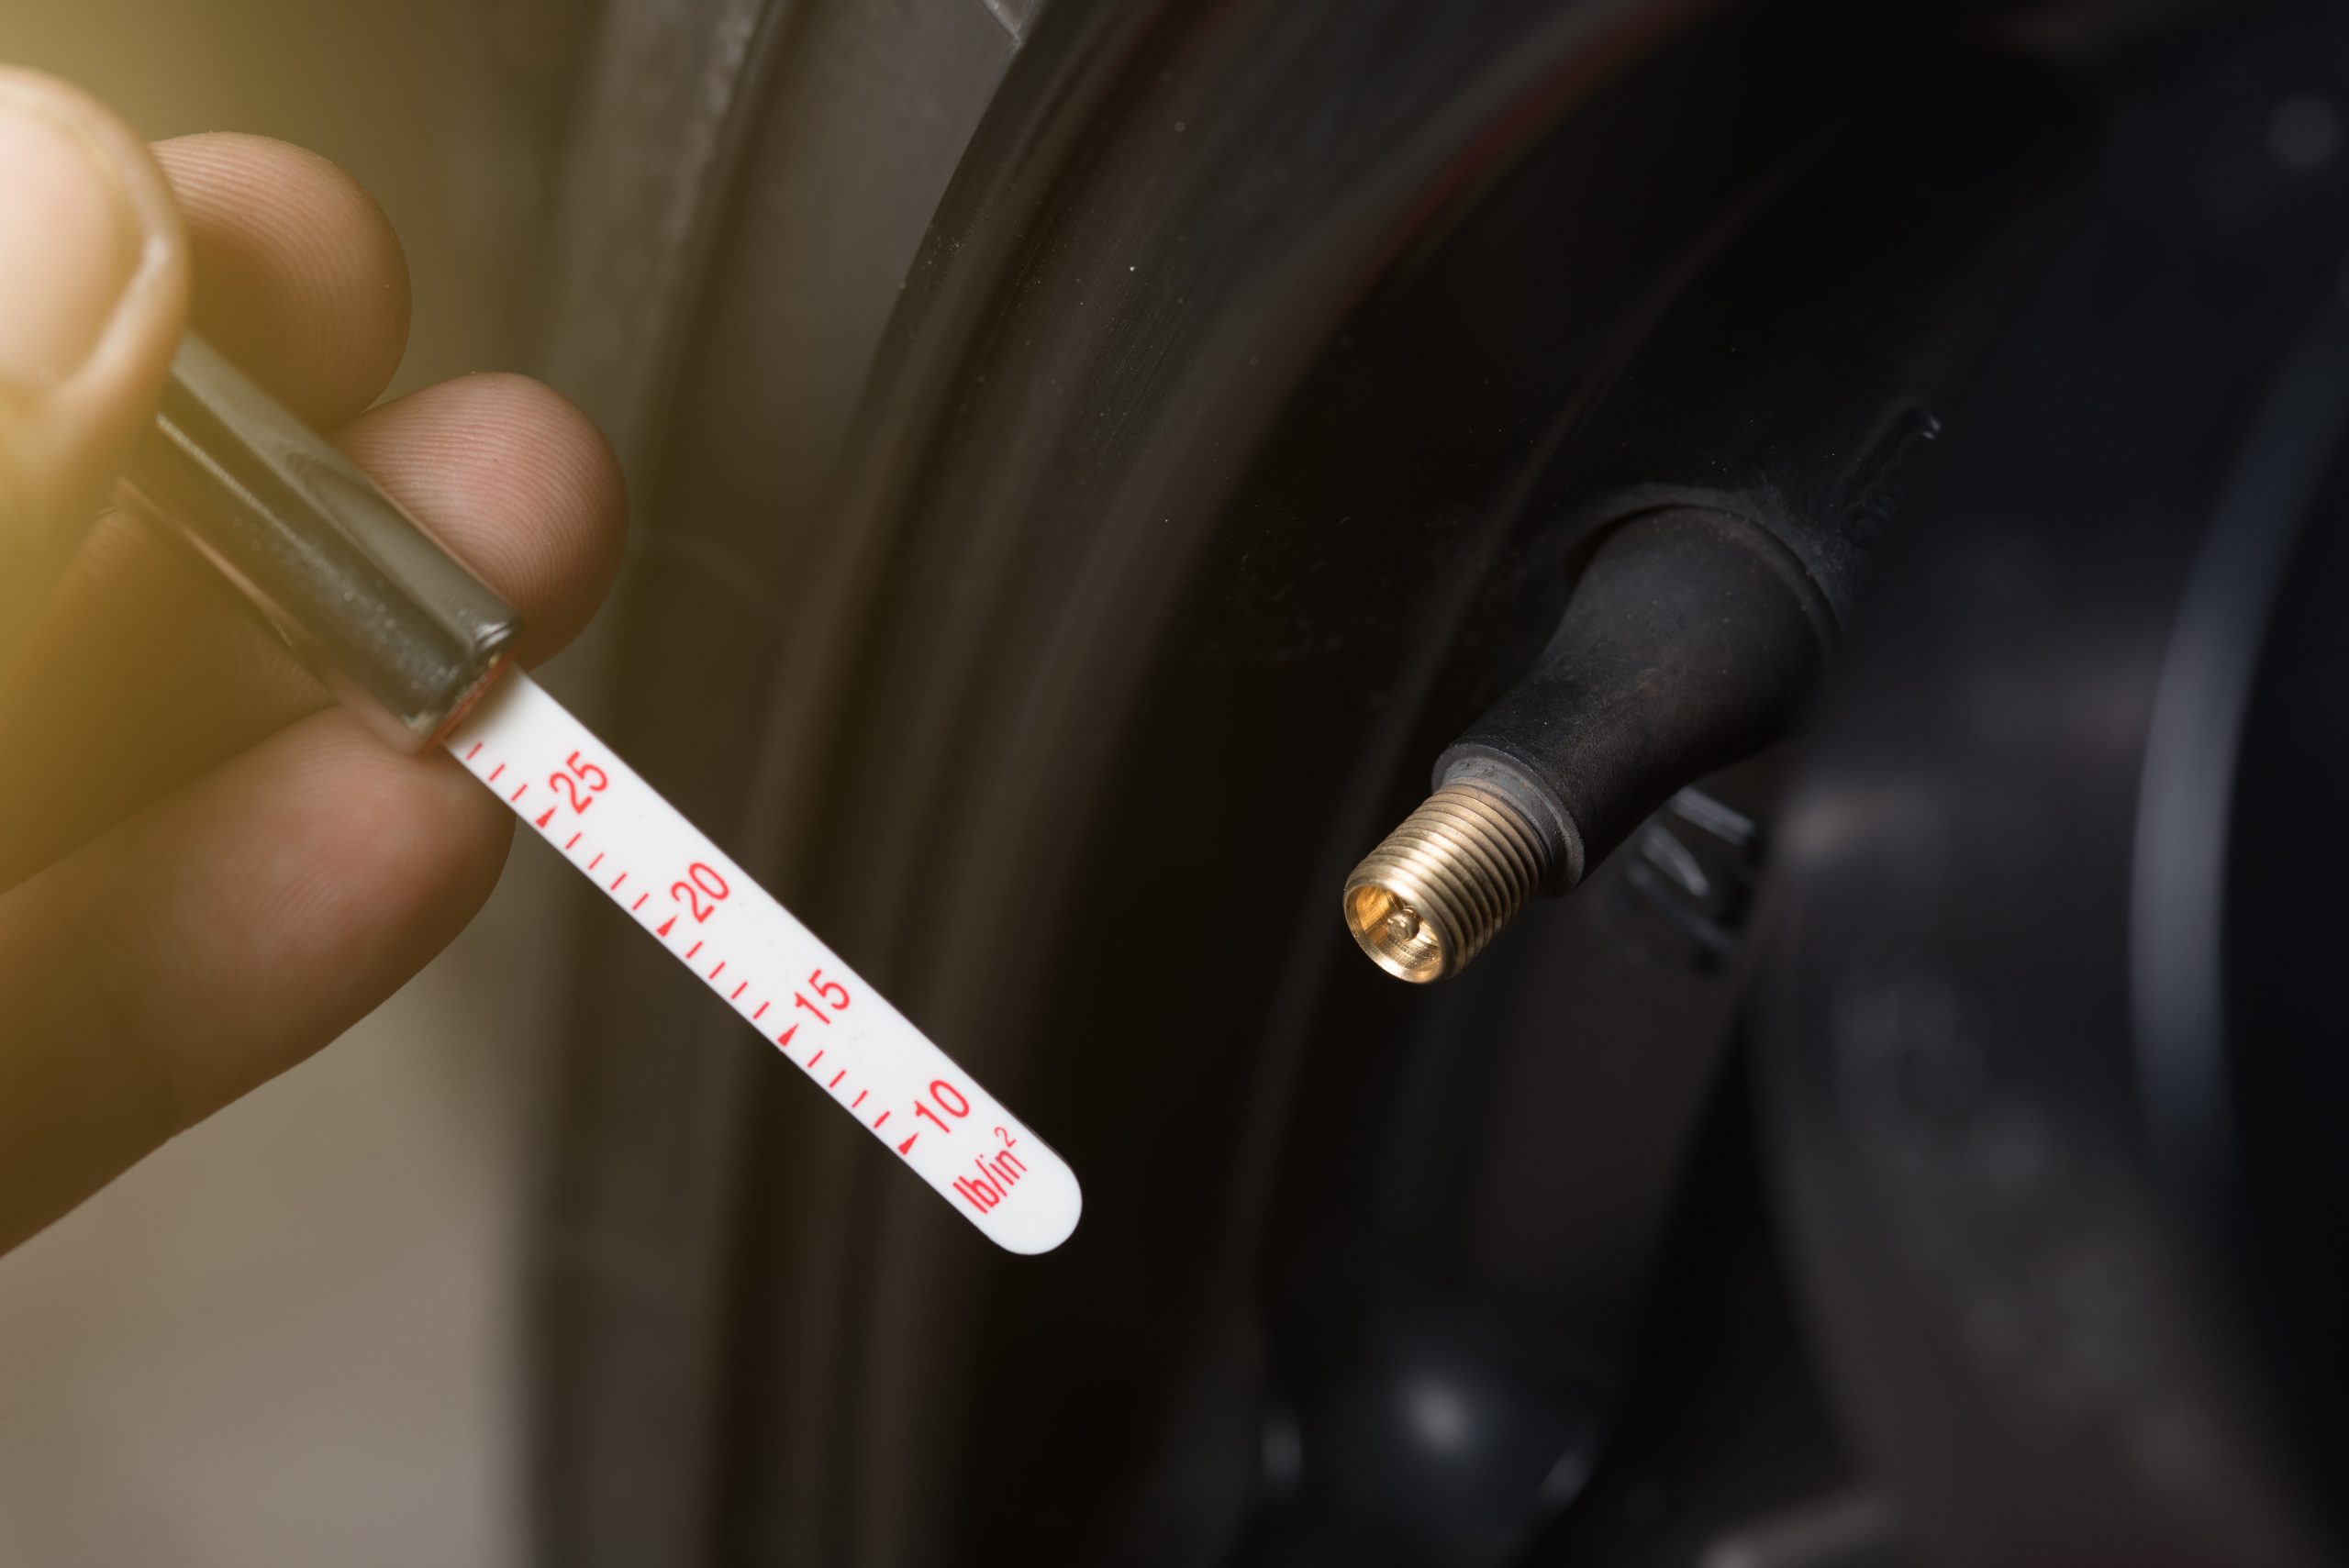
Check Tire Pressure
You should make a habit of checking the pressure in all of your RV tires at least once a month, but this is also the first step in performing a thorough tire inspection. To check tire pressure, you’ll need a heavy-duty tire pressure gauge and you’ll need to know the recommended tire pressure for your vehicle.
The latter can usually be found inside your rig’s doorjamb or in your owner’s manual. It’s important that you use the recommendations in these areas instead of the recommended PSI that’s labeled on the sidewall of your tires themselves.
If your RV has a tire pressure monitoring system (TPMS), you can save yourself some time by avoiding manually checking each and every tire. Still, it’s good to get in the habit of manually checking tire pressure every 30 days because digital pressure gauges can sometimes break or fail to register low tire pressure until it’s down to a dangerous level.
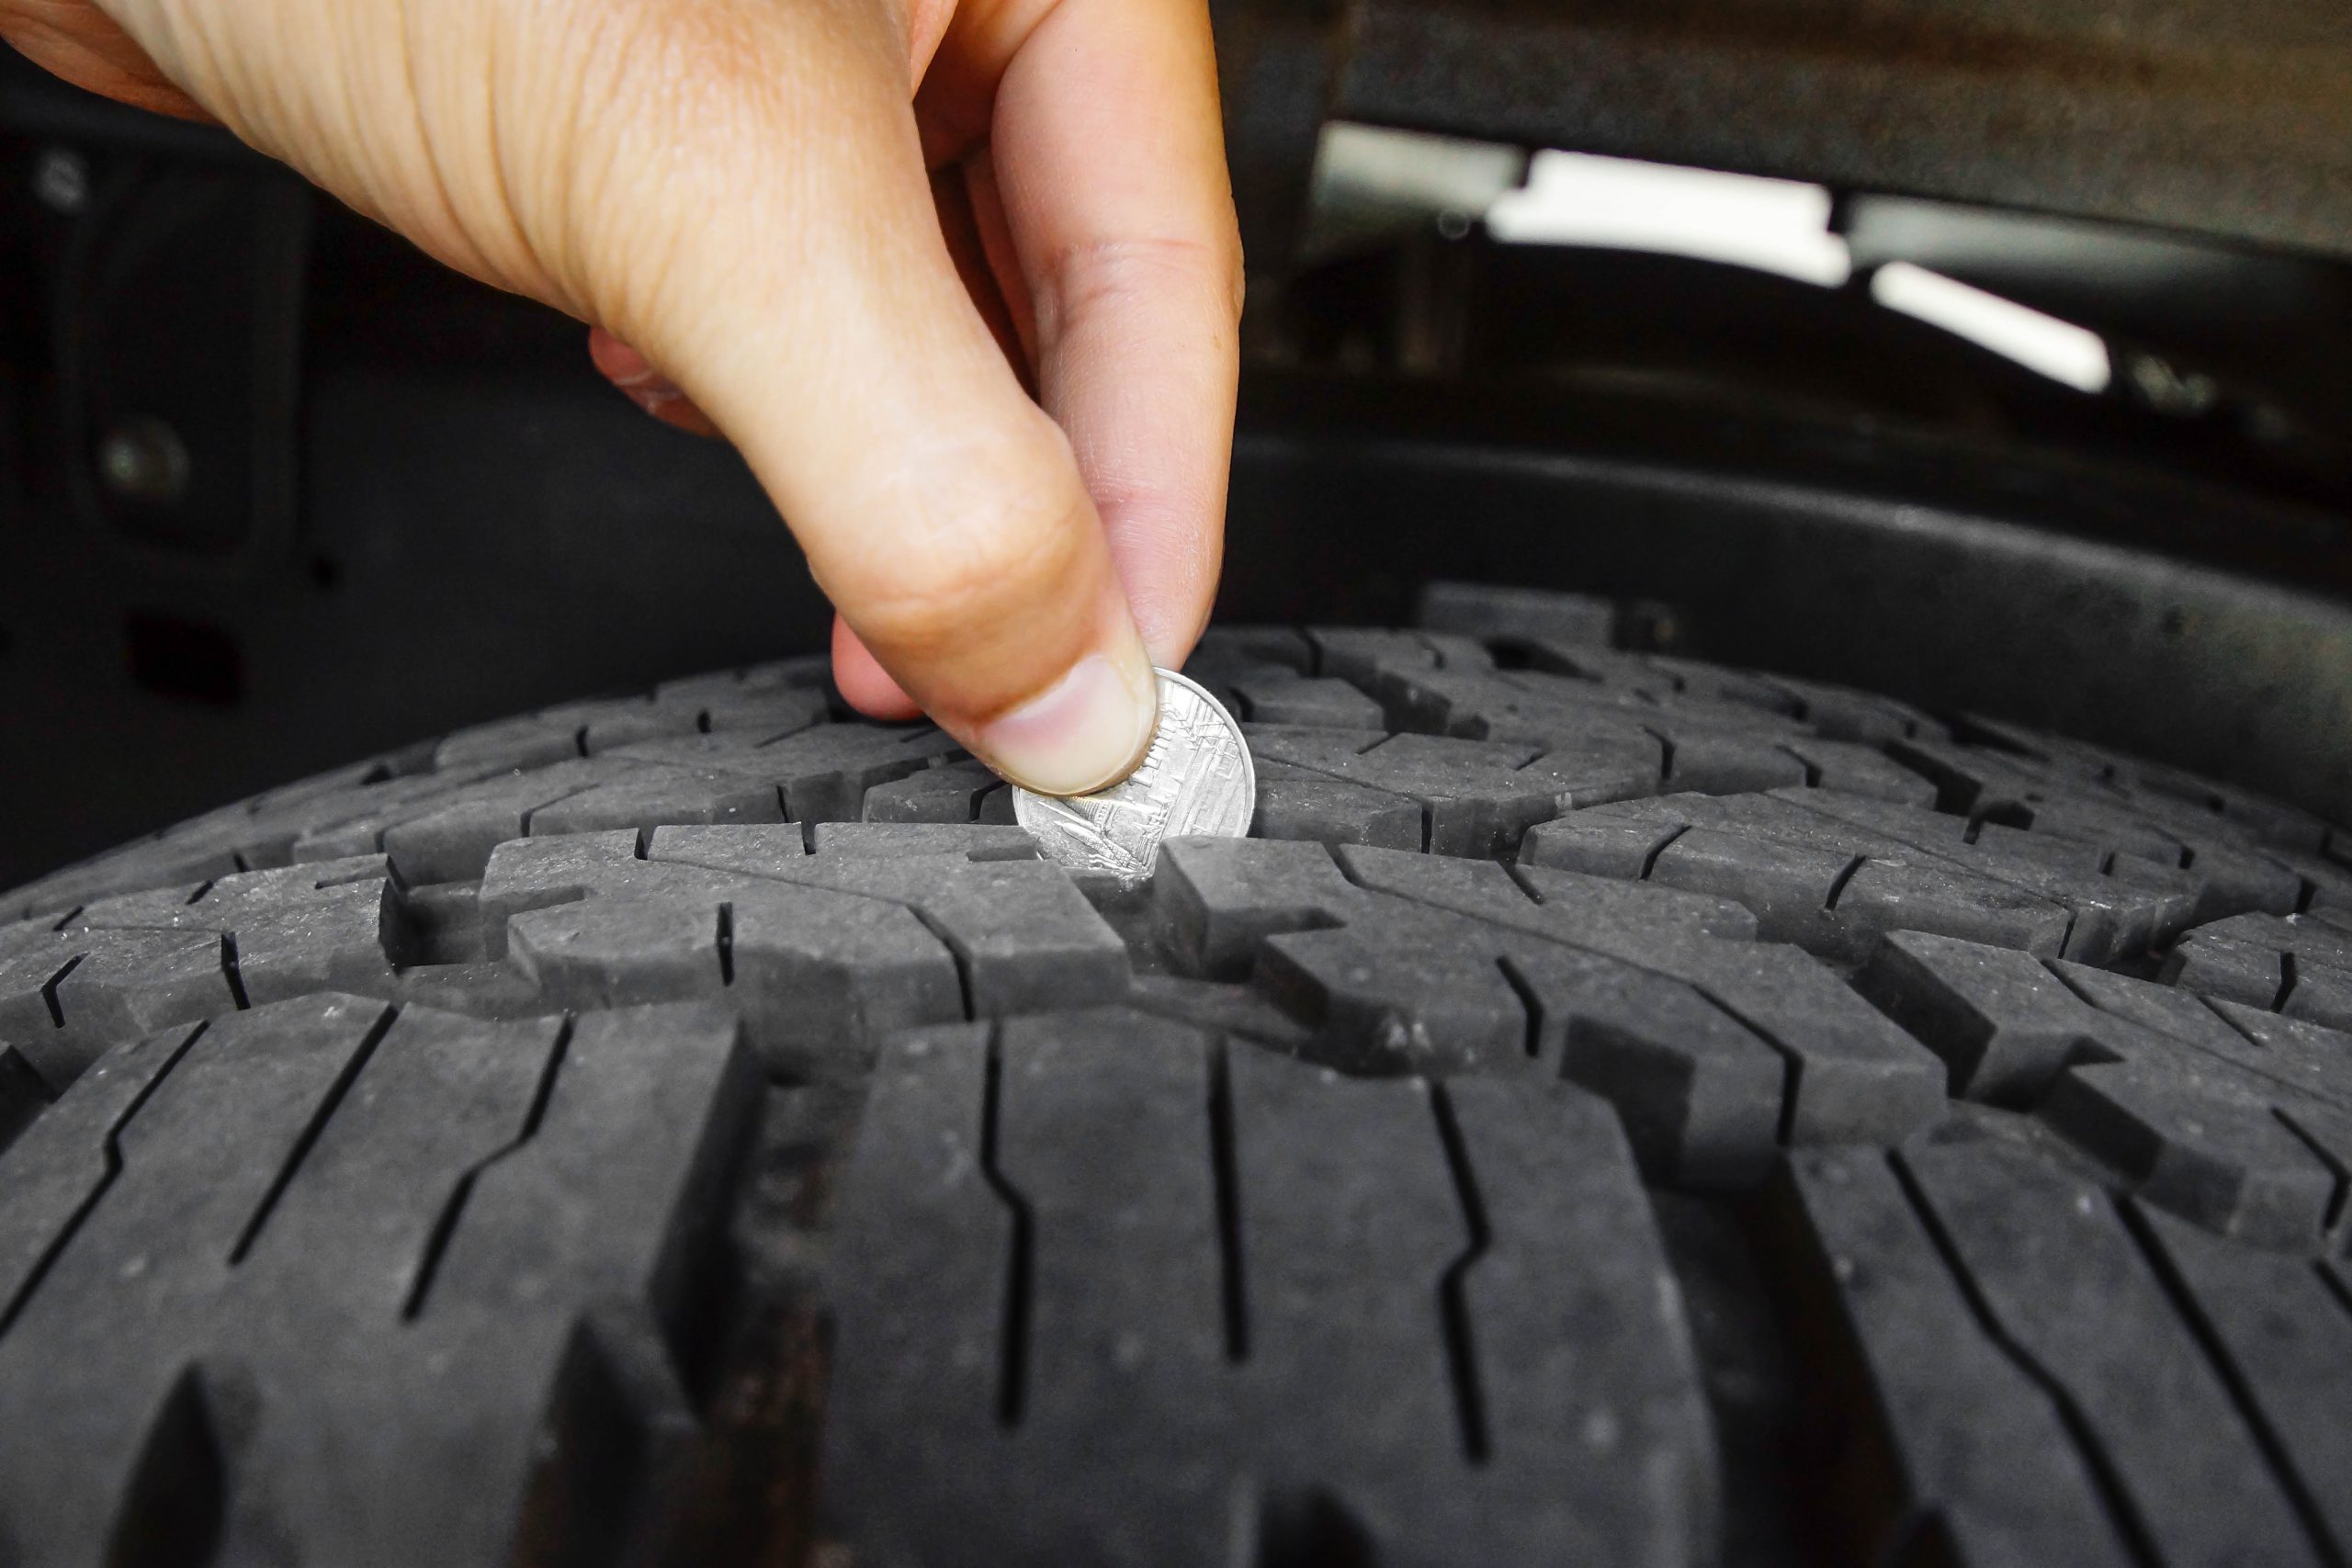
Check Tire Tread
The next thing you’ll need to check is the actual tread remaining on your tires. Less tread equals less grip on the many road surfaces your RV encounters. This can become especially dangerous when you’re driving on wet, slippery, or icy roads.
Tire tread is usually measured in millimeters and you can easily check all of your tires manually using a tread depth gauge. This gauge must be placed in the cracks of your tire’s tread located near the tire indicators. To the untrained eye, these look like small bumps in the cracks of your tire. It’s important to use these bumps when measuring tread depth to ensure an accurate reading.
If your tire’s tread depth is below 2/32 of an inch (some recommend 4/32), it’s time to replace your tires. If you don’t have a tread depth gauge on hand, you can also use a technique called the penny test. Place a penny upside down on the same location where you’d place a tread depth gauge. If you can see the top of Lincoln’s head, it’s time to replace your tires.
While checking tire tread, you should also visually inspect your tires for the presence of nails or other objects embedded in the tread. It’s common for rocks and other natural objects to become lodged in the tread of all tires, but this is a good opportunity to remove those items.
Additionally, look for uneven wear from the inside to the outside of your tire’s tread. If you notice that the inside of your tires is much more worn than the outside, for example, this could be a sign that your RV is in need of a tire alignment.
Check The Sidewalls
If your RV sits in storage for long periods of time, the sun can wreak havoc on the sidewalls of your tires. This is why we recommend using RV tire covers when storing your RV, but they’re also useful if you’re simply living in it for a week or so at a time. In short, if you aren’t moving your RV daily, you should take the extra five minutes to put tire covers on.
When performing an RV tire inspection, however, you should make sure the sidewalls haven’t been dangerously degraded by excessive UX exposure. Look for large cracks in the sidewalls of your tires or places where the outer rubber is flaking away. If you can see the inner cords of your tire (which is what’s holding the tire together), it’s time to replace it.
There are a couple of other forms of tire sidewall damage to look out for as well. Missing chunks of rubber that are larger than the diameter of a dime or bulges in the sidewall are also indicators that it’s time to replace your RV tires.
Check Tire Age
Even if the tire tread, pressure and condition doesn’t warrant the need for a replacement, you should check the age of your tires by finding the date you purchased them. If you can’t find the date on which you purchased your tires, you can check the DOT number on the sidewall of your tires.
The last three or four digits in this number will translate to the week and year that the tire was produced. For example, if the last four digits of your DOT number are ‘1116’, your tires were manufactured in the 11th week of 2016.
Many tire manufacturers recommend a lifetime of 7 to 10 years for their tires. So if your tires are more than 10 years old, you may consider replacing them even if they aren’t displaying any other concerning signs of wear and tear.
This can be more common for RVs and travel trailers than for other vehicles because they are generally driven fewer miles per year. That being said, properly caring and maintaining your RV tires will certainly extend their useful service life.
When Was The Last Time You Rotated Your RV Tires?
If you notice that the tread on your front and rear RV tires is significantly different, you may be neglecting the importance of rotating your tires at proper intervals. In general, most tire makers recommend rotating your tires every 5,000 miles. This is true for all front or rear-wheel drive vehicles, but it is less critical for four-wheel or all-wheel drive RVs.
Still, rotating your tires at proper intervals will help to extend tread life and optimize your RV’s fuel efficiency. In some cases, manufactures can void any warranty that you purchased for your tires if they can prove that the tires weren’t rotated at their recommended intervals.
Final Thoughts
Don’t take the health of your RV tires for granted. Experiencing a tire blowing out when you’re moving at 60 miles per hour down the highway will make you re-evaluate the regularity with which you perform an RV tire inspection on your rig.
But, we sincerely hope it doesn’t ever have to get to that point. That’s precisely why we’ve put together this quick guide and we hope you can use it to maintain the health of your tires and the safety of your RV adventures!