How to Get Your Motorhome Ready for Travel
Image Caption:
If you’re itching to get your motorhome out of storage and ready to roll, don’t worry, it won’t eat up a whole weekend of your time if you do it right. Simply follow the steps presented here and you can be confident that when you’re done, your motorhome will be in as good a shape as it can be to hit the road. Like a bear coming out of hibernation, you don’t want to jump in and put the hammer down, hoping everything will work out fine. A more methodical approach will ensure nothing is missed. Here we go …
Prep Step 1: Get it out of storage
Hopefully, you had the motorhome engine serviced and filled the fuel tank before winterizing. That’ll save some time now. Oil becomes acidic as the engine runs, so it’s always best to service before storage if the motorhome is going to be stored for several months or longer. If you haven’t done so, the oil should be changed before the first trip.
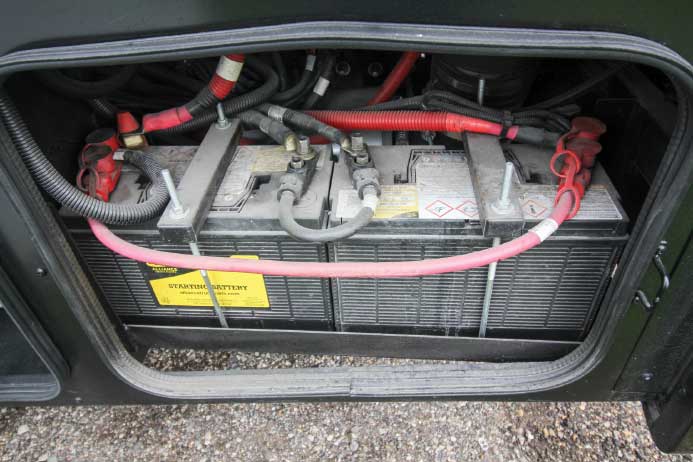
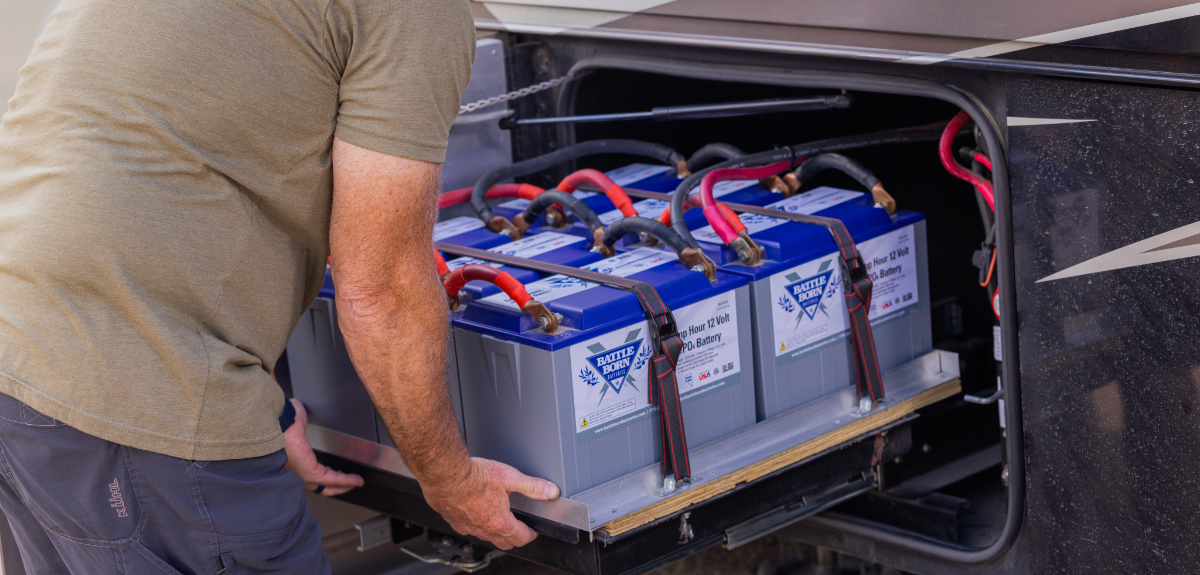
Reinstalling batteries properly is very important. Make certain they’re charged and tested, and that the water is full, if applicable. Remember, there are two sets of batteries, one for the house and the other for the chassis, which may be in different locations, or even hidden under a step; in the case of a Class B, they may be under the rig itself.
Whether the motorhome has been under cover, or just parked in a storage facility, a thorough inspection is in order. Look for any signs of rodent damage. It’s always best to remove the batteries when storing (depending on the climate), so they should be charged and tested before reinstalling. Put an eye on the engine compartment and generator and look for nests or any damage from furry friends over the off-season. Check fluids to make sure nothing leaked during storage.
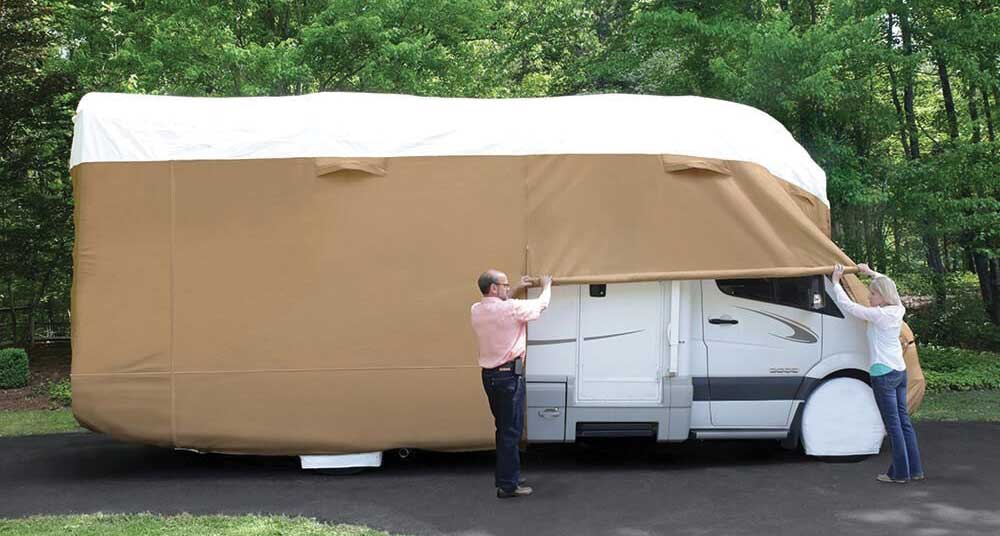
Uncovering the motorhome and doing a damage inspection is the first step.
Before leaving the storage area, check over the roof for signs of damage. A closer look later will be in order, but it’s best to be on top of any significant problems and fix them straight away.
Make sure the tires are properly inflated. If you have a tire-pressure monitoring system (TPMS), and you should, turn it on. If not, check the pressure with a quality gauge and inflate to specs. Tires must be inspected for cracks and adverse wear patterns. You get a closer look during the cleaning stage of this process.
At this point, start the chassis engine and generator and let them warm up. Turn on all the exterior lights and do a walk around to check for proper operation. If all looks good, you’re ready to move on to Step 2.

Rodent intrusion most often happens during off-season storage. Any residue of mice should be cleaned up, followed by a closer inspection of the motorhome for possible rodent damage.
Prep Step 2: Dewinterize and test RV systems
The first thing most RVers think of when dewinterizing is the plumbing system. This is important, for sure, but it’s not the only system with which to be concerned.
Before un-bypassing the water heater, it’s recommended to flush the pipes with fresh water to get the antifreeze out. Don’t forget washer hookups and low-point drains.
Start by leveling the motorhome once it’s parked where you’ll be doing all the work. Power leveling systems need to be exercised, and now is as good a time as any. Next, plug the motorhome into a shorepower source, if available.
Check the propane level before testing the appliances. If the level is adequate, you’re good to go; otherwise, a trip to the refilling station is in order before starting this phase of the dewinterization project. You will need to purge the air out of the system, and this is usually done by lighting the center burner of the stove. Once the air is purged and the flame is adequate, the burner can be turned off. Check for leaks using your nose, a soapy solution applied to fittings, or a gas detector. If you smell gas, turn off all flames and igniters and locate the leak, or have it checked by a pro. The best practice is to have the propane system leak-tested annually by a certified technician who will also make sure the regulator is adjusted correctly.
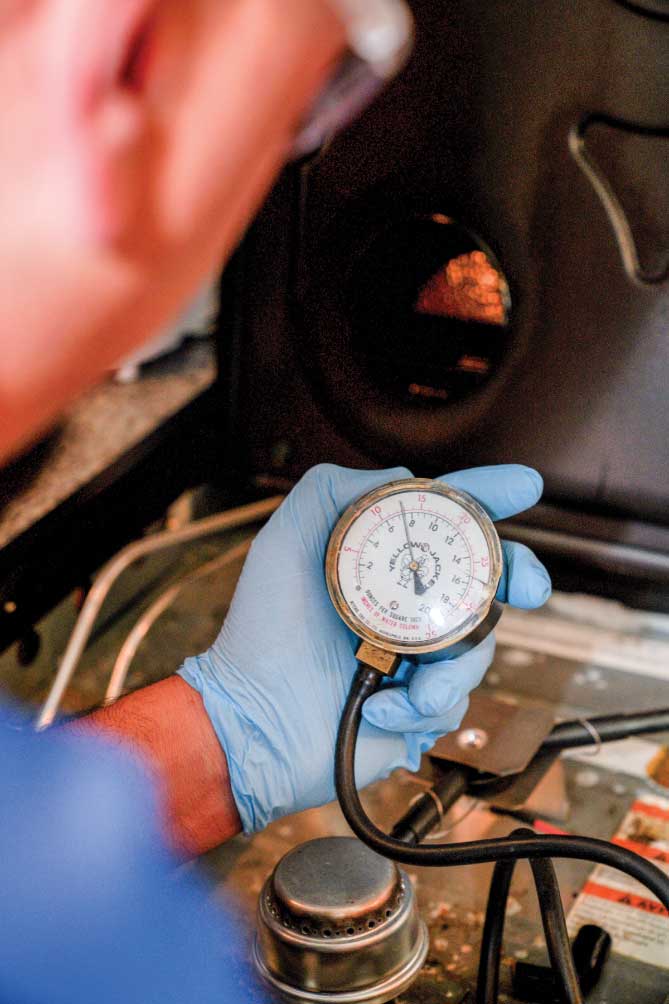
A gas manometer is used by a professional RV technician to determine the flow pressure, lockup pressure and timed leak down test for the propane system and regulator.
Turn on the refrigerator and select the gas mode. As the air bleeds out of the line, the fridge may go into lockout because it doesn’t sense a flame. If that happens, cycle the power switch, and it will try to reignite again. The orifice for the gas burner is small, but it flows pretty well, so you shouldn’t have to do this too many times. If after the fourth or fifth try it doesn’t light, go outside, remove the outside cover and look for spiderwebs and/or other obstructions around the burner area. Again, if you’re uncomfortable with this, seek out a certified technician. Obviously, if you have a residential model, just turn it on.
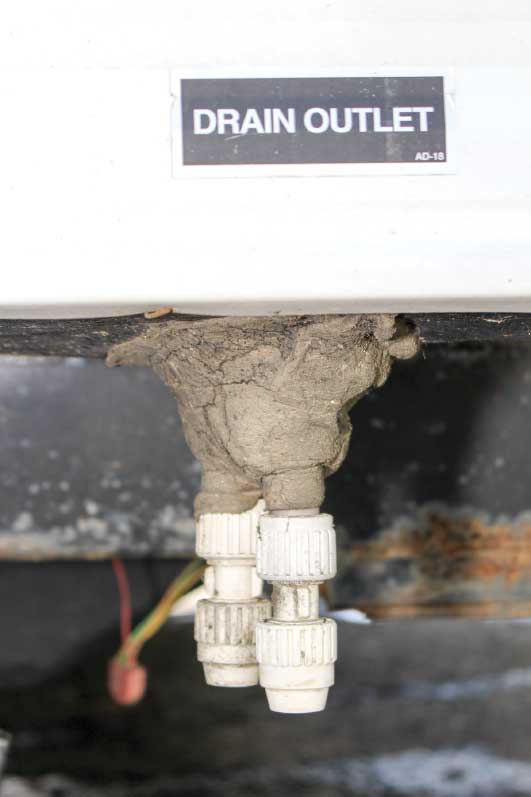
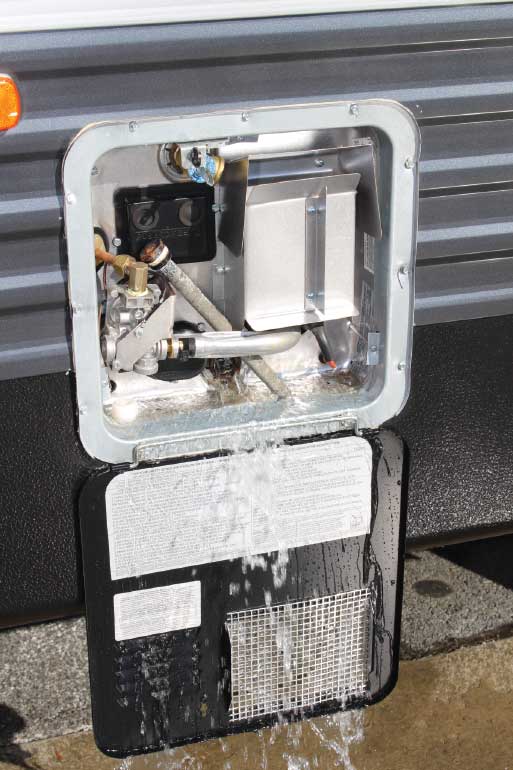
Next, dewinterize the water system. If you used antifreeze before storage, flush the entire system. If the water heater is bypassed, leave it be for the moment. Go through the whole system and make sure all valves are shut and low-point drains are closed. Hook up to a good freshwater source via the city-water connection and pressurize. Make sure you use an RV/marine drinking water hose and a filter. Open the closest faucet and run hot and cold water until the flow is clear. Repeat the process at every water discharge, including toilet(s), outside shower, dishwasher and clothes washer. If you don’t have a clothes washer but have a washer/dryer prep, you will need to hook up a hose to each of these faucets and flush them out. Low-point drains will need to be flushed as well.
If the water heater was bypassed, return the valves to normal operation. Close the water supply and bleed off the pressure. If the motorhome is outfitted with a standard water heater, leave the outside drain plug out, and with the door open, turn on the water flow. This will flush out the bottom of the tank. Shut off the water and install the drain plug. Open the relief valve, turn the water back on and wait for the water to come out of the valve. Once it does, close it, go inside and finish bleeding the hot-water system via a faucet. Once this is complete, turn on the water and let it run at least one full cycle.
Next, shut the water supply off temporarily and relieve the static pressure, then un-bypass the water heater, and with the cover open and drain plug out, flush the water heater. Turn the water off, replace the drain, open the relief valve, then turn the water back on. Water will fill the tank and come out of the relief valve. Close it, then continue to flush the system.
Carefully check the water system for leaks. Don’t leave the motorhome unoccupied with the water hooked up or the demand pump on without doing this step, as a leak can do a lot of damage. Look, listen and feel. If you have a refrigerator with an icemaker, check the lines behind the refrigerator thoroughly.
The 120/240-volt AC system generally doesn’t need service when coming out of storage, but there are a few things to check. Unplug the rig and examine the shorepower cord. The terminals at the plug end should be straight and clean. A pinkish hue on the positive terminal of a 30-amp plug is a sign of overheating. Black discoloration and pitting can be a sign of resistive heating from a poor connection. This should be serviced as soon as practical. If there is any melting or other damage to the plug, or if it is separating from the cord, take it out of service and replace it. For safety’s sake, it is best only to use a cord set with a factory-sealed plug, or one that is assured to be watertight.
RVs, like homes, are equipped with ground-fault circuit interrupters (GFCI) for circuits in wet locations. The GFCI receptacles (not usually breakers in RVs) are daisy-chained, and will frequently have several receptacles in the circuit that are also protected by that GFCI. The GFCI will have TEST and RESET buttons. With the power in the rig energized, push the test button, and if the GFCI is working, you’ll hear a “click” and the reset button will pop out. There should be no power at this receptacle or any after it. Receptacle testers with a GFCI test button can be used in one of the receptacles after the GFCI to test its remote function.
Every AC appliance should be tested for proper operation. Each receptacle can be tested for function; however, that is not a guarantee that the system is operating correctly. Other grounding issues can occur, so testing the power source and receptacles is essential (see AC Electrical Testing sidebar on page 62).
Similarly, the 12-volt DC system need only be tested if there is an operational problem, like dim lights or batteries not charging. It is recommended that the charging system (converter or inverter/charger) be tested using a multimeter to make sure the output is correct.
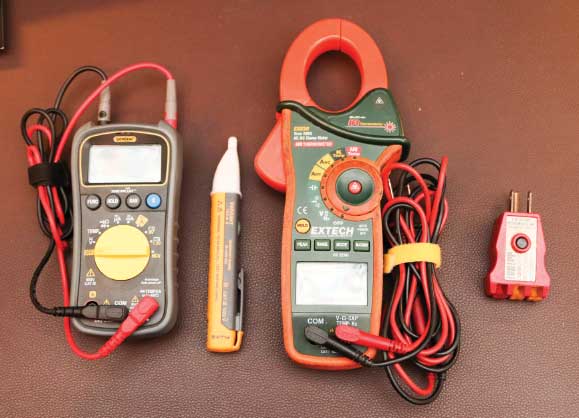
is pretty easy and uses some basic tools: a multimeter, non-contact voltage tester (NCVT), and a receptacle and GFCI tester. Get a decent meter to keep with you during your travels. A meter with an AC/DC amp clamp and temperature sense, like this Extech model, while more expensive, has many essential RV technician diagnostic tools in one unit.
Don’t forget to test your technology. Many RVs have Wi-Fi repeaters, cellular boosters, entertainment systems, antenna boosters, automatic satellite TV systems, etc., and arriving at the campground for the first trip of the season is not the time to realize something isn’t working. Also, check all the interior and compartment lights, and replace bulbs as needed.
Prep Step 3: Inspect and wash and wax the exterior, check roof and seals
Once the systems are up and running, it’s time to turn your attention to the outside of the motorhome. First and foremost is the roof, which needs to be cleaned per the manufacturer’s instructions, especially if the motorhome has a membrane roof. Once it’s dry, carefully examine the roof and all sealants. Any sealants that are loose, cracking, or have open bubbles or blisters need to be cleaned and resealed with the proper sealant.
Refer to the owner’s manual, RV or roof manufacturer for the appropriate sealants. Check roof vent covers, antennas, vents, skylights, solar panels, and the ladder mounting brackets for damage and make necessary repairs.
Of course, now that the roof is clean, all the dirt that was up there is on the side walls. Take the time to wash the exterior of the rig thoroughly. If the fiberglass has weathered, consider a fiberglass restoration product to help bring back the shine.
Check all the windows, doors and other openings for seal integrity. Operate and clean all the windows inside and out and lubricate as needed. This includes the emergency exit(s). If any seals are questionable, this is the time to repair them.
Awnings are frequently ignored at this early stage, but they, too, should be checked for condition, operation and cleanliness. Opening a wet, filthy, mildew-ridden awning when you’re setting up camp for the first time is a real downer. Open it up and follow the manufacturer’s cleaning and maintenance instructions carefully. Don’t forget to check any slideout toppers.
Waxing the exterior will keep the surface protected and looking nice. Using a wash and wax concentrate through the season will help maintain the protection, but waxing with a good-quality hand wax at least once a year is essential to exterior longevity.
Take the time to inspect the motorhome’s tires. Tire condition and inflation are essential for worry-free travel. The use of a TPMS is highly recommended. Also check the DOT date on the tires; once they reach 5-7 years of age, have them inspected.
Examine the tires for any signs of cracking and dry rot, bulges and blisters. If you see any of these, have the tire inspected by a tire professional. Baldness and uneven tread wear will lead to tire failures. The tread on larger truck tires must have a minimum of 4⁄32-inch of depth on the steering tires, and 2⁄32-inch on the rear. For optimal road grip, replace worn tires before they get to this point.
Tire dressings and protectants with petroleum distillates are not recommended by tire manufacturers. Tires have built-in antioxidants and waxes that work their way through the rubber and collect on the surface to protect them from UV and ozone. Products with petroleum distillates can strip these away and accelerate the deterioration of the rubber compounds.
Prep Step 4: Deep clean the interior … ALL of it
The interior of any motorhome is subject to daily wear and tear because of the more limited traffic patterns and tighter living space. The areas under and behind furniture, cabinet interiors, wiring or plumbing chases and spaces concealed inside can hide a lot of dirt (and pet hair) that can have a longer-term detriment.
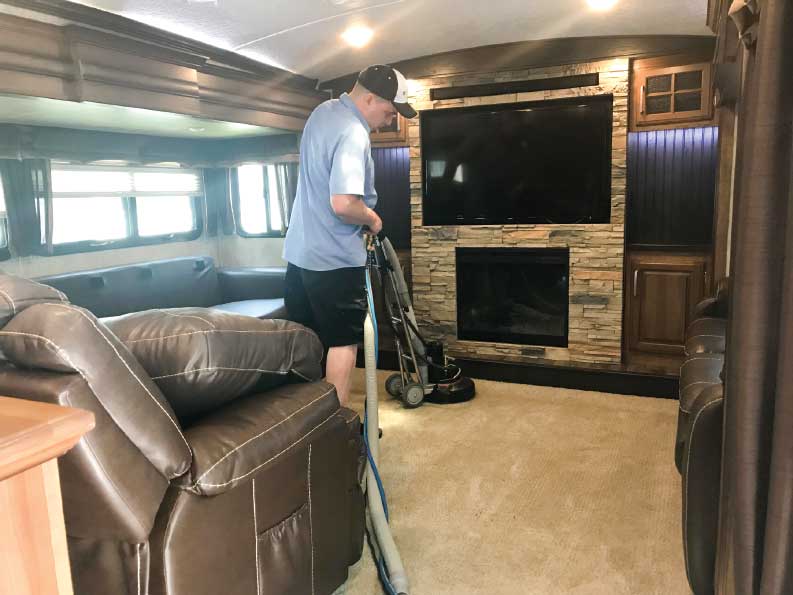
Cleaning should include all surfaces throughout the rig, including carpets, if the rig has them. Consider using a mobile carpet cleaning service for a deep-cleaning and stain-resistant treatment. Often, the same contractor can clean upholstery, mattresses and even hard floors.
The best time to do a thorough interior cleaning and inspection — and to make your motorhome feel like home again — is after bringing the motorhome out of storage and fully dewinterizing.
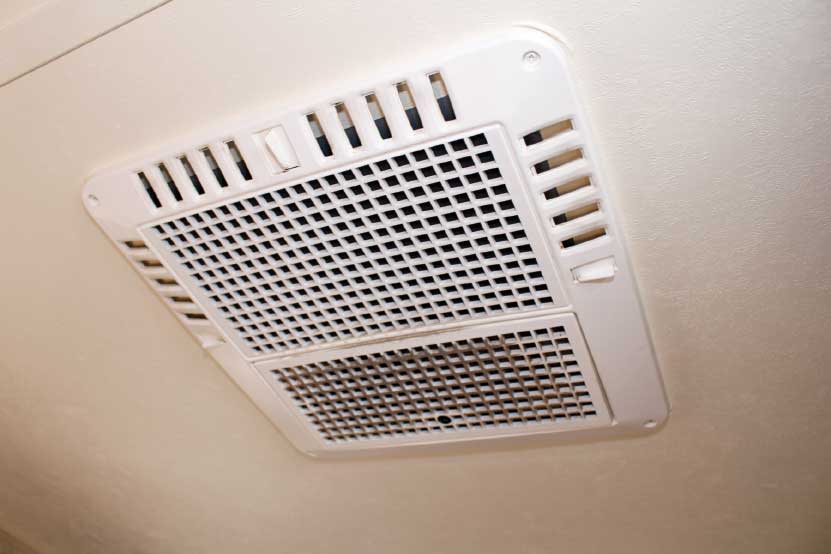
Filters first! Start high and work your way down. The air conditioner returns are likely to have foam or plastic filter media that should be washed in the sink with warm water. If they’re super dirty, consider using a spray cleaner, like Spray Nine, that also kills germs. Once thoroughly rinsed, let the filter(s) dry before reinstalling. Consider cleaning dust and debris from the ceiling, light lenses and the tops of cabinets, slides and doors.
Walls can get dirty but should only require a quick wipe down with a damp rag using an interior cleaner as needed for more stubborn spots. Most likely, your motorhome’s cabinet doors, at least, are real wood and will benefit from an application of furniture cleaner like Pledge or Liquid Gold. If the stiles and cabinetry have plastic laminated surfaces, then solid-wood cleaners should not be used because the liquid will not soak in. Countertops and horizontal surfaces, including showers and surrounds, sinks, and appliances should be thoroughly cleaned.
Sealants used in showers can fail over time, just like the ones at home, because they are subject to constant jostling from bumpy roadways. Clean the surround thoroughly and inspect the joints. Use a good clear sealant like Lexel or a high-quality kitchen and bath silicone to reseal as needed. If you see rusted screws, replace them with new, preferably stainless-steel, screws.
Furnishings come in many shapes and sizes, with many different types of upholstery. It is best to follow the manufacturer’s directions for cleaning, but whatever you use, test it on an inconspicuous area before doing the whole thing. Wood furnishings, like cabinets, will benefit from a wood cleaner.
Motorhomes have different air conditioning duct layouts, but all have air returns with some sort of foam filter(s) to keep dirt out of the evaporator fins. These should be checked regularly; more often in dusty environments and removed and washed as needed.
RV manufacturers have been getting away from carpeting where possible over the last decade, which offers a big improvement in livability. The carpeting in motorhomes can get dirty and smelly pretty quickly, and can also hide leaks and hold water, accelerating damage.
For motorhomes with carpeting, consider renting a rug shampooer or, better yet, get the carpets and upholstery cleaned by a mobile service. The equipment used by many mobile services can extract water from the carpets more effectively, and if they offer a stain prevention service, try it. After testing the carpet with this type of treatment, it was anointed with red wine, and the stain came right up.
Don’t forget the exterior compartments. Consider removing items from the compartments and clean the areas thoroughly. The utility bay always gets funky, so this would be a good time to clean and sanitize it. Hook up to a sewer connection and test the dump valves and black tank flush. If there are problems, it’s better to have them fixed now before your first trip. Check all the compartment lights, lube the compartment door hinges, and locks if needed, and inspect the hoses and fittings, and replace any that are in bad shape.
The bottom line: Take good care of your motorhome and it will take good care of you.
Getting Started
As with cars and boats, RVs have many different surfaces inside and out, and there are hundreds of products available to aid in cleaning, deodorizing and maintaining your motorhome. Here are some to consider:
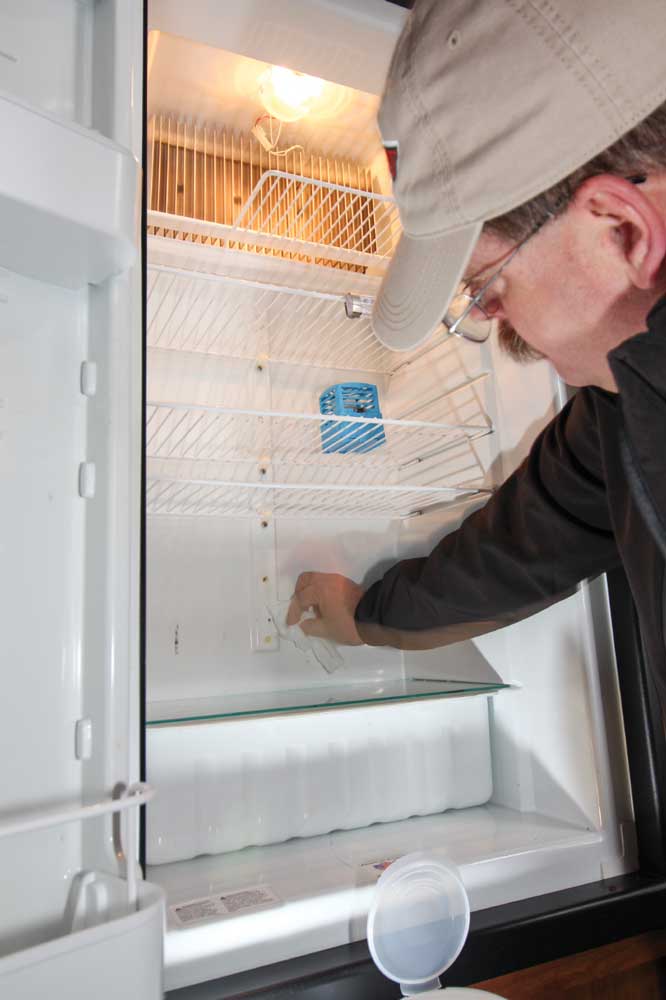
RV refrigerators need to be kept clean and dry while in storage to avoid mildew growth. Clorox or Lysol wipes work well for this chore, then lock the doors ajar to ventilate.
Camco
For decades, the RV industry has benefitted from Camco’s products. Wash and wax, awning, black streak and mildew stain cleaners are just part of the array. Camco products can be found at Camping World RV & Outdoors and Gander RV & Outdoors locations, plus RV dealerships and online.
Carrand Cleaning Tools
A motorhome is a big vehicle, and getting up on ladders to reach high places isn’t a safe option. Products from Carrand Cleaning Tools, a division of Hopkins Manufacturing, are designed for RV users to help with cleaning from the roof to the wheels.
Dometic
Best known for its appliances and air conditioning systems, Dometic has been in the RV chemical business for years and makes a number of suitable products, ranging from toilet chemicals to wash and wax products.
Oxy-Kem
Oxy-Kem drop-in holding tank cleaner and deodorizer is said by the company to be a more environmentally friendly solution for holding-tank cleaning and deodorizing.
Roadmaster Voom
Roadmaster says its Voom RV concentrated cleaners are safe for all surfaces not harmed by water, are biodegradable, and don’t contain any petroleum distillates.
Detailing Your RV Like a Pro
Starbrite
Starbrite is another one-stop-shop for cleaners, polishes and treatments.
Thetford
Thetford is a senior statesman in the RV toilet and sanitation world. The company also has a line of premium RV care products, including a one-step roof cleaner and protectant.
Walex
Walex is a well-known company to portable sanitation, septic and environmental odor control companies, and its heft in those industries is available to RVers with toilet chemical and air freshener products.
AC Electrical Testing
Our motorhomes depend on alternating current (AC) electrical power for everything from operating appliances to charging the batteries that supply direct current (DC) to the onboard system.
Ensuring the integrity of the AC power system is essential, not only for safety but also to prevent serious property damage in the event of a miswiring issue. Testing begins with the external power source, which is the campground pedestal or home RV receptacle, and concludes with the receptacles in the motorhome.
Testing requires three tools: a multimeter, non-contact voltage tester (NCV) and a receptacle tester with a ground-fault circuit interrupter (GFCI) test button. To test the campground receptacle, turn on the power and test the hot, neutral and ground against each other. Polarity doesn’t matter with AC power. The 50-amp receptacles have two hot legs, a neutral and a ground. When testing 50-amp power, test each hot leg against the neutral and ground, and there should be 120 volts AC on each. Then test the two hot legs against each other, and there should be 240 volts AC. Neutral to ground should be zero volts, or very close to that. The 30-amp receptacles have one hot at 120 volts AC. If it reads much higher, say 240 volts AC, do not connect to it, as it has (likely) been wired for a clothes dryer. If any of these tests fail, do not connect the motorhome. If everything passes, turn the power off, connect the motorhome, then turn the power back on.
Inside the motorhome, use the receptacle tester to check the receptacles and GFCI circuits. While not required, testing one interior receptacle like you tested the campground receptacle isn’t a bad idea to make certain that the connections are right all the way inside. If any rodent damage to the power system is suspected, the system should be tested in more detail, preferably by a professional.