Foolproof St. Louis Style Ribs
Image Caption:
About
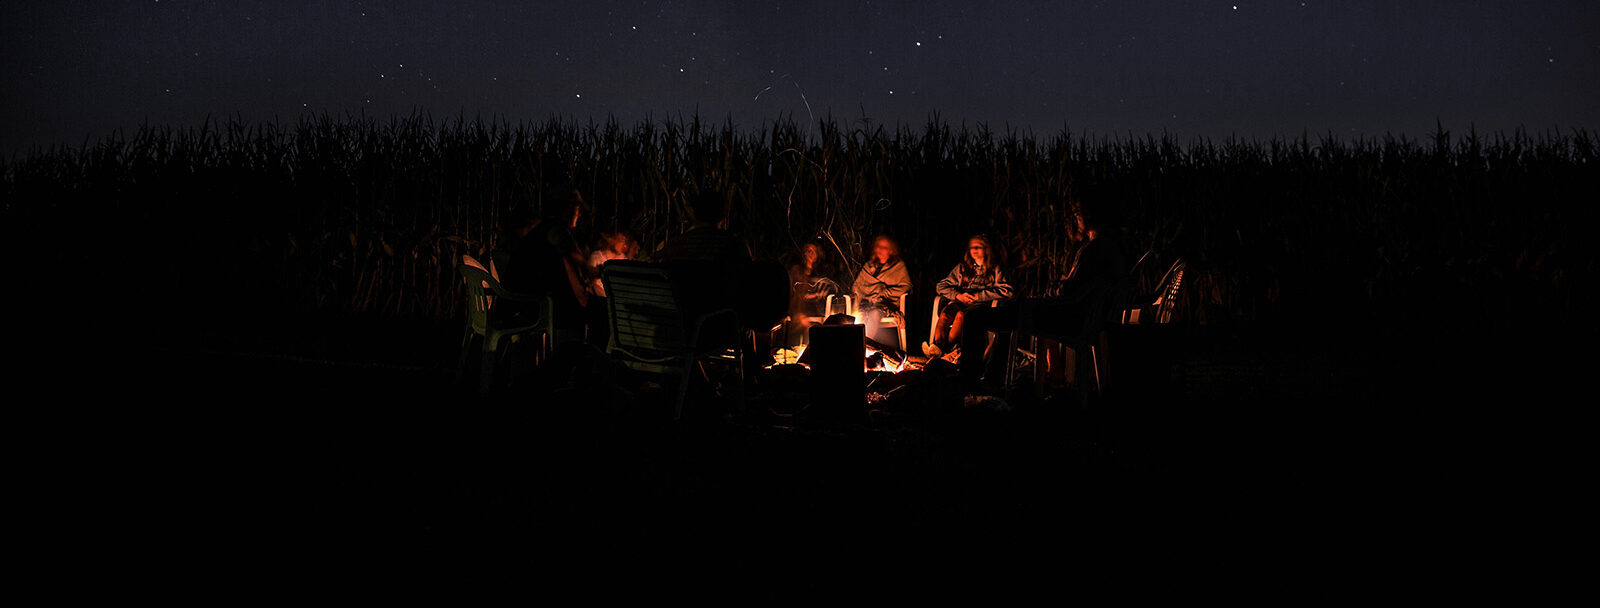
Nothing says “camping” quite like the sweet aroma of smoke from a BBQ. Trailer camping is particularly well suited for BBQ’ing since BBQing tends to include a long cook time. That long cook time might be boring at home, but becomes something to savor when you are out camping. It becomes the reason to stay outside and socialize, in hot or cool weather, when you might otherwise be tempted to retreat into the air-conditioned comfort of your camping trailer.
So, can you smoke BBQ while camping? Yes! We’ve seen lots of DIY smoker options out but we like the Webber Smokey Mountain 14. It is small enough to still be easily portable in your camping trailer but large enough smoke a full rack. A full rack is plenty of BBQ for our family of four. You also get terrific Weber quality that maintains great smoke temps (as long as it isn’t too windy!)
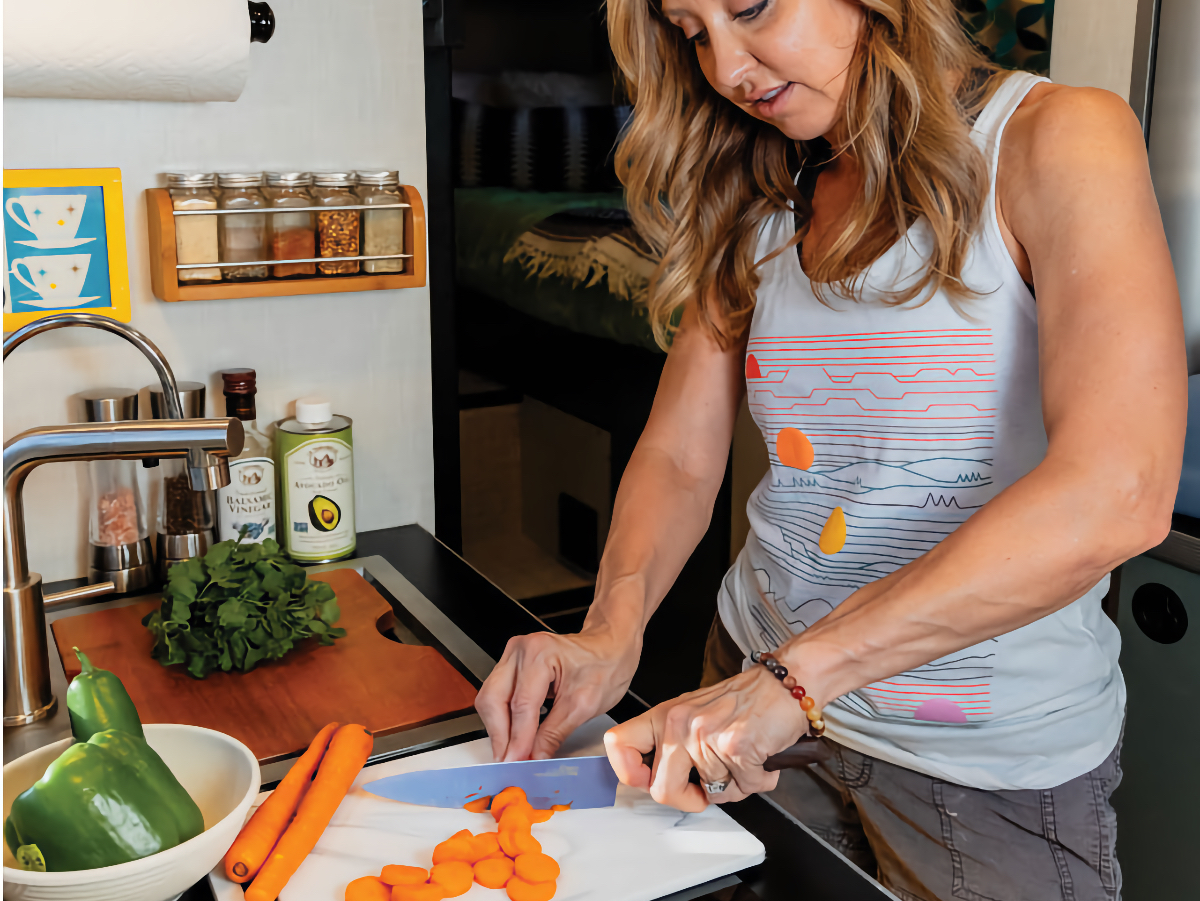
Maintaining an organized camp kitchen is so important. Knowing just where all your cooking tools and ingredients are is especially important when cooking ribs encamped some distance from the closet grocery store. Below you will find the complete check list of what you will need. If you put this together ahead of time, it makes doing the actual cook a breeze.
What You’ll Need
- Your smoker
- Charcoal
- Wood chips Apple or something else sweet. Not mesquite. Chips are easier to find but chunks work too.
- Charcoal chimney
- News paper
- Lighter
- Tongs
- Oven mitts
- Meat thermometer
- Cooler that you can lay the rack of ribs in
- Sharp knife
- Basting brush
- Tin foil
- A box or container to hold some charcoal
- Spray bottle for the Apple Juice
Ingredients
- Louis BBQ ribs
- Butter
- Granulated sugar
- Apple juice
- Bottled of BBQ Sauce. We like Sweet Baby Rays.
- Honey
- Dry Rub Spices
Directions
Get prepped
Before you fire up the grill, make sure your rack of ribs is fully defrosted. If you’ve remembered to move the rack from the freezer to the refrigerator three days before you start your BBQ, you should be in good shape.
The membrane
You may have heard about the membrane. It is just a thin film of tissue on the back side of the rack. If you don’t remove it, your ribs won’t be as tender and delicious as they can be. This is a great article on preparing ribs and removing the membrane.
The Dry Rub
The rub gives the ribs their delicious “bark” and is a must. We like this rub called “Magic Dust” from the book Peace, Love, and Barbecue. If you have kids or guests who don’t like a lot of spice, reduce the amount of cayenne you use 50%-75%. I’ve learned to reduce my cayenne down to 1/3 teaspoon and the bark is still tasty!
Magic Dust
- 2 Tablespoons paprika
- 1 Tablespoon kosher salt
- 1 Tablespoon sugar
- 1 Tablespoon chili powder
- 1 Tablespoon ground cumin
- 1 Tablespoon granulated garlic powder
- 1-1/2 teaspoons mustard powder
- 1-1/2 teaspoons ground black pepper
- 1-1/2 teaspoons cayenne pepper
Fire your smoker
Now that your rack is all rubbed in, it’s time to fire up your smoker. Use your smoker’s instructions of course but we’ve shared how we fire our Weber here:
- Put 3 big handfuls of wood chips in a water bowl filled with water
- Setup your Smoker including the water bowl, almost filled with water.
- Fill the charcoal chimney with charcoal
- Dump that charcoal in a container and set aside
- Add some rolled newspaper to the bottom of the chimney. Make sure some newspaper is poking down through the bottom so you can easily light it from underneath
- Fill your chimney half full of bricks. From the bag, you should still have that container of your chimney full of bricks in reserve.
- Light the newspaper
- Let the charcoal get hot in the chimney. It should take about 20 minutes. They are done when you don’t see any smoke, the bricks are ashed over grey, and it isn’t possible to hold your hand close over the chimney.
- Carefully dump those hot bricks onto the smoker’s charcoal grate
- Get your chimney full of reserved bricks and spread these on top of the burning hot coals.
- Drain your wet wood chips and spread these on top of the unlit coals.
- Take another 2 handfuls of dry wood chips and add them on the top of the wet chips.
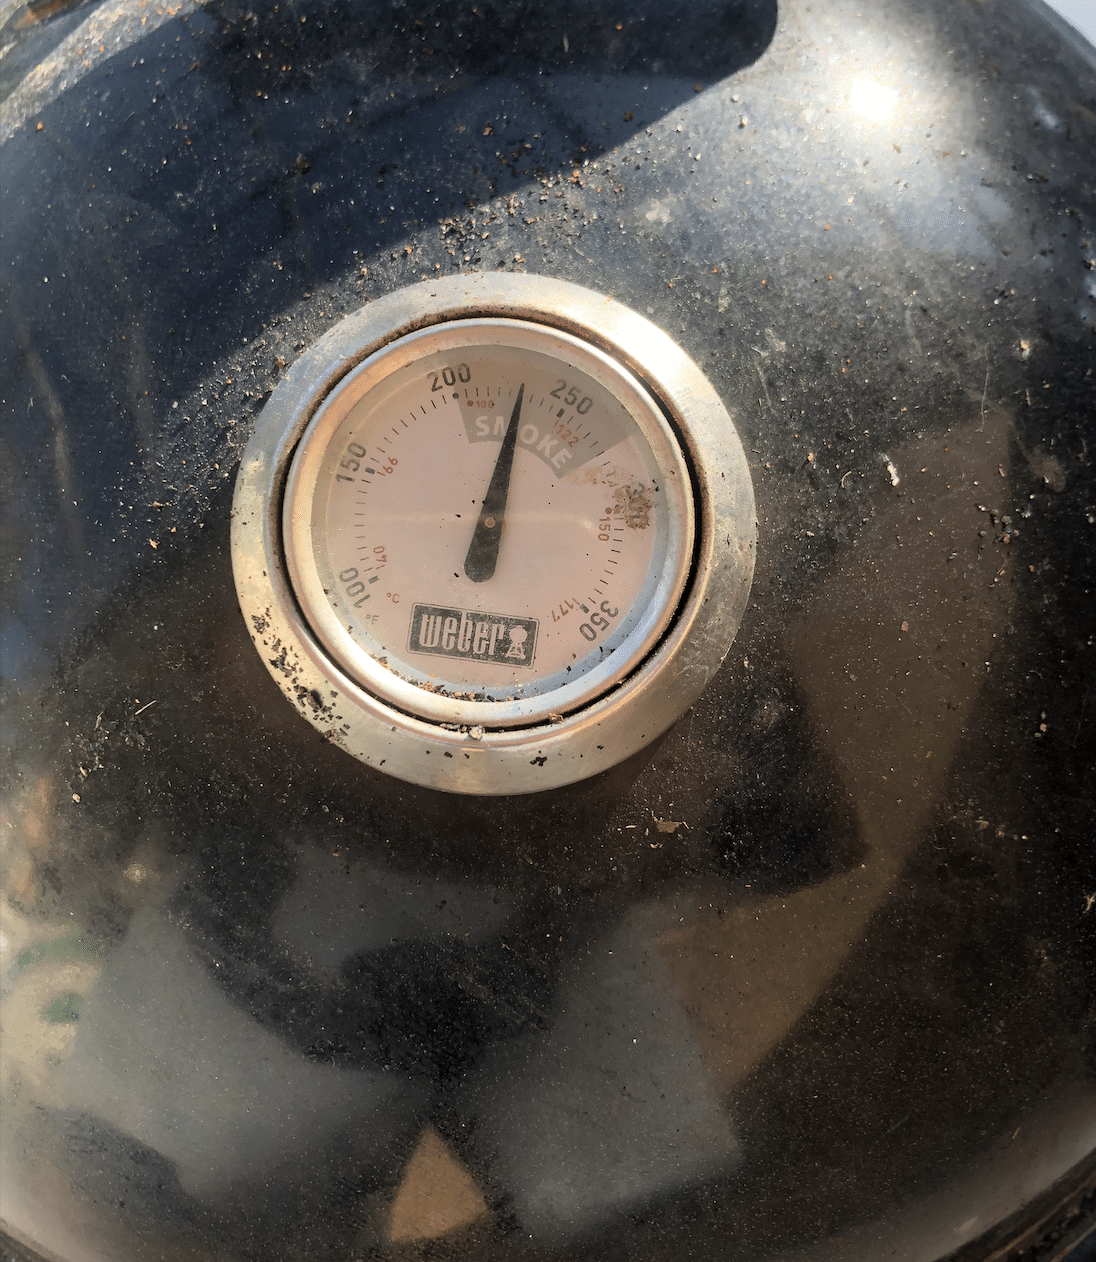
- Make sure your top air vents are all the way open and your bottom air vents are each nearly closed at about 35%. The beauty of this cook is that you don’t have to change these vents. They can stay in this position the whole cook.
Now it is time to go get that rack and put it on the smoker! We often find we have to curl our ribs up a bit to get them to fit on this smaller Weber. That is ok, the ribs still turn out delicious every time. Just make sure you can get the lid on snug. It’s a good idea to check your ribs on the unlit grill to make sure you have enough room.
Keeping the smoker in the zone is key to great ribs Photo: Alaina Elliott
With the ribs on it will take a few minutes for the smoker to come up to temp, use those few minutes and make your BBQ Sauce.
We like a roughly 5:1 ratio of Bottled BBC Sauce to honey and our kids have a lot of fun being the ones who get to measure it and mix it together.
Once the sauce is made, your smoker should be smoking nicely, and you can confirm that you are in that sweet spot temp range. After confirming you are up to temp, start your 3-hour timer. We won’t mess with the ribs again until that timer goes off. Assuming your temperature is steady, there is no reason to take the lid off your smoker until you hit this mark.
At the 3-hour mark, take the lid off and check them. They should be looking at lot like BBQ Ribs at this point (without the sauce) but they probably need another hour to hour and a half. This is the time to insert your meat thermometer into one of the thick ribs. Take care to not hit a bone.
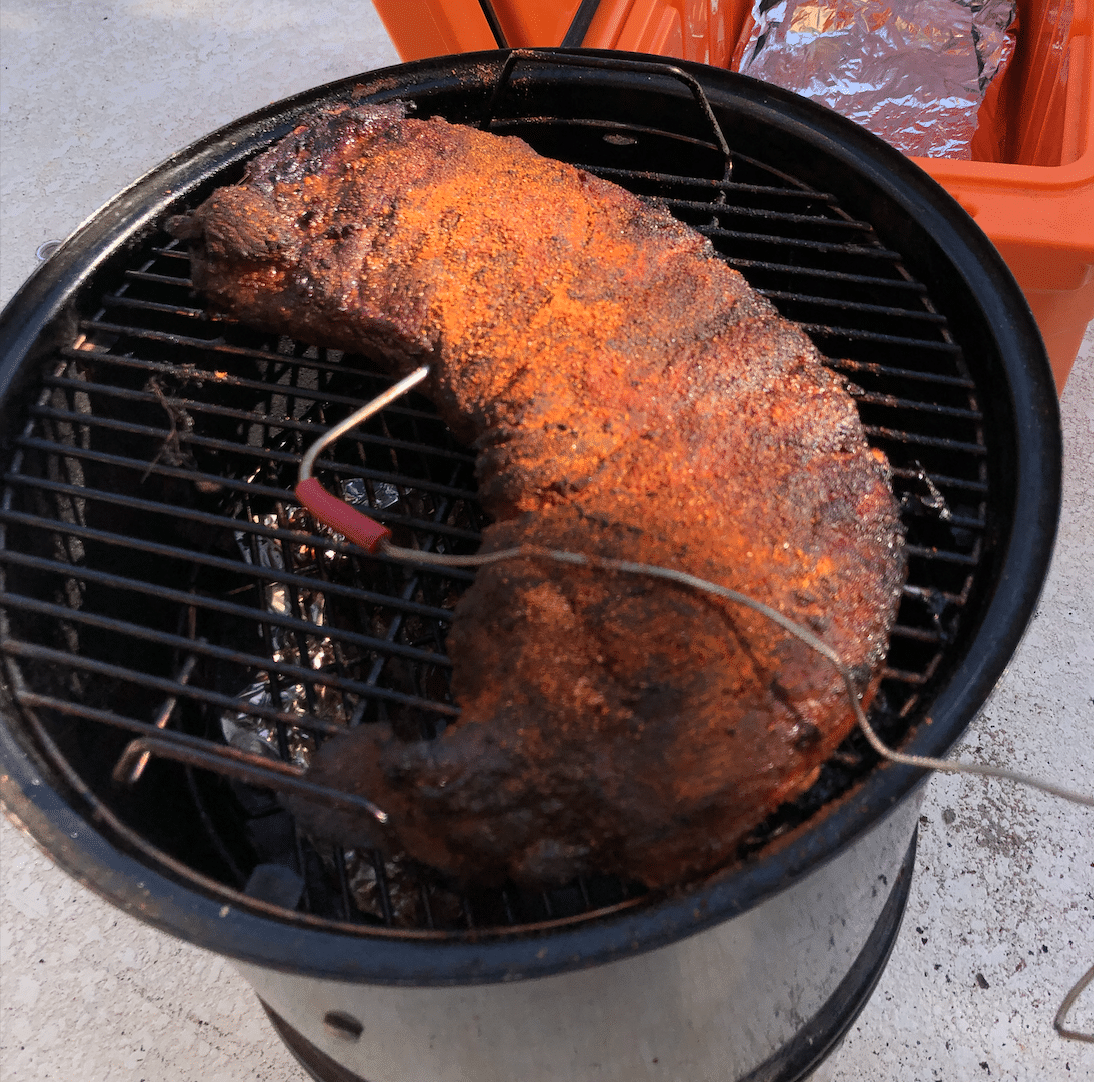
A rack of ribs just starting to get its bark Photo: Alaina Elliott
When are my ribs done?
Since we don’t work in a BBQ joint as professional rib makers, we don’t go in for any of the eye tests, poke tests, pull tests, tear test etc.… We stick to reading the meat thermometer. In order to be done, you want your ribs to hit 200 degrees. This simple rule always works for us. Don’t take your ribs of the smoker until they hit 200. Once they hit 201, you can take them right off and be pretty sure they are good.
The Stall
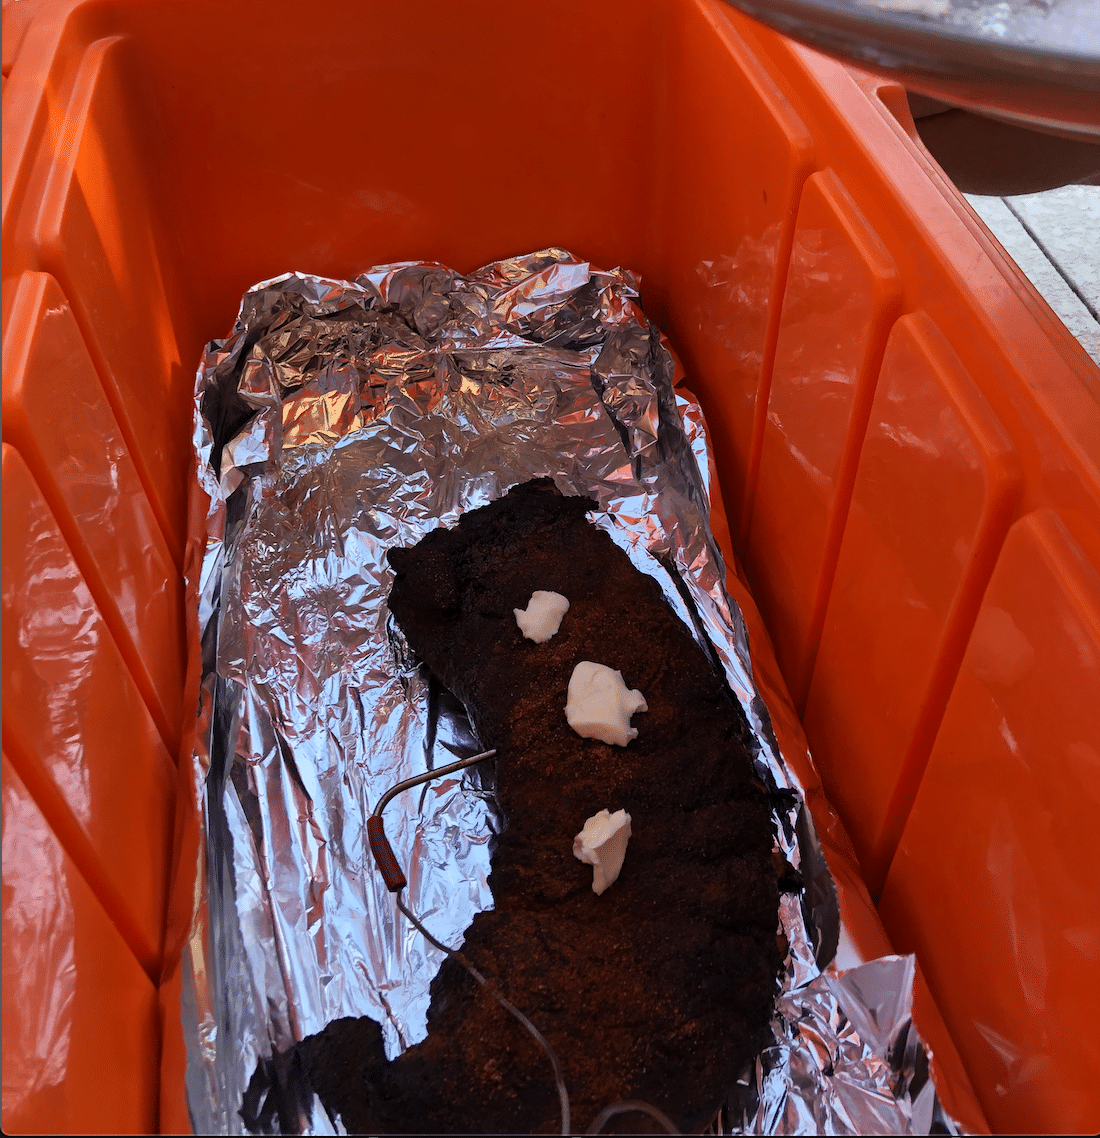
Assuming your ribs are in the 160-170 range after three hours of smoking and according your meat thermometer, use the spray bottle full of apple juice to moisten the rack and sprinkle with more rub. Then put the lid back on and check back in a half hour. At this point you should know if you’ve hit the stall or not. We won’t get into what causes the stall but this article does. What we know is that our ribs almost always stall and the only way to get past it is to use our cooler and tin foil. Here is how it works. After you notice your ribs not increasing their temp much beyond 175 degrees despite being on for a total of 4 hours, it is time to:
- Open your cooler.
- Make a nice foil lining that will be enough to cover your rack and not drip into your cooler.
- Use your tongs and put the ribs in the foil that is in the cooler.
- Add some butter and granulated sugar to the top of the ribs.
- Spray with a bit more apple juice.
- Adjust your meat thermometer as needed so you can still monitor the meat.
- Wrap up the foil into a nice package. Doesn’t have to be airtight but not lose either.
- Put your ribs back on and wait. It may take another half-hour but you should now see your temps break 180 and start their relatively quick rise to 200.
As soon as you hit the 201 mark, transfer you ribs to your cooler and unwrap them. Don’t rip the foil because you are going to use it again in just a few minutes. Place the unwrapped ribs back on the smoker and baste the ribs with a layer of the BBQ sauce you made. Put the lid back on and let them cook another 10 minutes.
After 10 minutes, take the ribs off the smoker, loosely cover them and let them rest fifteen to thirty minutes. Once you hit that thirty-minute mark, let your campers at it! Careful, they will be hot but should have a nice smoke ring and a delicious taste. Serve them with the BBQ Sauce you prepared and enjoy a great day of camping!

Home While We Roam
Home While We Roam is an Atlanta, Georgia-based family who love RV life. They’ve traveled more than 15,000 miles around the United States with their red Winnebago Minnie Plus travel trailer in search of simpler living, deeper family ties and epic adventures! Find them on Instagram @homewhileweroam.