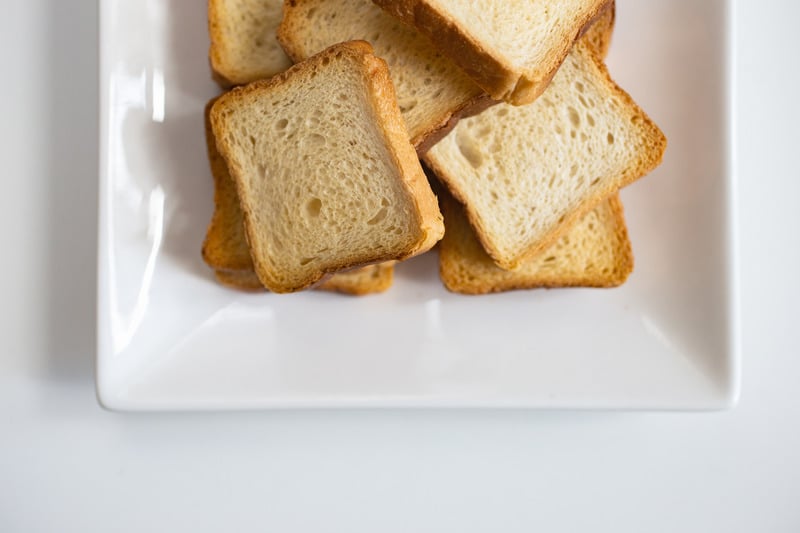
Campground French Toast
Image Caption:
About
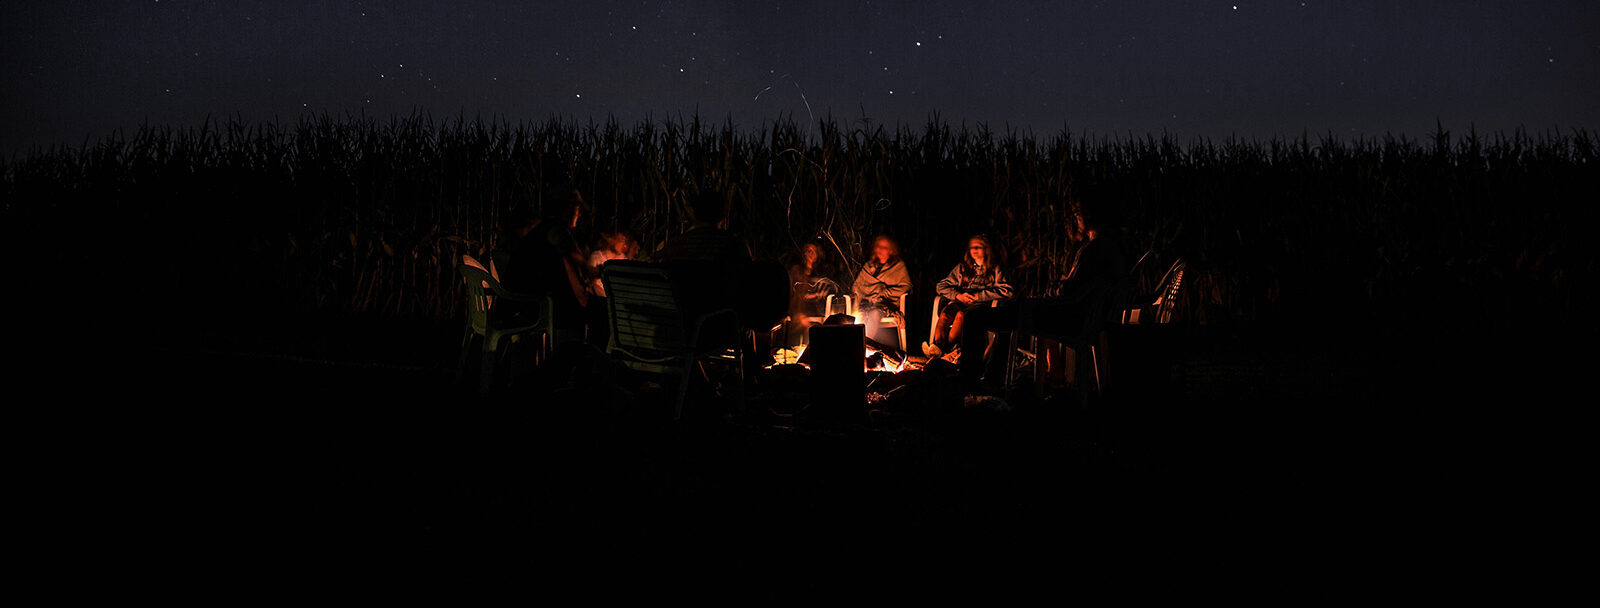
I love waking up at the campground and having a morning that’s not scheduled. No hikes to go on, no lunches to pack, no breaking down the campsite, just a morning where I can relax and make my family breakfast. Hot coffee in the percolator over the fire, the cast iron griddle heating to cook thick cut apple wood smoked bacon and my camp Dutch oven about to be filled with the richest baked French toast I have ever created.
One thing I always see at the campground is that one adult is standing there flipping pancakes or pieces of French toast while the family is eating at the table. It’s one of those meals you can not deliver all the cooked items at once. However, loving camp Dutch oven cooking like I do, I wanted to take my delicious spiced French toast and create a recipe for Dutch Oven French Toast Bake that we all could enjoy at the campground table together.
What You’ll Need
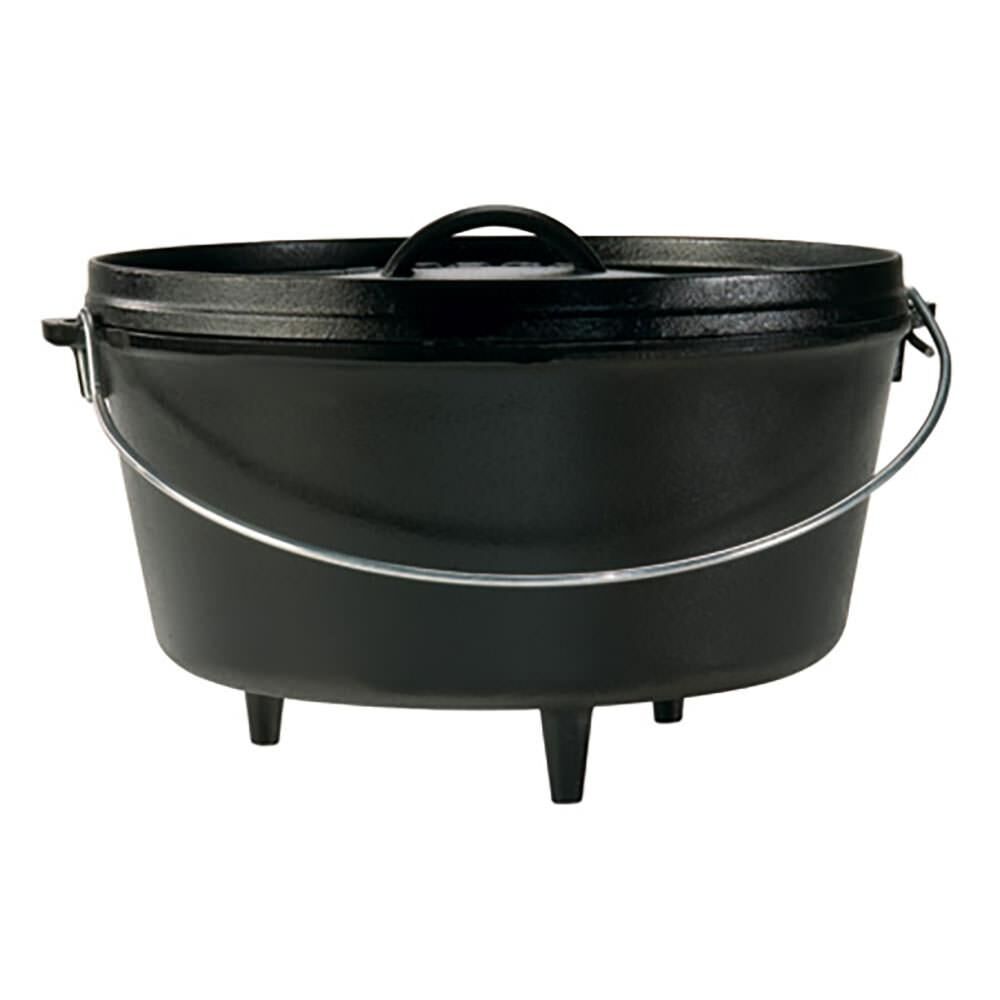
Camp Dutch ovens have been around for generations. A simple pot design with iron feet attached to the base of the pot and a lid with a flat top and a lip around the edge. Beyond the Dutch oven very few items are needed, I have provided my camp dutch oven checklist for you.
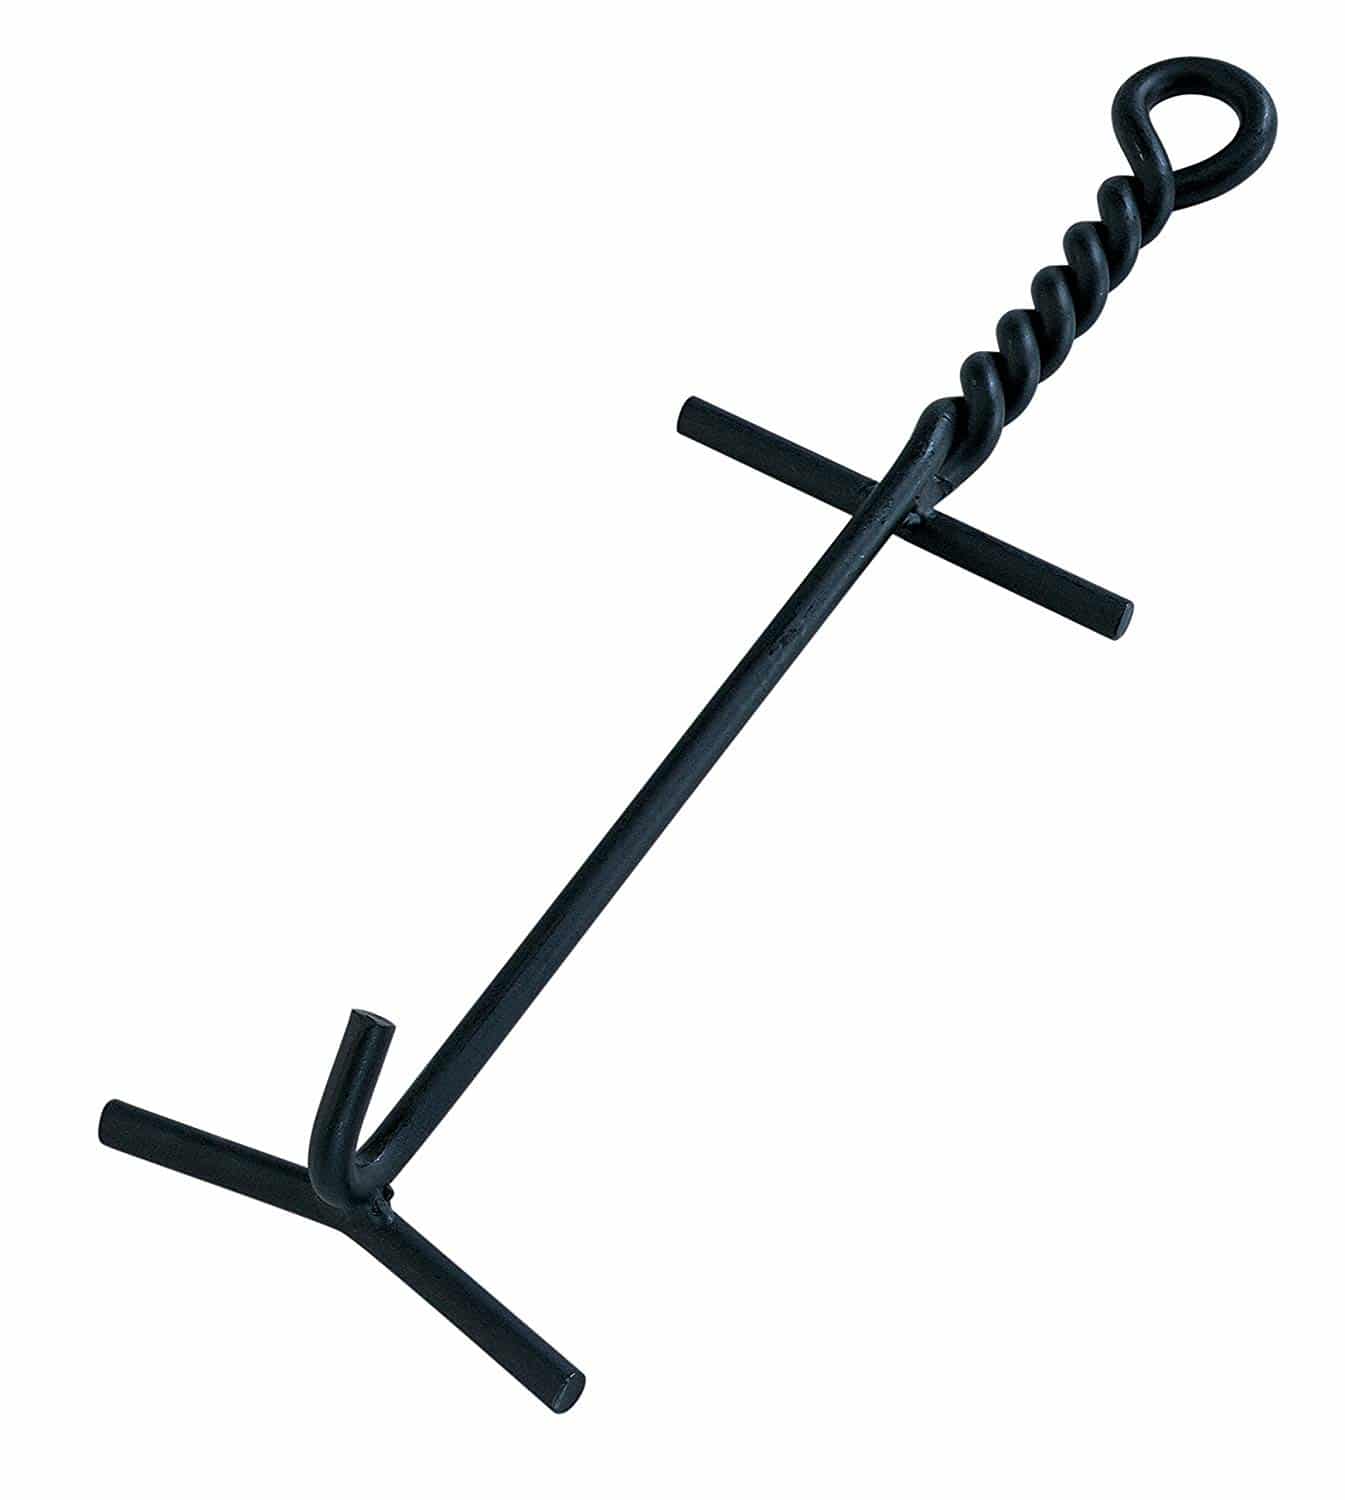
Lid Lifter. This tool will help you safely remove the hot lid from your Dutch oven, it will also help you rotate your Dutch oven while cooking.
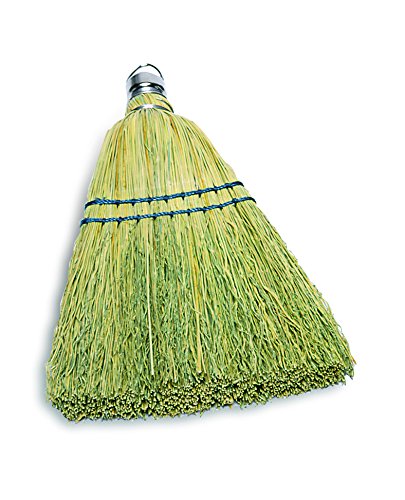
Corn whisk broom. One of those pieces of equipment that most people overlook but I find essential. When you are finished cooking your Dutch oven meal you have to remove the remaining hot coals from the lid. This broom quickly does the job please make certain you are buying natural corn and not the synthetic plastic, that one will melt.
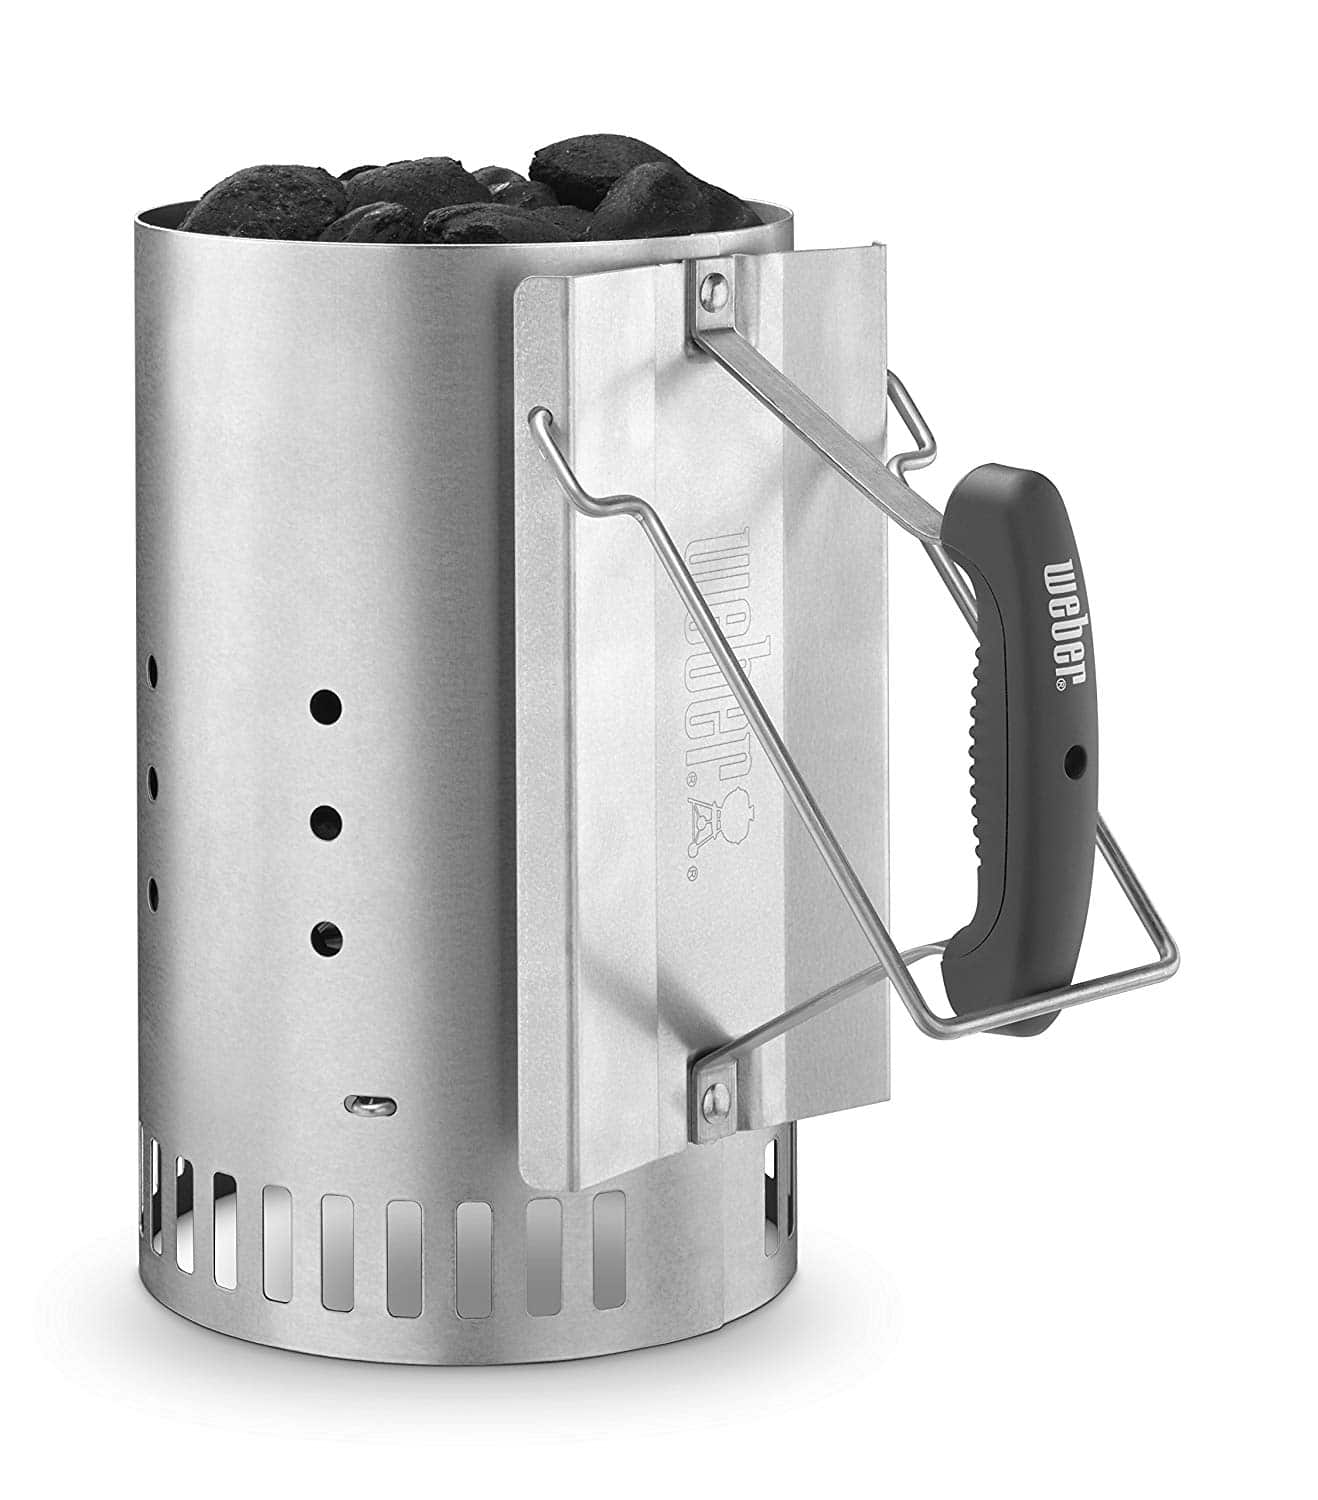
Charcoal chimney starter. If you are using lump or charcoal briquets this is the tool you need to light them.
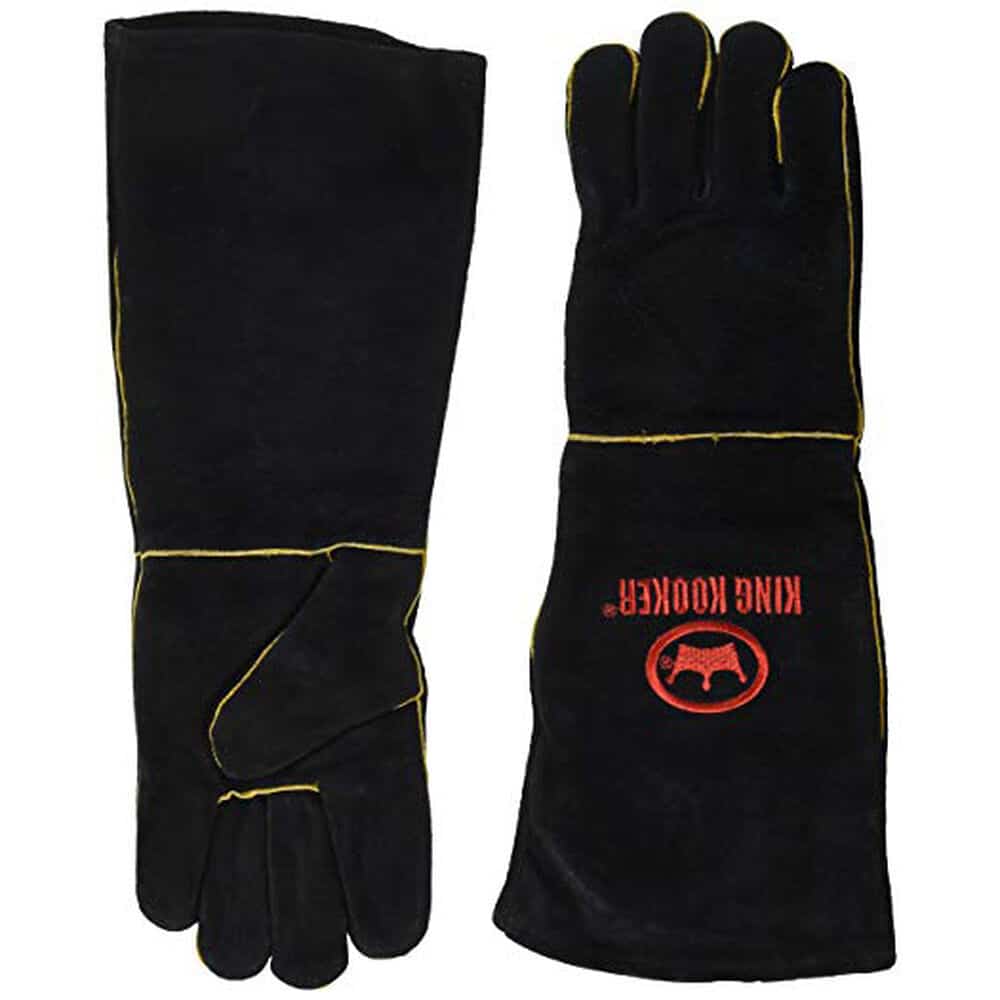
Heavy duty gloves. You need to keep your hands protected and these gloves not only protect your hands they protect your forearms.
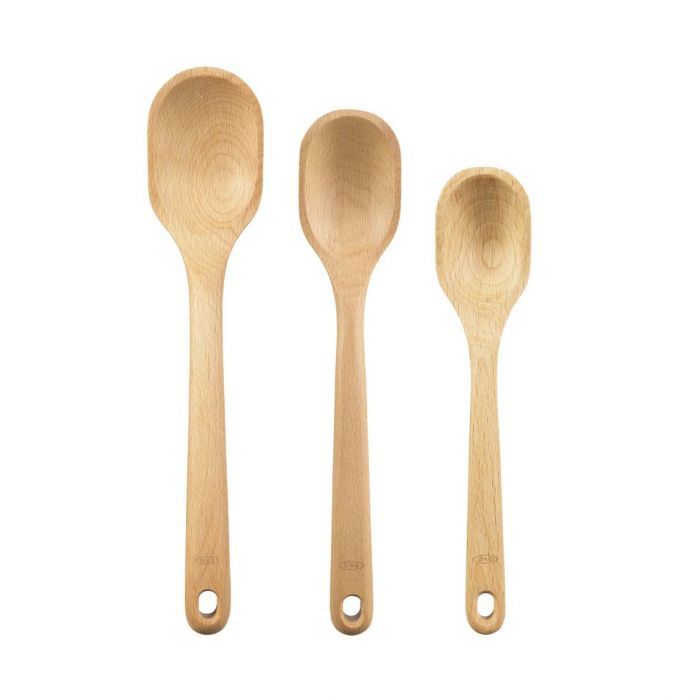
Wooden spoons & spatulas. Never use metal spatulas or spoons with cast iron as they can scrape the precious seasoning layer right off and into your food. Using plastic with cast iron is another big no, no. Certain brands have been known to melt upon contact with the hot cast iron.
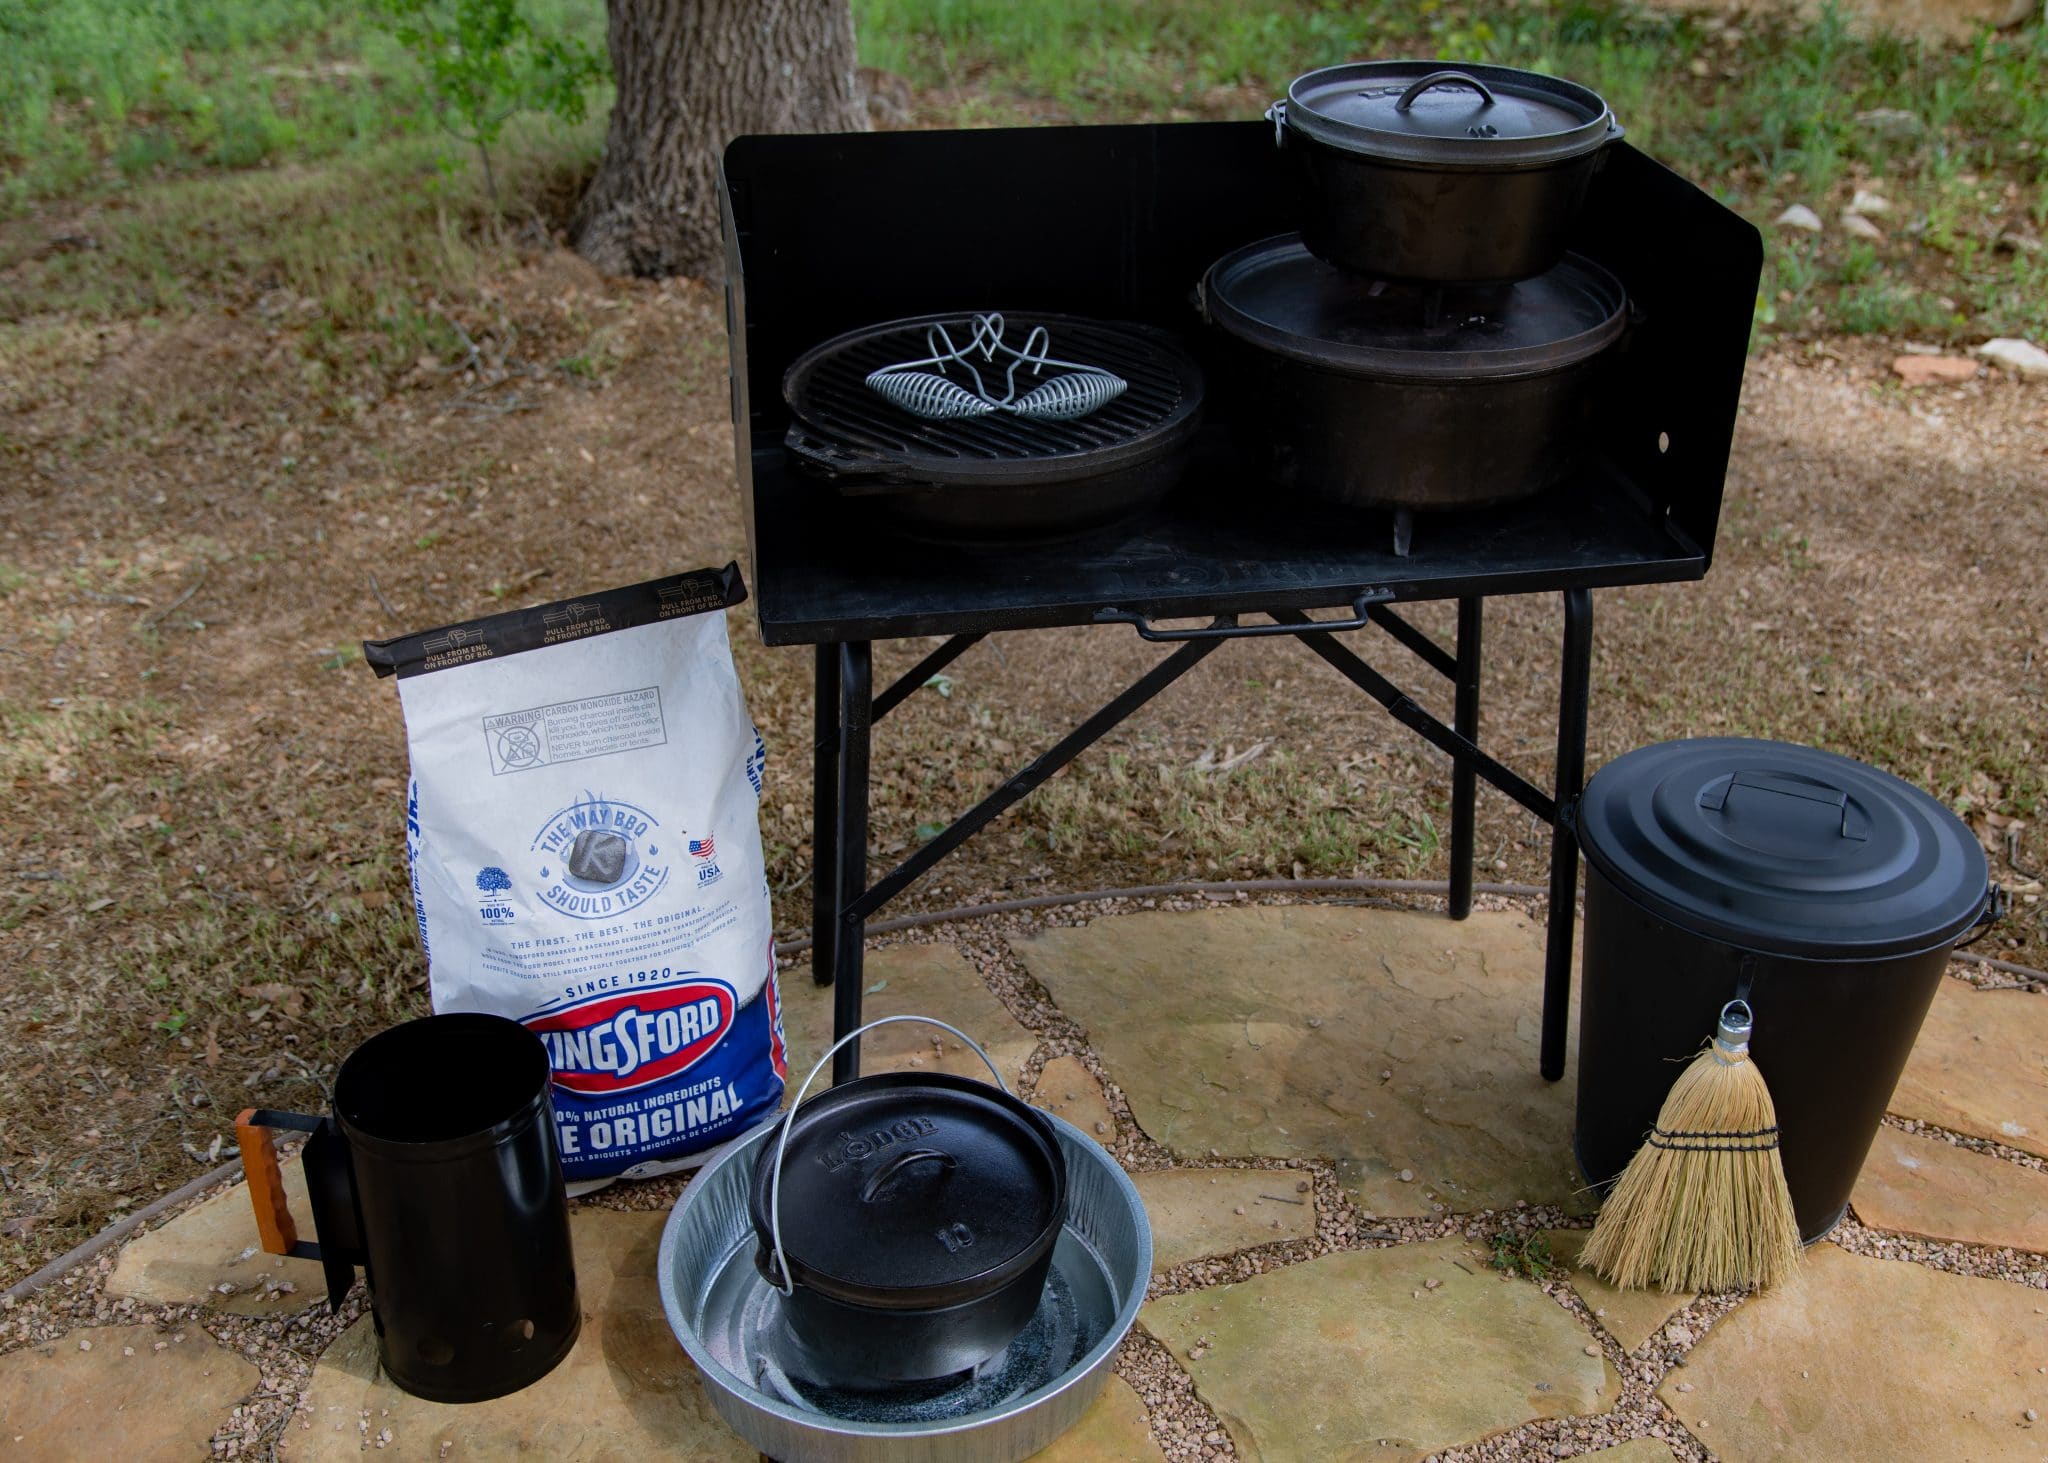
Dutch oven table (optional but nice to have). If you don’t have a fire ring this is where you build your fire and place your camp Dutch oven on to cook your food.
Ingredients
Serves 4
- 1/2 loaf Texas Toast sliced bread, cubed
- 1/2 loaf brioche bread, cubed
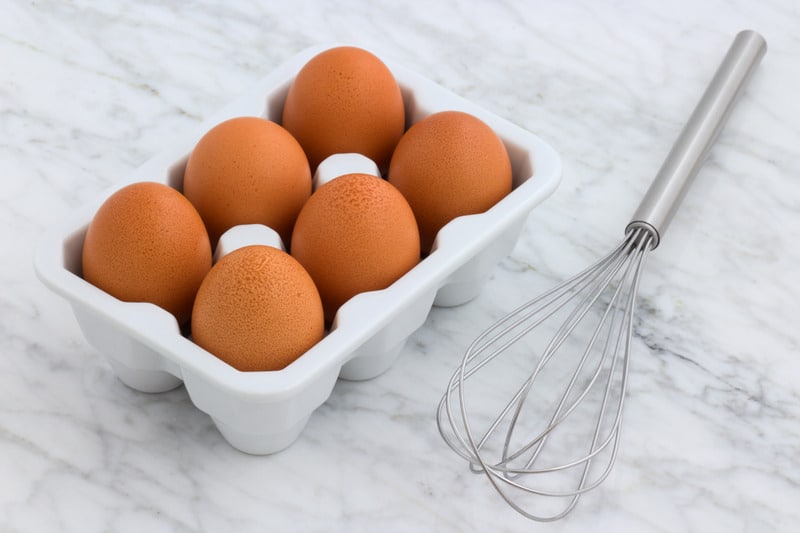
- 8 large eggs
- 1 cup whole milk
- ¼ cup maple syrup
- 4 tablespoons unsalted butter, cut into small pieces
- 2 teaspoons vanilla extract
- 1 teaspoon ground cinnamon
- 1/2 teaspoon ground ginger
- 1/4 teaspoon ground nutmeg
French toast is a very simple dish made of thick-sliced bread, eggs, spices, milk and a bit of vanilla. The bread trips most people up when preparing this dish, if you use sandwich bread chances are the piece of bread will fall apart under all the egg and milks weight. Cut your bread too thick and the center will have none of the egg mixture absorbed into it. Overly sweet breads will burn because the sugar caramelizes on the griddle because of the longer cooking time.
For this recipe I have chosen two types of bread, Texas toast and brioche bread. I love Texas toast. Every slice is uniform in size which makes it easy for me to cut three even plank slices then an additional 3 slices to create nine perfect cubes for every slice of bread. Texas toast soaks up the egg mixture evenly and it’s a sturdy bread that will not fall apart when mixed with the other ingredients. The second bread I love using is brioche, a delicious egg and butter-based bread perfect for French toast. The loaves are the color of egg yolks, the bread has a good, sturdy structure and it can easily soak up the egg mixture without becoming pieces of mush.
The trick I found out while I was testing this recipe was that I needed to slice all of my bread cubes the night before and leave them out overnight to dry out a bit. That way the eggs, milk and spices evenly soaked into the bread which helped it bake evenly in the Dutch oven.
Directions
Whisking Your Eggs
In the world of the culinary arts, chefs have a wealth of secrets that are rarely passed on to anyone outside their kitchens. Today I’m sharing the top two secrets for the best scrambled eggs you will ever make. Whether you are cooking them up in a skillet or mixing them with spices for this recipe, these two secrets are crucial for your eggs to cook evenly and without tough bits.
The mixing. It is essential for you to mix your eggs thoroughly. When you take a whisk to eggs to break the yolks and whip the egg whites, you are bringing two very different textures together. One is water based, the other is fat and protein. The trick is to whisk them so they both incorporate into each other. When you whisk your eggs, every so often raise the whisk out of the bowl and look at the stream of egg rolling off the whisk. Is it fluid like water? Or is it still clumpy and not blended? The goal is to mix them thoroughly but not overdo it; you want the egg to fall off the whisk like a smooth stream of water from your faucet.
Straining your eggs. Yes, you read that correctly. Time and time again I shock friends and students with this trick. After you have whisked the raw eggs just before you add them to your hot pan or mixing bowl of other ingredients, pass them through a fine-mesh strainer. It will surprise you to find thin but clumped strands of protein left behind from the egg white. That is the part of the egg that becomes hard and rubbery or tough when you scramble eggs. By straining your whisked eggs, you are eliminating any of those hard bits and catching any small pieces of shell from when you cracked your eggs.
Lighting Your Fire
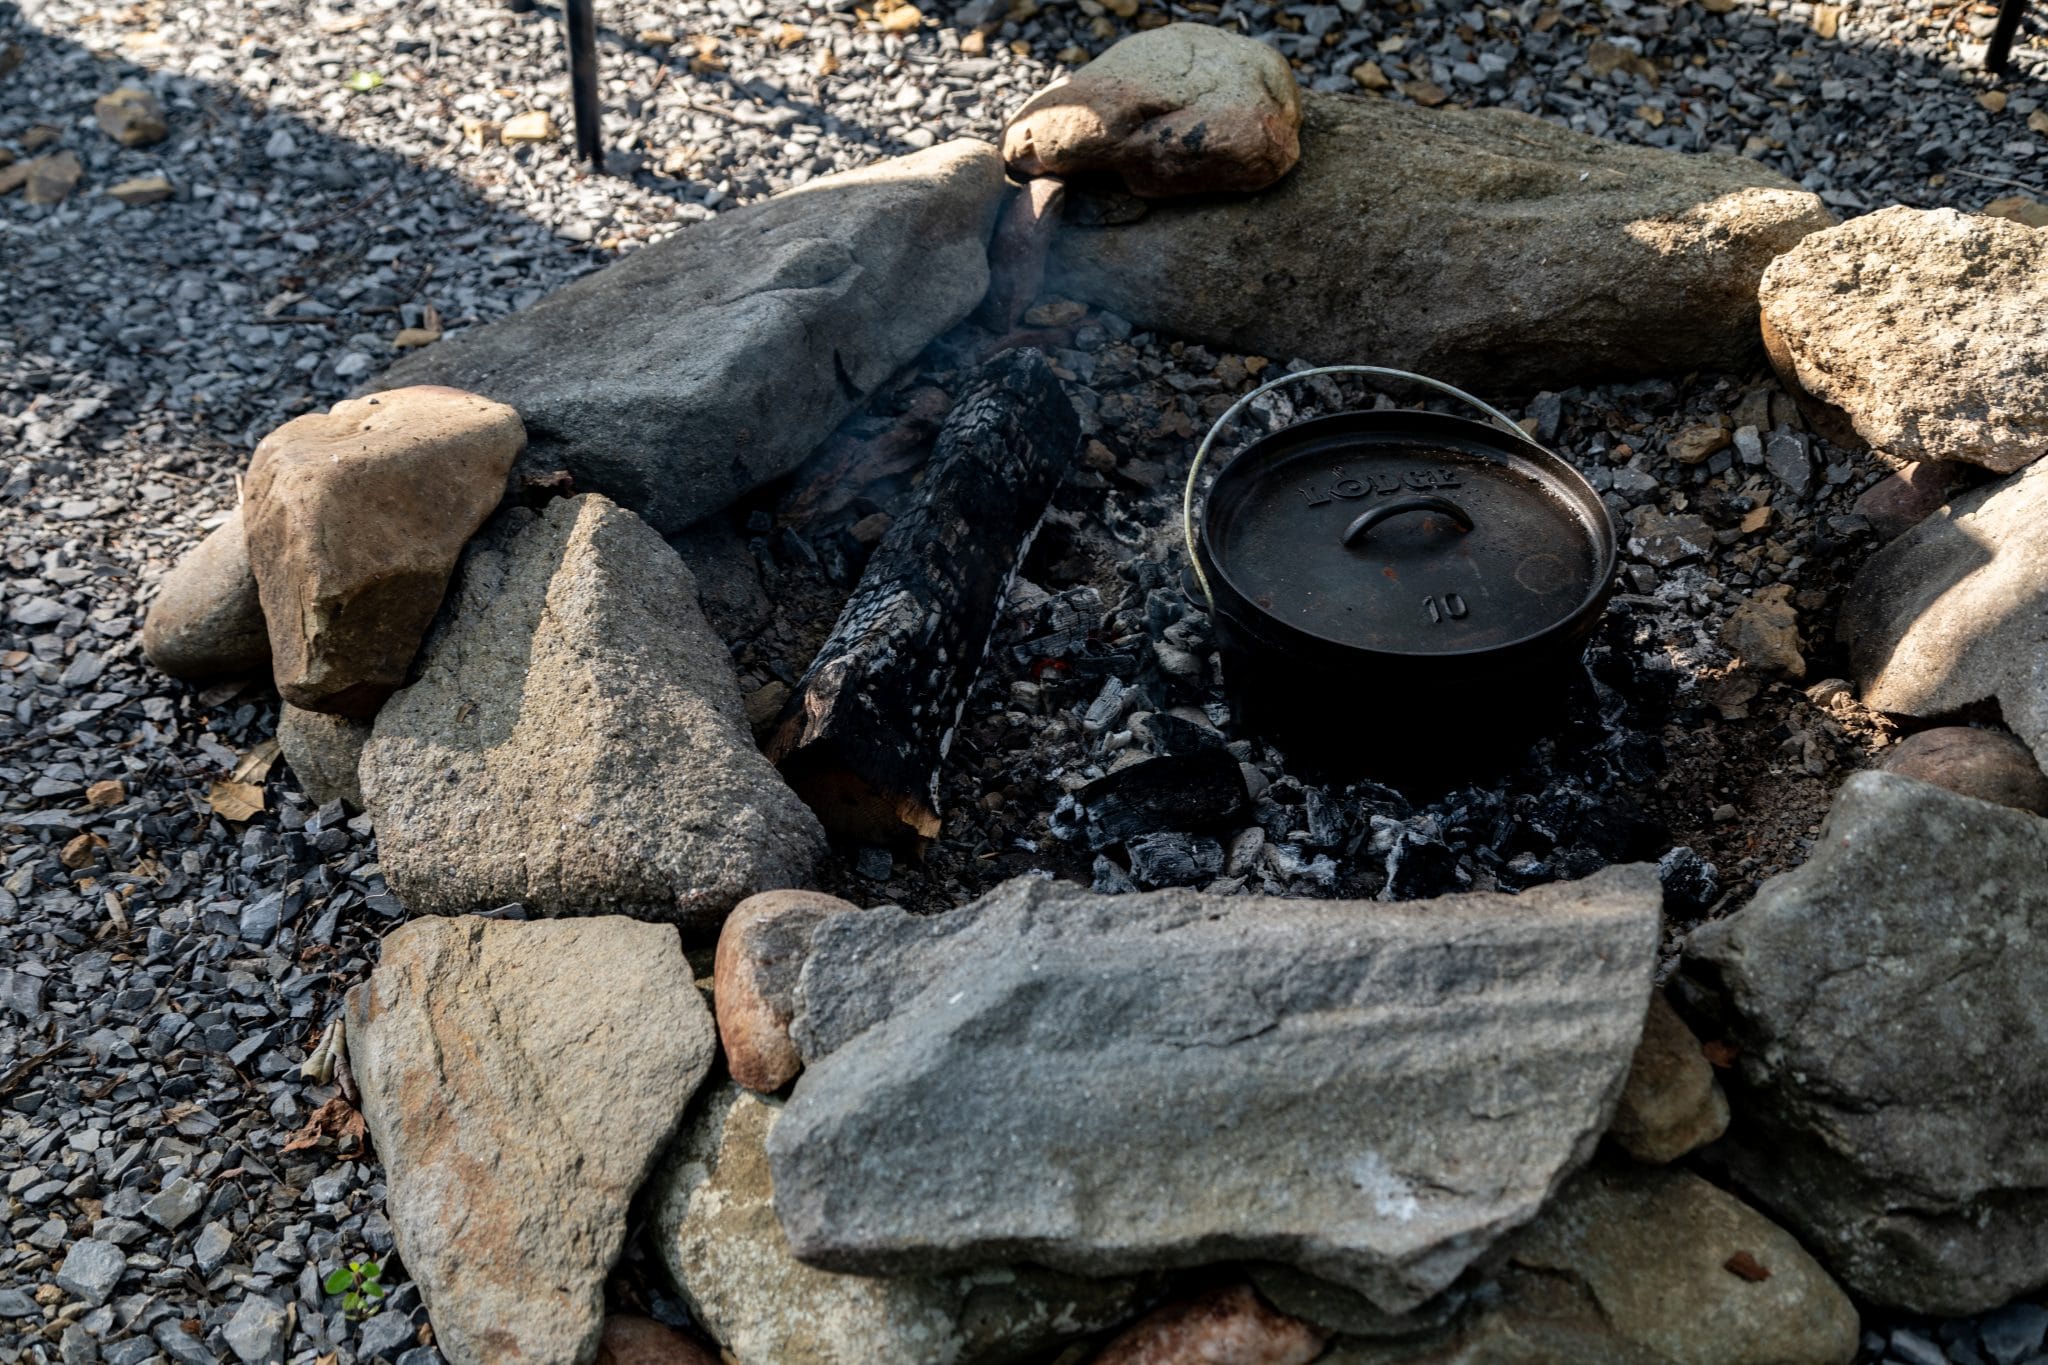
You have a choice of three fuel sources for camp Dutch oven cooking; hard wood, hard wood lump charcoal, and charcoal briquettes. If you have the time and the campground allows wood burning fires, then using hard wood for your cooking fuel is best. Hard wood when it burns down creates fantastic hot coals that will cook your food fast. You need to watch the cooking process as these coals are hotter than the other two fuel sources there is a tendency for your food to burn if you are not rotating the pot during the cook time.
Hard wood lump charcoal is a fantastic fuel source for Dutch oven cooking. It is ready in a fraction of the time hard wood and it has a long burning time compared to briquettes. Most bags of hard wood lump charcoal have an enormous size discrepancy with the charcoal pieces. I have purchased many hard wood lump charcoal brands, and I can say that B & B and Royal Oak have the most consistent size of charcoal pieces in their bags.
Charcoal briquettes are convenient, easy to light and have a consistent size which helps when you are doing the counting coal cooking method. However, those briquettes do not hold heat for very long. You will refill your charcoal chimney frequently throughout your cooking time. Also, they are expensive and some Dutch oven cooks do not feel cooking with briquettes is authentic.
Of the three fuel sources my go to is hard wood, mainly because I do my camp Dutch oven cooking in the fire ring or my chuck wagon fire box. I can get a hot fire going then after the flames die down, I can pull out good size coals to place around and on top of the Dutch oven to cook my food. When I don’t have the time for a hard wood fire, you will see me using B & B hardwood lump. Why this one? The quality. I love that when I pour the contents of that bag into my chimney starter, I’m pouring pieces not dust or charcoal chips. I love that it gets hot fast and then holds the heat for a very long time. The pieces don’t break down too quickly which means when I place hot charcoal on the lid of my Dutch oven its staying there and generating consistent heat.
Preparing Your Ingredients
The night before, slice all the bread and place in a large bowl to dry overnight.
If you are cooking over a campfire, build your fire and when the fire dies down and only hot coals remain, clear an area in the center of the fire ring twice as wide as your Dutch oven. If you are using hard wood lump charcoal or charcoal briquettes fill one chimney starter to the top with your charcoal. Light the charcoal and when it is glowing red with very little ash your charcoal is ready. Sprinkle a bit in a circle one time as wide as your Dutch oven and save the remaining charcoal for the lid.
In a medium-size bowl whisk all the eggs until well blended, then pour eggs through a fine-mesh strainer into another bowl. Add the milk, maple syrup, vanilla, cinnamon, ginger and nutmeg, whisk well.
Pour the egg mixture over the bread in the large bowl, carefully toss the bread pieces and allow to sit for 15 minutes.
Line your Dutch oven with foil or parchment paper, spray some non stick spray on the foil or parchment paper.
Carefully with a slotted spoon scoop the soaked bread into the Dutch oven. Once all the bread is in lightly press the bread down. Take the butter pieces and sprinkle over the top of the bread, then pour any remaining egg mixture over the bread.
Place the lid on the pot and take it to the fire ring. Carefully place the Dutch oven in the center of the cleared coals. Now with a shovel take some hot coals and place them on top of the lid. You want an even and light covering of hot coals.
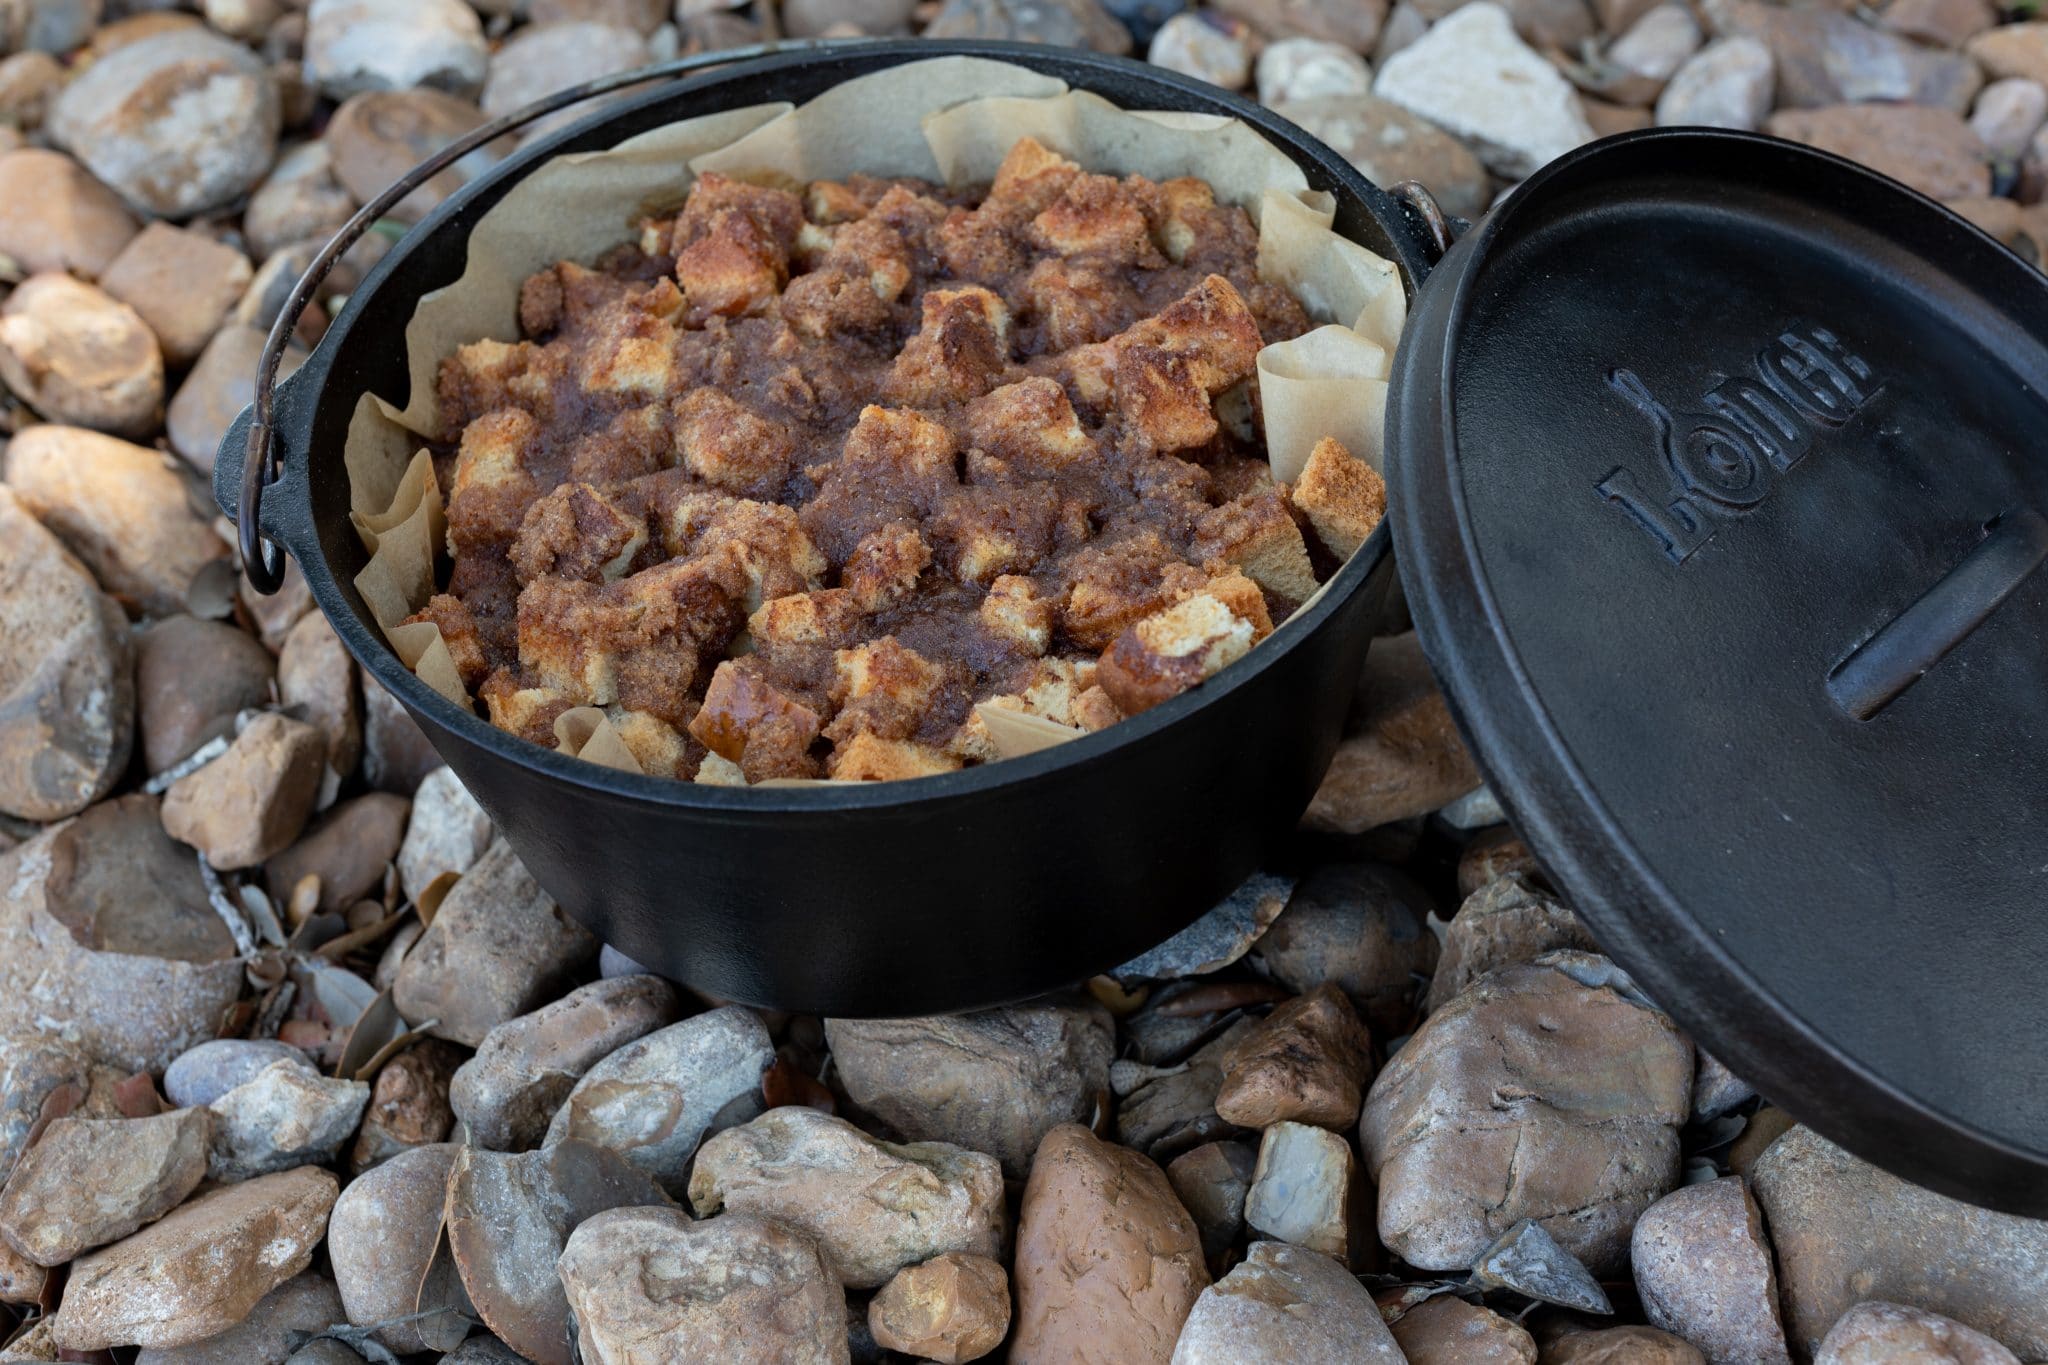
After 15 minutes of cooking time, carefully hook the wire handle with your lid lifter and turn the entire Dutch oven 180 degrees. Next take the lid lifter and hook the lid of the Dutch oven and turn the lid an additional ¼ turn. Repeat this process in 15 minutes. Once you have rotated it a second time, carefully remove the lid with the lid lifter and see if the French toast bake is brown and bubbling. If it is, replace the lid and with the whisk broom sweep away the hot coals. Carefully hook the wire with your lid lifter and remove the Dutch oven from the fire and place on a heat safe surface. Allow it to stand for 10 minutes with the lid on then carefully remove the hot lid and serve.