RV Refrigerator Refresh
A Simple DIY Project to Keep Your RV's Dometic Fridge Running—and Looking—its Best
Image Caption: Image Courtesy of Tom Morr
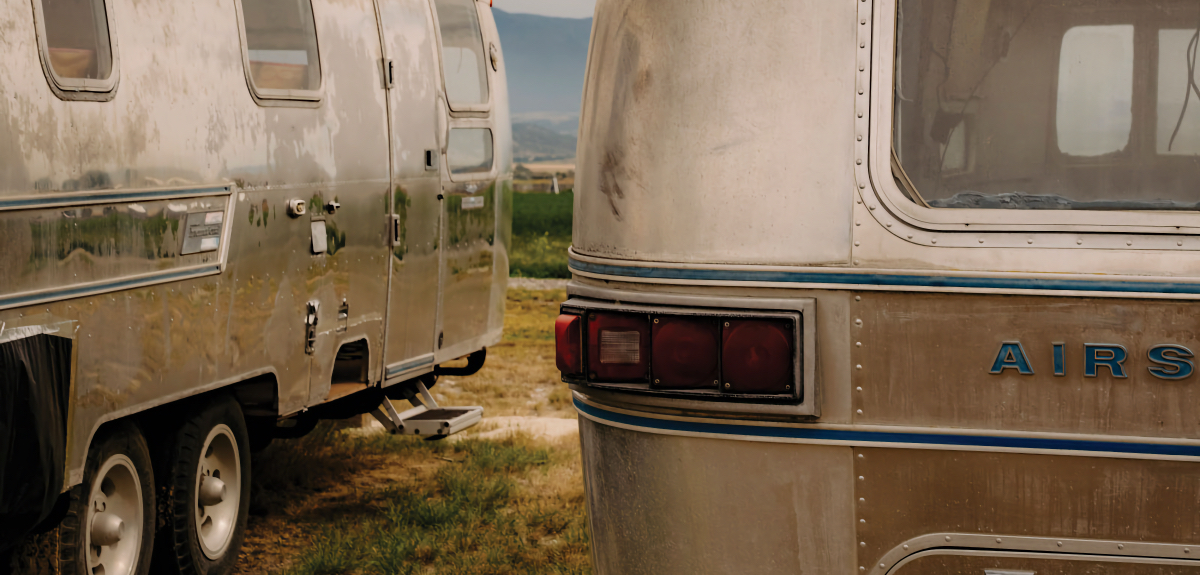
Soggy food in your RV’s freezer is a discouraging way to start a day. This is particularly annoying for those of us in states who use our RVs as a backup for our home appliances when power outages are common on days with high winds and heavy air-conditioning use. Opening the RV’s freezer or fridge door and experiencing a wafting stench of rotting food can impose a sinking “Oh, no” feeling both on the road and when at home, like we were faced with on our 8-year-old slide-in pickup camper.
The most common (and also inexpensive) culprit for cooling problems is bad door seals. Refrigerator gaskets compress over time, allowing air to pass. On two-door fridges, the freezer door usually suffers sealing problems more often than the main compartment. Other than soft food, a visible indicator of a freezer air leak is ice stalactites.
For many fridges, the flexible gaskets are replaceable. Some RV owners report a successful Band-Aid fix by carefully removing the old gasket and inserting cut-to-length pieces of appropriate-diameter wood doweling as shims before reinstalling the gasket.
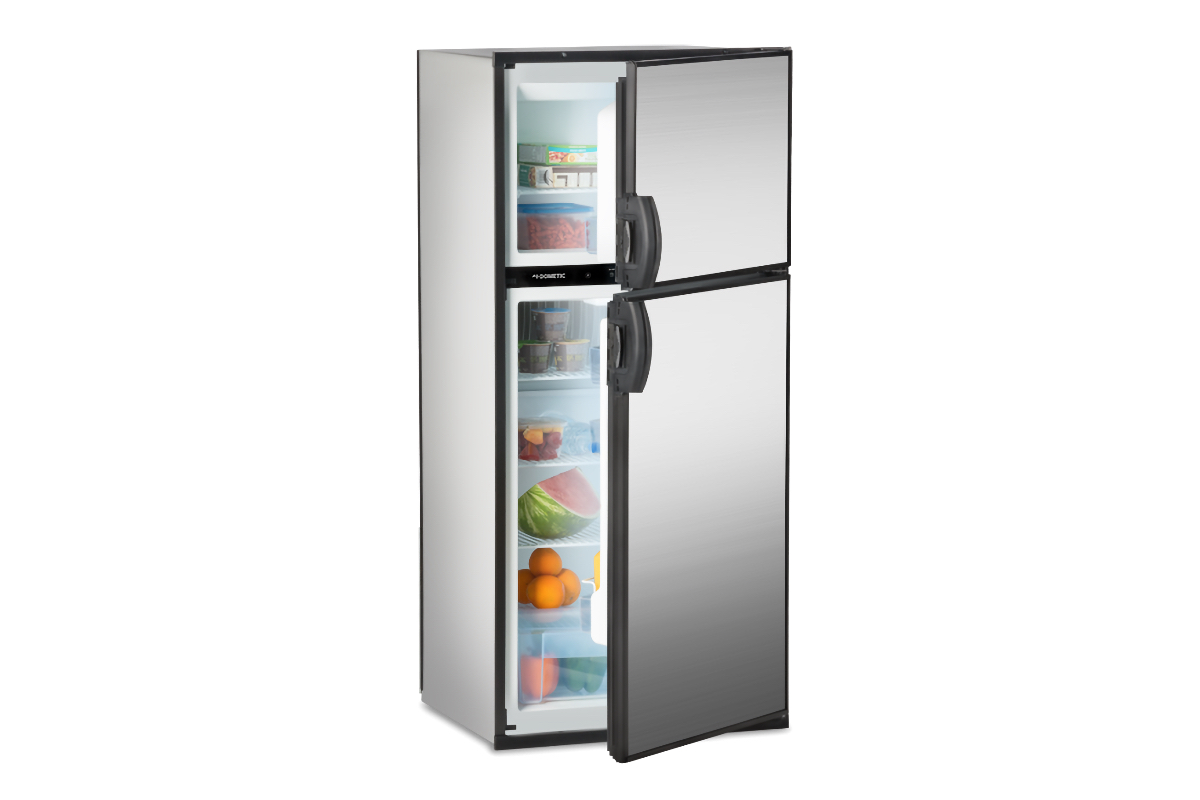
Image Courtesy of Dometic
However, the traditional, proven solution is to install a new gasket. If a replacement- gasket search doesn’t yield a gasket kit, your RV’s fridge might have doors with permanently bonded gaskets. The factory-intended sealing fix for these models is to replace the doors; the 7-cubic-foot Dometic DMR 702 in our slide-in camper has door-integrated gaskets. Replacement doors for most Dometic refrigerators are available online. Although more expensive than gasket kits, the replacement doors will likely pay for themselves over time through lower energy consumption and food-spoilage prevention.
The door swap is a DIY operation for hands-on RV owners. The replacement doors come as shells with gaskets; the existing doors’ trim pieces, front panels, and hinges must be transplanted. No specialized tools are required.
Although the freezer door was the known issue in our RV’s case, we chose to also replace the main door. And because this Dometic model also had the dreaded blue light that makes refrigerator contents hard to see and less appetizing, we also ordered the white-LED upgrade. This 8-year-old fridge is now better than new, thanks to air-tight gasket seals and bright-white light.
Pro Tip
In addition to a pry bar, an inexpensive body panel/trim tool kit will expedite the refrigerator’s door-panel removal (though it’s not a necessity). If the panel is damaged during the process, replacements are available from the manufacturer. The more cost-effective approach might be to get cut-to-size lauan or similar paneling from a home center.
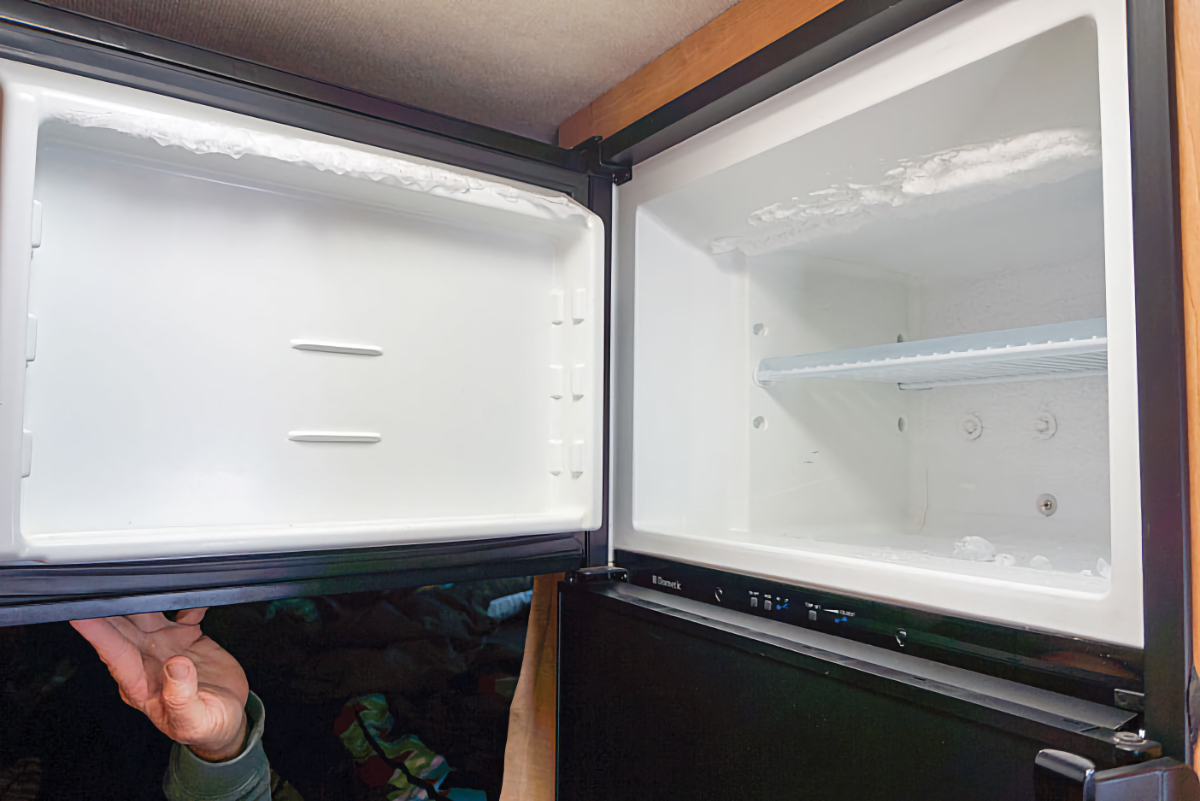
Image Courtesy of Tom Morr
1) Condensation is a prime sign that the fridge’s door gasket isn’t sealing. Stalactites in the freezer indicate that the door either wasn’t closed tightly or is leaking air.
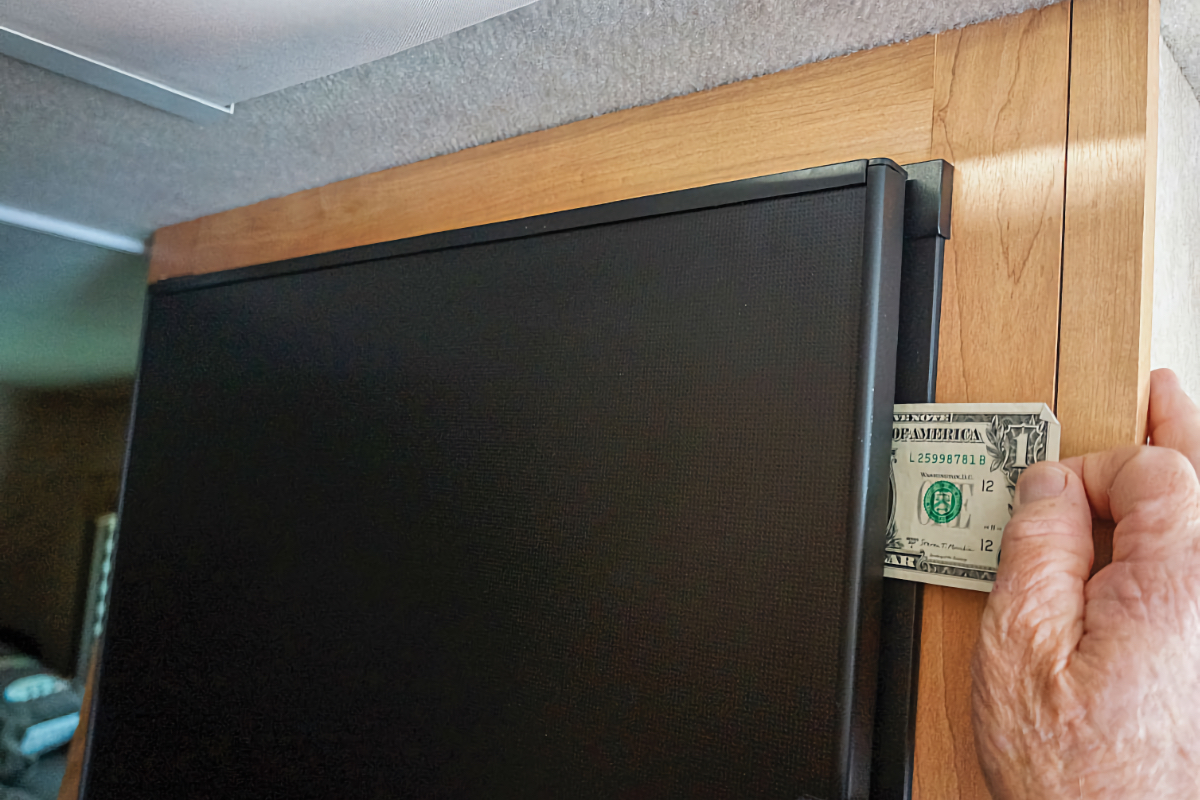
Image Courtesy of Tom Morr
2) Sealing can be checked by inserting a dollar bill at the gasket area and pulling the bill, feeling for firm resistance at multiple points along the door.
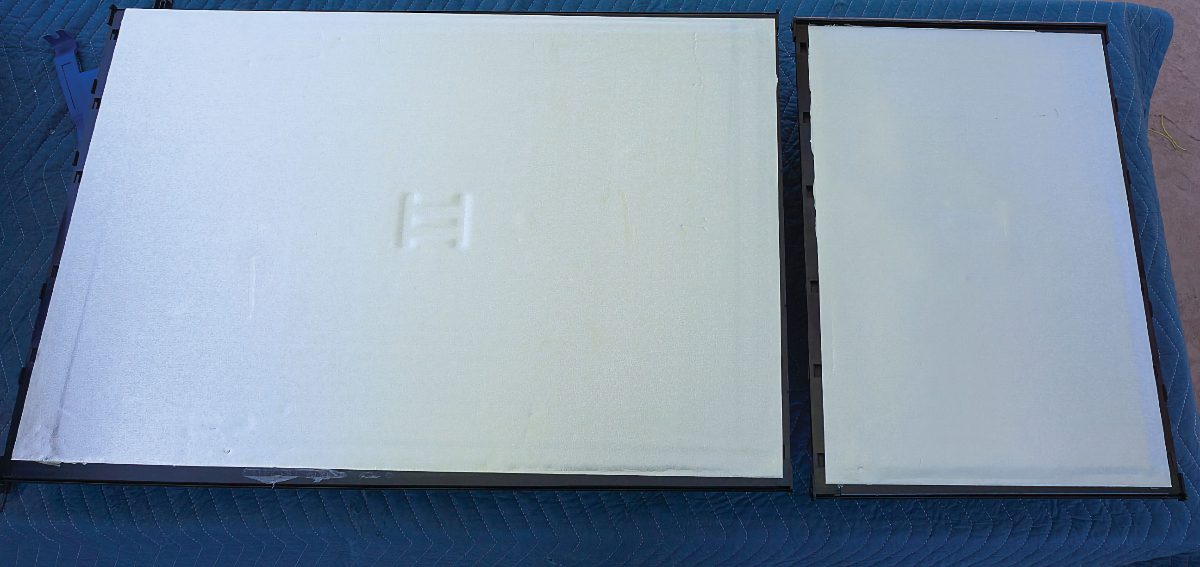
Image Courtesy of Tom Morr
3) These replacement doors have integral gaskets. Remove the hinges, their trim, front panels, and hinges on the existing doors, and then transfer to the new doors.
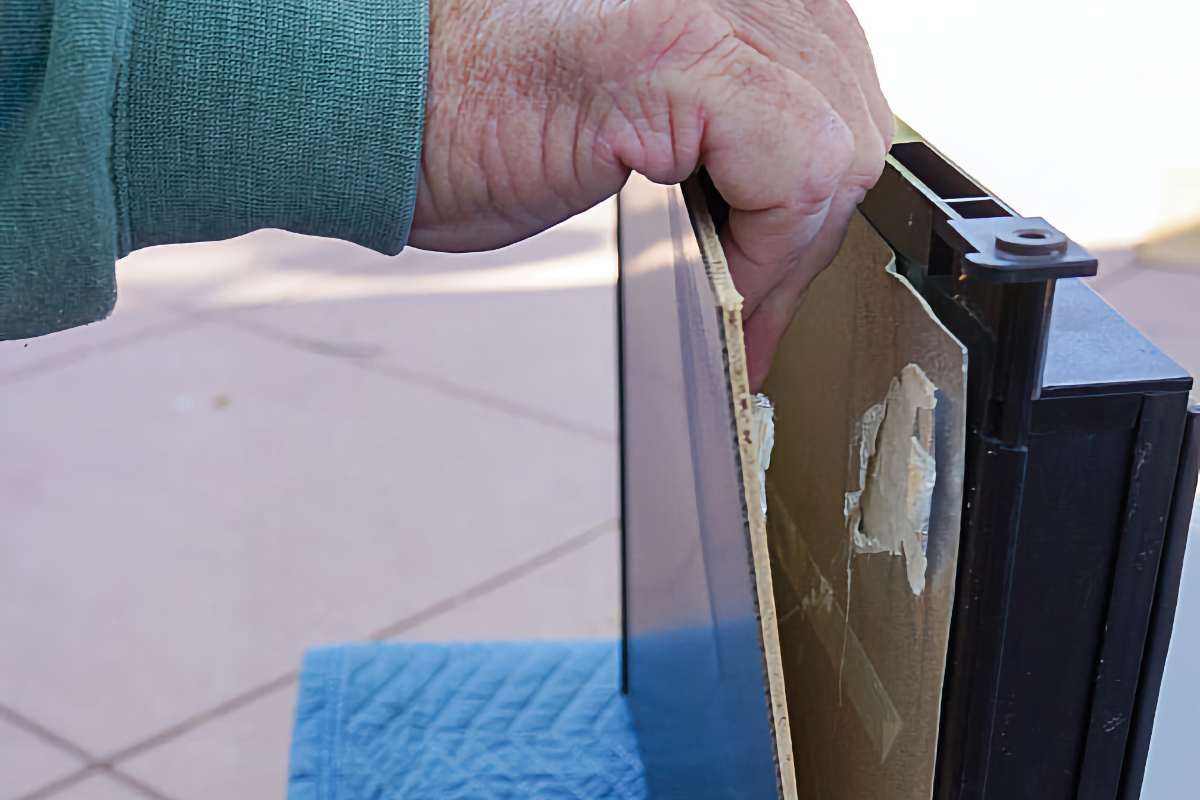
Image Courtesy of Tom Morr
4) After the door handle is unscrewed and perimeter tab/slot trim pieces carefully pried off, the front panel can be freed. We found a pry bar helpful for gently separating this lauan panel from the adhesive securing it to the door.
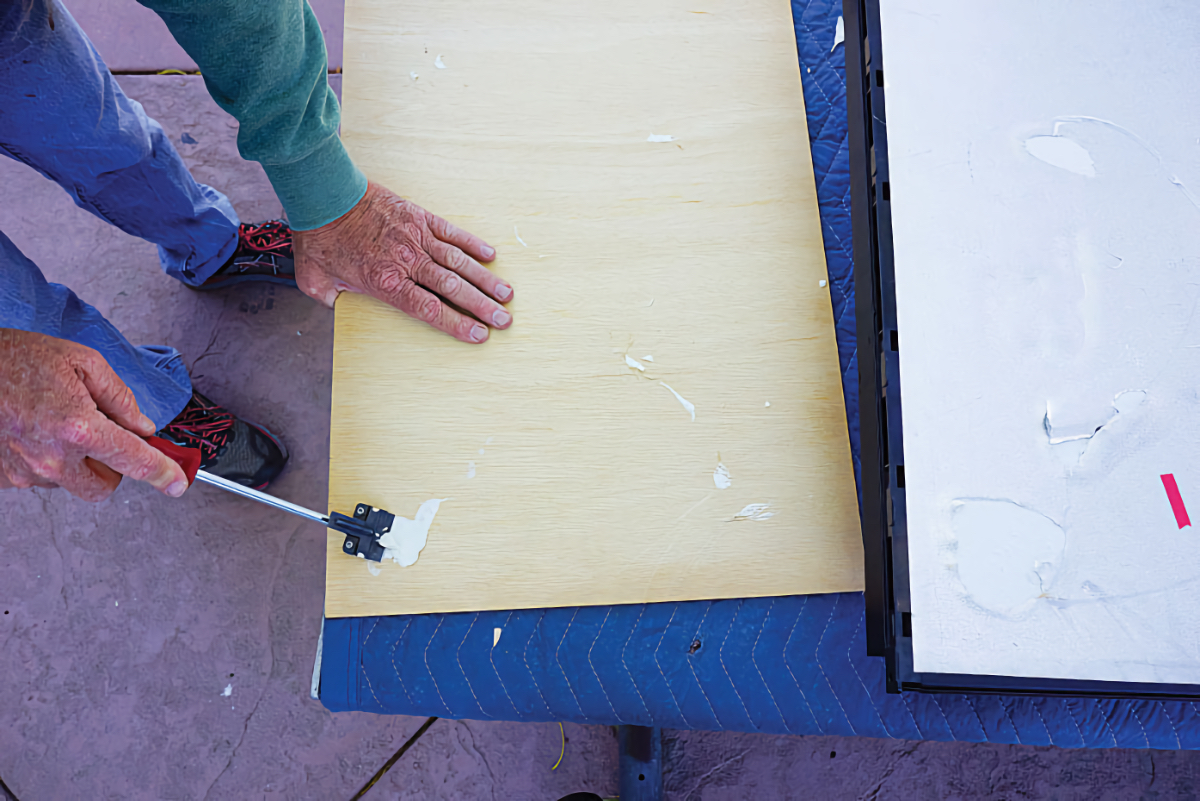
Image Courtesy of Tom Morr
5) Remove any adhesive residue from the panel. We chose to forego adhesive for the panel swap.
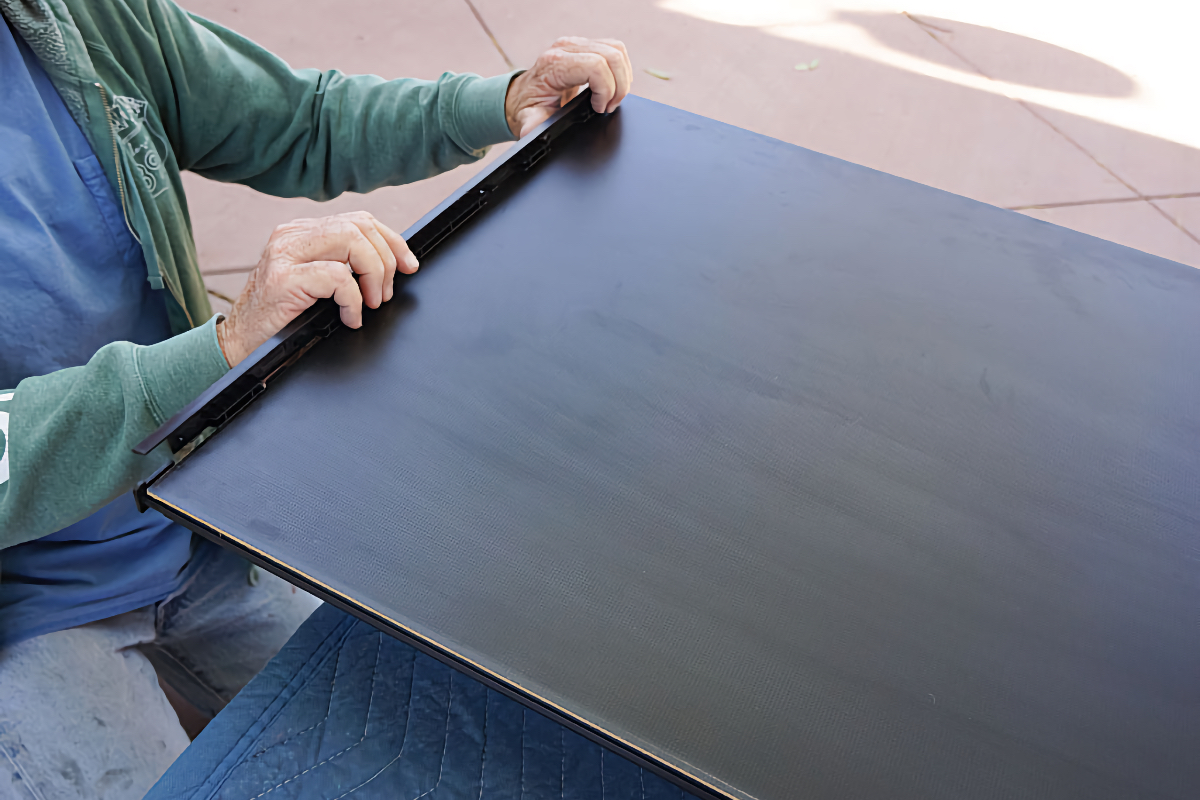
Image Courtesy of Tom Morr
6) With the panel transferred to the new door, the trim pieces can be carefully snapped into place on all four sides.
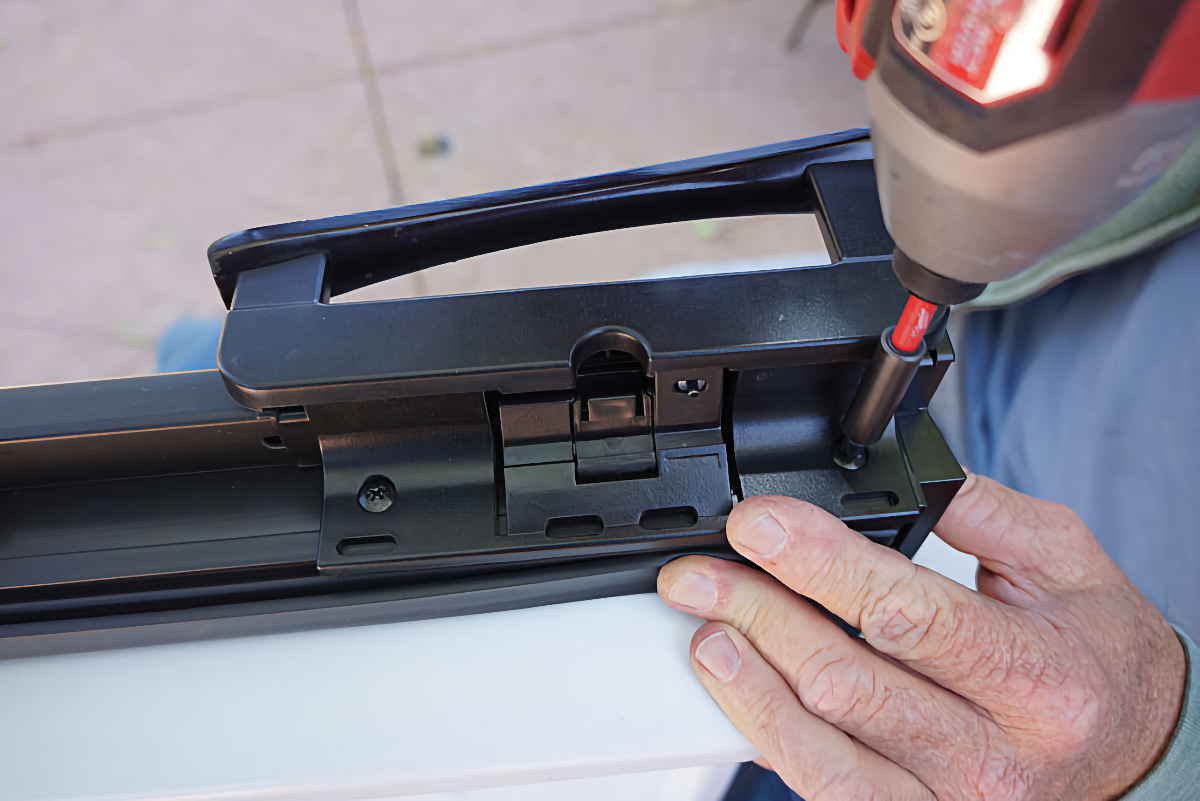
Image Courtesy of Tom Morr
7) Transfer the hinges. The existing screws self-tap into the new door. After you reinstall the door, you’re all set.