Building the Perfect Campfire
Everything You Need to Know Before Striking the First Match
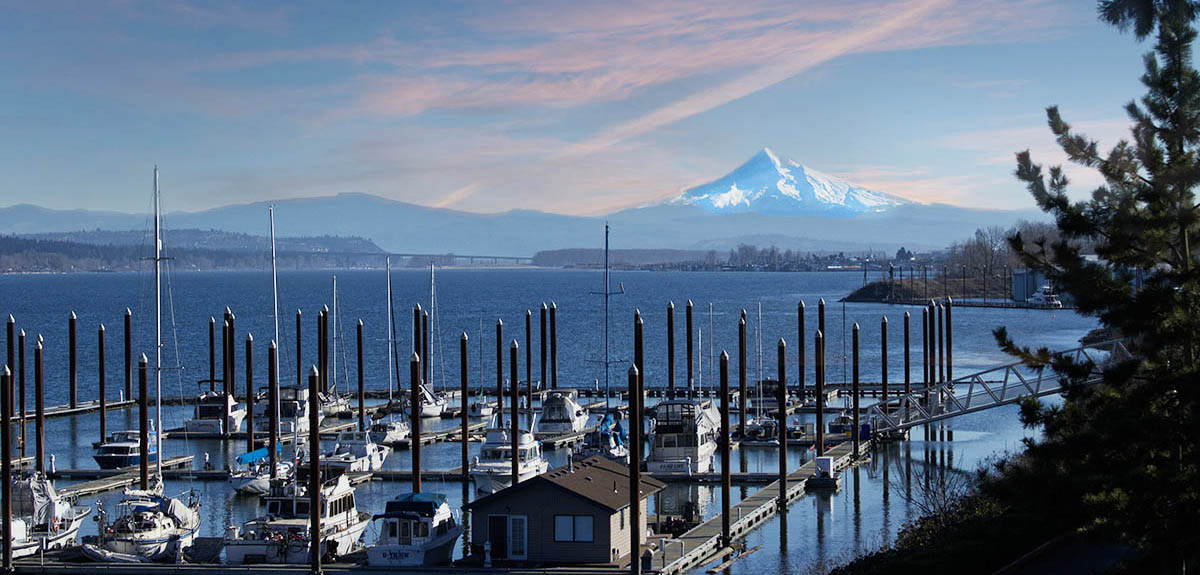
Image Caption:
A campfire is an essential part of the outdoor experience even if you’re traveling in an RV equipped with all the modern conveniences.
Whether you cook your meals on it or gather around it with family and friends, the light and warmth of a blazing fire adds a certain something that a microwave and a big-screen TV simply can’t. But, there’s more to a campfire than torching a big pile of wood and pulling up a chair. There’s a right way—and more importantly, a safe way—to light up your campout.
1. Where to Build
Before you do anything, make sure the campground allows fires. Some require permits, while others prohibit fires in certain conditions such as high winds and dry weather. Developed campgrounds will probably have a fire pit at each site, often a ring of rocks on the ground. Clear the area around the pit of leaves, grass, and anything else that can burn—a ten-foot perimeter is the minimum—and make sure there are no low-hanging branches close enough to be ignited by sparks or heat.
Keep all propane and fuel tanks well away from the campfire and move your RV if it’s close enough to be damaged by heat or filled with smoke. Check with other campers to see if the wind shifts during the day or night, and make sure that your fire pit smoke doesn’t smoke out their sites or RVs.
2. What Fuel to Use
A good fire requires three kinds of fuel: tinder, kindling, and wood. All of your tinder and kindling should be dry. If it snaps and breaks, it’s dry; but if it bends, it’s damp, and will produce a lot of smoke but not much heat. The wood can be slightly damp—the heat of the fire will dry it out—but not wet. The grass and twigs you cleared from around the fire ring make good tinder, and so does dryer lint or crumpled-up paper—anything small and easily set alight can be the base for your fire. Kindling consists of small branches and twigs, usually less than an inch in diameter. Don’t strip kindling from the bushes and trees in a developed campground—cut thin strips off your firewood instead.
You might be tempted to bring firewood with you but save it for your fireplace at home. Buy wood from the campground or a local store. Wood brought from far away can carry nonlocal pests. The problem is so bad in some places that certain campgrounds prohibit outside wood.
3. How to Lay the Fire
Start with a pile of tinder in the middle of the campfire ring, with the lightest and smallest pieces at the bottom of the pile. Use enough so the flame will last long enough to get the kindling burning. Next, top the tinder with kindling arranged in a cone shape, with the point at the top. Packed too tightly or too loosely it won’t burn well. The idea is to leave gaps through which air can flow and feed the flames, heating the kindling. Now pile smaller logs around the kindling.
There are several ways to configure the wood—a cone, a log cabin, and a pyramid are the most common. The cone repeats the shape of kindling pile. The log cabin consists of a pair of logs laid on either side of the fire with another pair atop them at a right angle. The pyramid is like the log cabin but uses larger logs on the bottom and smaller on top. The cone works best as a “comfort” fire while the log cabin and pyramid are good foundations for a cooking grill.
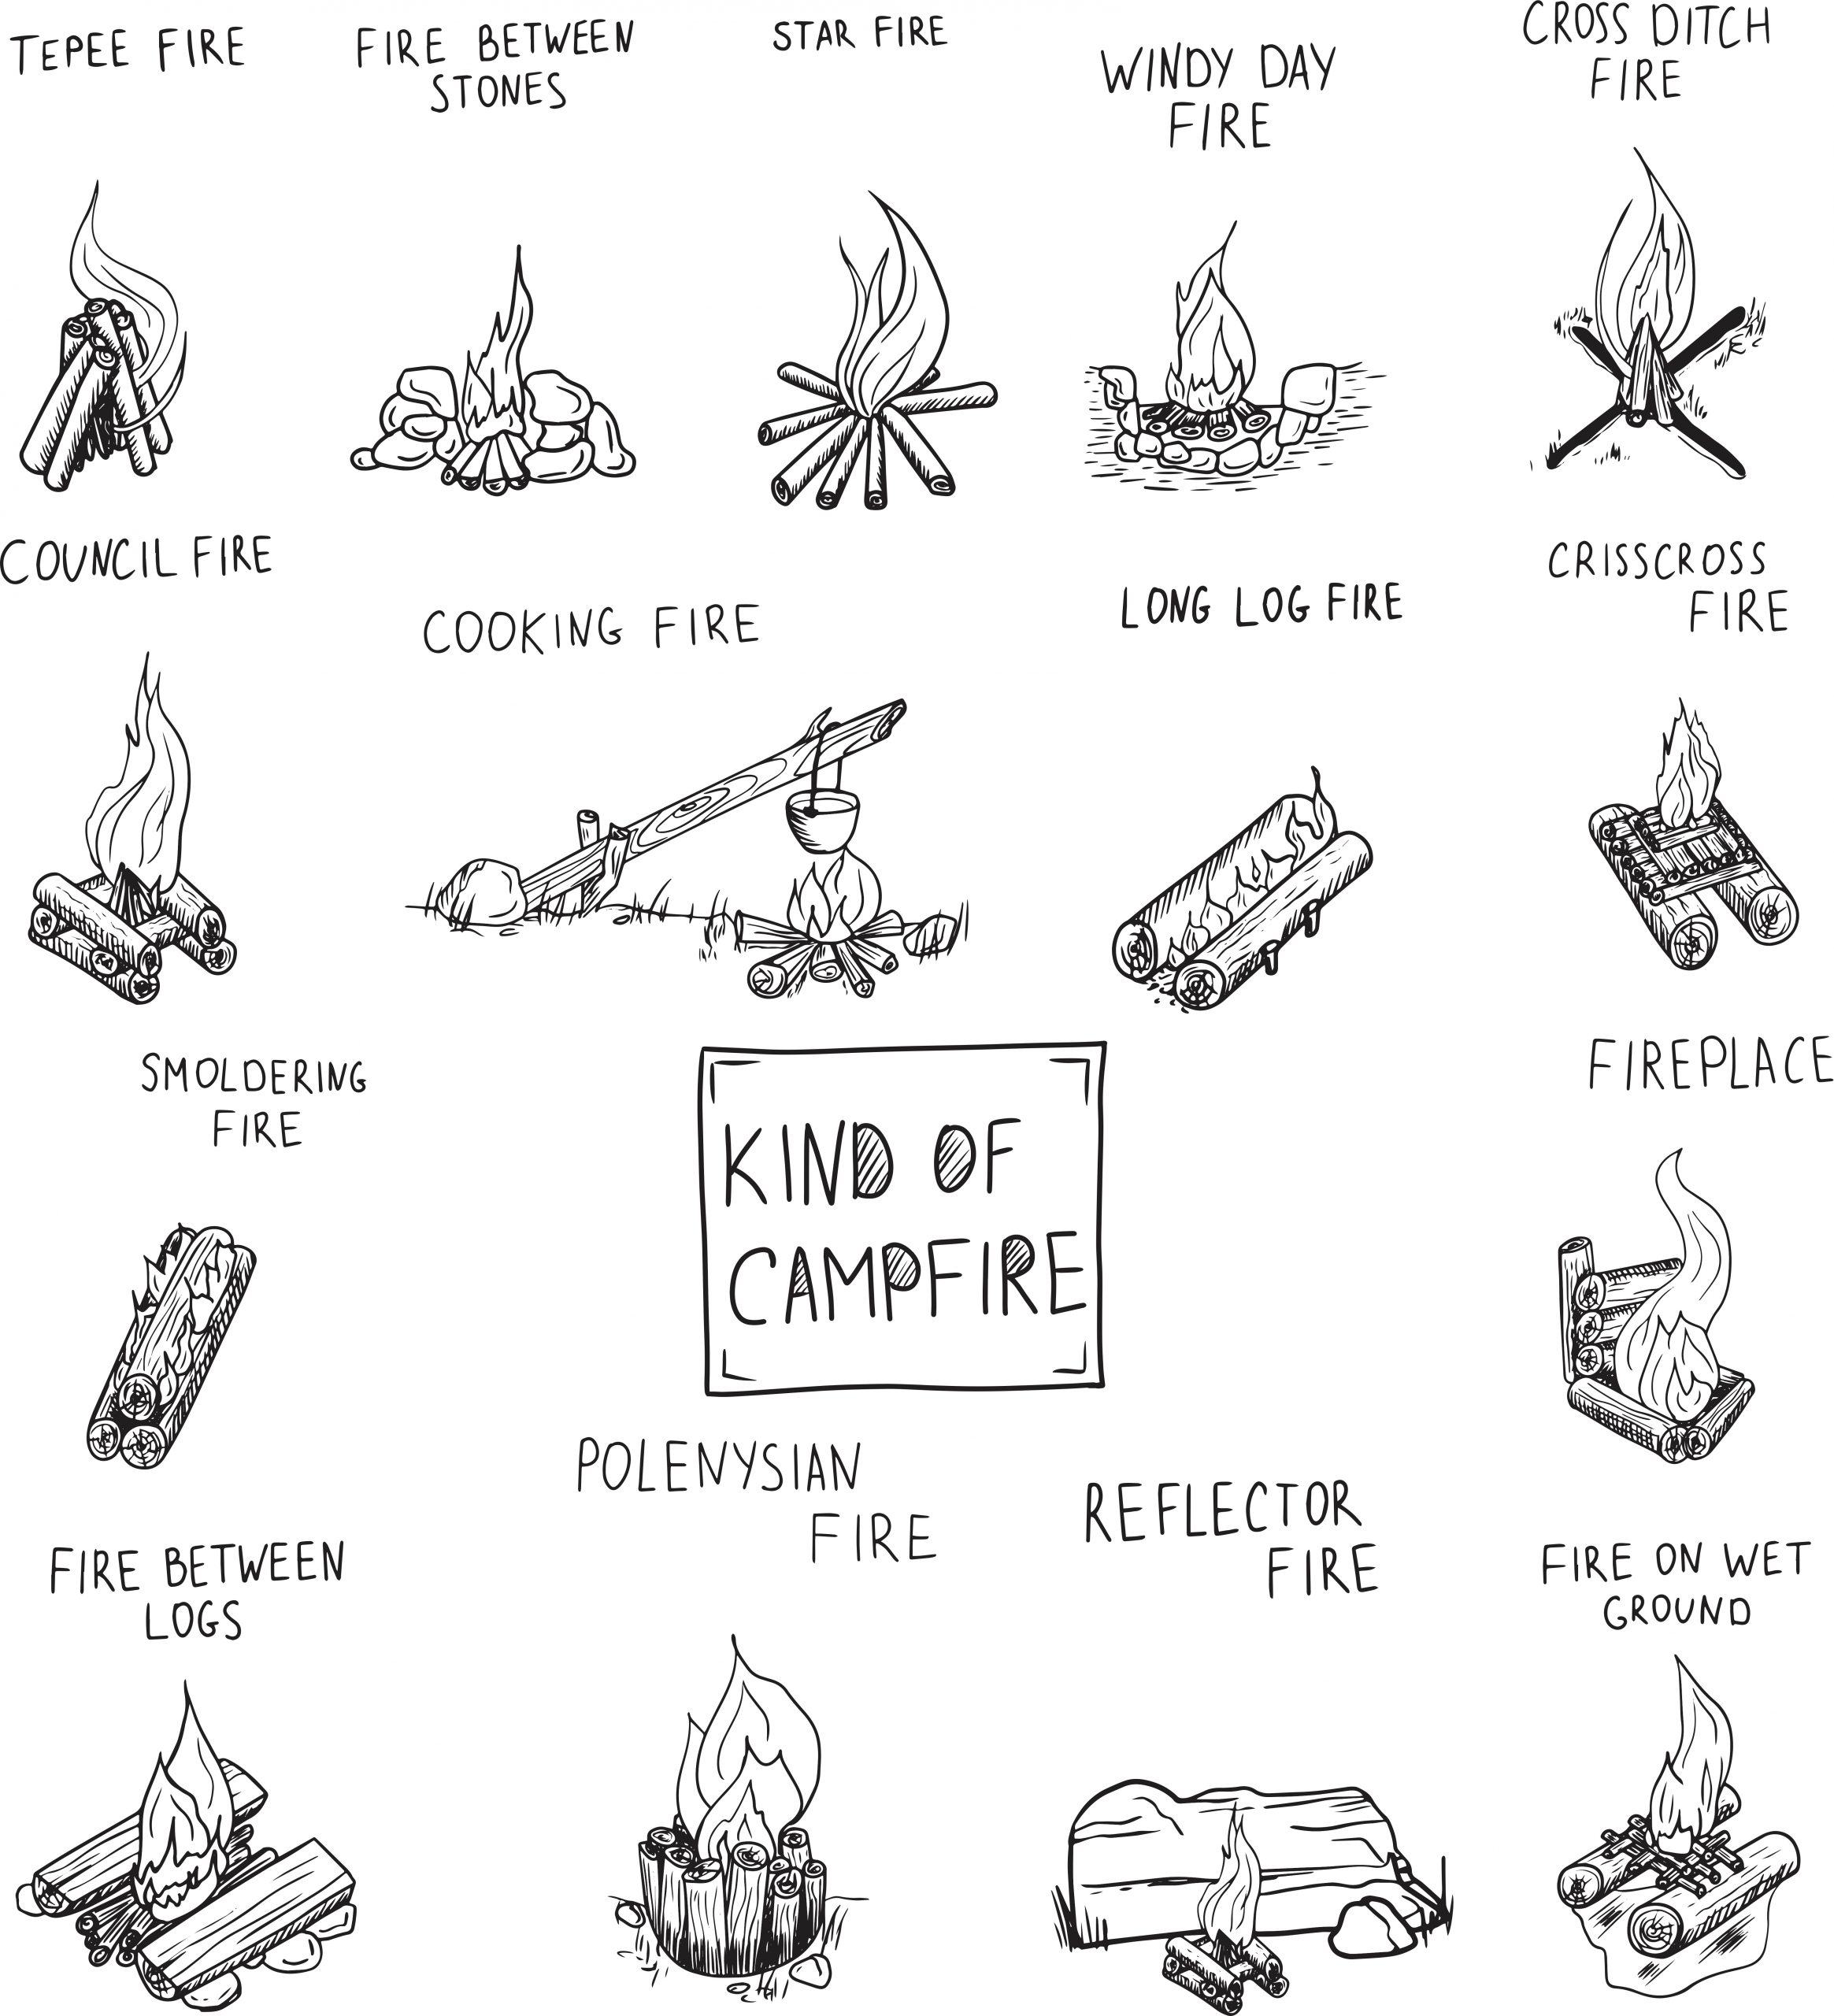
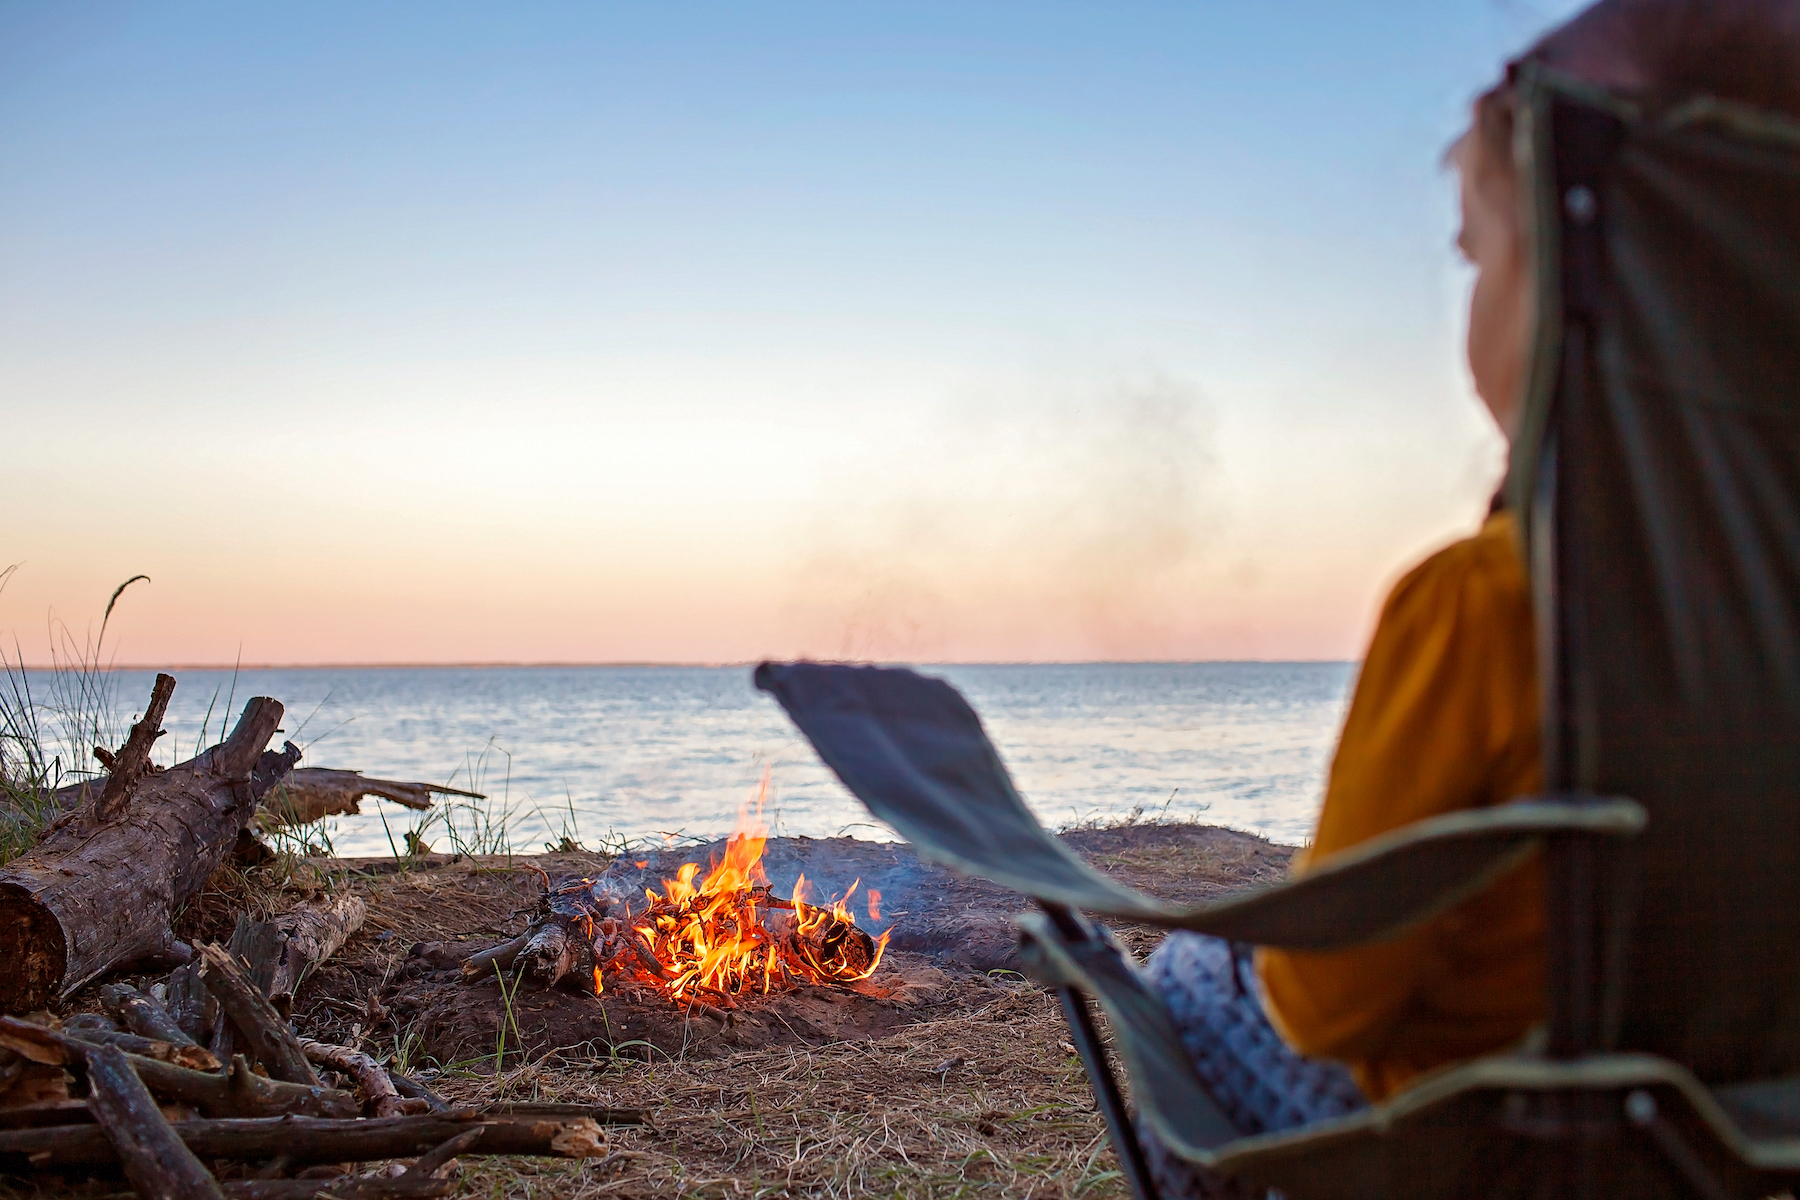
Image from Getty
4. How to Light the Fire
This can be trickier than it sounds. Once your fire is laid, the kindling at its heart might be hard to reach. Long fireplace matches extend deep into the pile, as do fireplace lighters. Once the tinder is going well, you might need to blow on it to keep it lit long enough to heat the firewood to burning temperatures. You can’t control the wind, the humidity, or the quality of the firewood, so don’t be discouraged if it takes a few tries to get the fire going.
Resist the urge to pour some sort of flammable fluid on the campfire and toss in a match unless you want to star in a YouTube video called “Campfire Fails.” Wait until the fire is going nicely to add more wood; add too much too soon and the fire can smother and die.
5. Campfire Safety
Never leave a campfire unattended if you can still see flames. Stop feeding the fire about 30 minutes before you intend to turn in for the night. When the fire is down to embers, pour water on it, stir the ashes with a shovel, then add more water. The ashes should be cool to the touch before you leave the area. Don’t throw dirt or sand on the fire without using water. This can insulate hot coals and keep them smoldering for hours, risking having the fire coming to life again.
Long before the dawn of history, people gathered around the campfire to cook, stay warm, share stories, and bond with their families and friends. With the right fuel and a match or two you can do the same, except instead of spending the rest of the night in a damp cave you can bed down in your comfy RV.