RV Photography: Everything You Need to Know
Take Enviable Photos of Your RV, Inside and Out
Image Caption: Image: Karen Akpan
It can be more challenging to take great photos of small spaces, especially inside an RV, but it’s absolutely doable regardless of the size.
There are several things that come into play when it comes to taking beautiful photos of your RV as well as photos of you in and around your RV.
We’ve owned a Class C RV and we now own a 5th Wheel and have been able to take beautiful photos of both of them.
Here are some tips below that have worked for me and I hope that they’ll help you take gorgeous RV photography, just like a PRO.
Clean Up the RV and Surrounding Areas
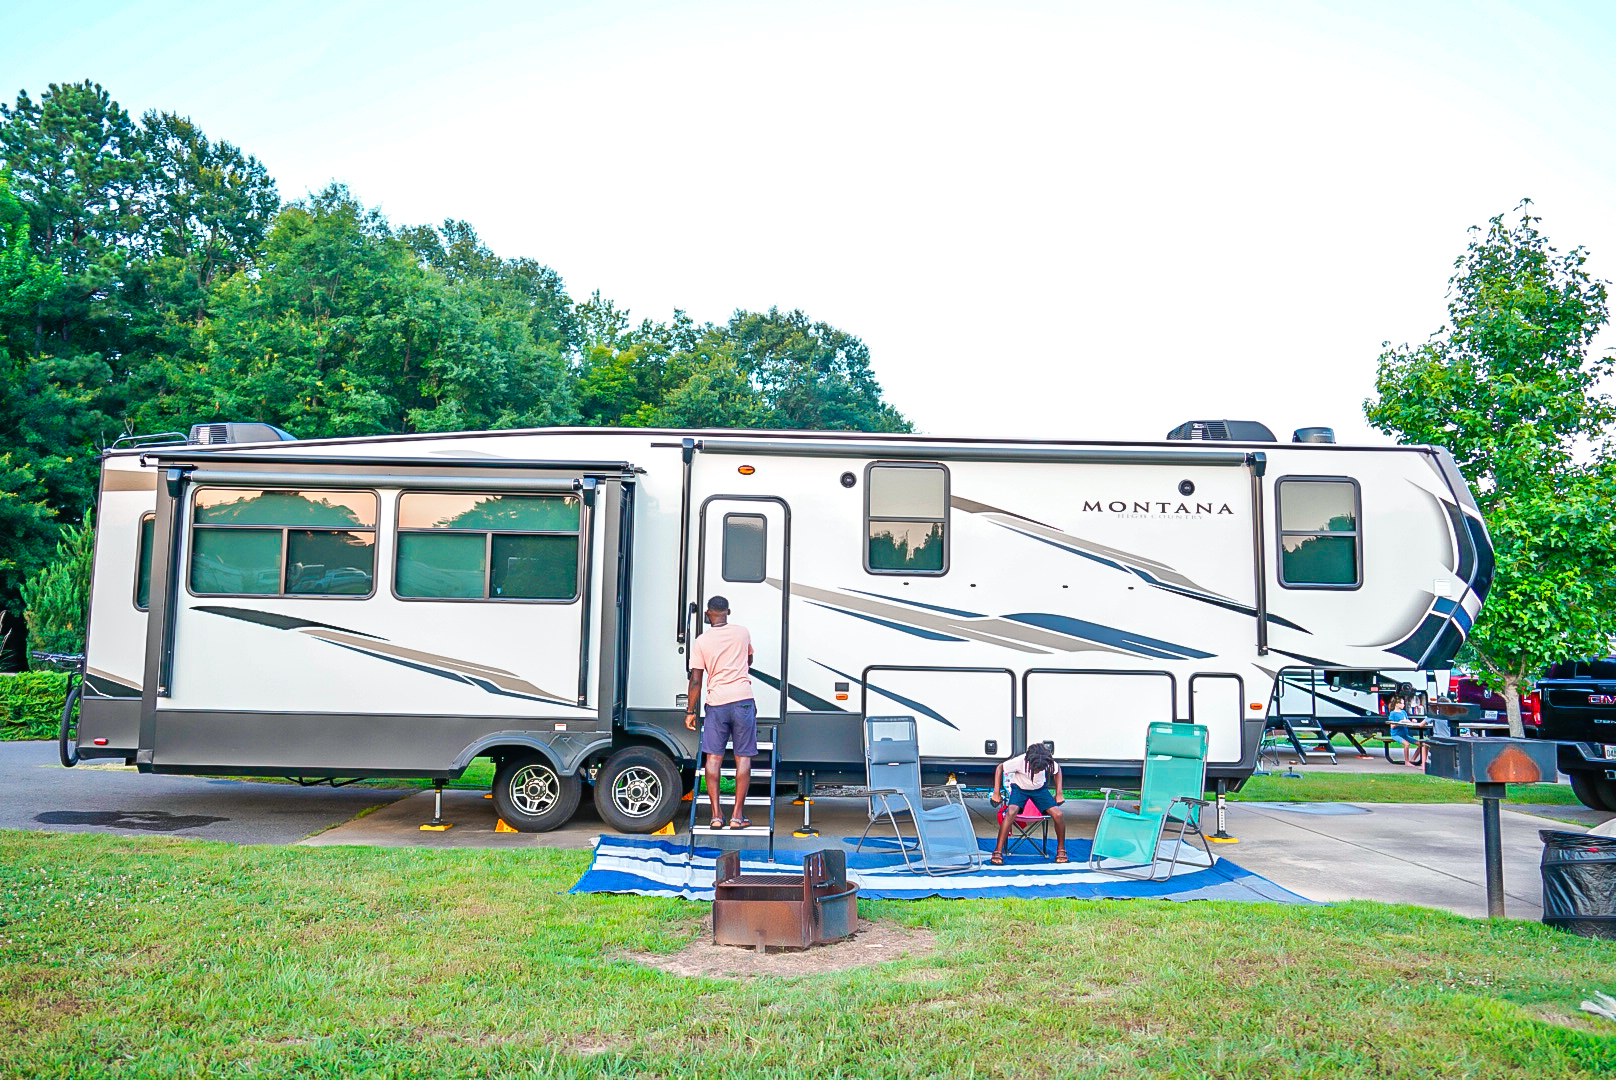
Image: Karen Akpan
First things first, put away as much as you can. Items such as dishes on the counter, an overflowing trash can inside your RV, or even dirt outside your RV is what’s called an eyesore. To get great photos you’ll have to clean up your RV or at least tidy up the areas that you’ll be taking photos of.
Other than making your RV look cluttered, having unnecessary stuff lying around can also take away from the photo.
So before you take any photos, cleaning up is key!
Natural Lighting
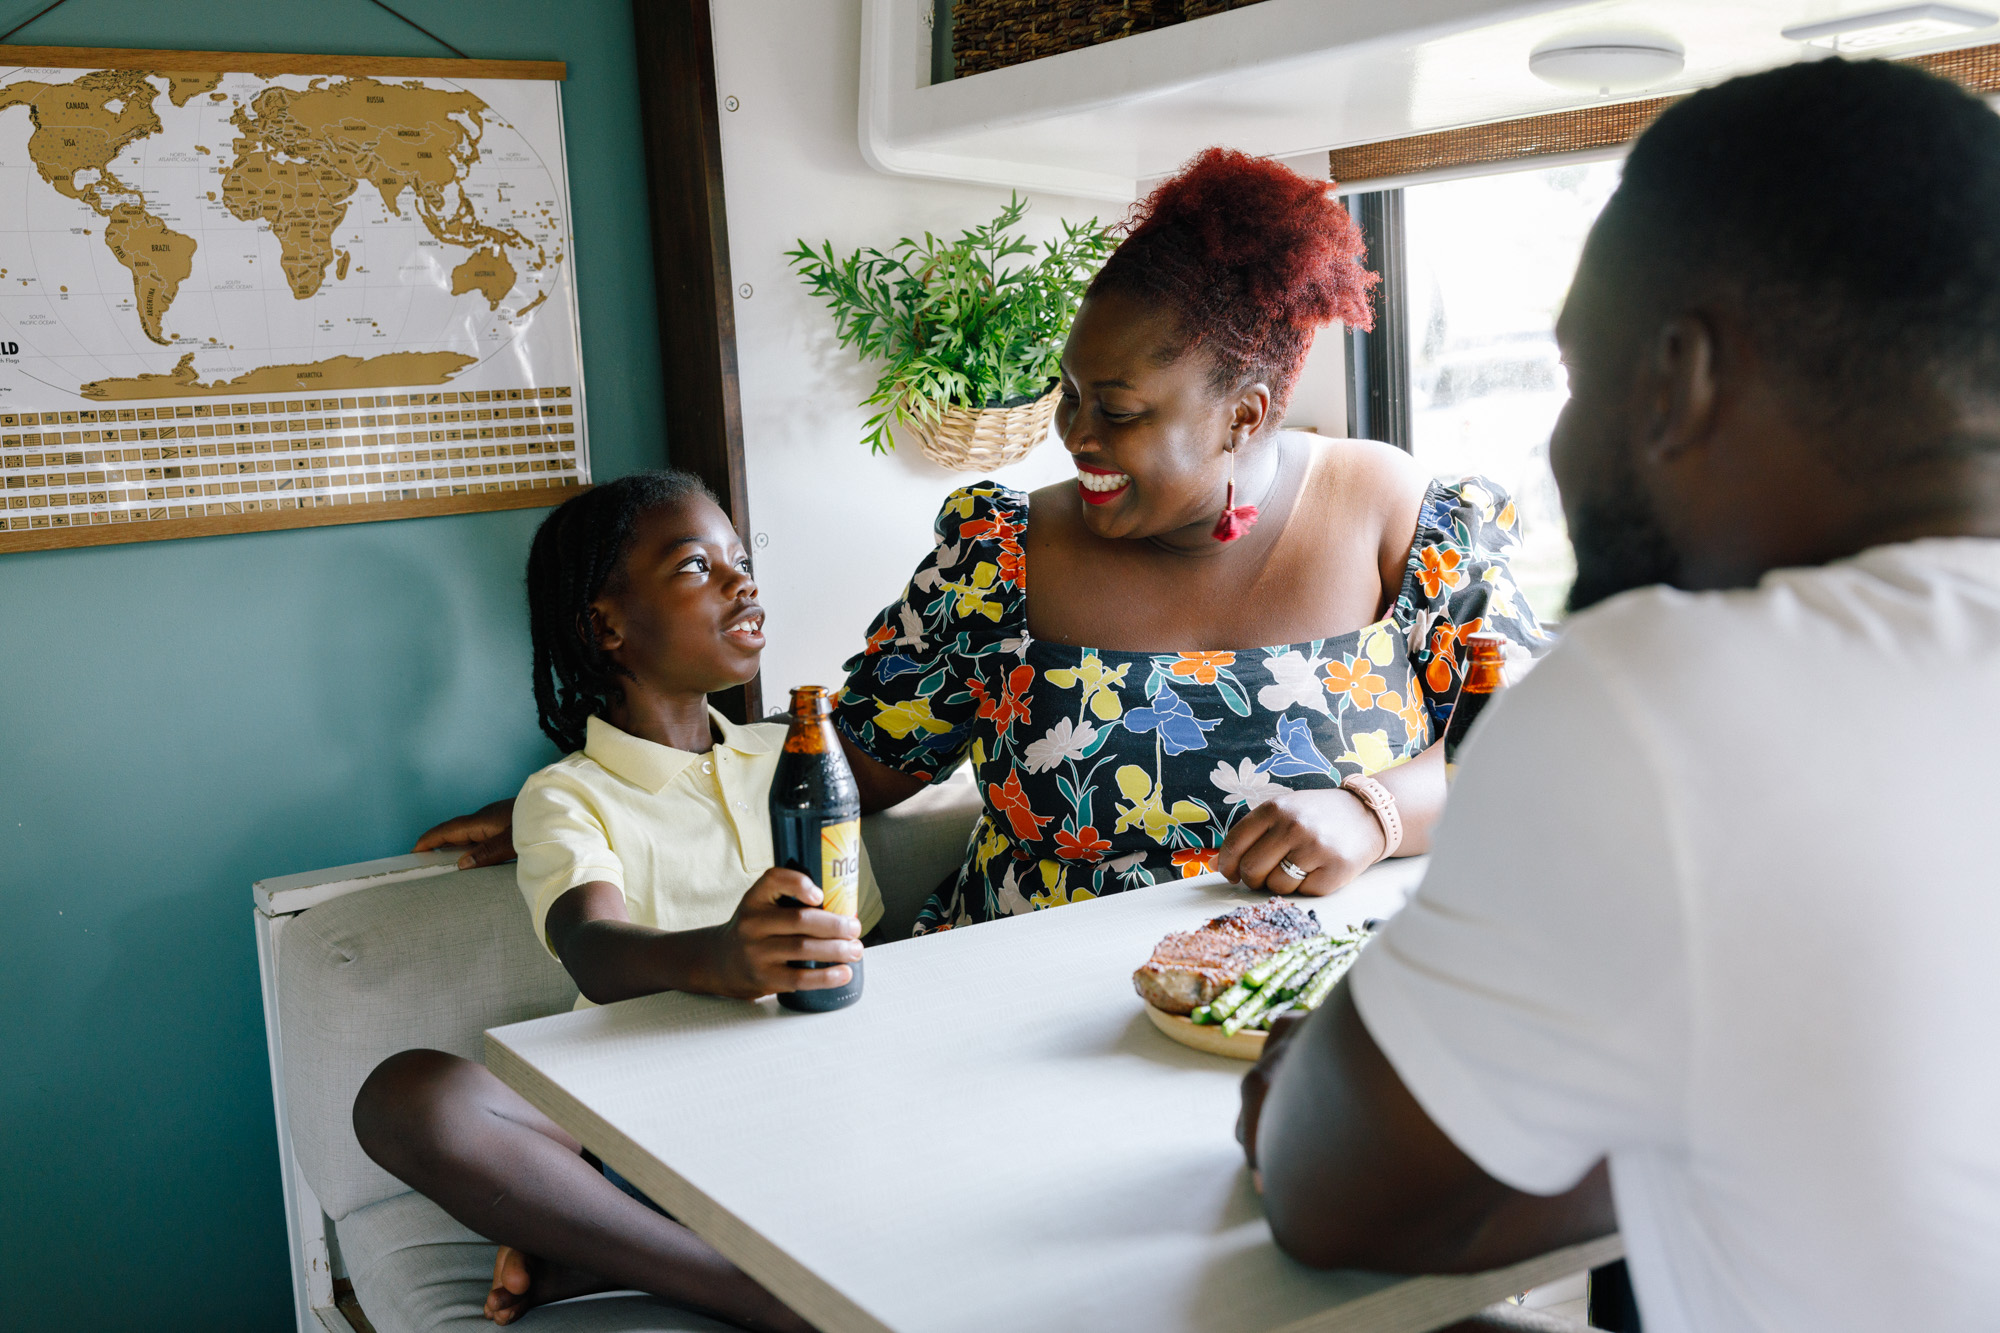
Image: Karen Akpan
The best lighting is natural lighting. However, not all times of day are great for photos. Try to take your photos early in the morning or late in the afternoon – these times are often referred to as the golden hours when the light is softer.
For internal shots, natural lighting makes for much better pictures than using the camera’s flash or even a ring light. Try opening all the blinds and doors to get maximum light. If it is too bright for photos, drop the blinds a little until you get the perfect lighting.
For particularly dark corners, try adding in a small, discrete LED light to lift the shadows.
External Lighting
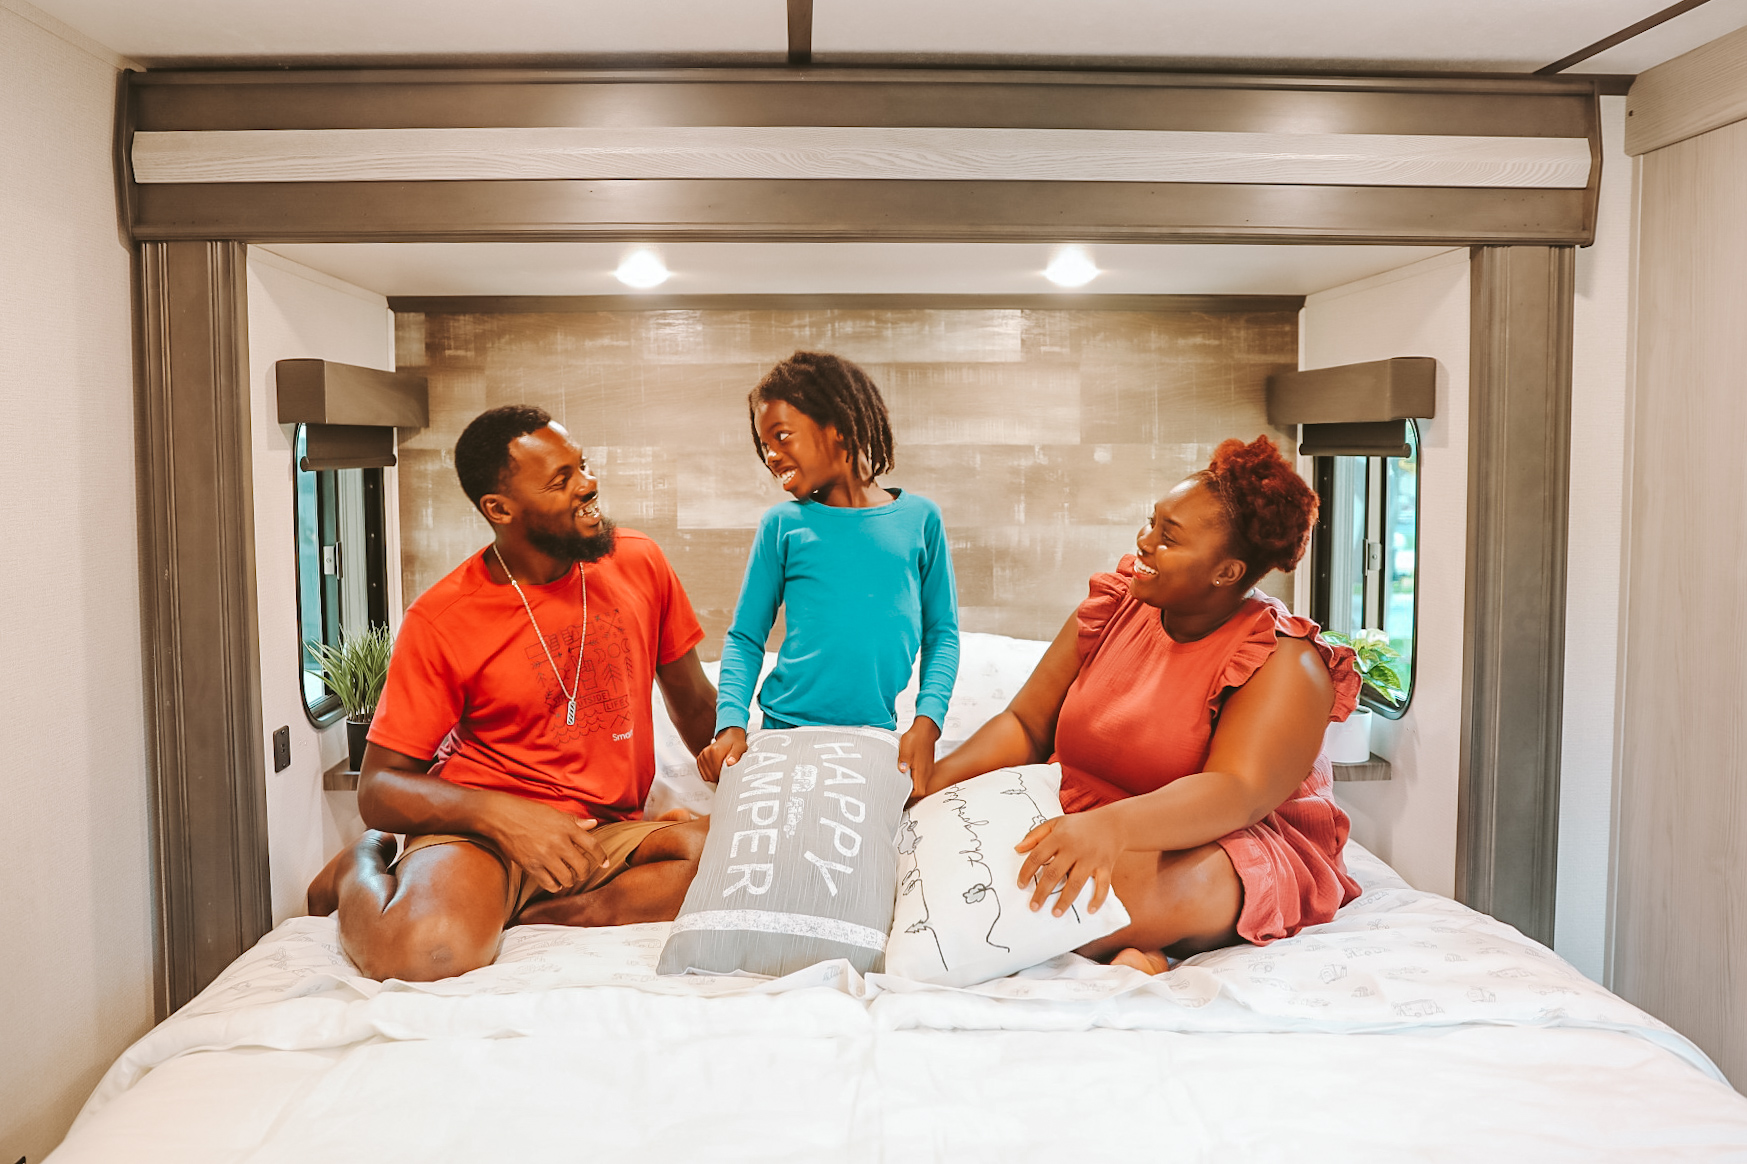
Image: Karen Akpan
If you have no other choice and absolutely have to use a flash or some type of lighting to get great interior pics, you can either use the flash on your phone or use a lighting source such as a ring light.
The simplest way is to use your camera’s automatic flash. This will do a pretty good job of calculating how much flash is needed, saving you the headache of working it out.
If your camera flash isn’t enough lighting this is where a ring light comes into play.
I always use a ring light or external light for most of my images taken in my RV.
Focus

Image: Karen Akpan
I’m always amazed to see how many people post blurry photos on social media. Rule number one – make sure the lens on your phone – or camera, is clean. We handle our phones all the time but don’t often bother to clean the lens.
Blurred images are only interesting if something in the shot has a sharp focus. If you use your phone to take pictures, it’s easy to tap an area to focus on that – like the detail of a vase – and have the background slightly out of focus.
The contrast of part-blurred, part in focus can be beautiful. 100% blurred photos, on the other hand, are not!
Composition Guidelines – The Focal Point
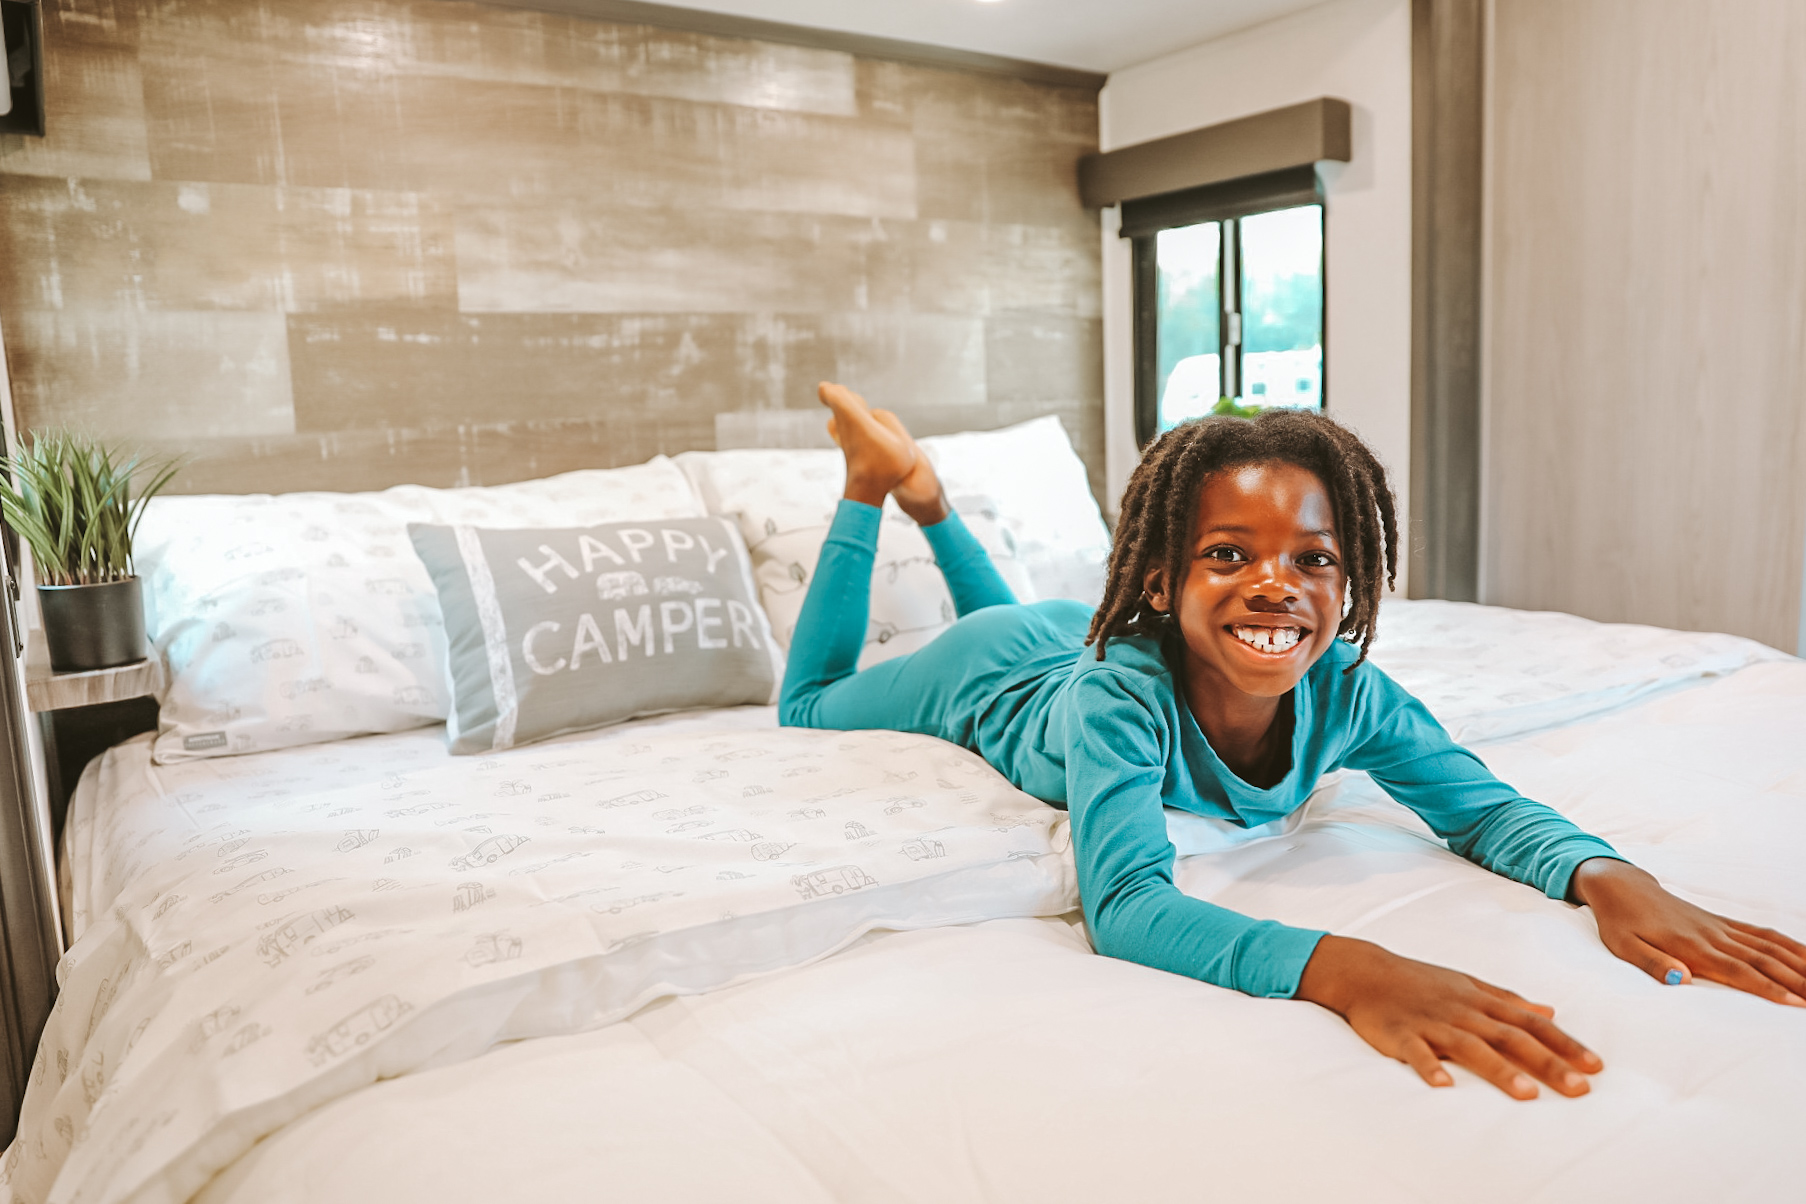
Image: Karen Akpan
You might be tempted to take a photo with the focal point smack in the middle.
To take a more interesting picture that lets the eye ‘wander’ over what it sees, try using the rule of thirds. This has been shown to improve composition and create more balanced images. The rule applies to RV photography too.
Imagine slicing up the view into a grid of 9 squares – 3×3. Use the lines and where they intersect as a guide for a focal point. For instance, to return to the example of the vase, have the vase in perfect focus on one of the lines or intersections.
Outside Photos of Your RV
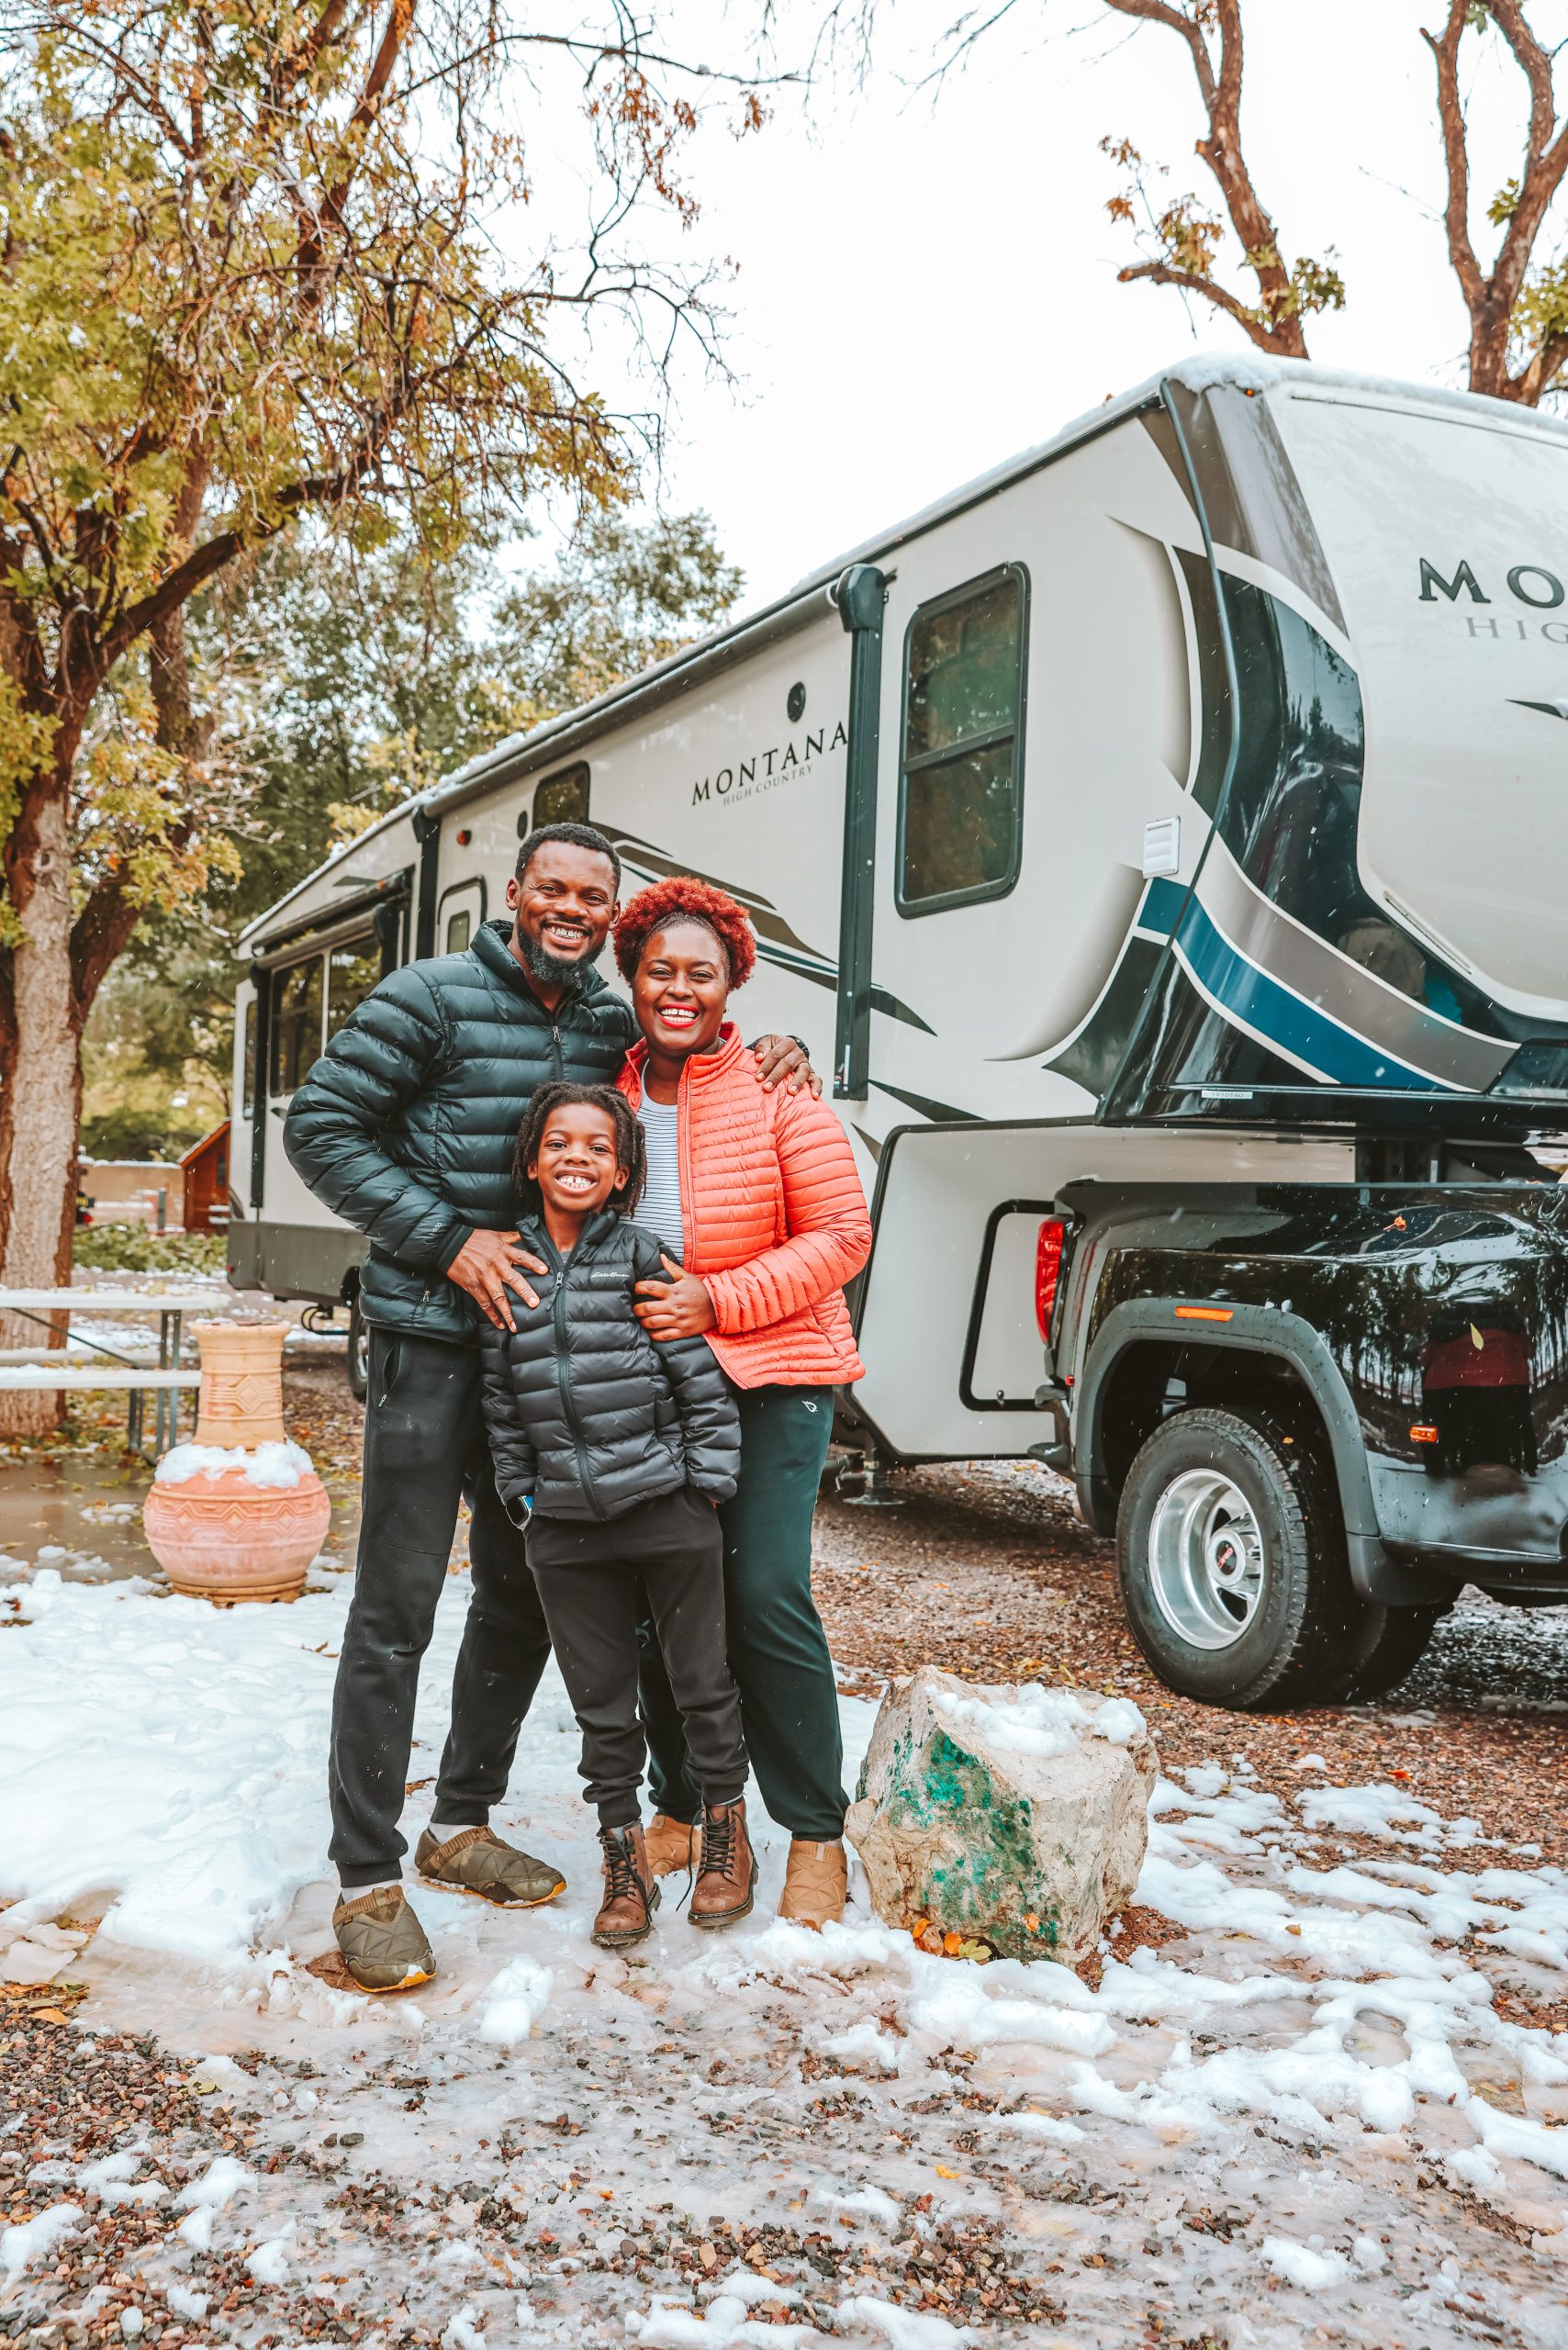
Image: Karen Akpan
Which do you think will look more appealing; your RV parked up on a drive with a house or a brick wall in the background? Or parked in a beautiful setting with a backdrop that makes you want to transport yourself right there?
Take the time to shoot some external pictures of the RV with a natural backdrop. Even if you’re miles from a forest, lake, or mountain, what about a local park with some trees in the background?
If you need to, make the focal point sharp on the RV and let the background blur away, giving a sense of greenery and nature but conveniently leaving the swings and park out of focus.
Be sure to include the whole of the RV in the picture, rather than cut it off in the middle.
Build a story for the viewer, make them want to be there. Whether in your drive or with a beautiful scene behind you, add some personal touches: some relaxing outdoor furniture, a picnic on a beautiful blanket, a firepit, and a pretty bunting strung between the trees.
Dress up the external scene just as you will the internal scene.
Internal Staging
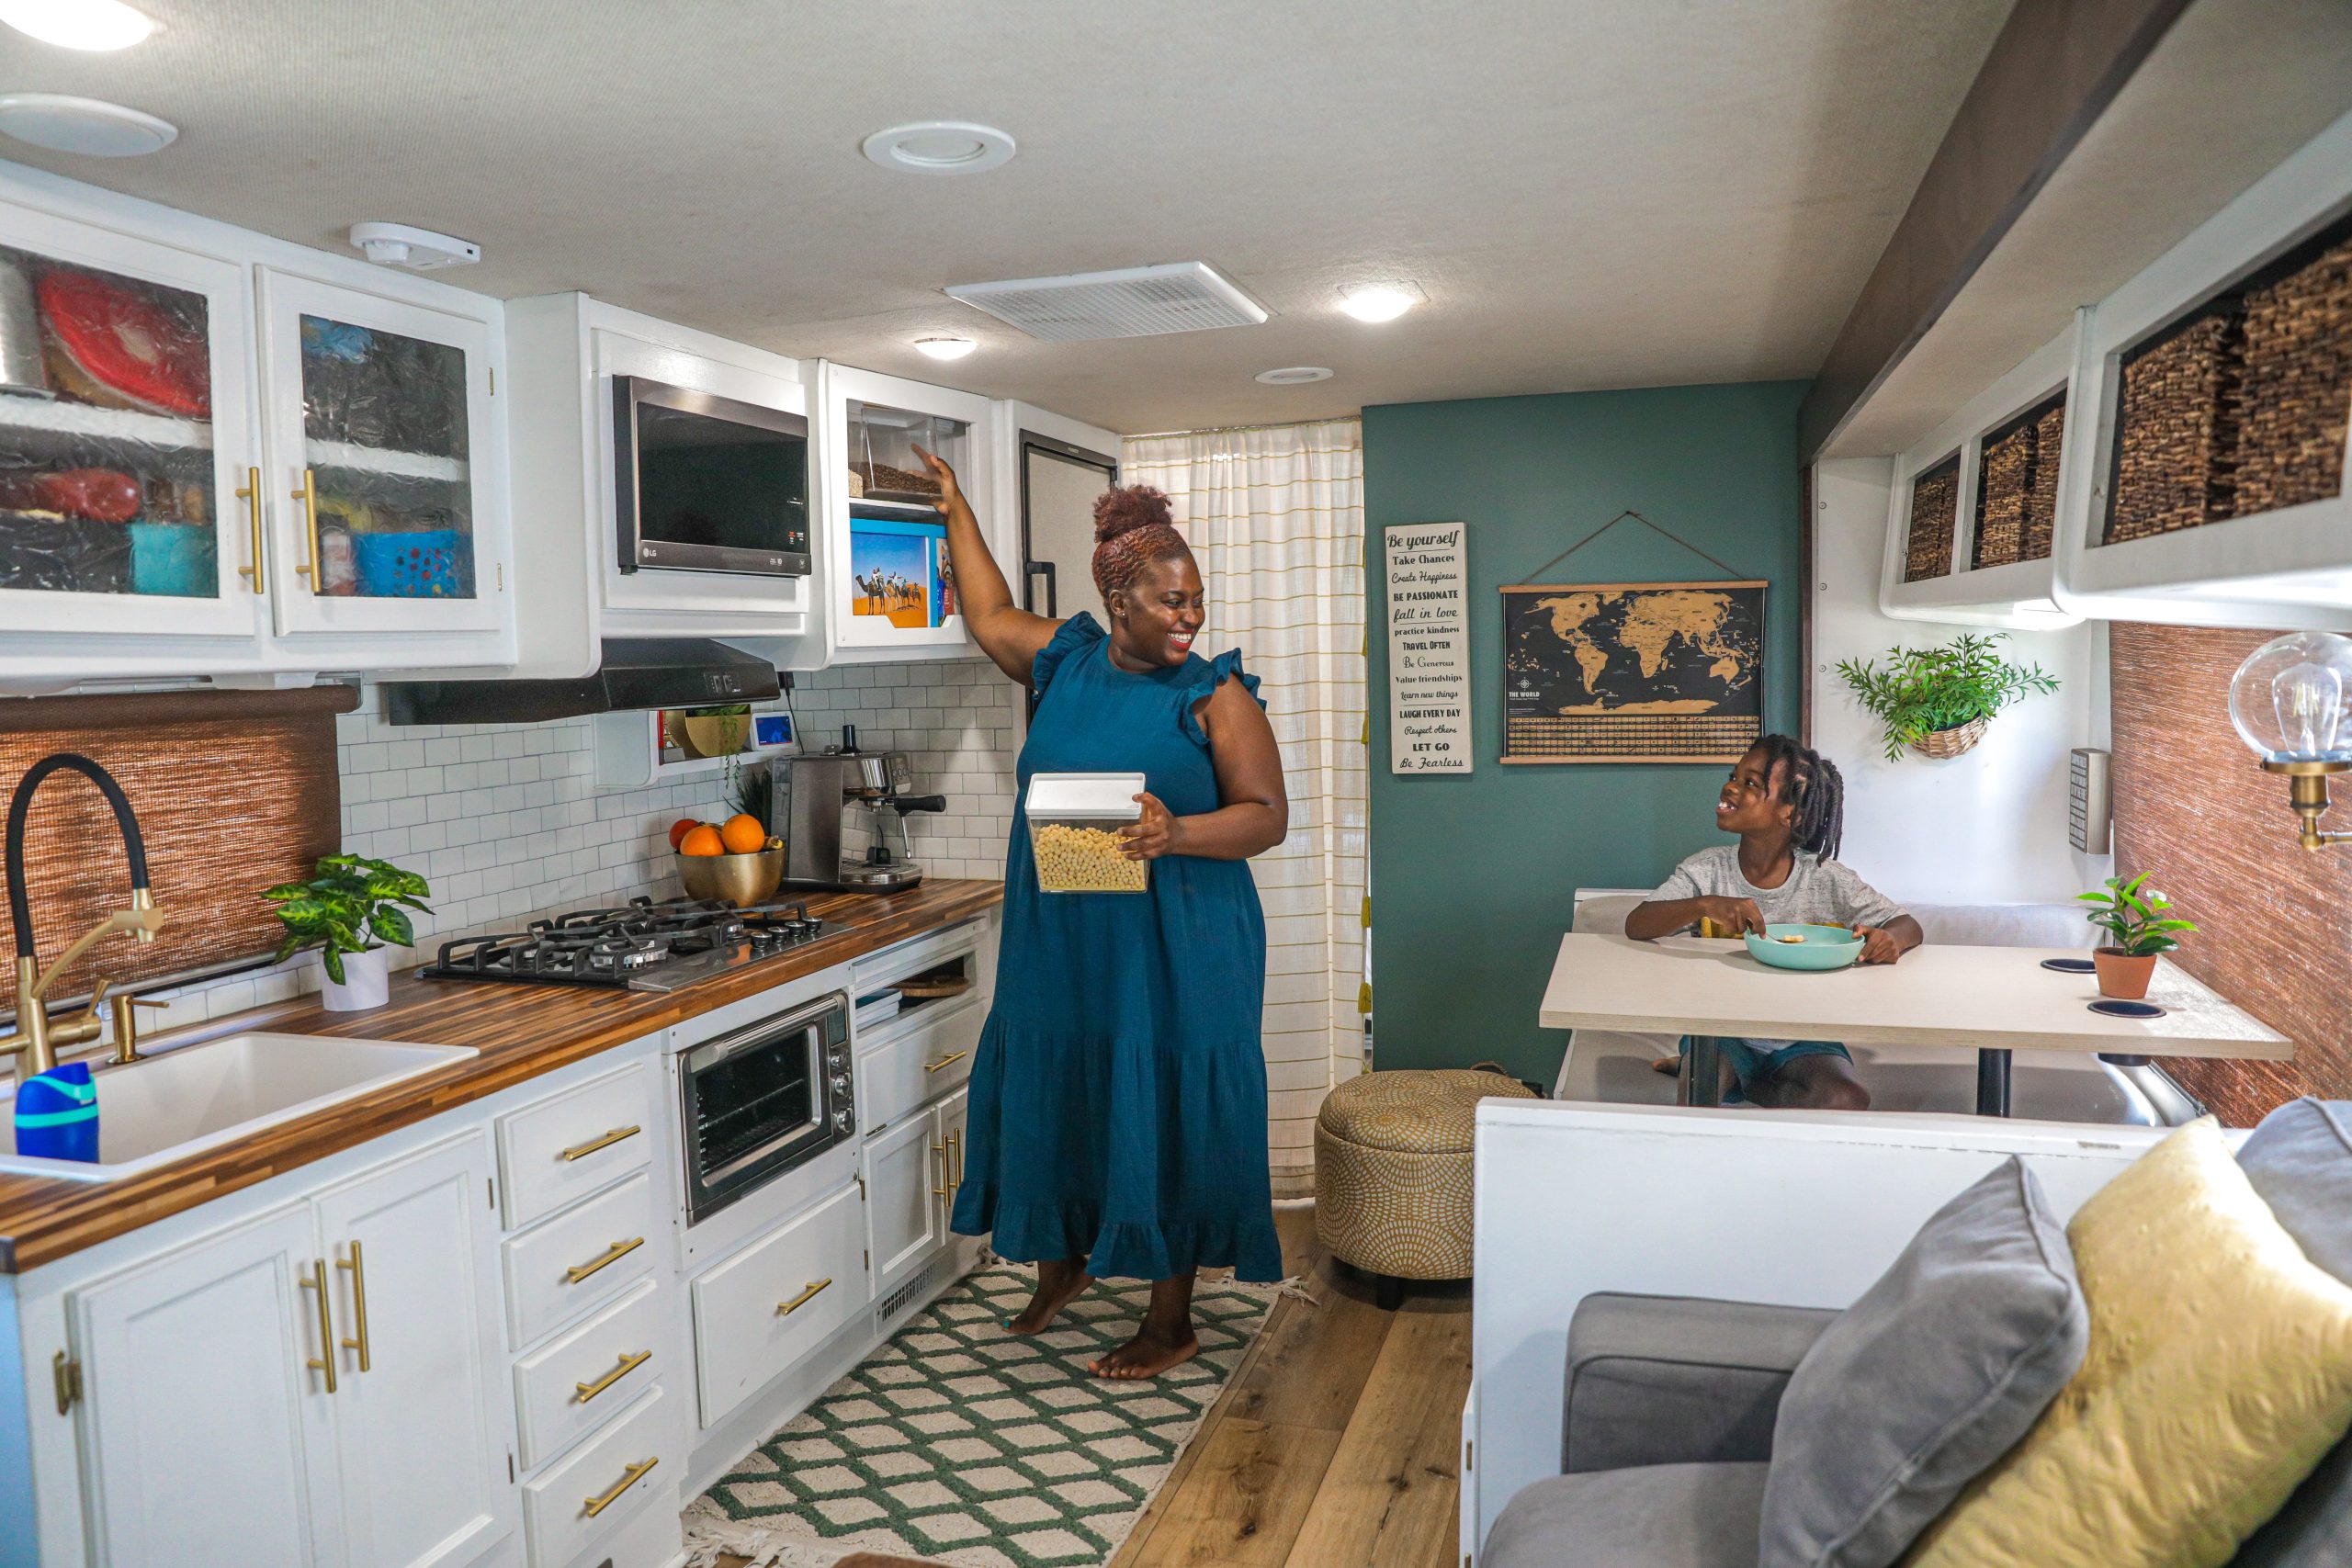
Image: Karen Akpan
We’ve talked about dressing up — staging — the outside of the RV. Now onto the interior.
Proper staging will help capture interest from potential buyers or renters, and it will make your friends want to rush out and get their own RV.
In a small space, the saying ‘less is more’ really does rule. Don’t overdo the staging. Keep things simple and use decoration to highlight detail, or to suggest luxury or intimacy.
The reader has to be able to imagine — no, they have to want to imagine — themselves there.
Does the bed have beautiful sheets and pillows on it? Maybe a throw on the bottom of the bed? Is there a little vase of flowers or a plant on the side table?
Does the bedroom area scream “Come jump on me!”
Choose furniture and decor that works well together. To maintain a sense of space and harmony, keep the palette limited rather than going for lots of different patterns and colors.
This doesn’t mean it can’t have personality: you don’t want it to look empty, nor do you want a viewer to feel claustrophobic just from looking at the photo.
Use lamps, candles, a book, and a cup of coffee to suggest coziness and comfort, rather than cramped and cold.
Camera Angle and Position
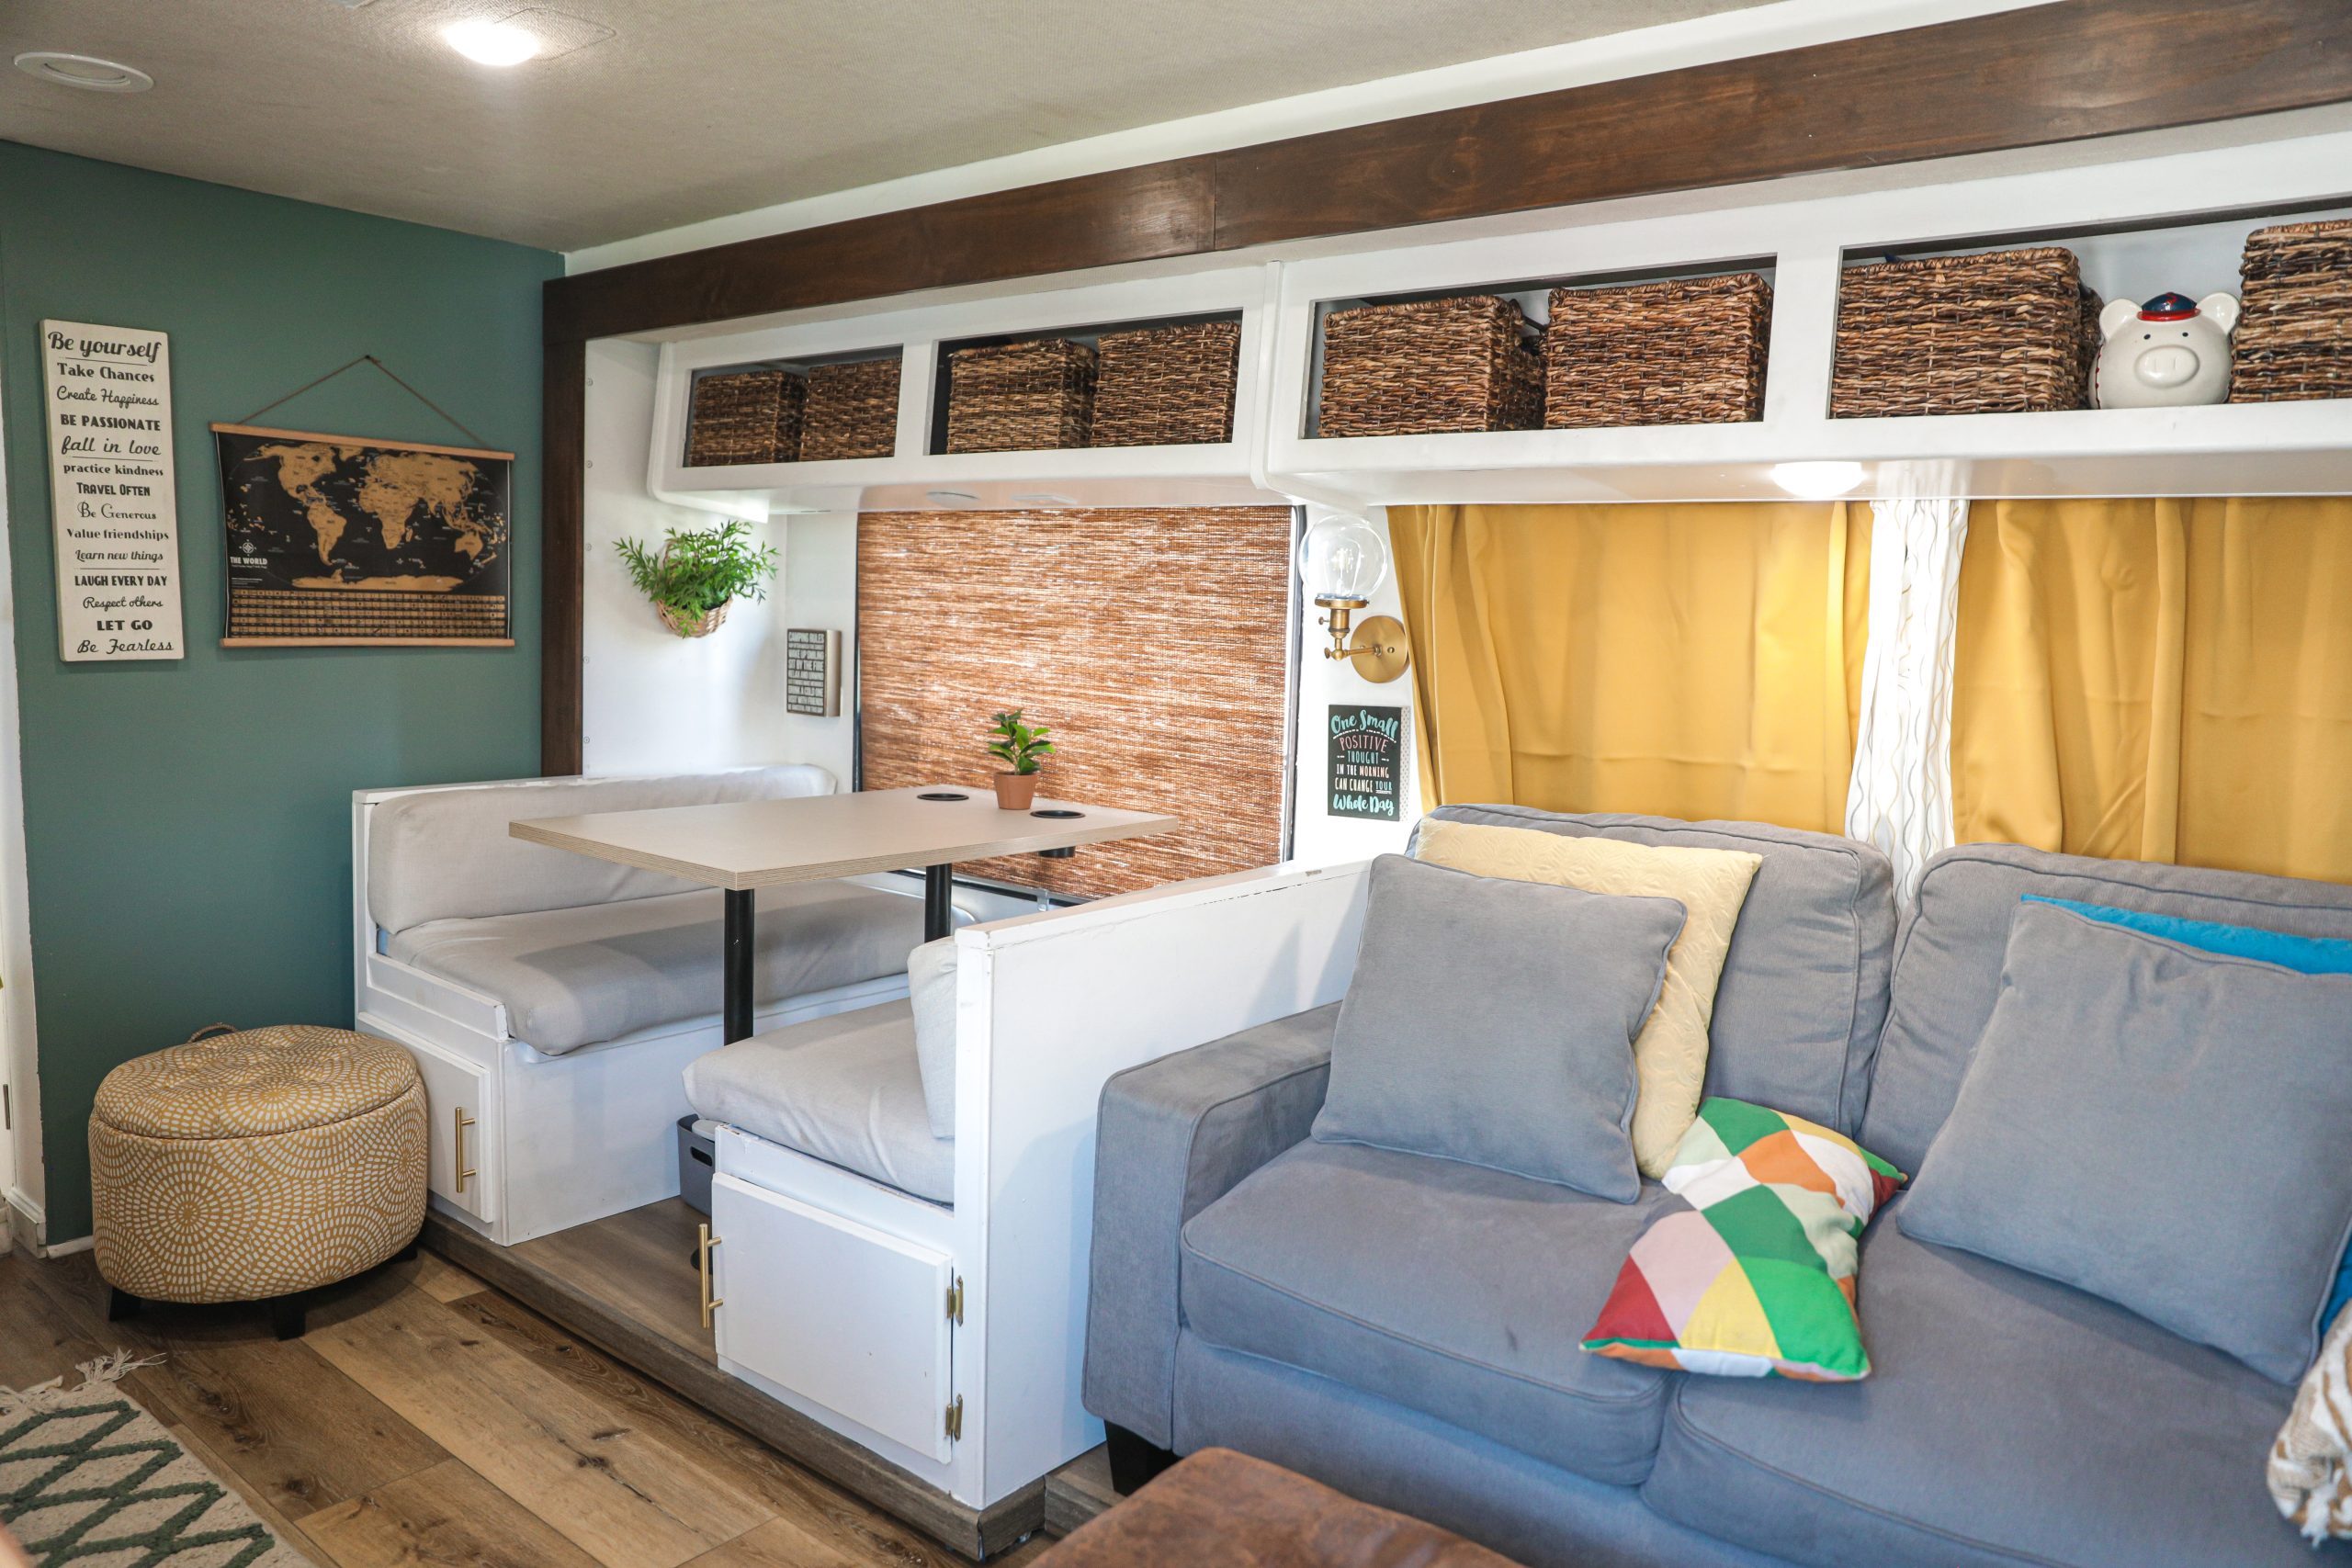
Image: Karen Akpan
Where possible, take pictures with a wide-angle lens which will make the space seem roomier.
Use close-up shots of details you want the viewer to focus on, like an amazing coffee station or sink unit.
Try taking a sequence of photos as you move through the RV so that your viewer will have a real sense of what it’s like to move from one space to the next. Let the photos come together like a story.
To maximize on creating a sense of space, take pictures from the uppermost corner of each room. That, plus a wide-angle lens, will add depth and help make your RV seem like a palace in size.
If you can, take some shots from outside, looking in through an open window. Just those extra few inches of distance can take a shot from flop to fabulous.
Make it Personal
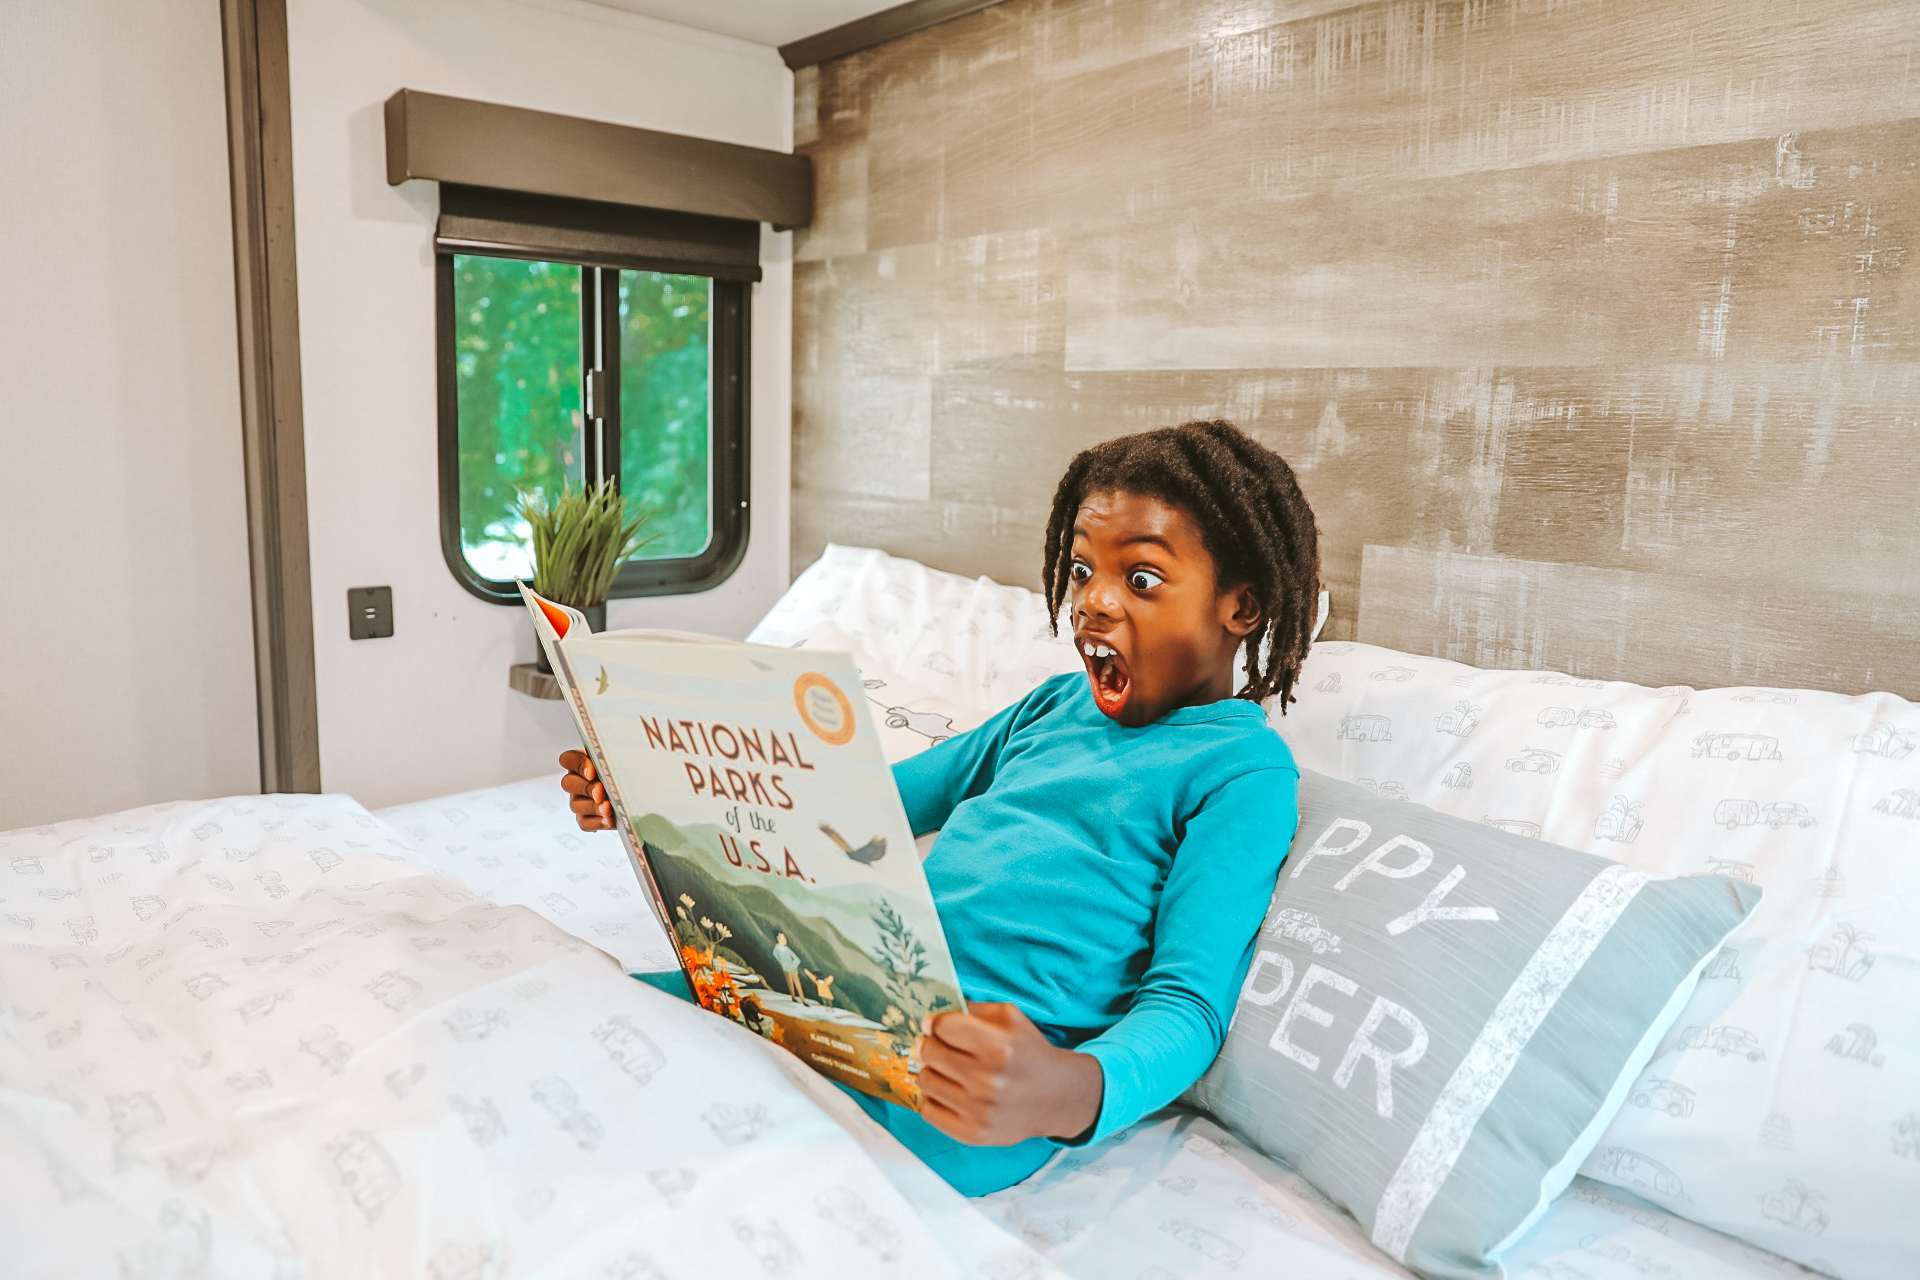
Image: Karen Akpan
Of course, you’re hoping readers will see the photo and immediately want to be in the space themselves — or at least, copy it. How do you do that?
As well as the above points, adding a person or pet will make the RV seem warm and show it as a space that people can comfortably live in.
You don’t even need a face shot. Try taking a photo through a window from the outside, showing the back and side angle of someone sitting in the lounge area enjoying a book.
Or a close-up of the cat, curled up on the end of the bed, with the pillows blurred out in the background.
Unique Selling Point
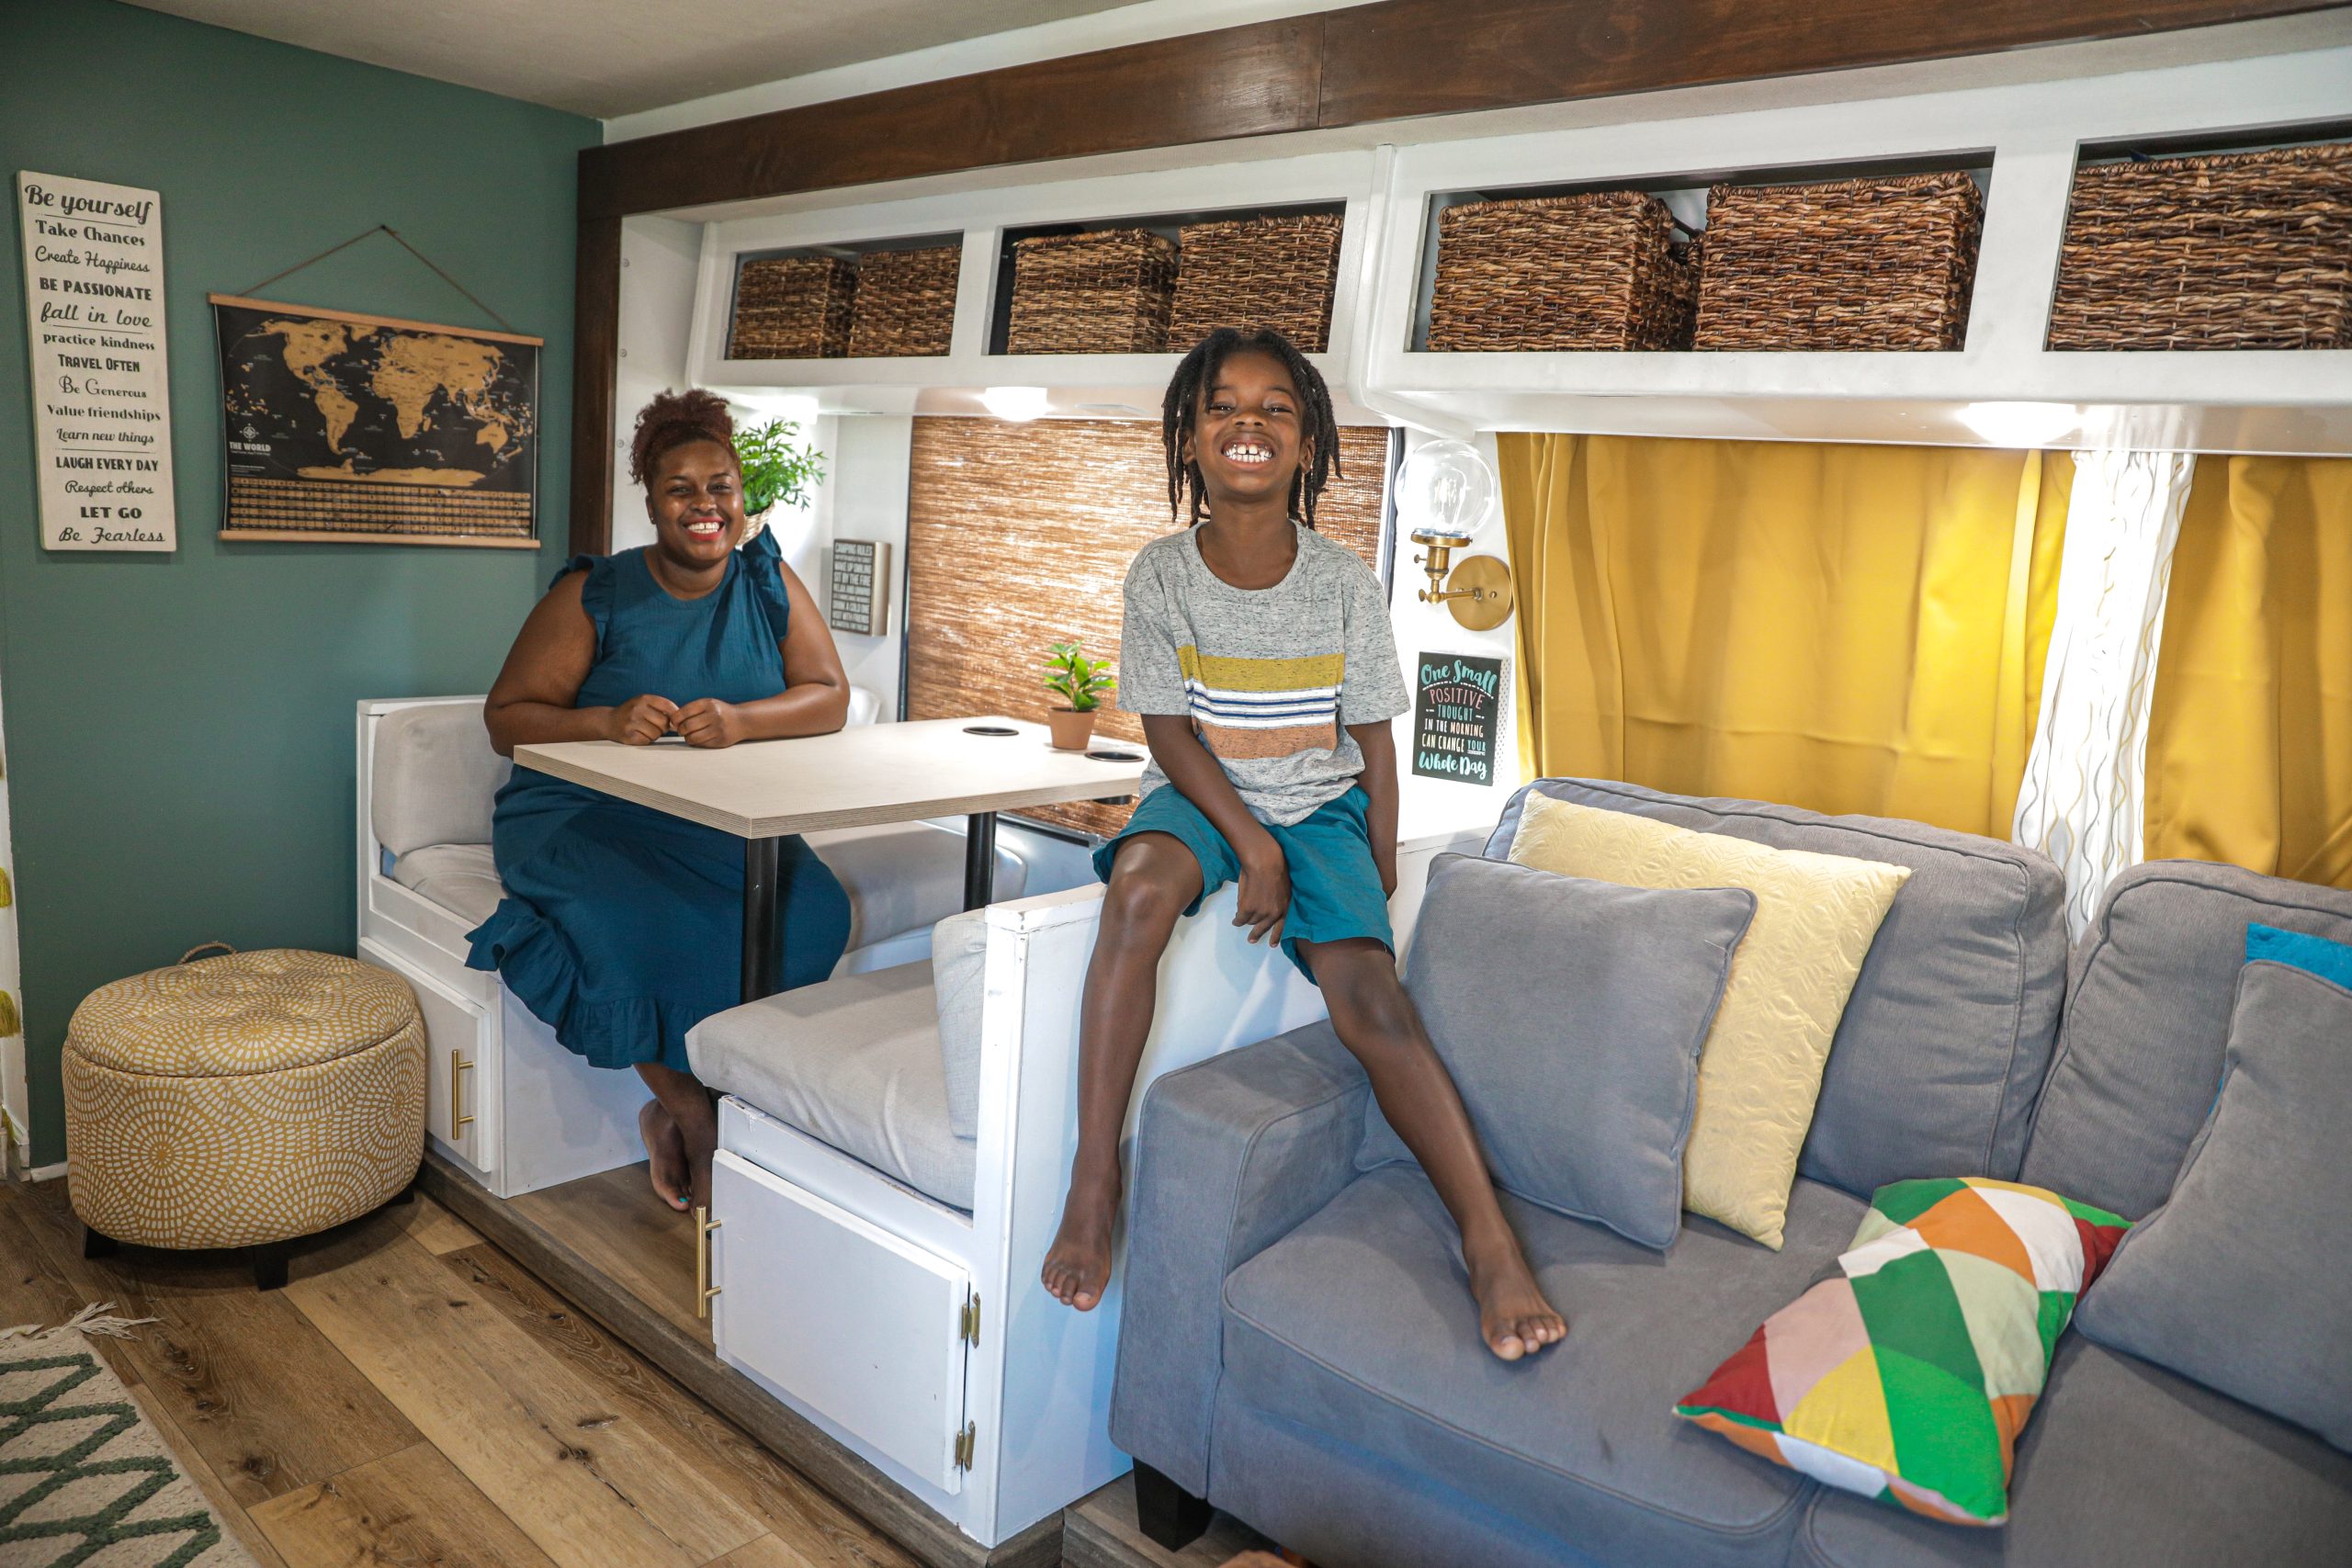
Image: Karen Akpan
Does your RV have a unique selling point that sets it apart? Maybe an incredible heating system, great storage, or a well-stocked welcome box in the fridge? Don’t forget to include shots of these things too.
Useful Tools for Better Photos
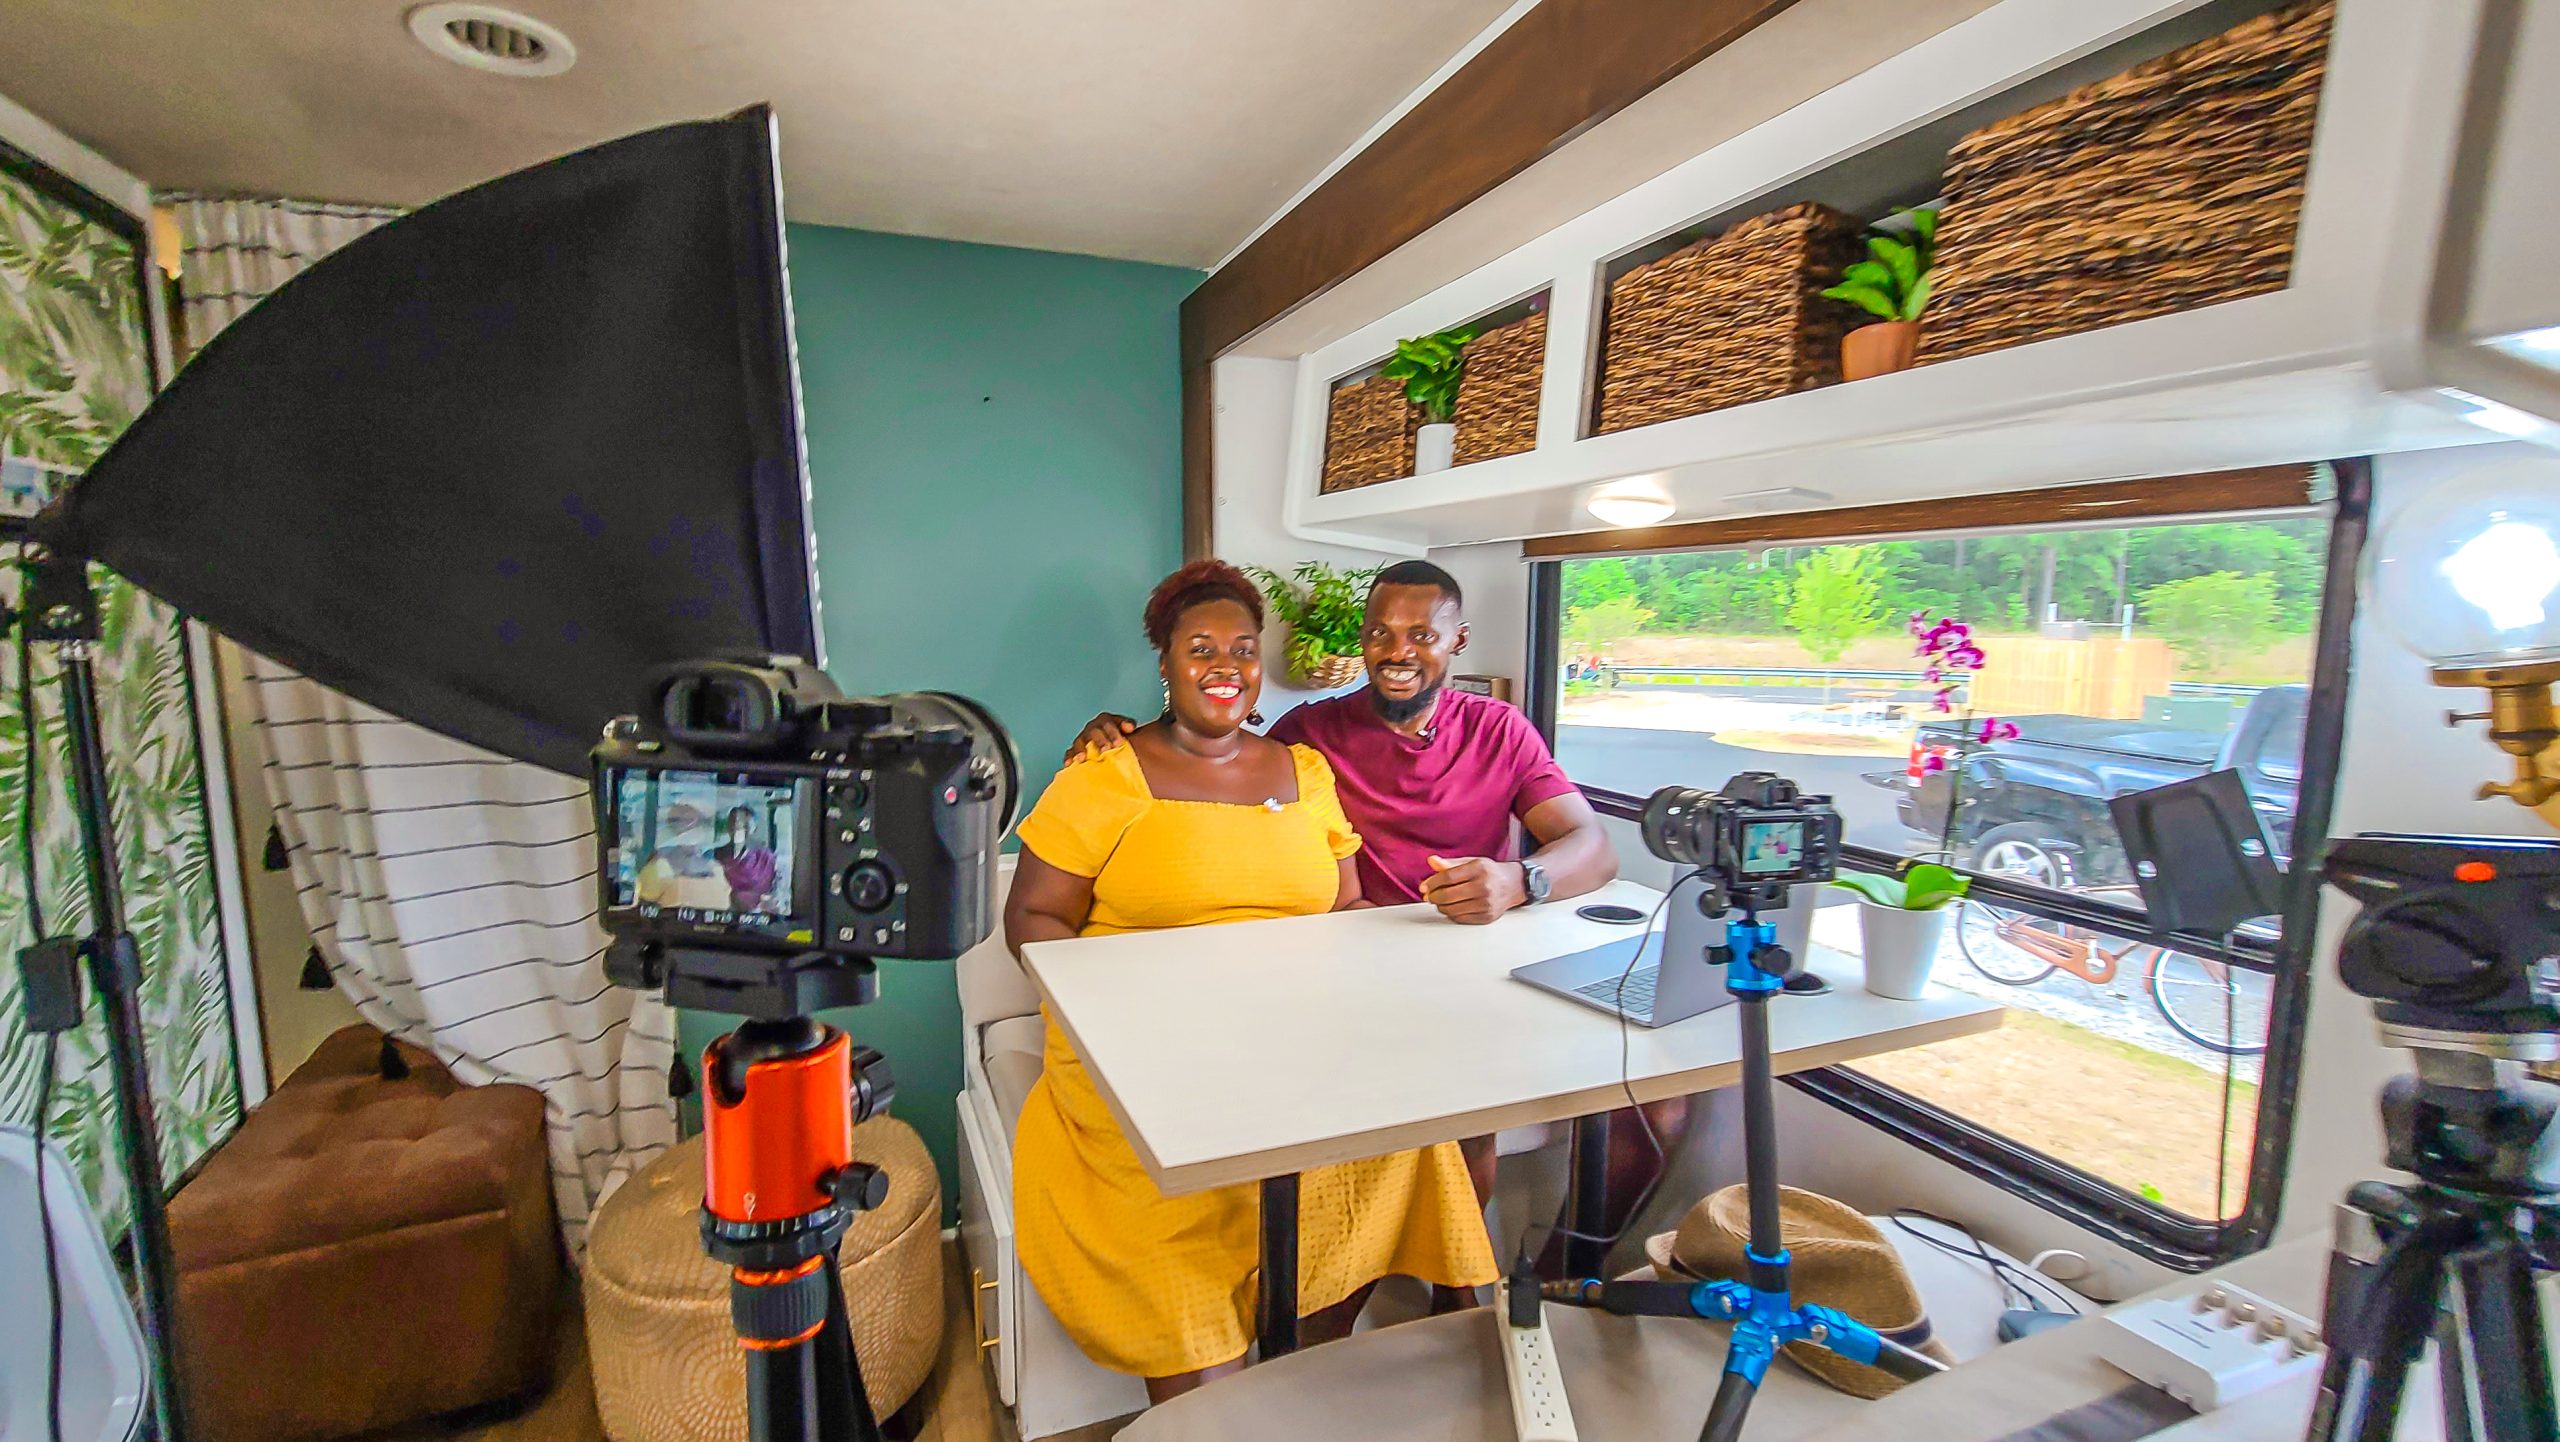
Image: Karen Akpan
Modern phones can take such good photos you can often get away with not needing a separate camera. Sometimes though, you might want to invest in a few tools to up the quality of your photos.
Tripods are not expensive and will help you take super-steady shots. They’re great for helping you use the timer on your phone should you need to. Get a tripod with a bendy ‘arm’ on it so you can hang it from any convenient spot in the RV, such as a hook.
Small spaces like bathrooms are especially hard to photograph well, especially given that the mirror is usually placed in such a way as to make it impossible for you not to be in the picture.
Avoid this by using the tripod and timer and get a clean, open space shot instead.
We already mentioned using an external lighting source. Likewise, photo buffs may enjoy using an external, wide-angle lens too, though you can still take beautiful photos on your phone without these extras.
Editing Your Photos
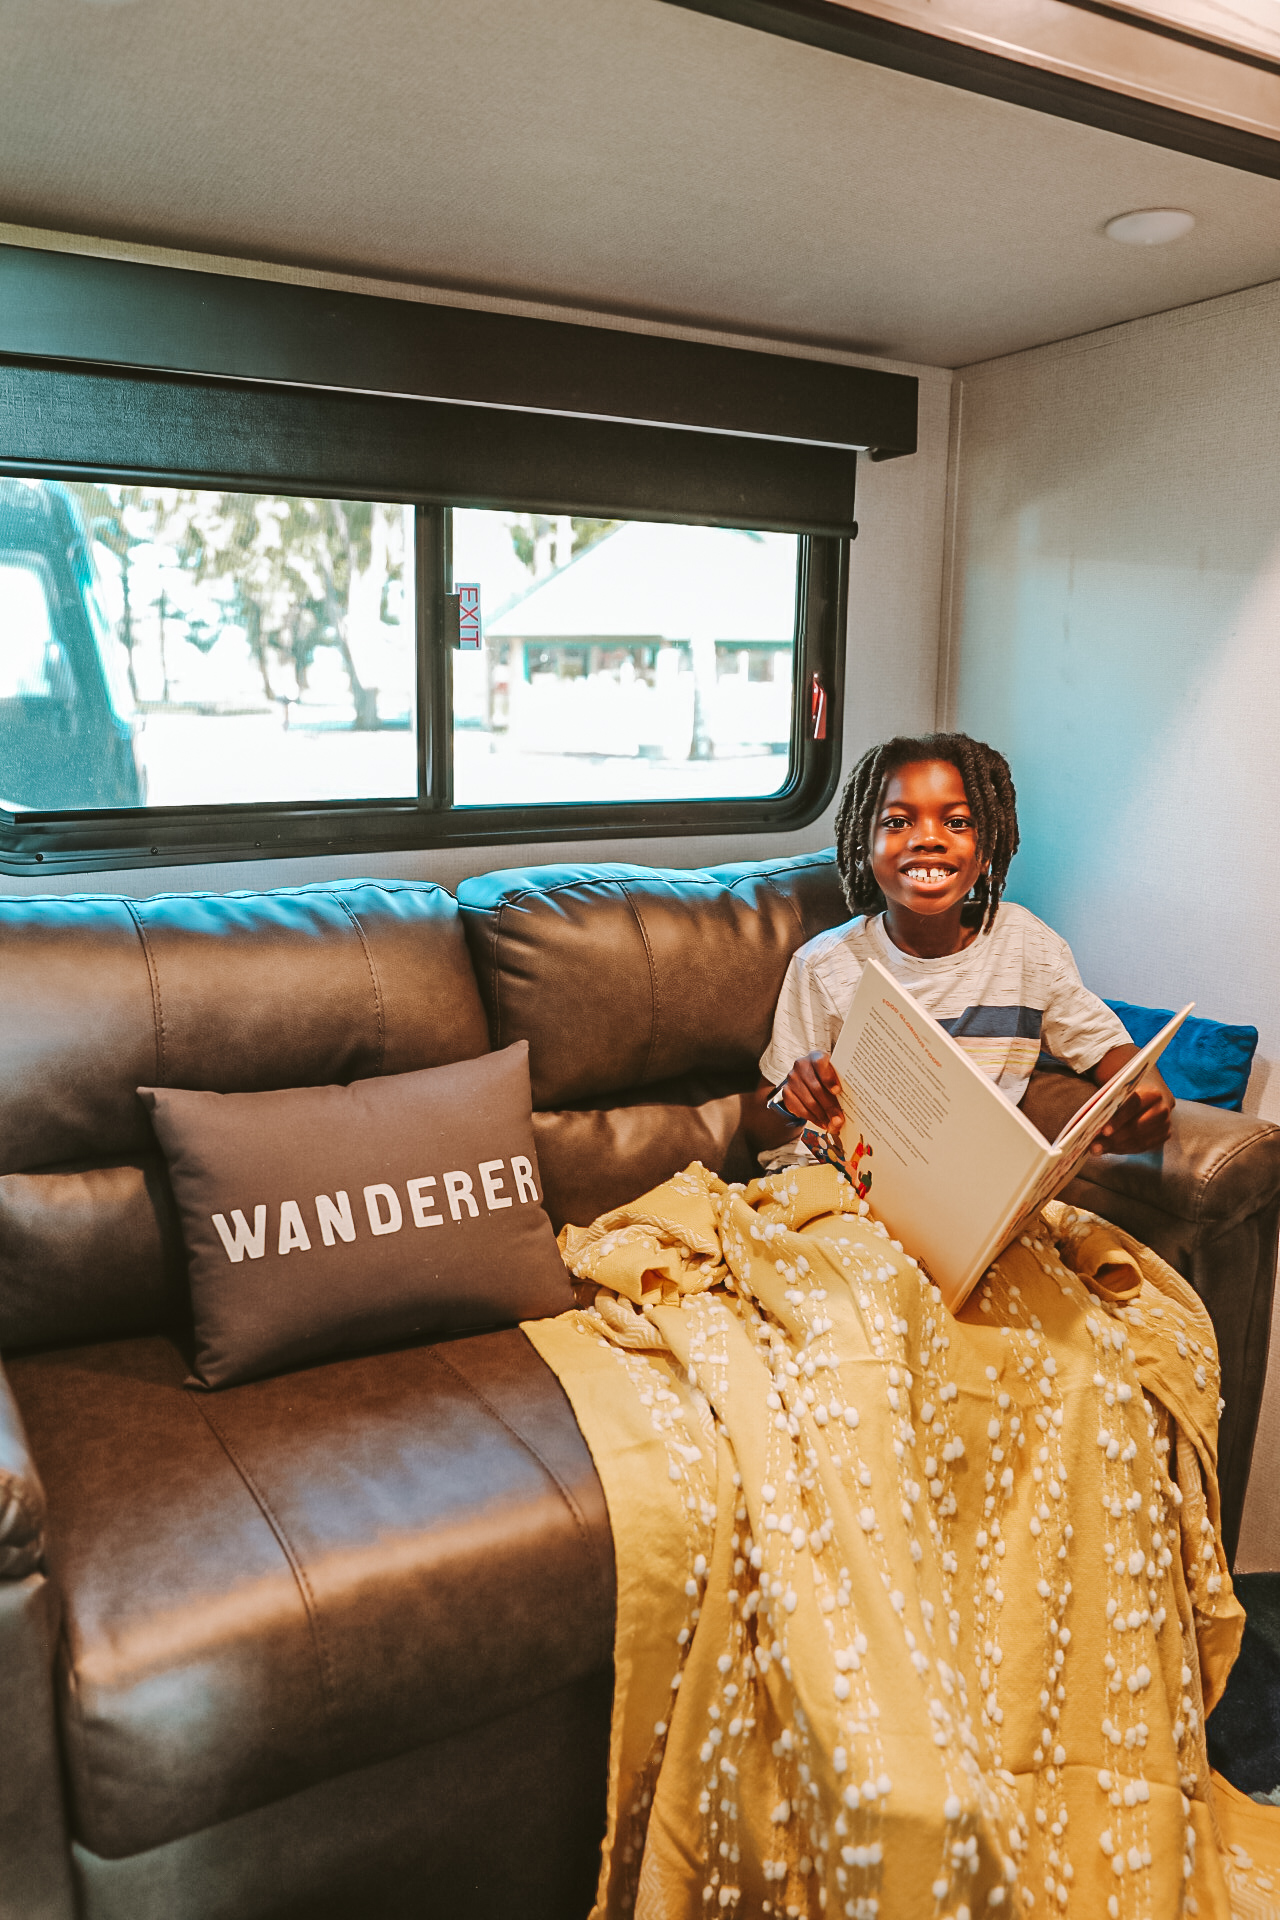
Image: Karen Akpan
Sometimes the biggest difference between a good photo and a bad photo is the power of editing. If you aren’t good at editing photos I highly suggest that you learn how to.
I use Adobe Lightroom to edit my photos on my phone via the app or on my laptop. The difference between the before and after photo is like night and day.
With lightroom, even a horribly lit photo can come to life. So this is a must-have if you want to have great photos.
If you follow these simple steps, you will be able to take magazine-worthy pics of your RV that will be the envy of all your friends and family!
Try these tricks to capture your next RV vacation, or teach your kids photography on your next trip.
Share your photos of your RV on social media and tag RV Magazine.


