Excessive ice buildup on the refrigerator’s cooling fins can be traced to a defective thermistor
Have you ever noticed that a section, or even the entire surface, of the cooling fins inside your refrigerator has frosted over? Excessively cold temperatures are often linked to a buildup of ice, which leads to food freezing. Chances are the thermistor (temperature sensor) is either in the wrong position or is defective. Fortunately, diagnosing and replacing a faulty thermistor is an easy project.
The thermistor is a narrow, clip-on device that sends real-time temperatures inside the box to the control board, and is always attached to one of the cooling fins. The position of the thermistor can be critical when sensing the interior temperature of the refrigerator, so it’s good to familiarize yourself with the necessary location, according to the owner’s manual.
Excess frost or ice on the cooling fins will affect the temperature readings; 36 degrees Fahrenheit is the ideal temperature inside the box (not the freezer).
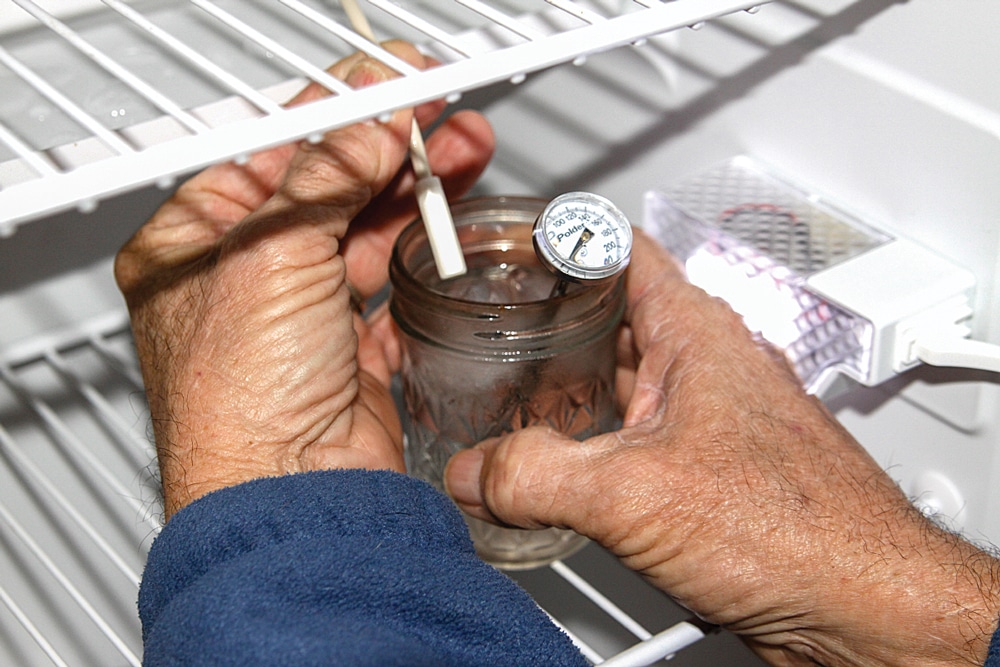
The correct way to measure the interior refrigerator temperature is to put a thermometer into a glass of water and place on the top shelf for 24 hours before reading the number.
If the temperature is too low and you’ve positioned the thermistor properly (on models with this feature), it’s time to test the thermistor. Always unplug the refrigerator from 120-volt AC and turn off the refrigerator to defrost the fins before starting the test procedure.

Thermistor is placed in a jar of almost freezing water before measuring resistance at the control board.
Remove the thermistor from its position on the fin and drop it into a glass of ice water along with a thermometer and leave it for five minutes. The ice water needs to be approximately 32 degrees Fahrenheit before a resistance measurement can be taken. Next, remove the cover from the control board and unplug the thermistor. Using a quality multimeter (ohm scale), check resistance across the two wires. An Ideal reading for a Dometic refrigerator is between 7K and 10K (thousand) ohms; the reading should be 30K to 32K for a Norcold model.
If the thermistor fails the test, it can be easily replaced. On a Dometic refrigerator, a thermistor tip replacement assembly is available. First unplug the thermistor from the control board. Cut the tip of the thermistor just below the sensor end and strip back the outer covering from the two wires approximately 1.5 inches. Next, strip each sensor wire approximately .5 inches. Follow the directions that came with the kit for attaching the new sensor tip.

The plug with the two wires from the thermistor is removed from the control board after the 120-volt AC power is disconnected and refrigerator turned off.
Norcold thermistors vary from model to model. Most models have a thermistor that’s integrated with the refrigerator’s interior-light wiring harness. Remove the light lens and separate the four-way plug that connects the thermistor and the light. The new thermistor will come with the four-way plug for a plug-and-play installation. Make sure that you remember the exact location of the thermistor sensor on the cooling fins.
The Dometic thermistor kit, part number 3307872.006, is available for most models. Norcold thermistors are model number-specific and will have to be ordered accordingly.
For Dometic models with fixed-temperature or automatic controls, there is an aftermarket adjustable thermostat (Variable Thermistor Adjuster) that plugs in between the thermistor and control board. This aftermarket component makes it easier to regulate box temperature; it’s available from Dinosaur Electronics and costs around $40. This part does not replace the thermistor.
If you find that the thermistor is good, look for a defective door gasket and/or a large air leak as the cause of excessive fin icing. RV refrigerators have different maintenance requirements than home refrigerators. Check out more info here.


