With the right products, tools and a little elbow grease, you can keep motorhome cargo compartments easily accessible for years to come
In 1980, Pete Townshend released the hit song “Let My Love Open the Door.” That was almost 40 years ago, but showing a little love to your motorhome’s cargo doors today will make them easier to open in the future. We all use our cargo bays a lot, but few of us dedicate much time or energy to maintaining them. The basement is where we store all of the outside-related camping items such as chairs, grass doormats, cleaning supplies, grills and other items that we simply can’t fit (or don’t want) inside the living quarters. When the cargo doors are properly adjusted and the weather seals are cleaned up and protected, you can enjoy many miles of trouble-free operation.
The major parts of a cargo door that require servicing are the hinges, locks, lock latches or strikers, gas springs and weather seals. The seal is the only thing that prevents moisture and road dirt from getting past the door, so you really need to take good care of them; otherwise your entire basement contents are subject to getting wet and dirty during travel.
We are going to show you how to clean and lubricate the hinges and locks, and clean and lubricate the weatherstripping. We will also show you how to adjust the striker latch for proper operation of the door and lock. Last, we will check all the bolts and screws to ensure the hinges and doors are tightened properly for smooth and trouble-free operation.
This project can be completed in about an hour or two, and if you work in the shade, you won’t even break a sweat!
In order to service the doors you will need a few supplies as well as some hand tools. Most of these items you probably already have, but if not, here is what we used. First, to clean and lubricate the hinges and door locks we used a combination cleaner/lubricant. In our case, we used good ol’ WD-40 (take caution to minimize overspray on your motorhome’s skin). If your hinges are very greasy or dirty you may need to use a separate cleaner/degreaser, but for most of us WD-40 will work for both purposes.
For cleaning the weatherstripping we used two different products specifically for rubber. They are from Griot’s Garage and they are called Rubber Prep and Rubber Cleaner. The Rubber Cleaner is designed for normal cleaning, while the Rubber Prep is more of a deep cleaner that removes all previous silicones or old protectants that have built up. To protect and treat the rubber weatherstripping we used 303 Aerospace Protectant. We also used a special heavy-duty aluminum cleaner from Aero Cosmetics for cleaning the door skirts, and an automotive paint cleaner from Griot’s Garage called Spray-On Car Wash. There are many types of degreasers, rubber protectors and lubricants on the market, but I have tested all of these and they have proven to work great, plus we already had them “in stock” in the garage so we are sticking to what we know works.
Depending on the type of hinges and striker plates, you will also need some basic hand tools such as a wrench, screwdriver, pliers and maybe a socket wrench. These items will be needed to tighten the hinges and the cargo-door mounting bolts, and to adjust anything that is not perfectly aligned. This is a very easy project that should take no more than one or two hours, and if you work in the shade you will never even break a sweat.
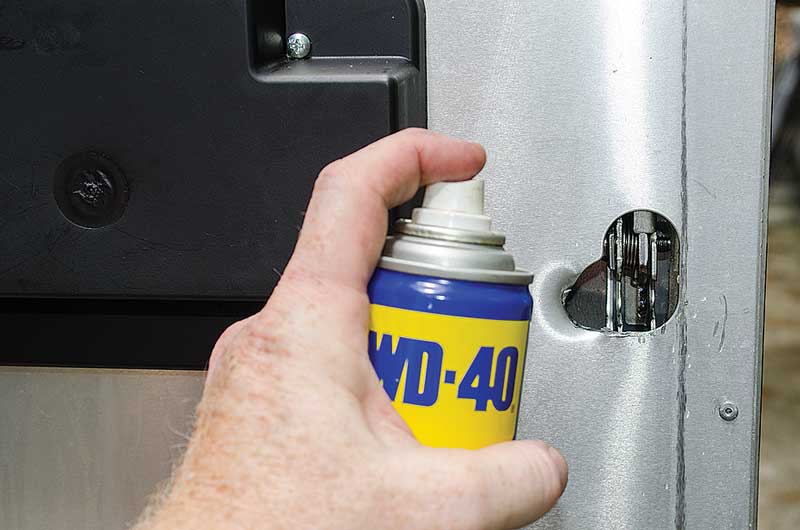
Once you open each door, you should be able to identify its major components, such as the lock shown here. We sprayed it with WD-40 to clean and lubricate the mechanism. It is a good idea to open and close the lock a few times during this process by using the key and handle on the front of the door; this will help ensure that the lubrication reaches all parts of the lock.
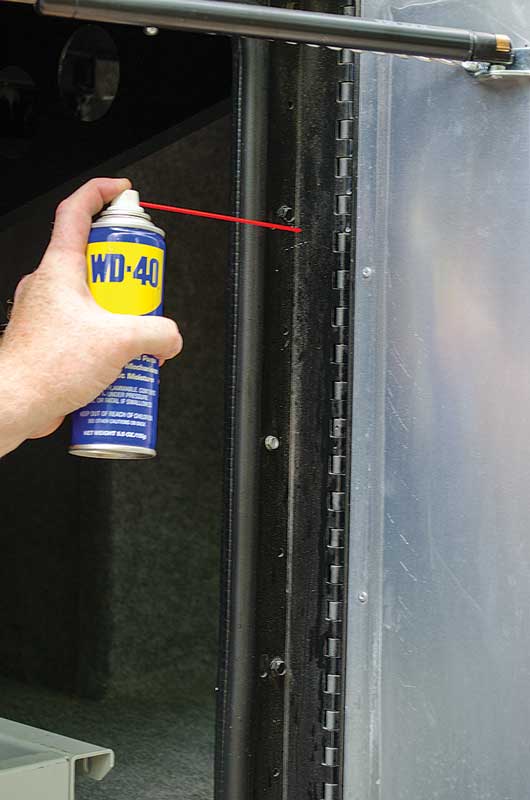
We used the same approach on the door hinge as well. The door hinges on our motorhome were not very dirty, so we simply sprayed each one with WD-40 and then wiped away the excess. If yours has a lot of grease or dirt buildup, you may need to first spray and clean with a separate degreaser.
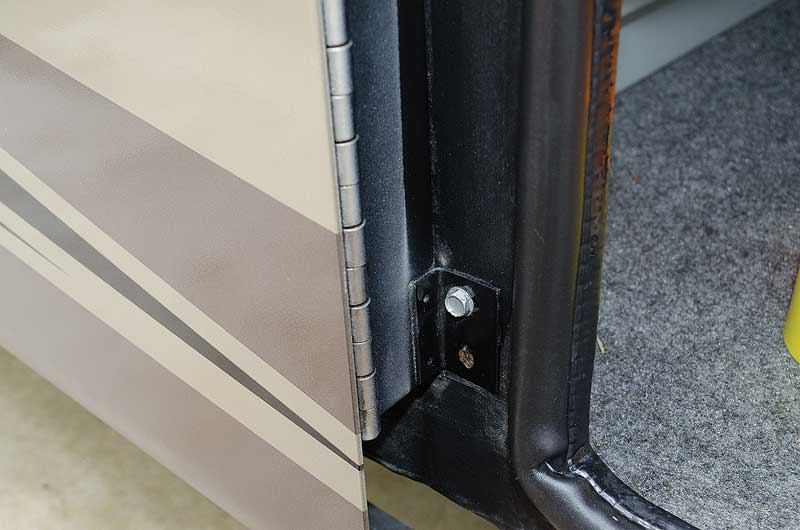
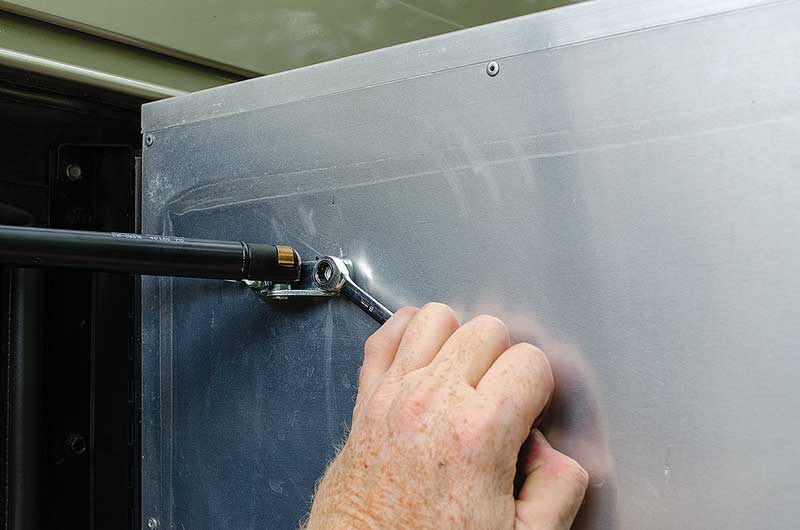
Next, we located the hinge support bolts on the door and tightened them to ensure the door has a solid mount to the coach. Each manufacturer uses different hinges and attachment points, but you should be able to locate these bolts and tighten them with simple hand tools. This is a good time to make sure none of the bolts are missing.
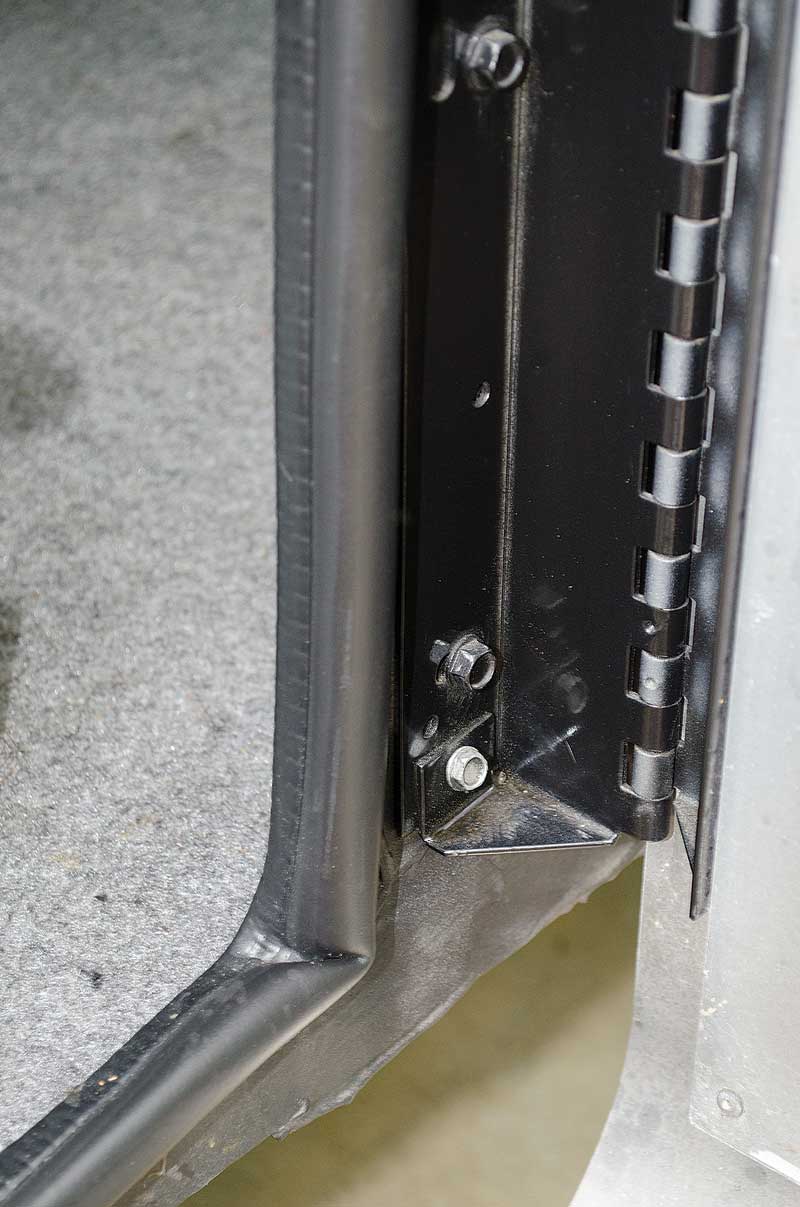
Here are the bolts located on the inside of the hinge that also need to be checked and/or tightened. In our case, about 50-60 percent of the bolts we checked were loose. After years of use and bumping down the road this is not uncommon, so double-check all the bolts to make sure they are tight.
We also checked both ends of the gas-spring bracket to ensure those bolts were tight as well. The other end of the spring is connected to a bracket inside of the cargo bay, so make sure you check it too.
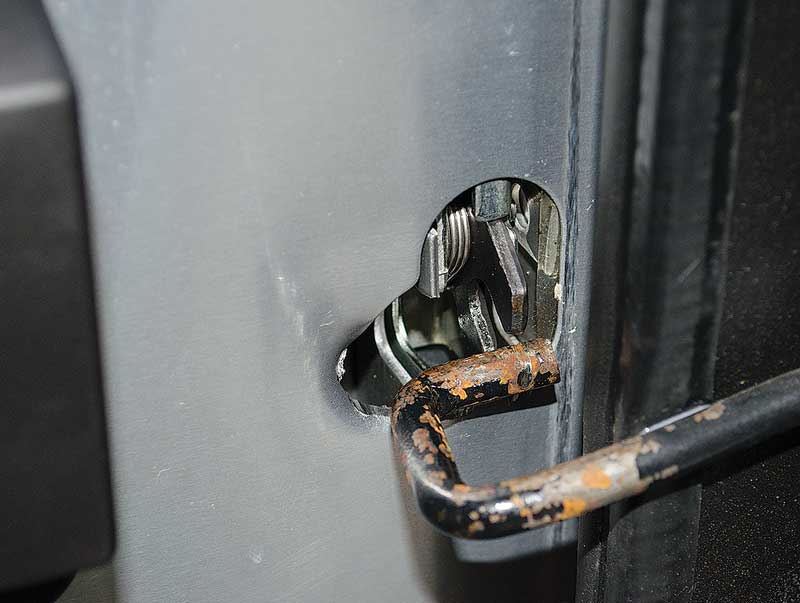
While your tools are out, check each door to ensure the lock is properly engaging the striker pin or plate. Each manufacturer uses a different mechanism, but the principle is the same. The inside of the lock will strike and engage a pin or plate, and that is what holds the door closed. When properly adjusted, the pin will perfectly enter the lock as the lock hasp closes around the pin. If the pin is improperly adjusted the result will be a door that is difficult to open or close.
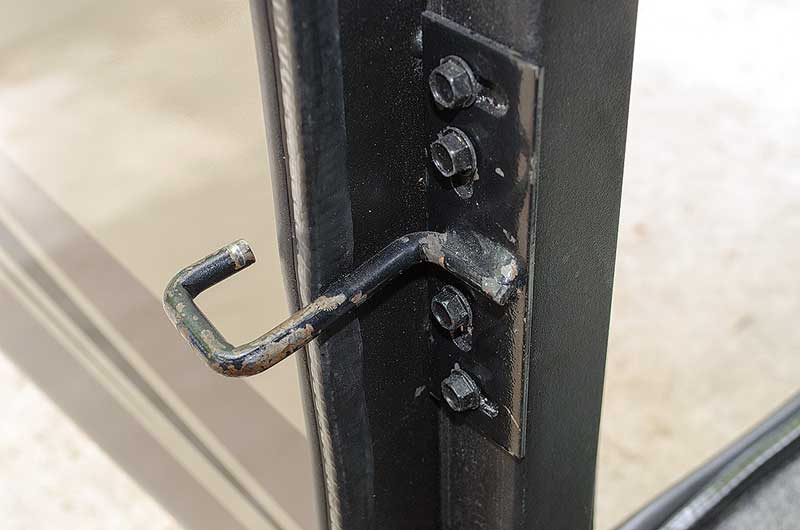
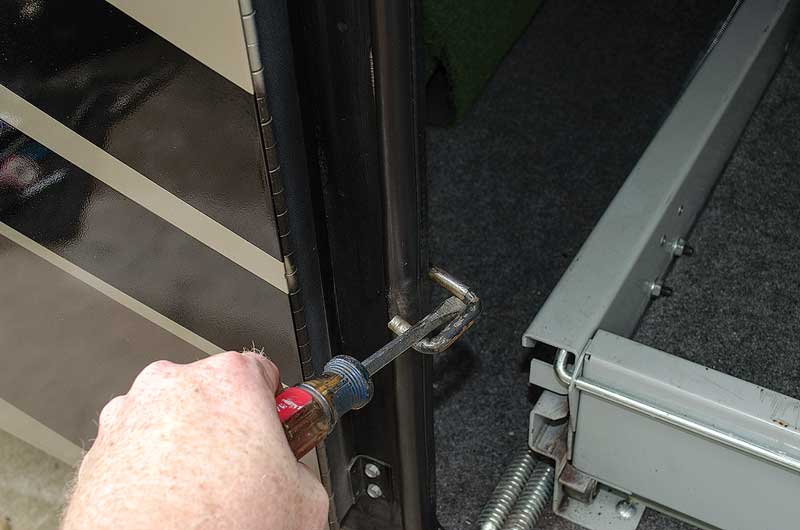
There are two ways to repair an improperly adjusted door-latch assembly. One is to adjust the striker pin/plate as shown here. You can see there are adjustment slots in the plate that allow you to loosen the bolts and then move the plate to get it in the correct position to be engaged by the door lock.
If your door lock is only slightly out of adjustment, you can “encourage” it into place by tweaking the striker pin slightly up/down or left/right as needed for proper engagement. Though a bit crude, it is often the best way to make a minor adjustment.
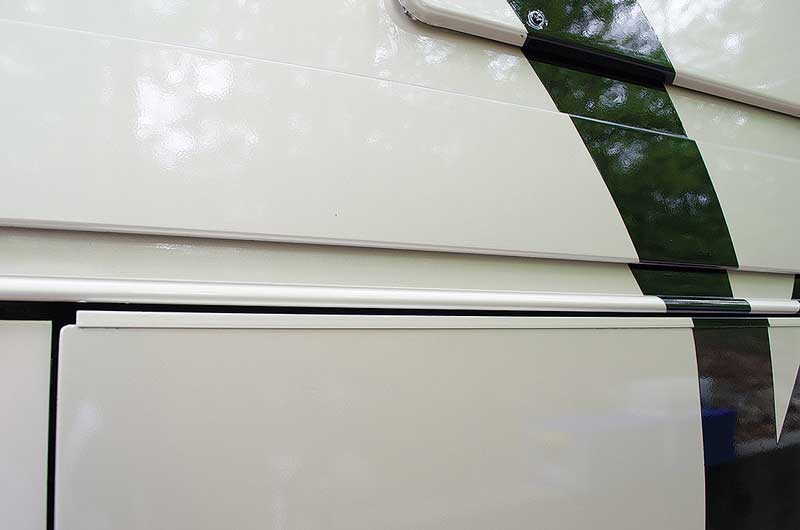
As you inspect, clean and adjust each door, it is also a good time to check for proper alignment. The edge of the door along the top relative to the RV frame — as well as the side edges — should be parallel to the part next to it, and the door should not rub anywhere. If you find misalignment you may have to adjust the door position on the coach. Each motorhome is different, and some models may be user-adjustable, while others may require the services of a technician at an RV service center.
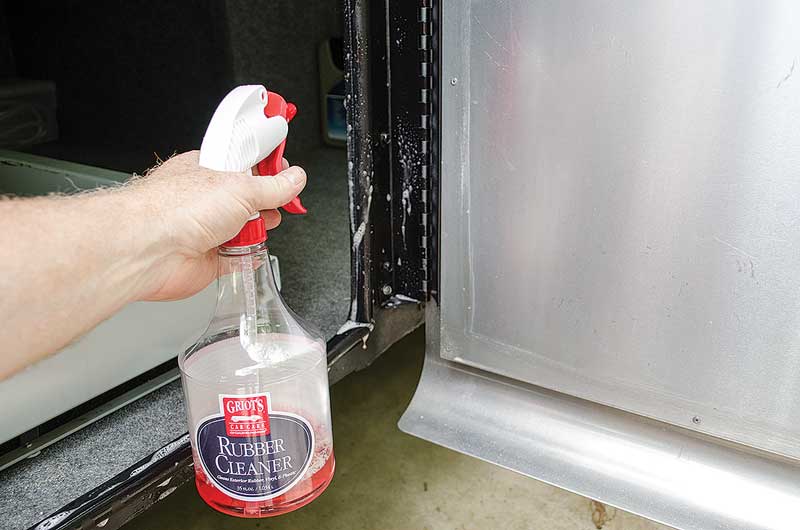
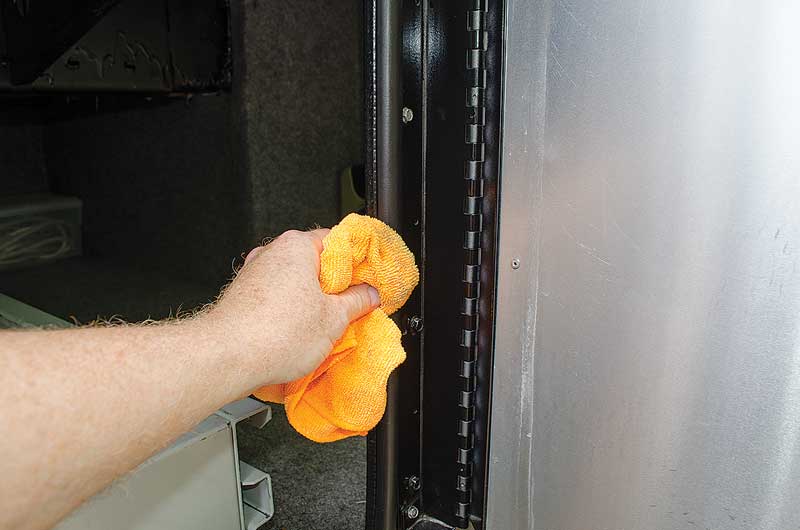
The weatherstripping is the only thing protecting the contents of your basement from the outside elements, so you need to take good care of it. We started by cleaning each one with Griot’s Rubber Cleaner. Simply spray it on and wipe it off with a clean microfiber towel. If the rubber is in really bad shape, Griot’s Garage also offers a Rubber Prep product that completely strips off all old cleaners and lingering oil or silicones that may be present. This better prepares the rubber for the next step.
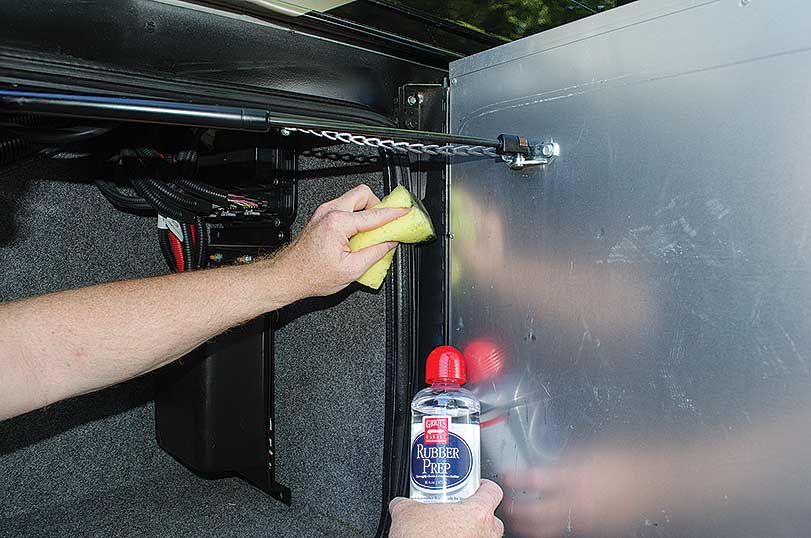
The Rubber Prep product is applied by wiping the seals with a foam sponge that was soaked with the cleaner. This completely strips off the old cleaners and silicone residue often left behind by other protectants.

Once the rubber weatherstripping is completely clean, it is time to apply the 303 Aerospace Protectant. Simply spray it on then wipe it dry with a clean microfiber towel. This is a great product and, unlike many “tire and rubber” protectants, it does not contain any ingredients (petroleum distillates) that accelerate the wear or deteriorate delicate rubber seals.
Once you wipe off the excess 303 spray, you will be rewarded with a rich-looking seal that is well-protected. We have used this product for years, and it has never failed to do a great job.
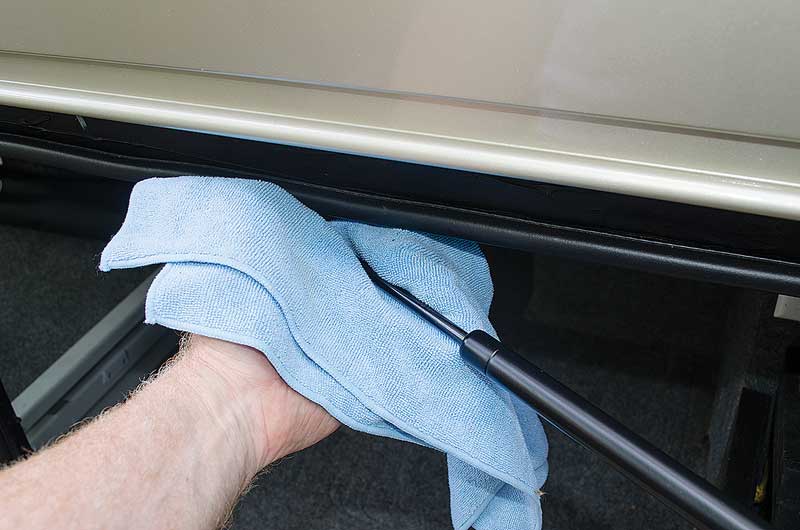
We also took this opportunity to spray some WD-40 on each of the gas springs and then wipe them down. Pay particular attention to the piston portion of the assembly that goes in and out of the shock during operation. This will help eliminate the chance of dirt and grime getting into the seals and damaging them.
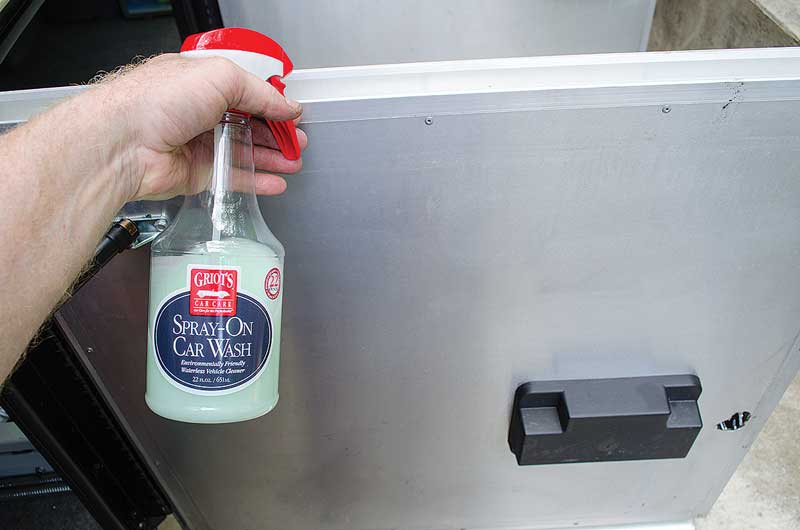
This particular door design has a U-shaped channel on top that serves as a trap for dirt and grime. If a job is worth doing it’s worth doing right, so let’s clean that out as well. We used an automotive cleaning product called Spray-On Car Wash from Griot’s, and it does a great job of cleaning without any chance of damaging the paint.
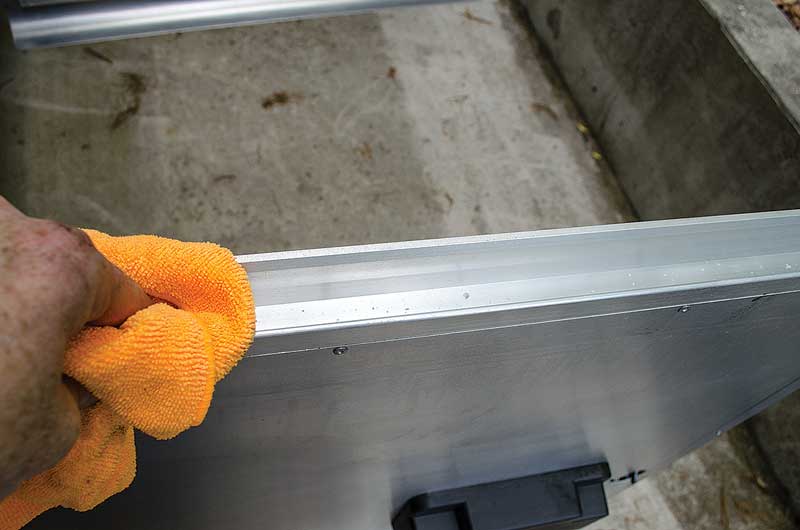
After spraying it, you can wipe away all the dirt and grime with a clean microfiber towel, and the aluminum channel now looks new.
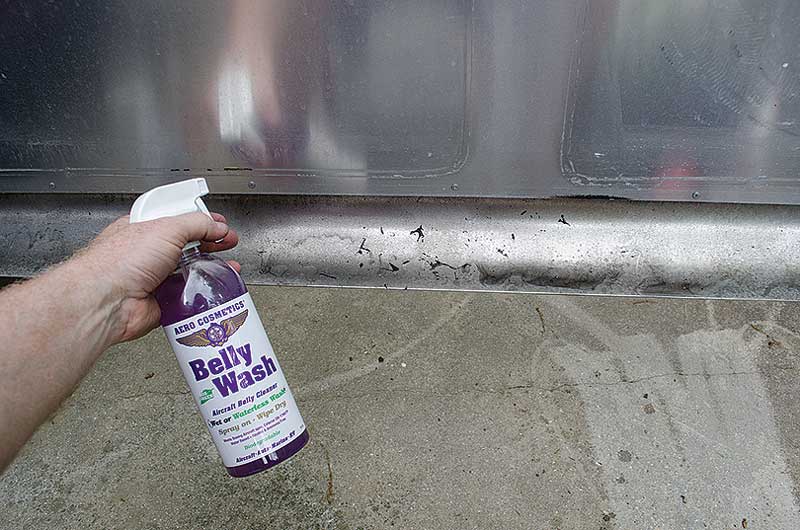
The last step in this process is the bottom of the cargo door. This skirt is on the inside bottom of each door and since it wraps under the coach and is exposed to the road, it gets very dirty. We used Aero Cosmetics Belly Wash, which is specifically designed for aluminum aircraft parts.
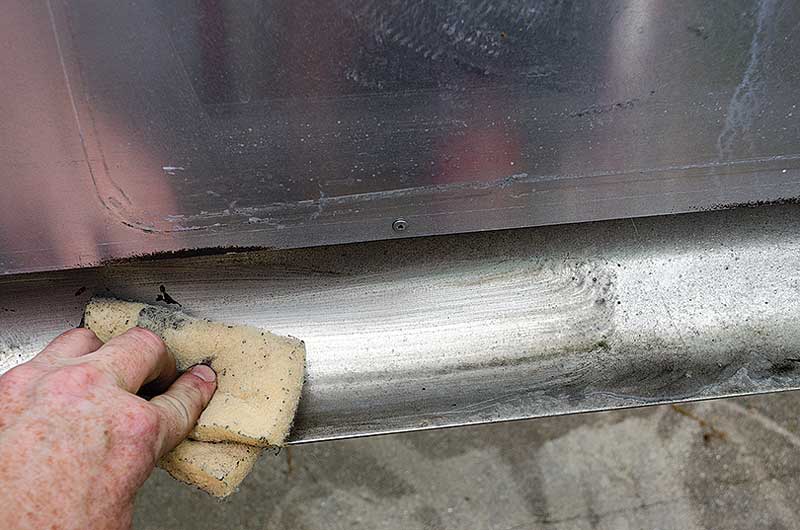
After spraying on the Belly Wash, a scrubber pad from Aero Cosmetics was used to cut through years of dirt and abuse. Note, this product is very concentrated and should only be used on certain areas, such as this unpainted aluminum skirt. Be sure to rinse well with water after cleaning.
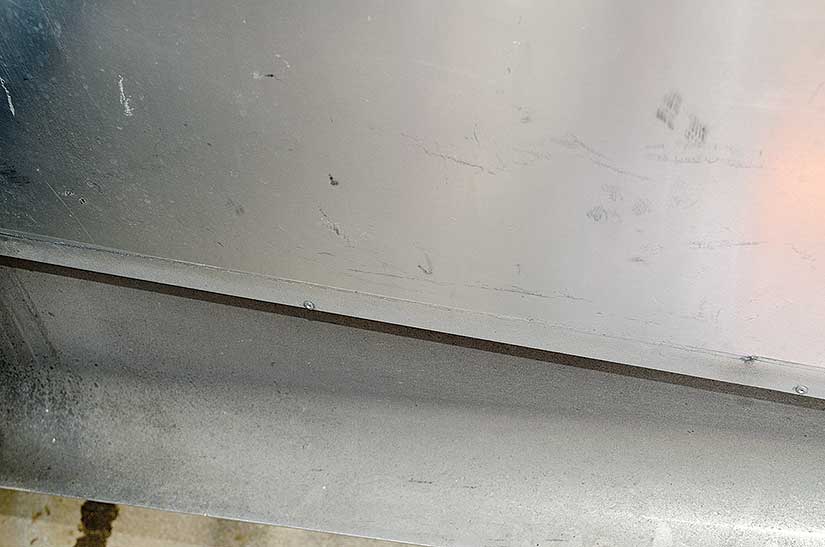
The end result is a clean compartment bay!