How to Keep Moisture out of an RV in Winter
Image Caption:
As the winter season hits full stride, our thoughts begin to shift from motorhome travel to motorhome storage. In fact, depending on where you live, you may have already put your motorhome away for a long winter’s nap. There are many aspects of winterizing that can change depending on how and where a motorhome is stored. In cold, damp areas of our country, one concern that arises with regularity is interior humidity, and how it can be controlled.
Humidity Problems
Though it may not seem like a big deal from the outset, excess interior humidity can cause a lot of damage that you may not discover until you get ready for the next travel season. Electrical connections in your appliances can corrode, cabinet doors and furniture can swell and/or warp, and mold/mildew can create permanent stains as well as health issues. If left unchecked for three or more months, damp interior air can easily cause thousands of dollars in damage and seriously delay your future travel plans.
In our permanent residences, moisture problems are typically easier to solve for one simple reason: We are connected to electricity and have climate control systems running almost constantly to keep the air circulating and to maintain a consistent temperature. Even in problem areas, we have the option of connecting electric dehumidifiers and fans, or consulting with a specialist who can provide myriad solutions for ridding our home of moisture.
In a motorhome, it may not be that easy. Unless you’re one of the lucky few who can store the motorhome at your residence or in a climate-controlled facility, you won’t have the option of an exterior power source, and will only be able to run 12-volt DC appliances for so long before fully discharging batteries. Happily, there are some steps you can take that can effectively reduce or even eliminate excess moisture inside a motorhome, whether it’s plugged in or not.
Signs of Moisture
Moisture can enter from almost anywhere, and when interior temperatures drop, the water present in the air drops out of suspension or condenses, forming tiny droplets of water on any cooler surface including counters, cabinets and windows.
Check the Roof
Make sure roof seams and areas around roof vents are properly sealed and that there is no damage that can allow water to enter – this includes the foam seals around air conditioning unit(s). Inspect sealant for signs of dryness or cracking, and scrape away any old sealant with a plastic putty knife. Dicor (www.dicor.com) and other manufacturers offer suitable rubber roof sealants (use only the sealant that is designed for the particular roof type), and minor damage to the roof can easily be remedied with EternaBond tape (www.eternabond.com).

A dry interior starts with the exterior. Sealant around roof vents, skylights, antennas, etc., can break down over time, allowing moisture to seep in. The good news is, prevention requires little more than some elbow grease; the first step is to carefully scrape away old sealant (a putty knife is OK on aluminum and fiberglass roofs only. Otherwise, use a non-marring plastic scraper carefully to prevent tearing the roof membrane).
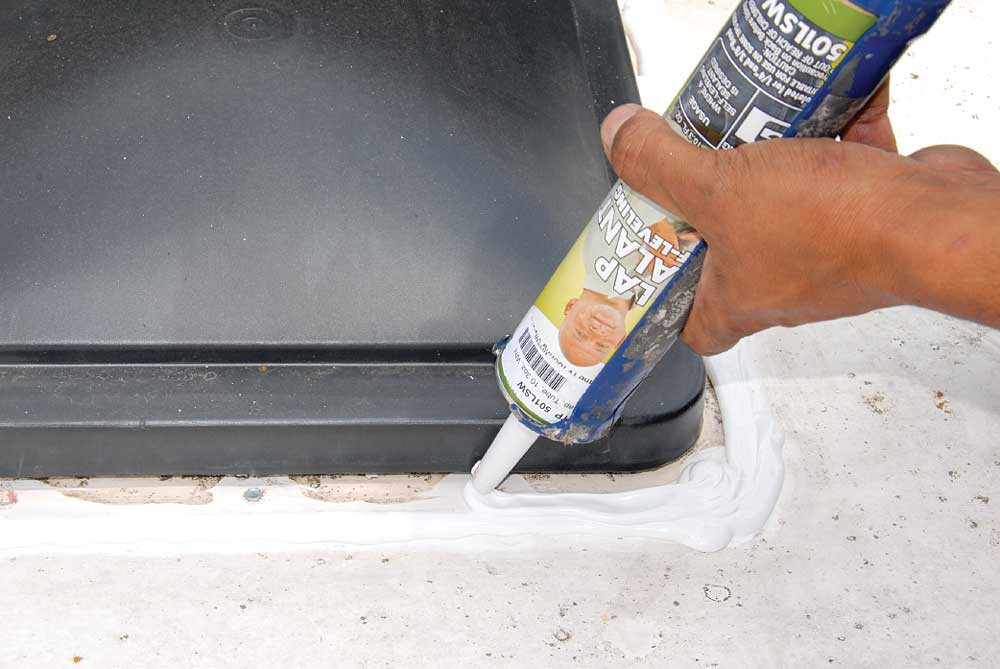
Generously apply lap sealant around the edges, making sure to cover any bolt heads.
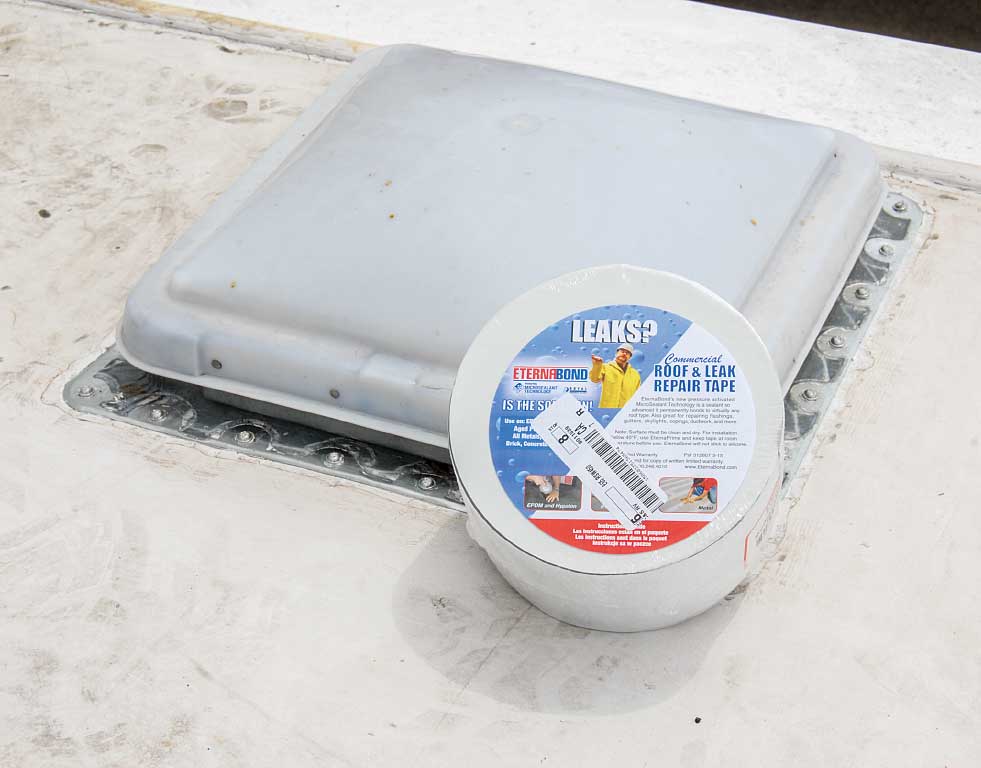
EternaBond tape is another way to prevent water/moisture intrusion. It can be used around roof vents, transition seams (as in where the front/rear cap meets the roof) or any place there is damage on the roof. Use care when applying, however; as the name suggests, once it is in place, it is there for eternity.
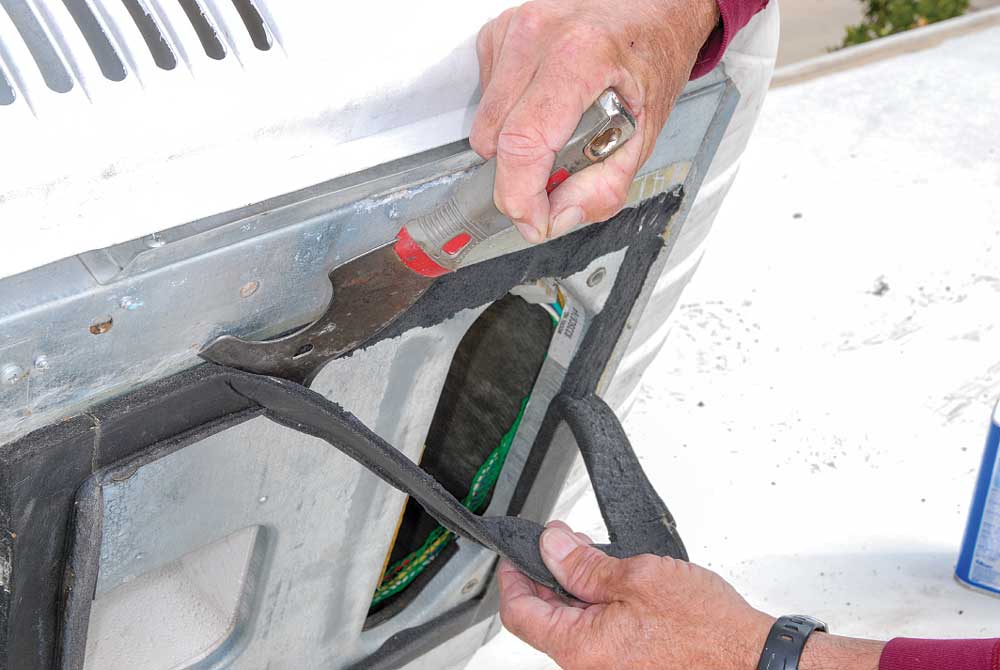
Don’t overlook the roof air-conditioner gaskets. Over time, these can deteriorate, allowing water to slowly seep into the roof. In the short term, a failing gasket will lead to unwanted moisture, mold and mildew; but, over time, a failing gasket can cause expensive damage. Scrape away the old gasket, replacing it with a quality black neoprene foam gasket. If you’re not comfortable with this job, have it performed by a qualified RV repair center, particularly if the roof is sagging around the unit. This is a sign of damage that will require professional repair.
Window Sealing
Make sure that all windows close properly and that the rubber seals are in good condition, and are not cracking or pulling away. Examine the seam where the window frame meets the side wall. With standard metal-frame windows, consider sealing around the window with a good-quality window and door silicone sealant. So-called frameless windows actually have a frame and clamp ring just like other RV windows, but it’s hidden behind the glass for a sleeker, more modern look. While you can’t reach the seam on these windows, carefully inspect it to make sure there are no gaps or leaks. If so, the window will have to be removed to be resealed.
Exterior Doors
And, though it may not seem like a problem, make sure the exterior baggage doors are keeping the water out, and that the floor above is protected by a moisture barrier. New rubber weather stripping is readily available from RV dealers and other sources, while rolls of moisture barrier are available at any home improvement store. Check the seam around the door for gaps, and consider sealing with acrylic RTV sealant or a product like those from Geocel (www.geocelusa.com) and Sika (http://usa.sika.com/).
Use a De-Humidifier
If you have access to 120-volt AC power, a small dehumidifier like the Air Dryr 1000 from Davis Instruments (www.davisnet.com) can handle up to 1,000 square feet and costs no more than a light bulb to operate, according to the company. Combine this with a small fan to keep the air moving, and humidity should be a thing of the past.
If you’re concerned about leaving the motorhome plugged in, you shouldn’t be. It’s actually better for the batteries to be maintained on a “float” charge so they don’t discharge and freeze. It is, however, recommended that you check on the batteries from time to time to make sure they don’t over charge.
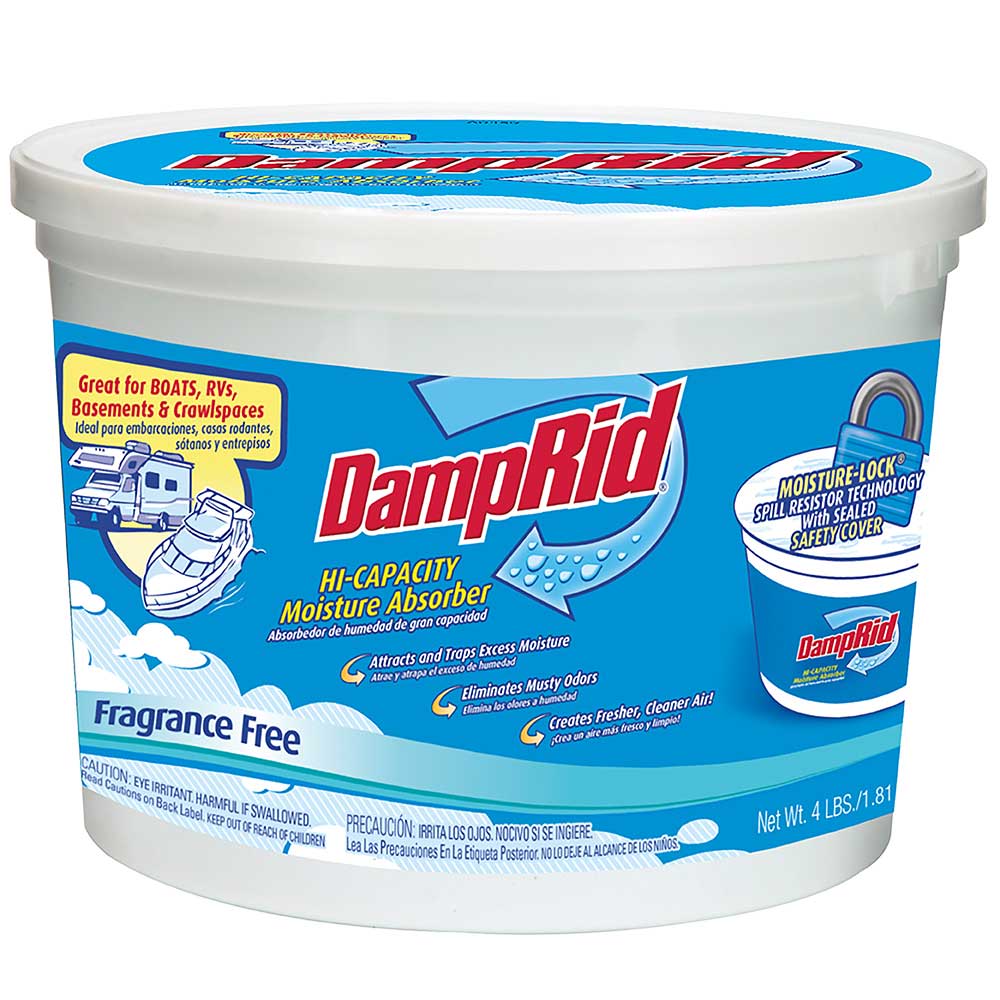
If you don’t have access to 120-volt AC power to run a dehumidifier, DampRid is a simple, inexpensive way to prevent moisture damage and musty odors inside a motorhome while it is stored. Desiccant crystals draw moisture out of the air and deposit it in the container below. When the crystals are gone, simply discard and replace.
If you don’t have access to power, a desiccant product like DampRid (www.damprid.com) is your best bet. DampRid’s calcium chloride crystals pull moisture out of the air. Simply peel the lid off the container and place on a flat surface in the desired location (such as the galley, in closets or in the bathroom). Over time, crystals will harden and dissolve as they absorb moisture. When the crystals have completely dissolved, simply discard the product and replace as necessary. It’s a very simple, but effective product.
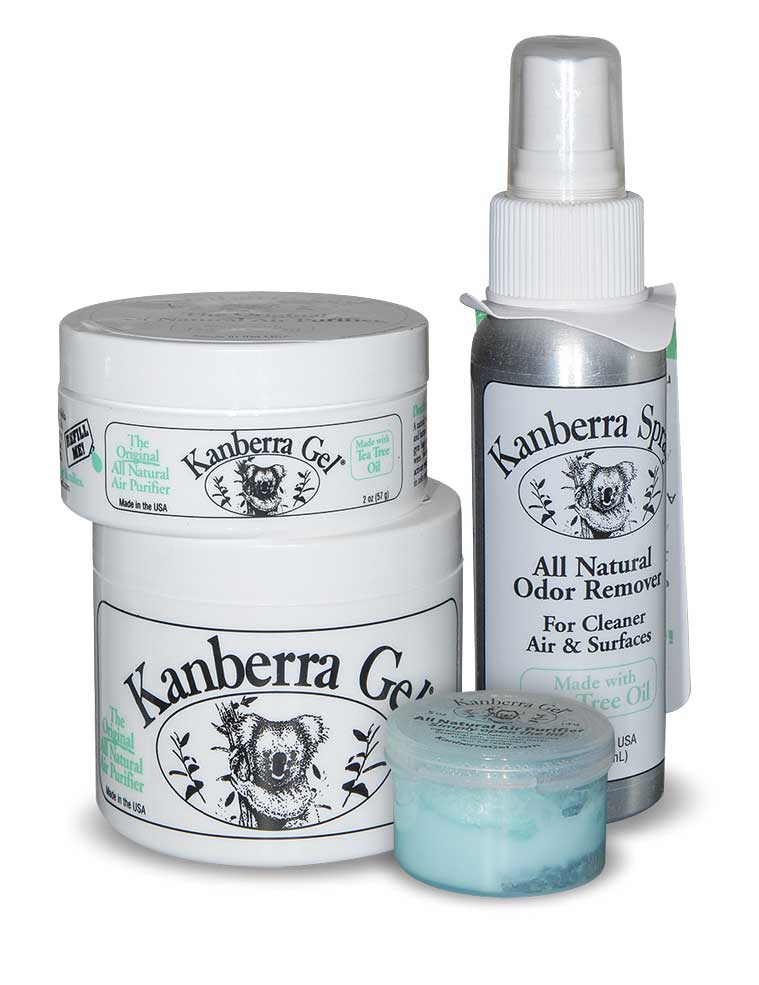
Kanberra gel (http://kanberragel.com) is a water-based, alcohol-free, natural air purifier that uses pure Australian tea tree oil, a natural antiseptic. An open container of Kanberra gel evaporates into the motorhome’s interior, providing a fresh, clean scent. It then settles on interior surfaces, preventing the growth of mold and mildew.
Crack a vent
Keeping one or more roof vents cracked to allow air to circulate is a good idea, but only when vent covers are employed – otherwise you’ll just be letting water back in.
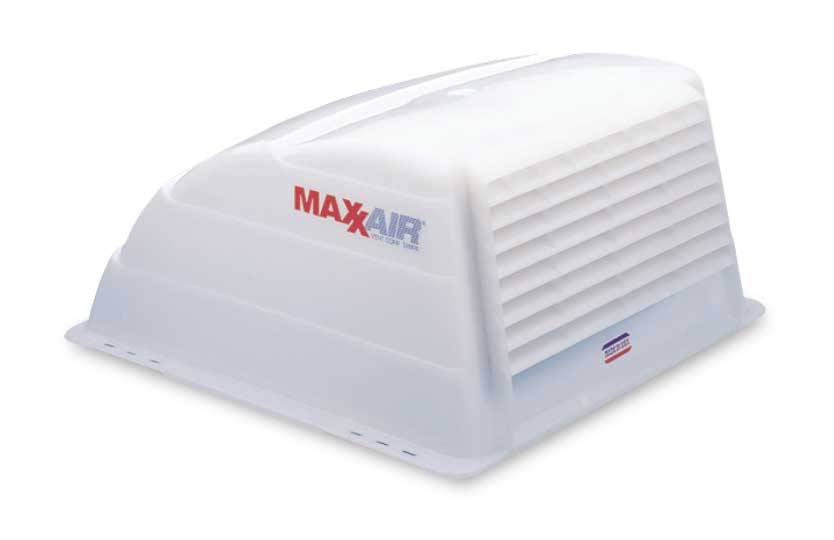
One way to promote air circulation inside the motorhome is with a roof vent cover like this one from MaxxAir. It allows you to keep roof vents open without the threat of water intrusion.
RV Covers
In areas where there is a lot of snow, a quality RV cover provides insurance against water intrusion, but make sure the cover has vents or a Tyvek top (waterproof tarps don’t breathe) and is properly secured, as a tarp or cover that flaps in strong winds can really damage exterior finishes.
Regardless of where your motorhome is stored, keeping the interior free of moisture isn’t a “set it and forget it” situation. Whenever possible, check on the motorhome every week or so to make sure the plug-in dehumidifier is working properly or to empty desiccant trays.
With a little proactive attention before the wet/snowy weather sets in, you can keep the interior of any motorhome clean, dry and free of mold/mildew. More importantly, you’ll prevent costly damage and will be ready for travel when warm weather returns.

