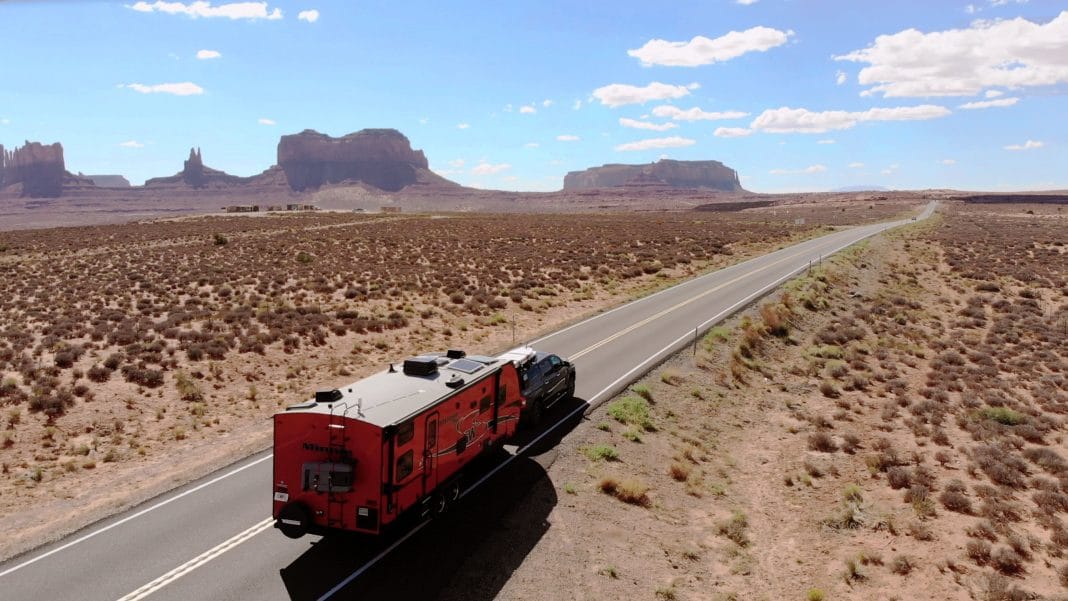
Navigating the space around you while towing a trailer is often a major challenge. Backing into a campsite, for example, is difficult enough, let alone if you’re by yourself. Even with an assistant to help guide you, hand signals can end up looking like you’re trying to swat off a buzzing bee! It would sure be nice to have a set of eyes back there.
Backup cameras are a good solution but they are not commonly found in trailers, and trying to wire one up can be difficult. There are a few wireless aftermarket units available, but the analog technology typically used in these devices has not been effective enough to provide the driver with a clear view — and is susceptible to interference and noise problems. Recognizing this problem, ASA Electronics created a modern, easy to use and install wireless digital observation system called the Voyager.
The WVOS511 Voyager wireless backup camera system (MSRP $850) consists of two major parts: a 5.6-inch LCD color monitor with audio and a wireless camera that is mounted onto the rear of your RV using a swivel bracket. The audio feature is a clever bonus that enables the driver to hear the assistant’s directions, enhancing the process. There is a volume control on the front of the monitor in addition to the brightness control. The wireless signal transmits through and around objects, and works on vehicles 60-plus feet in length. The Voyager employs proprietary WiSight technology so the camera is locked to the monitor, and interference is virtually a thing of the past.
Installation of the Voyager takes only a fraction of the time it would take to set up a fully wired system, especially in a trailer, where the separation of the tow vehicle complicates the procedure. The camera should be mounted high in the rear of the trailer and centered above the clearance light(s), which will be the source of 12-volt DC power. If space is limited above the clearance light(s), the Voyager can be mounted below; just be sure the camera does not obstruct the light(s).
Before drilling, temporarily install the bracket on the camera and hold it up at the desired location for mounting. Be sure that the antenna can be positioned vertically without obstructions. Then mark and mount the bracket using the supplied screws; weatherproof sealant must be applied to prevent water damage. Remove the nearest clearance light and select a location to drill a 3/4-inch hole in order to run the cable to the light fixture. Insert the cable with the grommet and route it to the clearance light. It may be necessary to enlarge the clearance light hole behind the light to be able to splice together the Voyager cable. Prior to tightening the screws, you will need to install the monitor inside the tow vehicle.
[slideshow auto=”off” thumbs=”on”]In the cab of the truck, plug the power cable to the back of the monitor and secure with the supplied cable tie. Once the provided bracket is attached to the rear of the monitor (using the supplied screws), find a suitable location on your windshield for mounting, using the suction cup with snap lever. Make sure the location does not block your vision. Plug the power cord of the Voyager monitor into any 12-volt DC outlet and move the antenna to a vertical position.
Press the power button on the monitor and turn on your vehicle’s parking lights. The camera image should appear in approximately 10 seconds. If the monitor is not receiving a signal from the camera, an image will not appear on the screen and you will need to pair your camera with the monitor. This step requires two people following the pairing process described in the installation manual. Adjust the viewing angle of the camera and tighten the screws on the camera bracket. Be sure that the antenna always remains in a vertical position.
The Voyager system provides an excellent view of multiple angles and builds confidence when changing lanes and backing into close quarters. Infrared, low-light enhancement capabilities support images that are clear day or night. Overall, on the road, the monitor gives the driver better visibility of potential blind spots, especially while executing lane changes at night and in traffic.
In camp, the combination of sight and sound proved indispensable while backing into narrow campsites. During our test, the camera views clearly informed the driver of tree limbs to avoid, and the helper was able to use verbal instructions to prevent the trailer from smacking into a drainage pipe that was protruding out of the ground near the rear wheels. That incident alone proved the value of this backup camera system. It’s nice to have eyes in the back of your head.


