Installing an RV camera system makes backing a trailer into a campsite or storage spot a breeze
We’ve all told our kids we have eyes in the back of our heads, right? Well — spoiler alert — that was a myth. But eyes in the back of our RVs? Yep, that’s 100 percent reality. A wireless backup camera is a great addition to any rig to help get into those tight spots or minimize confusion that can happen even between the most experienced partners.
These days, there are myriad systems to choose from with different specs on the cameras and various sizes of monitors. ASA Electronics has been in this game almost since the beginning, and its Voyager Digital Wireless Observation System (WVOS43) features support for up to four of its wireless cameras ($299.99 each) and a compact 4.3-inch monitor that can be stored in the console or glove box.
With just a little planning, installation is relatively straightforward. The Voyager manual breaks it all down into 10 steps for installing the camera (though it omits the parts about drilling for the camera wiring, connecting to the 12-volt DC wires and sealing that wiring), five steps for installing the monitor in the cab and seven steps for powering up and pairing the camera to the monitor.
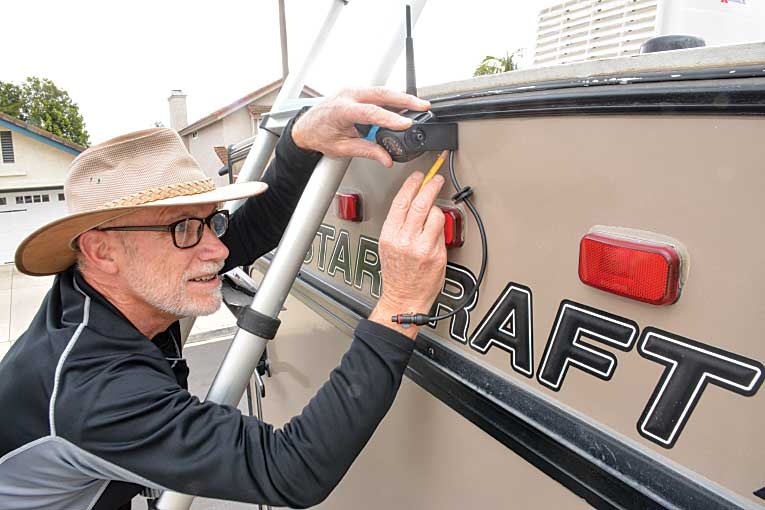
Installation starts with choosing a suitable location for the camera. As high as possible on the back of the RV is best to provide the optimal camera view. Most RVs will have a clearance light centered near the top of the back wall. That’s the power source you’re going to want to tap into, so above that clearance light is an ideal position. Below it is OK, too, if there isn’t space above; just make sure the camera doesn’t obstruct the clearance light.
Also, make sure you’re leaving a space where you will drill a ¾-inch hole to connect the camera wiring to the clearance-light wiring. I used a pencil and the bracket for a template and marked on the trailer wall where I planned to mount the camera.
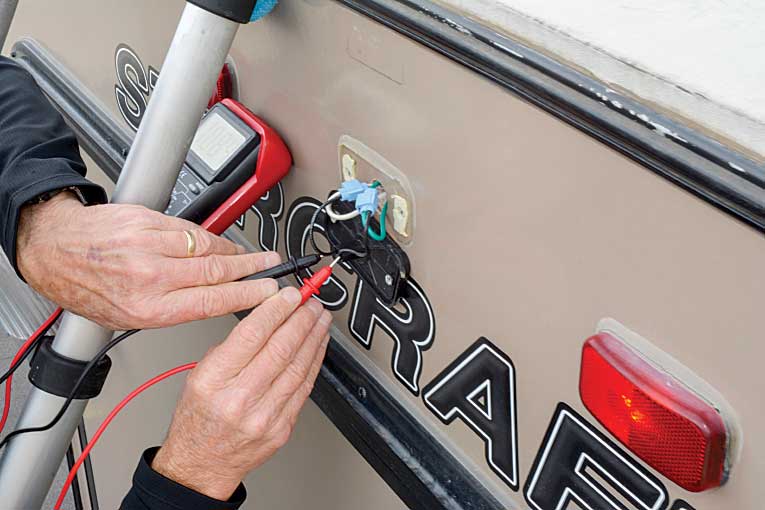
Next, the clearance light was removed and the wiring tested with a voltage meter. To do this, the tow vehicle has to be connected to the trailer and the clearance lights turned on to locate the 12-volt DC and ground leads. The camera picks up its power from this connection when the clearance lights are on. With that info, the camera wiring harness was connected to the clearance-light wiring.
Before drilling, keep in mind that laminate walls have a lightweight aluminum structure for support and to provide a foundation for securing panels to each other. It’s important to drill through a panel where there is no aluminum so as not to damage the structure in any way. An ultrasonic stud finder can be helpful.
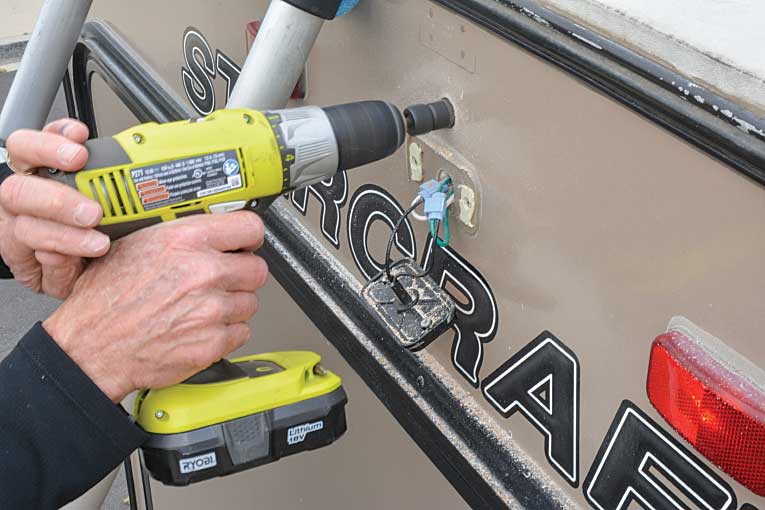
We then drilled the ¾-inch hole for the camera wire. This will be a tricky step for some RVs more than others. On the test trailer’s laminate walls, we stayed pretty close to the clearance light with this hole so we could be certain we’d be drilling into the adjoining cabinet space inside the trailer where the clearance-light wiring was accessible. We did have to remove and then reinstall a short piece of flashing at the back of a top shelf on the inside of the trailer that’s there to hide the clearance-light wiring.
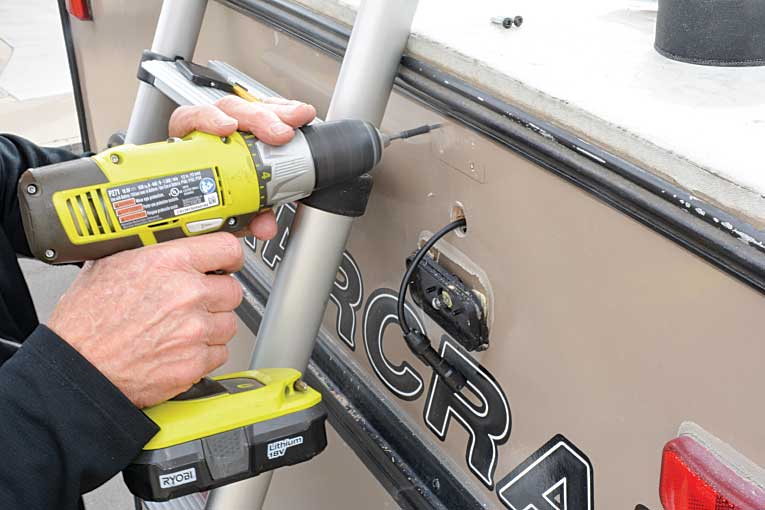
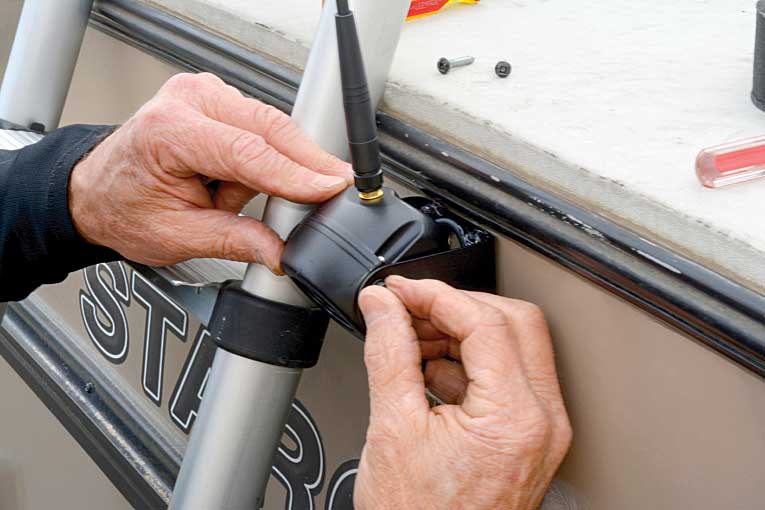
With that wiring hole drilled, we attached the camera bracket to the trailer wall. You’ll want to mark and predrill the screw holes, then apply weatherproof sealant in the holes, on the back of the bracket and on the screws before applying the screws to permanently attach the bracket.
With the bracket attached, the camera was mounted with the supplied hex-head screws. You’ll want to leave the screws a bit loose until installing the monitor and adjusting the camera angle.
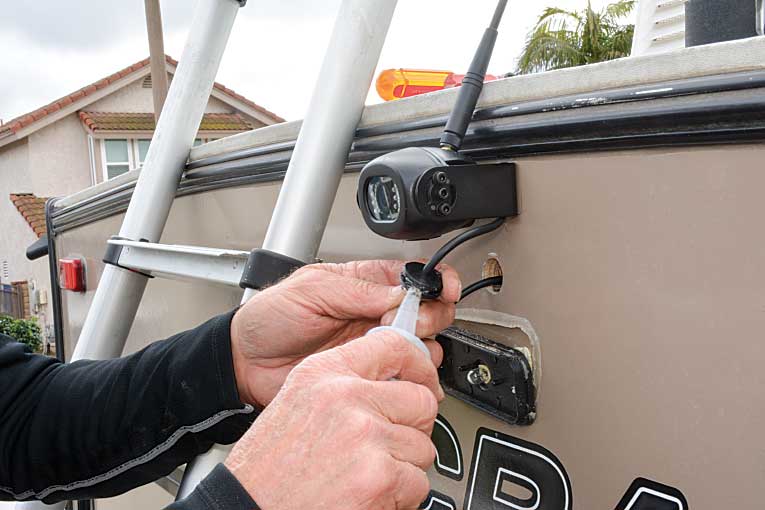
We then connected the camera wire to the wiring we previously connected to the clearance light. The Voyager kit comes with a snap-on connector to connect to that wiring. This step may involve fishing the clearance-light wiring to the ¾-inch hole, so string and a pair of needle-nose pliers might come in handy. For this project, with the holes drilled through the laminate walls, we connected these wires on the inside.
With that connection made, we applied sealant to the grommet, pushed the wiring into the RV wall, pushed the grommet into the ¾-inch hole and reinstalled the clearance light.
We then headed to the cab of the truck to connect the monitor to an accessories port and mounted it with the suction cup. Next, we turned on the ignition to get power to that port and powered on the monitor.
The pairing process started with pushing the Select/Pair button on the monitor. When the monitor displayed its Pairing Start message, the clearance lights turned on to power up the camera and continue the pairing process.
The Pairing/Start message then changed to a Save Data message, indicating that the camera was paired, and, sure enough, we could then see the camera image on our monitor. It was helpful to have a buddy at this stage to go to the back of the rig and adjust the camera. When the monitor shows just the right camera angle, we tightened down the camera screws.
The biggest backup challenge with this travel trailer is getting it into the tight storage space. With inches to spare on either side, that task usually involves jumping into and out of the truck to be sure we’re not too close on the blind side. With the Voyager Digital Wireless Observation System installed, we’re now able to slip the rig right in.
The 4.3-inch monitor is small enough that we can keep it on while towing, and those eyes in the back of the trailer give us a little extra peace of mind for maneuvering through cramped fuel stations and highway lane changes. Pulling into camp, maneuvering the rig is now easier as well. And the IR LEDs on the camera make after-sundown campground arrivals and returns to the storage lot practically stress-free.
Production Director Bob Dawson is a second-generation RVer as well as a fitness, photography, video, tech and outdoor enthusiast. Bob was a photojournalist in a previous life, and his photos and articles have appeared in Trailer Life publications for more than 20 years. You can see some of his video work on our TrailerLifeDIYTV YouTube Channel.
See Related Video