Hanging out in a musty motorhome is almost like being locked in a portable restroom at the county fair. Ordinary bathroom vents help release some stenchy air into the great outdoors, but an array of innovative upgrades over the standard hand-crank vent-fan combination are offered by MaxxAir. The company touts that more than 2 million of its RV ventilation products have been installed since 1988.
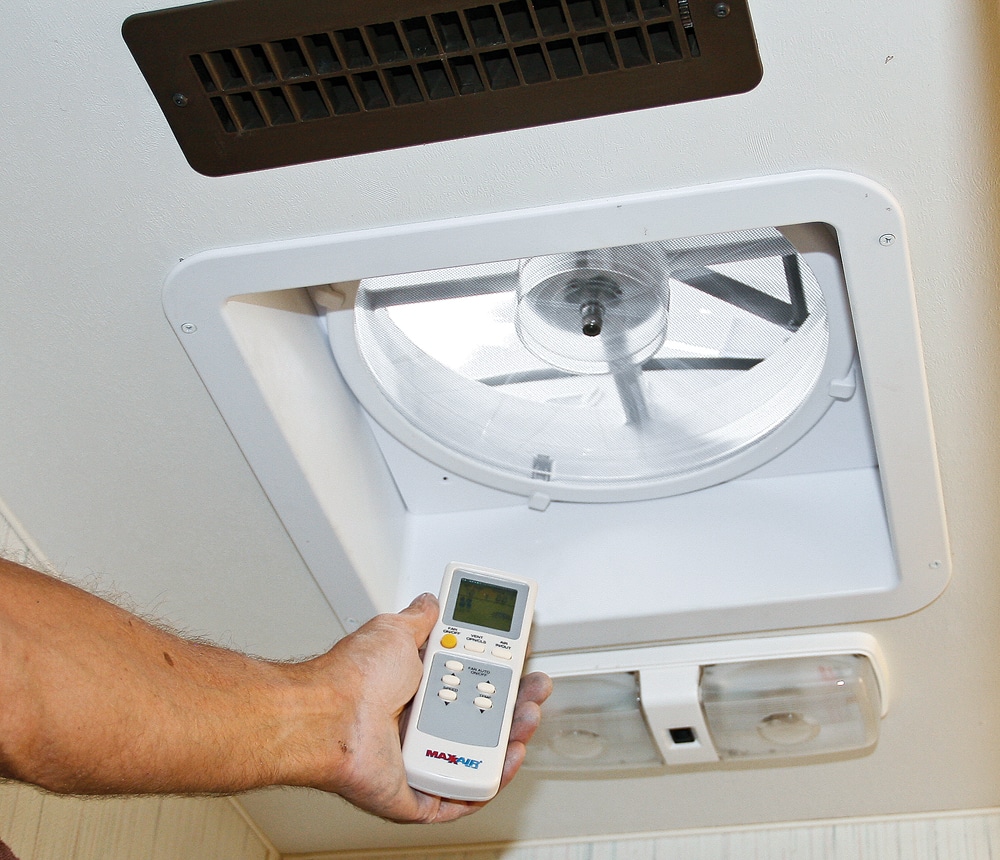
The newest offering is the MaxxFan Deluxe. This is a vent fan with an elongated power lid that functions as a rain shroud. The unit can operate with the motorhome in motion or stationary. A hand-held remote control is optional.
The heart of the system is a reversible 12-inch electric fan. It has 10 speeds, moving up to 900 CFM of air while drawing a maximum 4 amps of power. (Low speed draws only 0.2 amps.) The 10-blade fan functions as a get-it-out exhaust fan, a fresh-air intake and a lid-closed ceiling fan. The power lid is fully sealed to prevent air loss while running the furnace or air conditioning.
The MaxxFan Deluxe also has an available remote control that displays air temperature. The remote contains an Auto mode, which turns the fan on and off and opens/closes the power lid to maintain the specified temperature. The remote can also control all functions on demand using its keypad.
The fan is covered by a two-year warranty, and the lid
carries a limited lifetime warranty. Available colors are white and smoke, which provides a tinted-window effect for motorhome owners who want more ambient light inside.
Do-it-yourself installation is certainly feasible. The MaxxFan is manufactured to fit a standard 14-inch-square vent opening. The kit comes with a trim ring that can be cut to fit roof thicknesses ranging from 1 1/8 inches to 6.5 inches. Carpentry work is required to adapt the MaxxFan to thinner roofs. The fan unit needs a minimum 8 inches of aft clearance on the roof for the power hatch to raise and lower without obstruction; overall length is 23 inches.
Wiring for a 12-volt DC/minimum 5-amp circuit also needs to be near the opening. Wire should be the proper gauge for its distance from the power source. The MaxxFan is a fairly easy retrofit for most existing vent fans.
The job requires roof sealant, which will have to be sourced by the installer. The sealant needs to be compatible with the MaxxFan’s plastic flange. Sealants that contain xylene, toluene, MEK, acetate, acetone, Thiokol or other incompatible solvents will damage the plastic. Butyl-type caulks such as Dicor Self-Leveling Lap Sealant have proven effective.
Highlights of the job are shown here for motorhome owners who are considering doing the job themselves. It took an avid DIY motorhome owner less than an hour to install. An instructional video is available on MaxxAir’s website.
The MaxxFan Deluxe is one of the most versatile, easy-to-install ventilation upgrades a motorhome owner can make. It helps vent a coach automatically: rain or shine, parked or on the road. (Lesser-optioned MaxxAir models are available with such cost-effective features as one-direction exhaust fan, manual-opening lids, an on-fan keypad control and various optional wall-mounted controls.)
MaxxAir Vent Corp., 800-780-9893, www.maxxair.com


