Installing Furrion’s Vision S four-camera vehicle-observation system is like having eyes in the back of your head
 Backing up a trailer can be a nerve-racking activity for those without much experience. Among seasoned RVers, there are some wild tales, from backing over unseen campground equipment to spouses threatening divorce (there’s even a T-shirt and coffee cup of apologies). A campground full of onlookers waiting for you to add yet another crazy story to the annals of RV lore doesn’t help.
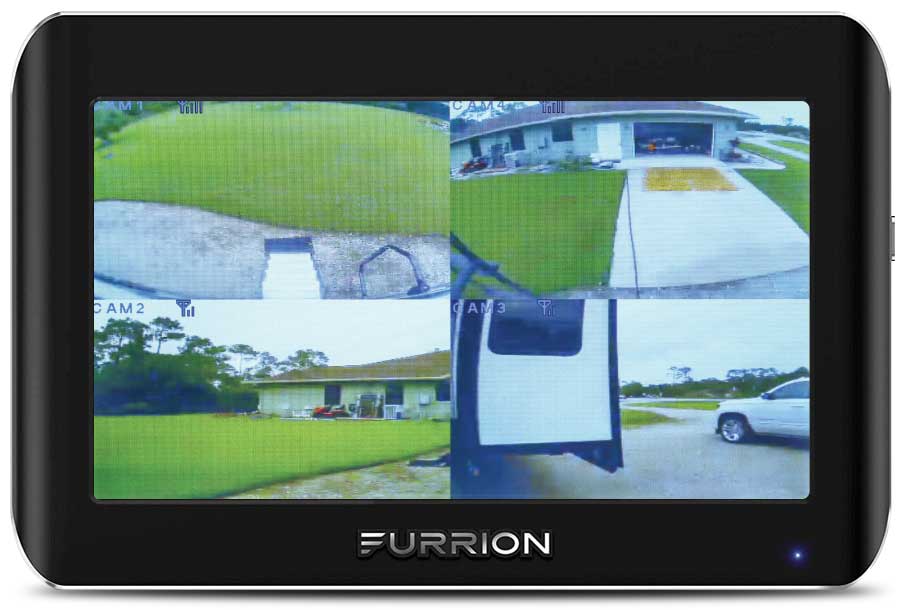
It doesn’t have to be that way. Furrion’s Vision S four-camera vehicle-observation system goes beyond the traditional backup camera to give a near-190-degree view of your trailer or fifth-wheel on the road and, more importantly, when backing into a site and while parked.
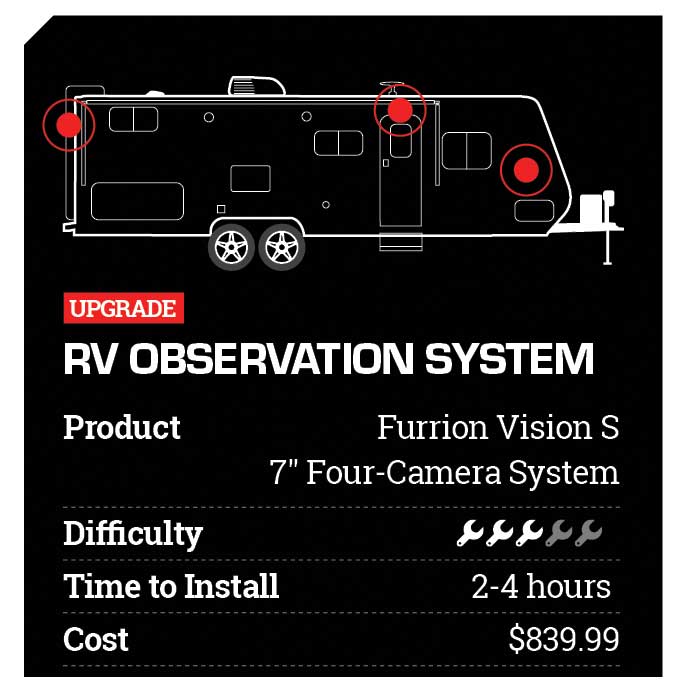
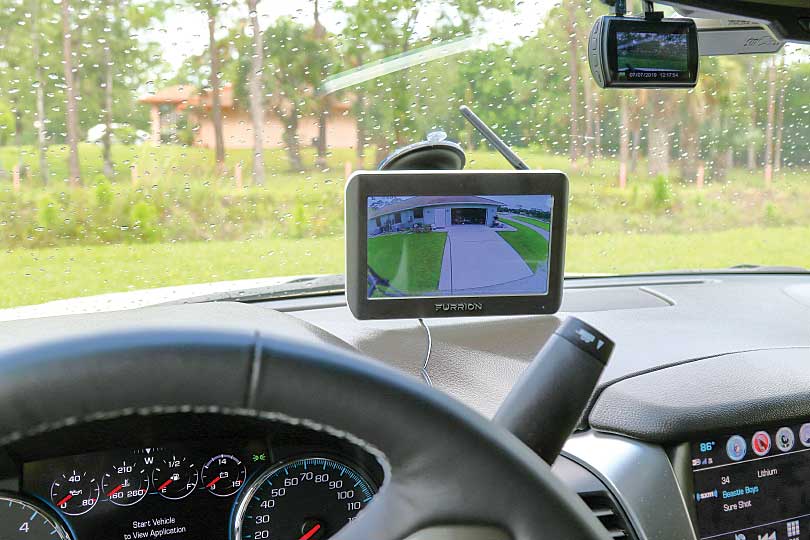
The Vision S system is modular, meaning you can start with a basic backup camera and touch-screen-monitor package available with 4.3-, 5- or 7-inch displays. Then you add the side marker-light cameras or the over-the-door camera separately, or you can do what we did and go for the complete system with four cameras and the 7-inch monitor. Also included are a windshield suction-cup mount and a tabletop stand for the monitor, and a 12-volt DC lighter-style plug to power it. An optional wall mount is also available.
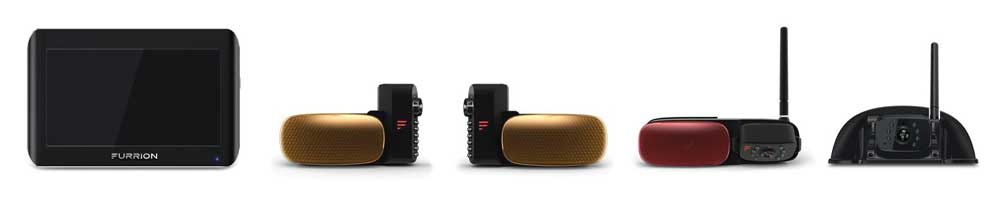
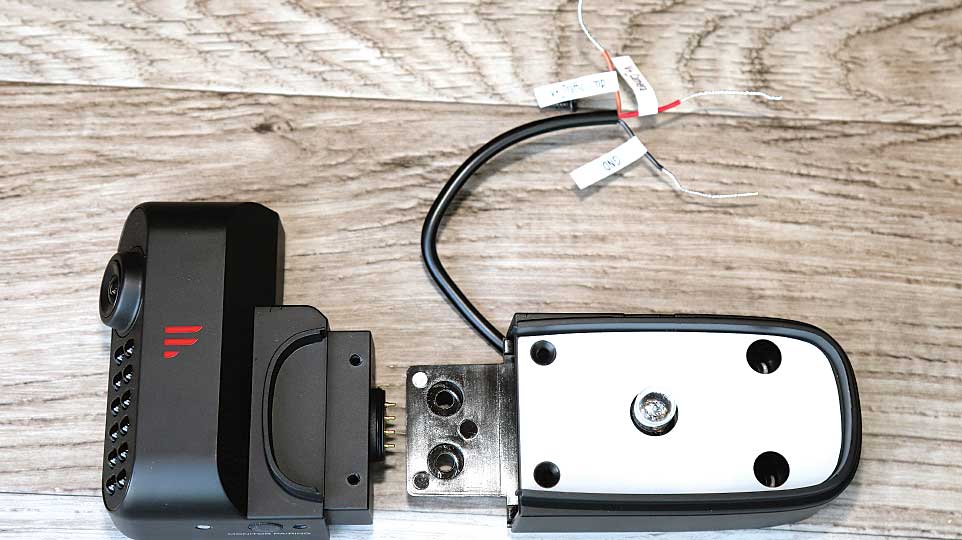
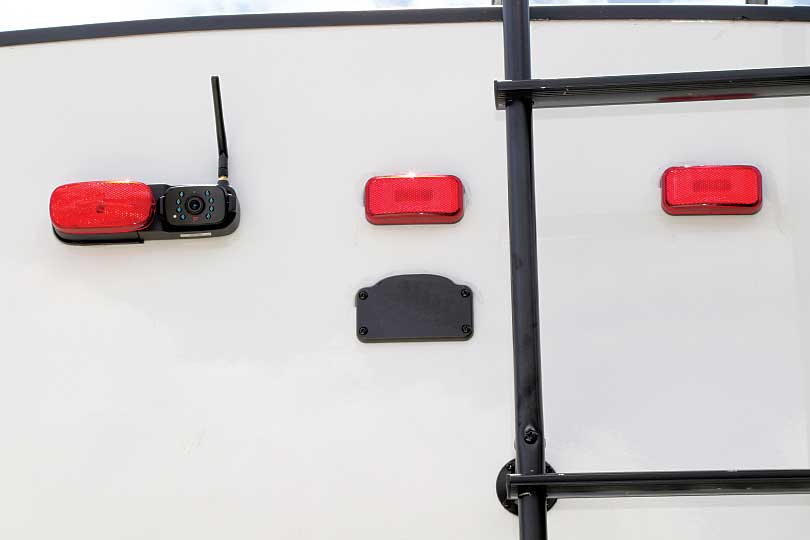
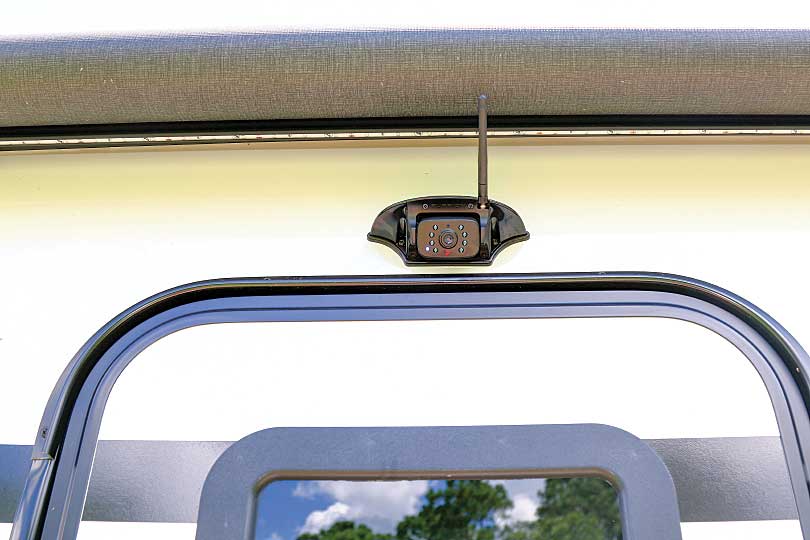
Above, from left: The installed Vision S system included a monitor, left and right marker-light cameras (amber lenses), a rear camera with an antenna (red lens) and an optional over-the-door batwing-style camera. The kit also comes with a freestanding monitor holder and windshield suction-cup monitor bracket (not shown).
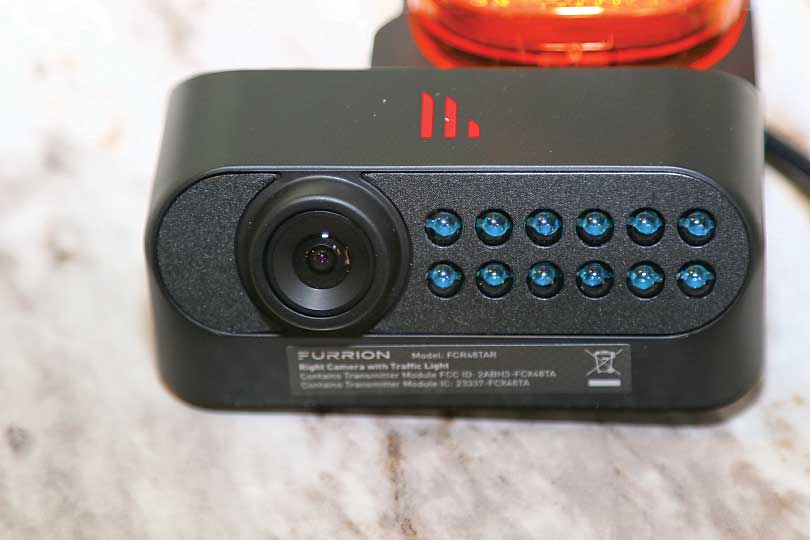
The rear marker-light and over-the-door cameras feature microphones so voices and other sounds within immediate range can be heard. This is one-way-only sound (camera to monitor), but it can be helpful in hearing commands from a helper while backing the RV or when people are outside the entry door. There’s even menu-selectable motion detection that wakes the monitor display to alert you of something outside.
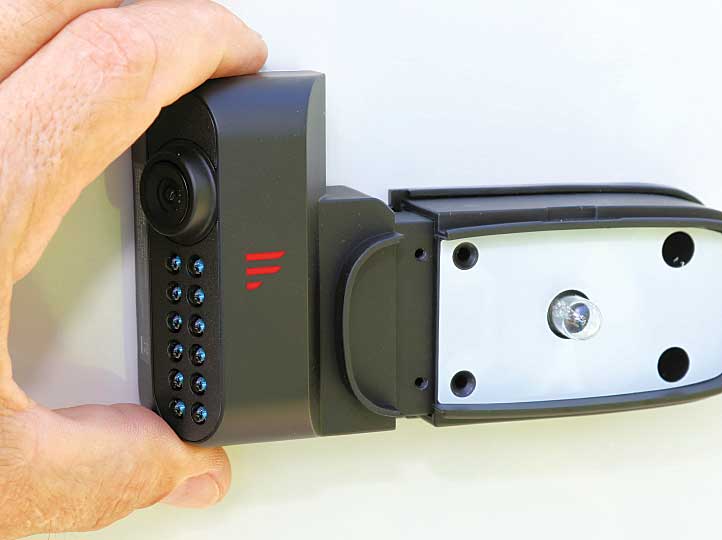
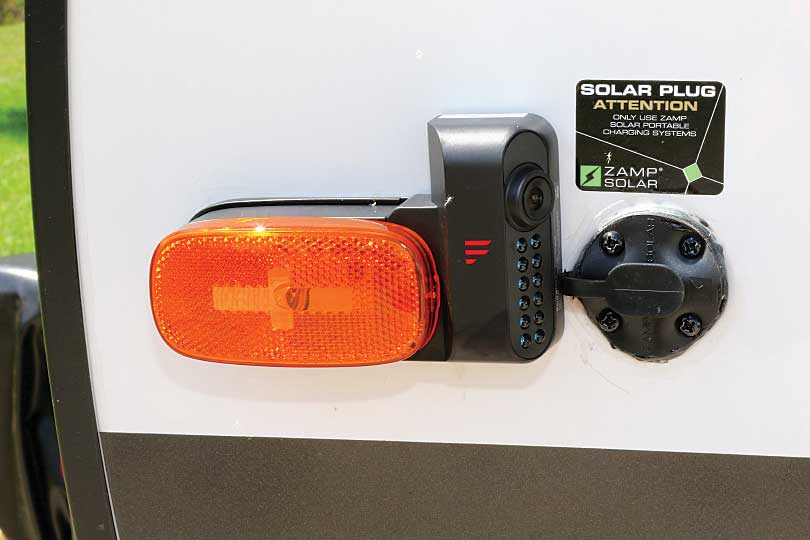
 Right out of the box, we could see the quality Furrion put into this product. The side marker-light cameras feature an infrared LED array for night vision, a 65-degree field of view and a two-piece design protected by an automotive-style rubber O-ring at the mating joint. The rear and over-the-door cameras also have night-vision capability and a 120-degree field of view.
The cameras come with silicone gaskets, eliminating the need for additional sealant when mounted on a flat surface. They communicate wirelessly on the 2.4-GHz band, making them potentially susceptible to interference from other devices, but we saw no such interference exhibited in the test unit that was parked in a residential neighborhood when installed, and on the road the connection was flawless.

Installation
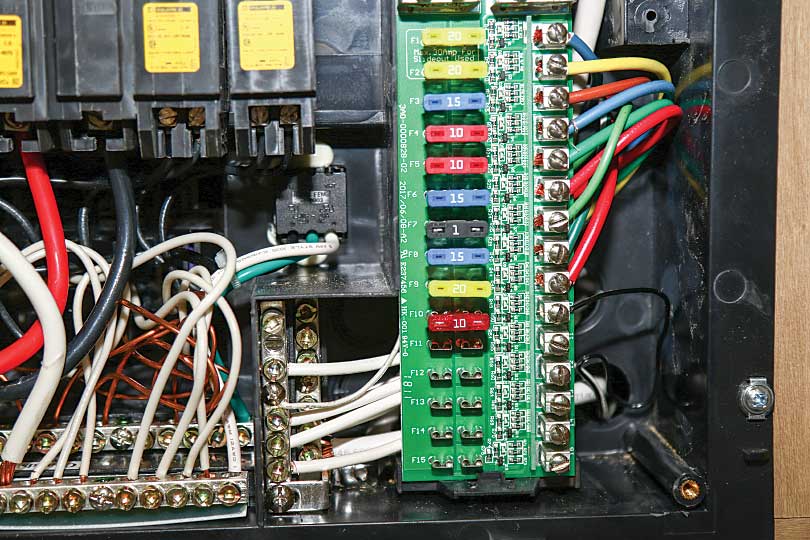
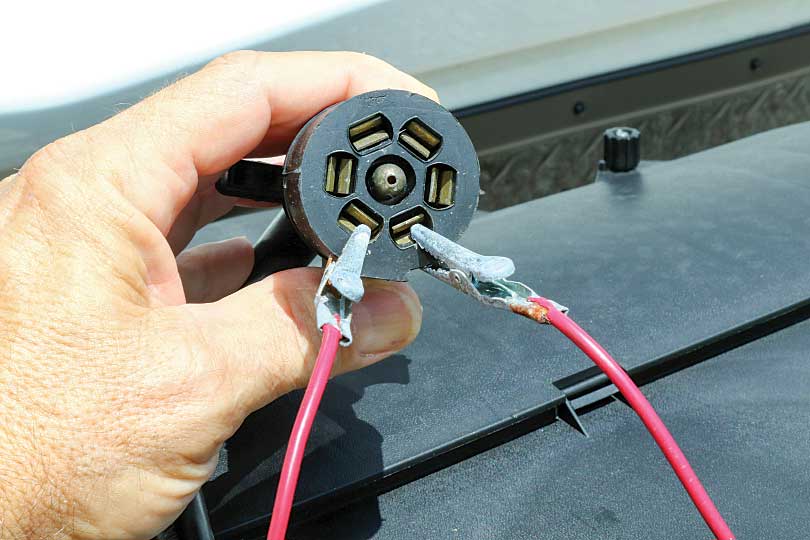
Before starting the installation, in addition to some standard hand tools, you will need a good electrical terminal crimper, a supply of solderless connectors, 18- to 22-gauge hookup wire, a roll of electrical tape, a screw gun and basic 12-volt DC electrical knowledge. Add in some single-pole, single-throw (SPST) switches if you want to wire the Vision S system for surveillance. You may also need a ladder to mount the rear and over-the-door cameras.
Remember, safety first whenever working on ladders.
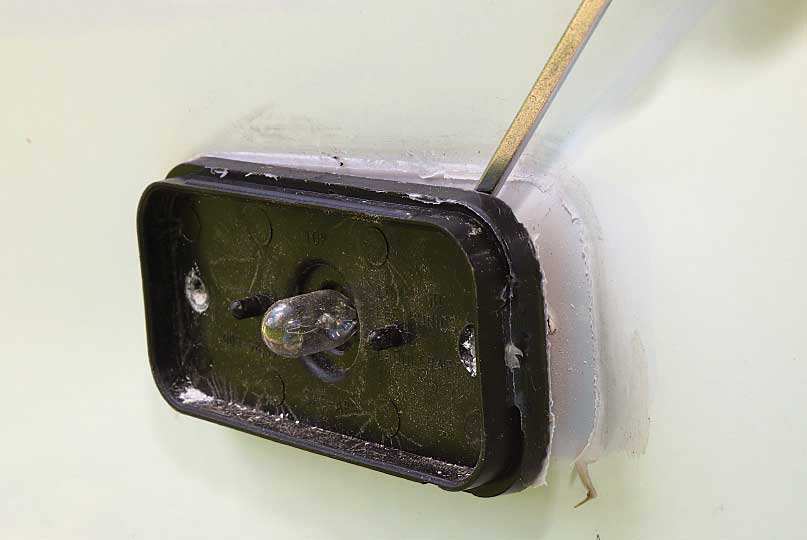
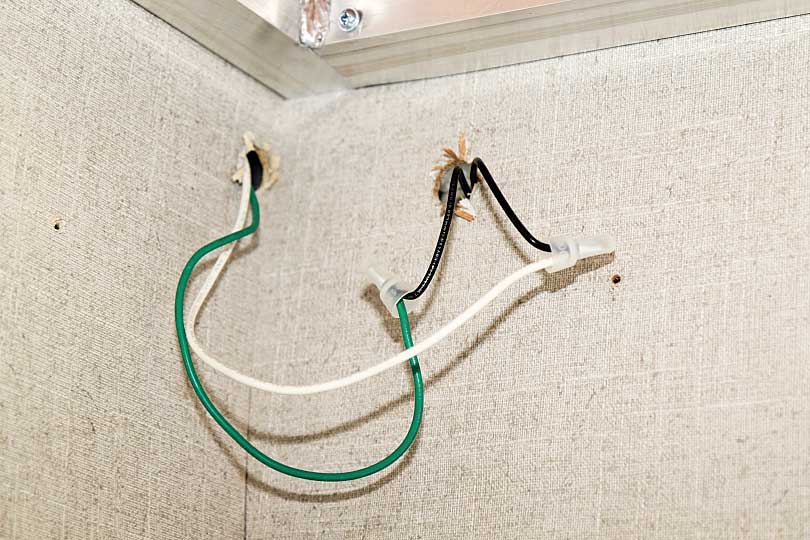
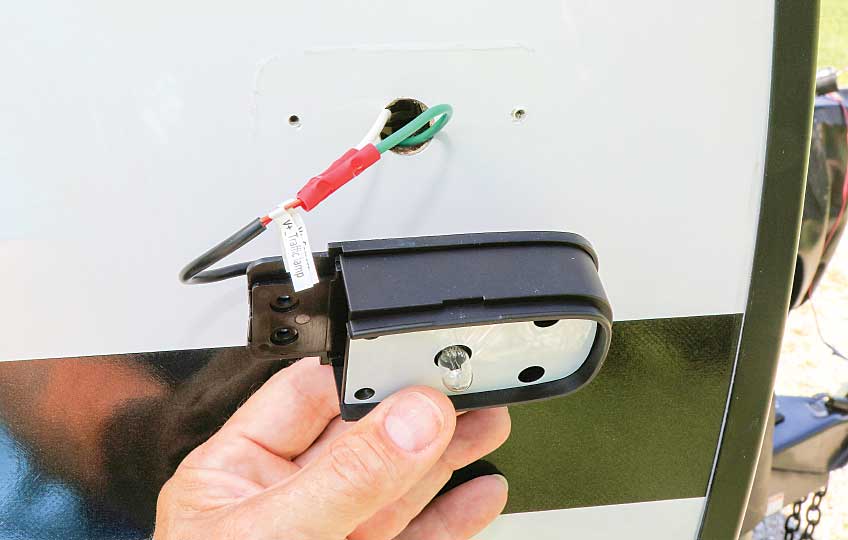
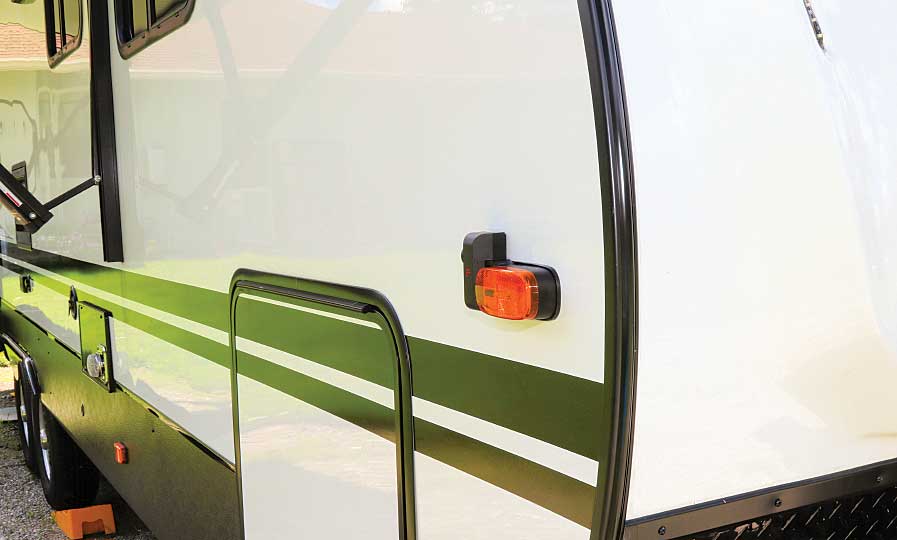
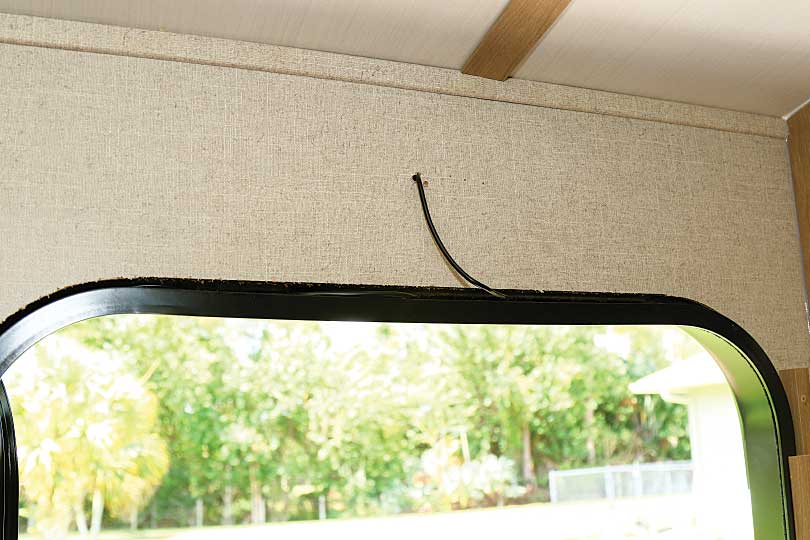
Installation is fairly simple as the Furrion cameras easily replace the existing marker lights on the trailer and use the same wiring. Each camera has two 12-volt DC power wires and a ground. One power wire is for the marker light, and the other is for the camera. Both power wires can be connected so the marker light and camera power up simultaneously when the vehicle running lights are on. This is probably the most common installation and the simplest for the do-it-yourselfer.
Minnie Plus Modifications
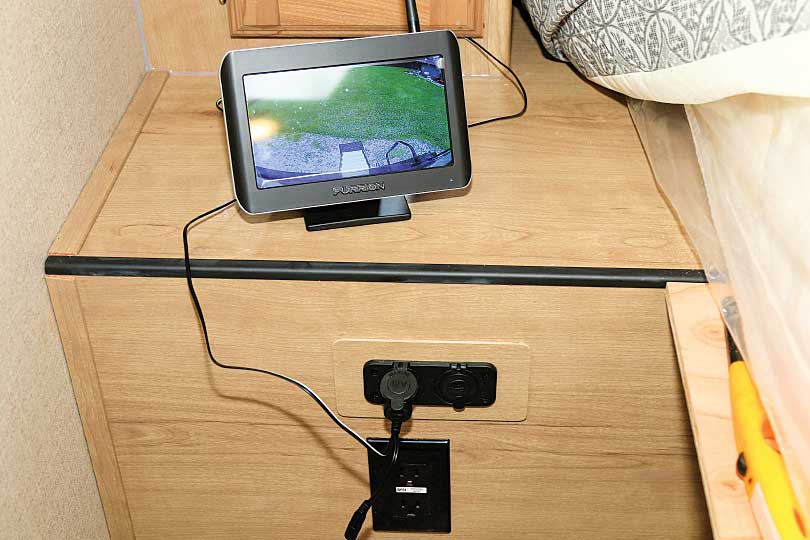
For use in the test trailer, 12-volt DC receptacles were added in the entertainment center and bedside nightstands for viewing versatility.
The nightstands were factory equipped with simple 12-volt DC-powered USB receptacles.
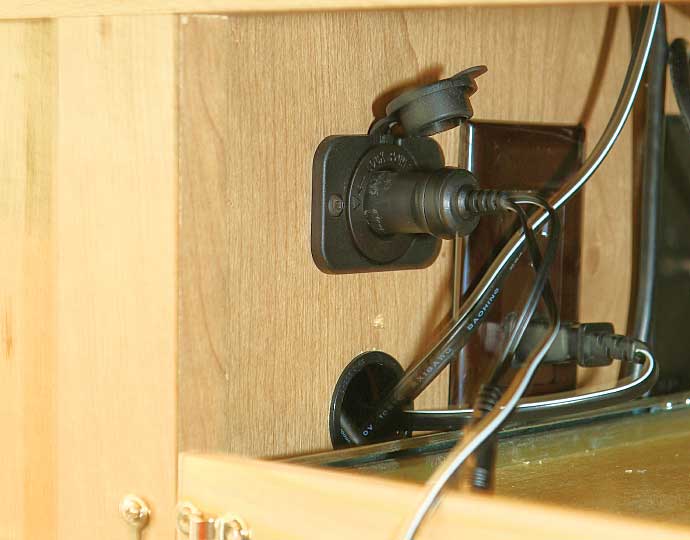
The stock USB receptacles were replaced with combo USB/12-volt DC counterparts. The included harness (with inline fuse) and spade terminals were used to connect the existing 12-volt DC wiring to the combo panel that was mounted on a piece of matching interior plywood. The existing hole in the nightstand was enlarged just a bit.
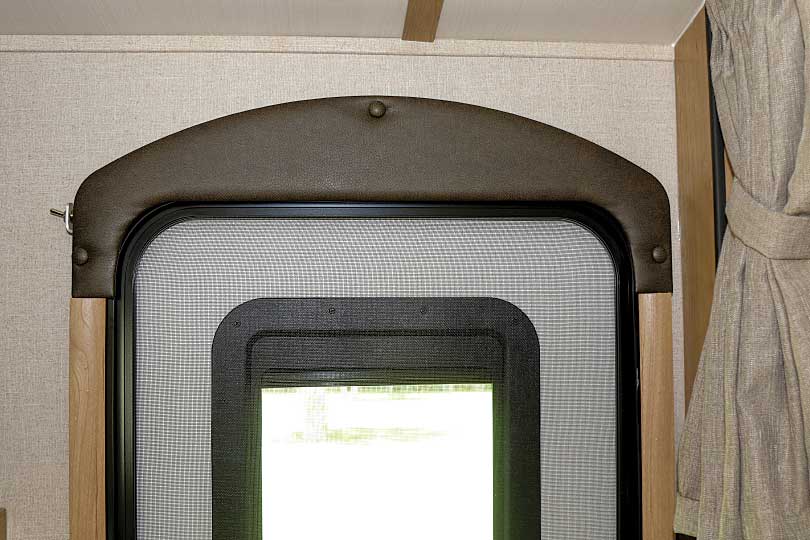
With the monitor plugged into the combo panel, it’s possible to keep an eye on the trailer’s doorway from the nightstand.
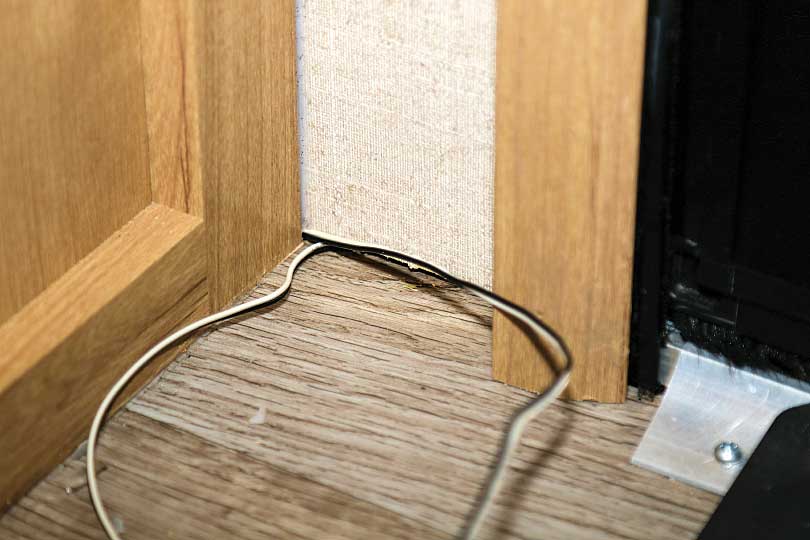
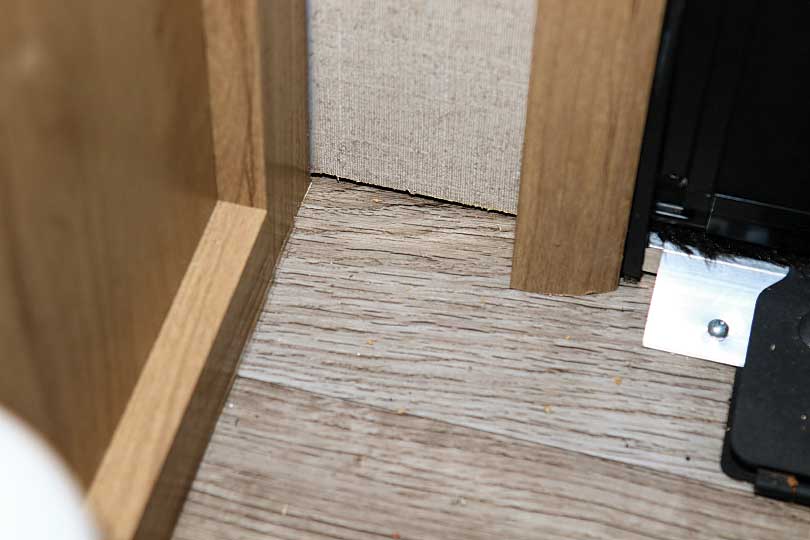
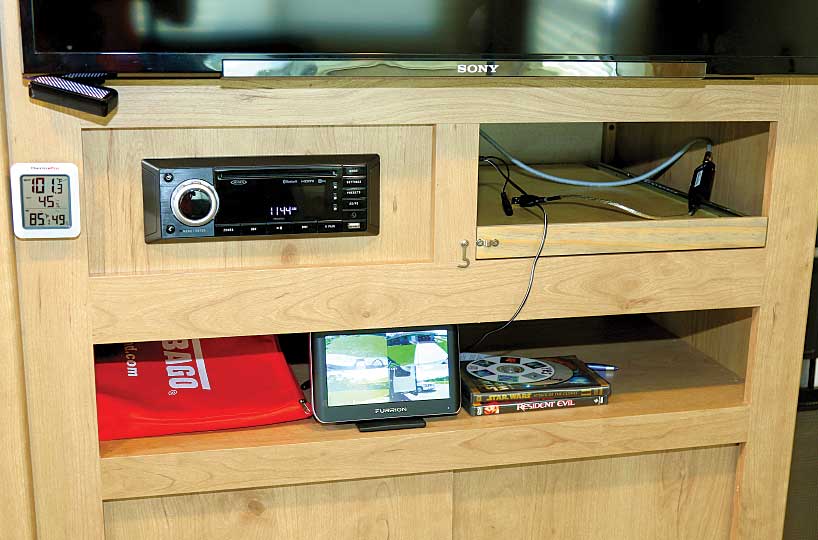
A 12-volt DC receptacle was also installed in the cubby of the entertainment center.
With the monitor in the freestanding holder plugged into the entertainment center and placed on the shelf below, all views from the cameras can be seen, whether sitting on the sofa or at the dinette.


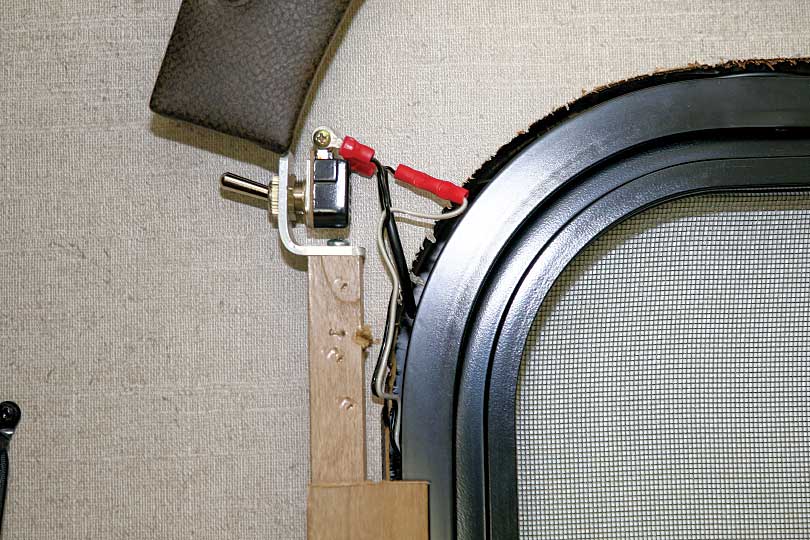
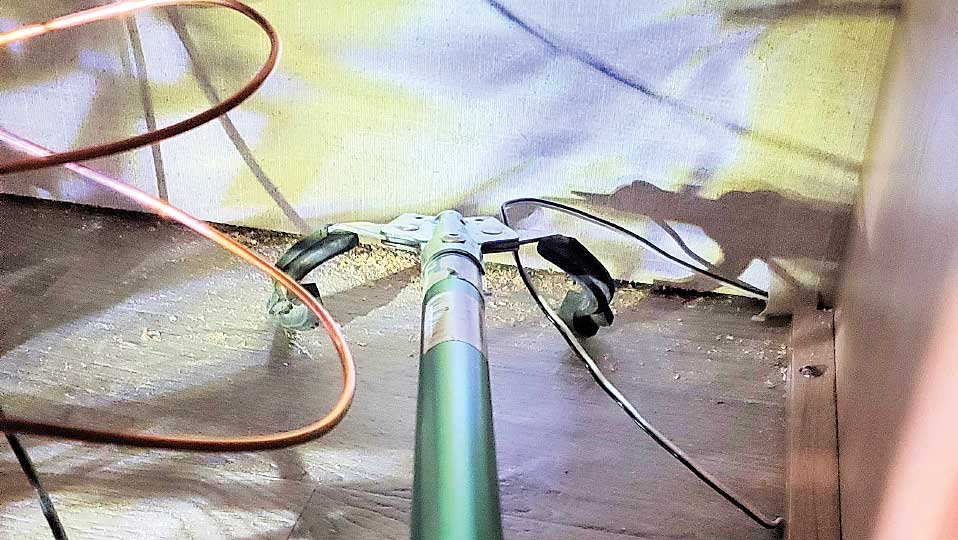
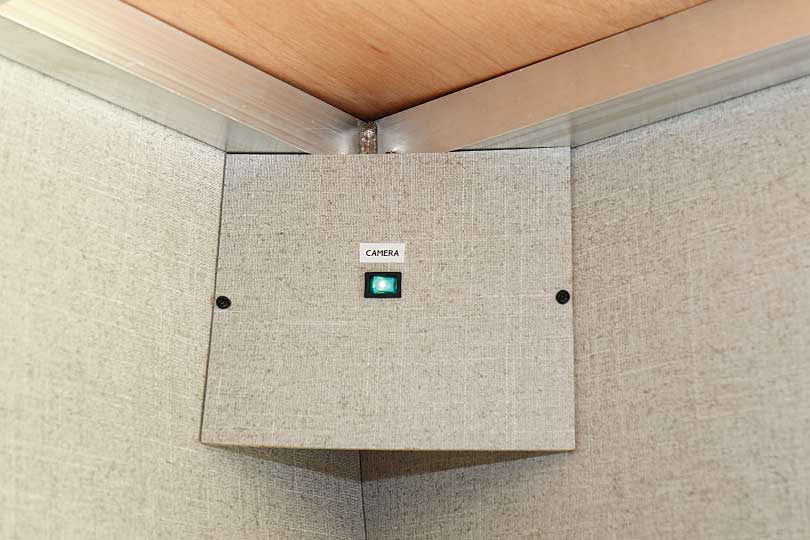
Where it gets a little more complicated is when you want to also use all the cameras in the Vision S system for security surveillance. This requires the cameras to be powered independently of the running lights. To do this, we installed the aforementioned switches in our forward storage compartment. This allowed us to turn each side marker-light camera on individually, with or without the tow vehicle connected and running on the trailer’s battery. We did the same for the rear marker-light camera and the over-the-door camera. Most people will be satisfied with having only the over-the-door camera active, in which case only that camera needs to be independently wired.
There is also the option to connect the rear camera to the reverse light circuit, but since not all trailers have reverse lights, that would require more effort for our application. The specific wiring scenario will depend on the RV, how much of the Vision S system’s features are accessed and the degree of wiring you are comfortable with doing.
Once we finished hooking up all the cameras in our desired configuration, the monitor is powered up, and the touch screen is used to access the Setup menu and start the camera-pairing process. We followed the pairing sequence in the manual by entering the pairing menu on the monitor, then pressing the Pair button on the camera housing. This process went smoothly, and within minutes there was a picture on the monitor. The same process is followed for the remaining cameras.
Using the Setup menu on the monitor again, the camera mirroring was set to the correct reverse views, speaker volume adjusted for the rear and over-the-door cameras, and other functions were set up. The touch-screen menu is intuitive and simple to navigate. Once set, there’s really not much reason to change anything during use. The monitor will remember all the cameras and find them every time when powered up so long as they are within range. Picture quality on all four of the cameras on the high-resolution monitor was as good as the backup camera in our 2019 Suburban tow vehicle, although there is some distortion due to the wide-angle lens’ field of view.
Testing
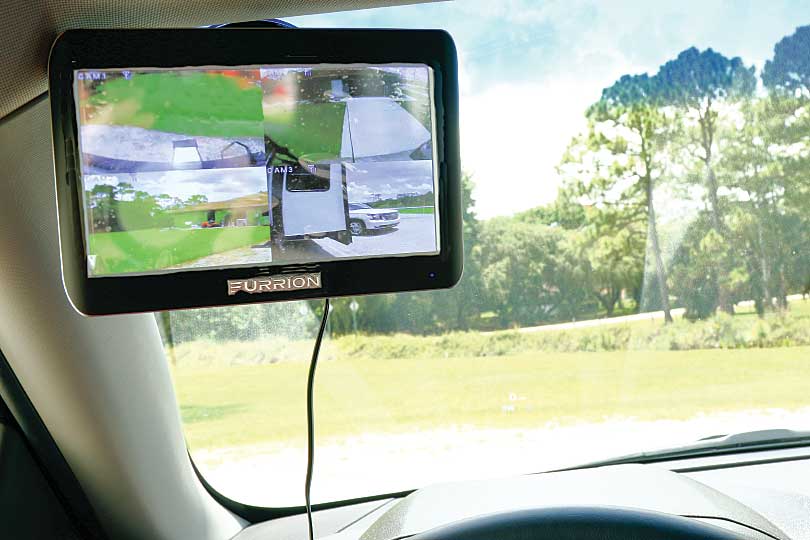
Once the system was set up, we enjoyed the ability to hear someone guiding us while backing up the trailer. No more screaming from my wife! I could see her waving her arms wildly every time I got too close to something, even though I could see it on the monitor. Still, the use of a pair of walkie- talkies or cellular phones helps immeasurably with the communication part of this process. Force of habit, I guess. Having the quad-view option to see each camera on the screen simultaneously gave us extra confidence when backing into tight spaces. With the ability to have the cameras live at all times, we were also able to see the camera views while running down the road.
Security surveillance is another great feature of the Vision S system, depending on what camera configuration you go with. Once parked and set up, we took the monitor inside the trailer and plugged it into a 12-volt DC receptacle we purposely mounted in the entertainment center so we could set the monitor on a shelf just below the TV. This lets us keep an eye on what’s going on outside the camper while relaxing inside. Being able to watch the kids or see people coming up to the door or animals wandering within the perimeter of view gives us peace of mind at the campsite.
At nighttime the monitor is plugged into one of the 12-volt DC receptacles that were added at the nightstands on either side of the bed so we can be alerted by the motion sensor of anyone approaching the door or lurking outside in the wee hours. The night-vision capability of all four cameras allows us to see in the dark up to 20 feet.
While there are less expensive alternatives for a simple backup camera, the Furrion Vision S system provides much more in terms of functionality, design and value, making it an excellent choice for the owner who wants the flexibility to not only park their RV with ease, but to keep an eye on what’s going on outside while in a site and have peace of mind when going down the road.
Furrion Vision S Vehicle Observation System
 Residing in West Palm Beach, Florida, Rick A. Diaz is an avid mountain biker, woodworker and former Hollywood, California, custom Harley-Davidson shop owner, as well as a motorcycle and truck journalist. Rick will be taking his fiancée, their two retired racing greyhounds and an Italian greyhound puppy on adventures in their Winnebago Minnie Plus while contributing to Trailer Life.