Have you ever looked for the perfect thumbprint cookie recipe only to find yourself trying batch after batch, and still not being satisfied? Well, look no further. After many experiments of my own, tweaking what was claimed to be “the best thumbprint cookie,” I’ve finally discovered the most delectable thumbprint cookie “formula.”
I refer to recipes as formulas because baking is a form of art and science. Think about it. You can stick a little round dough ball in the oven and it turns out to be a piece of heavenly delight.
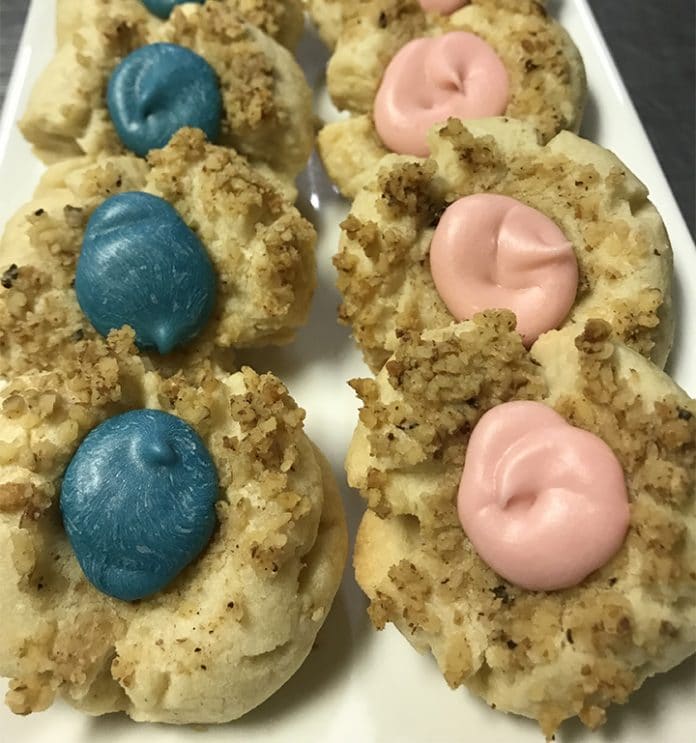
Thumbprints are colorful and great for many occasions, like campground potlucks or even as a staple on your galley’s countertop so they’re easy to grab as you walk by, (I think we’re all guilty of this). These thumbprints have a professional look and taste without the cost of a professional bakery. With a little skill you can whip them up in 50-60 minutes.
Yields 3½ Dozen
Ingredients
2 cups shortening
1 cup sugar
1 whole egg
1 egg yolk (save the egg white for later)
1 tablespoon vanilla
4½ cups flour
½ teaspoon salt
½ cup crushed walnuts
Icing
1½ cups confectioners’ sugar
½ teaspoon vanilla
Milk
Food coloring (optional)
Instructions
Using either a hand-held or standing mixer, cream together the shortening and sugar. Add the whole egg and the egg yolk, along with the vanilla and proceed to mix until blended together. Combine flour and salt, add to creamed mixture. Use a 1½-ounce scoop or simply make dough balls by rolling with hands.
Place the leftover egg white in a small bowl and the crushed walnuts in a separate bowl. Dip one end of the rolled balls in the egg white and then immediately in the walnuts. Place on baking tray, nut side up and make an indent with your thumb in the center of the cookie. Repeat until you have used all the cookie dough. Place in oven for 18 minutes on 350 degrees.
While the cookies are baking, now is a good time to make your icing. Mix the confectioners’ sugar and vanilla together, add milk, ½ tablespoon at a time, until the mixture is a smooth, spoon-able consistency, but not runny. Add food coloring if desired.
Allow cookies to cool 5-10 minutes. Using a piping bag, or simply a spoon, insert a small amount of icing in the center of the cookie (in your thumbprint). Allow to cool until icing hardens.
Serve, be amazed, and watch how many people want your “formula” for such a flaky and perfectly sweet cookie.
 Ashley Venzon is a professional chef, caterer and restaurateur who lives in southwestern Pennsylvania. She enjoys sports, traveling, writing and the great outdoors.