Perk up RV kitchens and bathrooms with fun and functional stick-on tiles
Sometimes RVers are racked with envy. We see great ideas on those cable-TV home shows and want them for our RVs. But then we make the size and weight calculations and decide, one by one, they’re just for the house, not for the trailer. Bigger appliances? Usually not. Walk-in shower remodel? Not in my rig.
We tell ourselves we’re camping, and campers don’t get those residential things. Quietly, though, we pine.

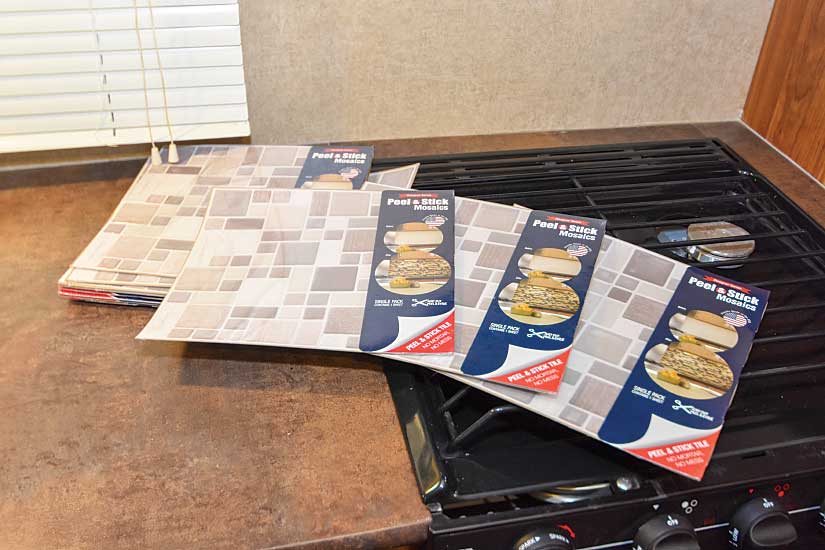
Peel and Stick Mosaics come in packs containing five 10-by-10-inch vinyl stick-on tiles.
But here’s one of those home-show upgrades that’s perfectly suited for the RV: Peel and Stick Mosaics. These 10-by-10-inch vinyl tiles stick to walls to create a backsplash.
Lightweight, inexpensive and attractive, they are orders of magnitude easier to mount than the kind of tiles that require messy adhesives or grout.
It’s the type of upgrade that’s not only functional, making cleanup in the kitchen or bathroom easier, it gives a little sparkle to the living space, all without adding any appreciable weight and taking up nearly zero space. It’s a bit like no-cal chocolate cake, except it’s not just a fantasy.

Laying out the square tiles in the area to be covered is a good way to double-check measurements.
Installing the Peel and Stick Mosaics is a project almost anyone with even a thimbleful of handy can tackle. Some of the trickiest parts are simple “crafting” skills, such as freehand sketching the patterns around windows and wielding a razor knife. And it’s a particularly rewarding project, given that it’s relatively simple, quick and something you will appreciate every time you’re in the RV.
To get started, determine the wall area to be covered and take some measurements. Note any odd shapes or cutouts, such as power outlets, that need to be dealt with. Planning is paramount on this kind of project, so the “Measure twice, cut once” axiom applies in a big way.

Line up the overlap tabs, then peel off the backing and press each square into place.
The directions recommend cleaning the wall before applying the tiles, so give the surface area a good wipe with a basic household cleaner such as Formula 409 or TSP. The adhesive won’t stick well if the wall is damp, so allow some time for the area to air dry, or even hit it briefly with a blow-dryer (use caution here because heat can release the decorative film on some surfaces).
Starting in one lower corner of the work area, peel off about a third of the backing on the first square and place it on the wall, peeling off the remaining backing as you press the square into place. If applying the backsplash more than one row high, just like brickwork, it’s a good idea to stagger the squares for a more random look to the pattern and to keep the seams from lining up.

Sheets of paper were used to etch around the curved corners of the window frame with a razor knife to get a pattern. The pattern was then transferred onto the back of the
affected tiles, which were cut to fit snugly around the window.
Most likely, as with our project, you will encounter some sort of uneven edge — probably a window or a bathroom mirror or medicine cabinet. When you get to that obstacle, you may want to cut a paper pattern and trace the shape on the back of the square to guide cutting.
With power outlets, remove the wall plate or housing and cut a large enough hole in the tile. Because the plate is replaced over the tile, the accuracy of this cut is not as critical. Be sure to check the length of any screws fastening the cover plate in place. Even the relatively thin peel-and-stick material could prevent a screw that’s short on threads from holding the plate after the tile installation.
In the bathroom, or if you have a corner kitchen, you may run into batten strip where the wall panels join. The best course here is to use a utility knife to cut the batten right above the backsplash and butt the backsplash into the corner.

The tiles are thin enough to cut with scissors, but a straight edge and a razor knife were used to ensure accurate cuts.
As you apply the squares, go back and press the ones already applied into place with a soft cloth, just to make sure they are adhering evenly to the wall and there are no bubbles.
For a clean finishing touch, put a bead of silicone or acrylic caulk around some of the cut edges and in any corners. Expert’s tip: Put a fine bead where you want it, then apply a very light spray of soapy water over the top. Take a caulk tool (or your pinkie finger) and smooth the bead. The soapy water keeps the caulk from sticking where it shouldn’t. That will also make the backsplash easier to clean, keeping dust and grit from accumulating in those tiny crevices.

A thin bead of silicone or acrylic caulking goes on rough but smooths out with a caulking tool or a pinkie finger for a nice finishing touch where the tiles butt together in corners.
Camping World carries six styles of Designer Series Peel and Stick Mosaics, retailing for $34.99 for a pack of five squares. It’s likely there’s a color and style to make an attractive upgrade for just about any RV interior.
Camping World
AP Products | 888-626-7576
www.campingworld.com
 Trailer Life Production Director Bob Dawson is a second-generation RVer as well as a fitness, photography, video, tech and outdoor enthusiast. Bob was a photojournalist in a previous life, and his photos and articles have appeared in Trailer Life publications for more than 20 years. You can see some of his video work on our TrailerLifeDIYTV YouTube Channel.