Reader Q&A: Trailer and Towing Troubleshooting
Your tech questions, answered. PLUS: RV Dewinterization.
Image Caption:
In this month’s edition of our Reader Q&A, our RV expert answers your burning questions regarding preventative maintenance, RV accessories, tech, and more. This month’s questions focus on tire issues and problems with a factory-installed hitch, plus tips for de-winterizing your rig just in time for spring.
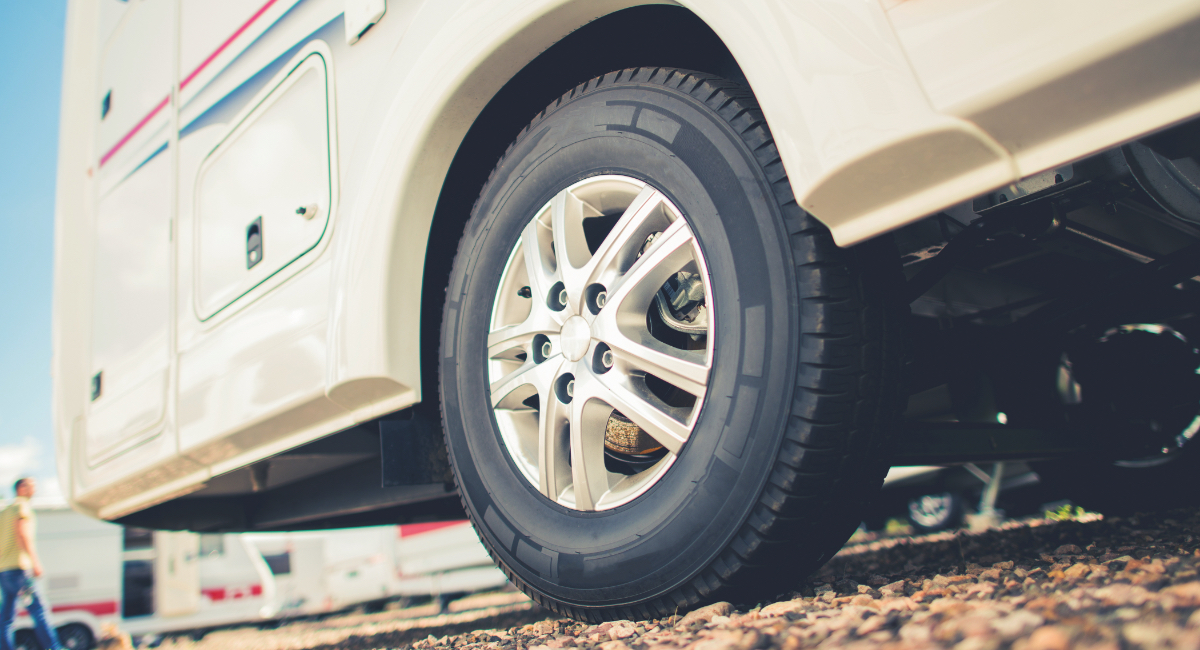
Photo Credit: Getty
Tire Troubles
Q: The question I have is about trailer tire failures. My trailer is a Safari Condo Alto R1713, which only weighs 2,500 pounds with 14-inch wheels, and my friend’s weighs 3,800 pounds. My trailer is stored in a garage, and my friend’s is outside with his tires covered. My tires (Goodyear Marathon) were five years old with lots of tread, no cracks in tread or sidewall and as mentioned always stored inside. My friend’s tires were four years old with no cracks in sidewall or tread. Both of us had the proper air pressure for our trailer weight, yet still had tread separation, and damaged our trailers. We drive between 60-65 mph. He had load range D and I had Load Range C (I have upgraded to load Range D in a Carlisle Radial HD trailer tire.)
We both put on about 1500-2000 miles, taking trailers out three times a year. Both of us understand that trailer tires have stiffer sidewalls and are made differently for trailer use.
I have had a 1999 Ford Expedition and a 2015 Jeep Grand Cherokee as my tow vehicles. He has had a couple mid-size trucks for his tow vehicles over the years. Over at least 20 years both of us have never had tread separation or blow outs in our LT truck tires. So, what is the issue with trailer tires? Is it just for companies to sell more tires? Why would I not use LT tires for my trailer? They seem to be more robust. I have never heard of having tread separation on my Michelin LT tires. They are also carrying about 5,000 pounds of vehicle, plus gear.
We learn so much from folks’ questions and your expertise. Any help would be appreciated. I never want to be stranded again!
—Michael Baessler, Ramona, Ca.
A: Trailer tires do seem to have a lot of failures, considering how few miles they typically cover. I think a big part of the overall problem is the fact that most RV trailers come from the factory with tires made in China, and it’s difficult to find any trailer tires not made in China at most tire shops. Chinese quality control is very sketchy. This may not be the case with your Marathons, but may be the case with the other tires.
It’s possible that your tire may have picked up a nail or other slow leak that caused pressure loss while driving. We’ll never know. This could result in the carcass overheating and coming apart catastrophically. That type of failure may not leave any trace of the cause. To avoid this, I recommend that anyone towing a trailer (also motorhome owners) use a tire pressure monitoring system (TPMS).
Most tire manufacturers recommend that tires be replaced after six years, as tires deteriorate over time. This does not appear to be the cause here.
To answer your question about using light truck (LT) tires instead of special trailer (ST) tires, many people do it and have for years, successfully. Make sure that the replacement LT tire has sufficient weight capacity rating, as LT tires typically have a lower rating than ST for a given size. Again, note country of manufacture before purchase.
In your case, finding an LT tire in 14-inch rim diameter may be a challenge. I suggest that you switch over to 15-inch rims, which will open up a vast array of tire choices. The manufacturer of your trailer offered 15-inch wheels as an option, so there should be sufficient clearance. Having only a single axle will hold down conversion costs. One of the advantages of switching to larger-diameter tires and wheels is that they spin more slowly, thereby reducing heat and stress on the tires. Many people don’t consider this when towing at highway speeds.
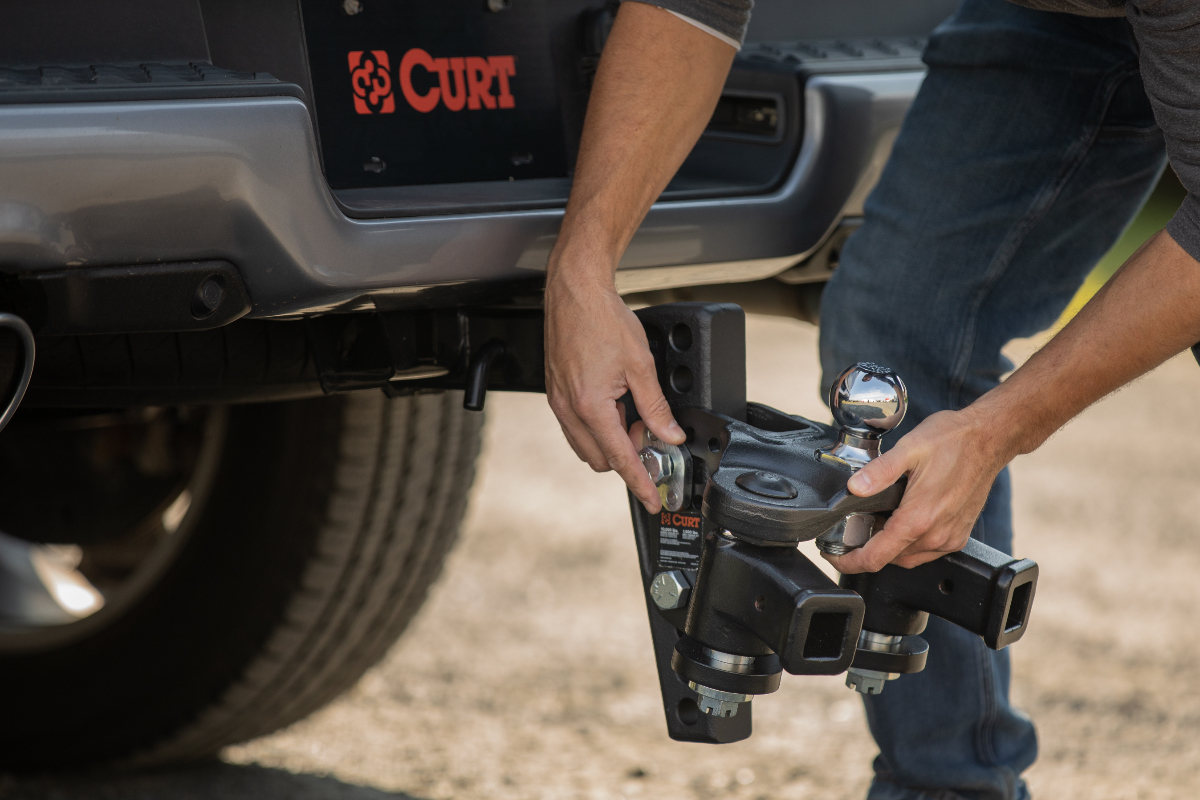
Photo Credit: Curt
Hyundai Hitch Help?
Q: I have a 2021 Hyundai Palisade, which I use to tow a Forest River Rockwood GEO PRO FBS20 (UVW = 3,545 lbs.; tongue weight 398 lbs.) travel trailer. Recently four-inch cracks running down the center of both unibody rails emanating from the first anchor bolt closest to the hitch were found.
Through many twists and turns, I explored warranty options (because the hitch was sold by Hyundai) and various repair options. One service provider even recommended getting rid of the vehicle. Ultimately, a repair shop welded and reinforced each rail in the damaged areas. They also reinforced a brand-new Curt-brand hitch to distribute the weight better than the Hyundai-branded hitch. Do you think I should feel confident with the repairs?
—Robert M. Sigal, San Diego, CA
A: It’s quite possible that loose bolts in the hitch mounting holes where the cracks radiated from are the culprit. I suggest that you install lock nuts on the hitch mounting bolts to ensure they don’t come loose again.
I don’t think that the small cracks, which were professionally repaired and reinforced, should cause you to sell the vehicle or perform expensive frame replacement repairs. The new, improved hitch, along with welding repair and regular visual inspections (daily at first) of the hitch attachment points and frame rails (looking for any cracks, etc.) should allow you to continue towing.
Whether or not the original hitch was designed for a weight distribution (WD) system is moot since you are no longer using it. WD hitches produce some unusual forces and stress on the undercarriage. Have you measured the loaded tongue weight or are you relying on the manufacturer’s specs?
To reduce the forces on the frame extensions, I recommend that you add an air bag system to the rear suspension to support part of the hitch tongue weight. This will allow you to reduce sag and maintain a safe ride height, while enabling you to reduce some of the tension on the WD hitch.
I don’t see anything in the photos you provided that would be an anti-sway device. There is an electronic stability control available on the AWD version. Do you have that? I recommend that you get a friction-type sway control. They are not expensive and can prevent swaying and fishtailing which could possibly get out of control. Even with electronic sway control, it’s better to prevent swaying than to have to get it under control after it has started.
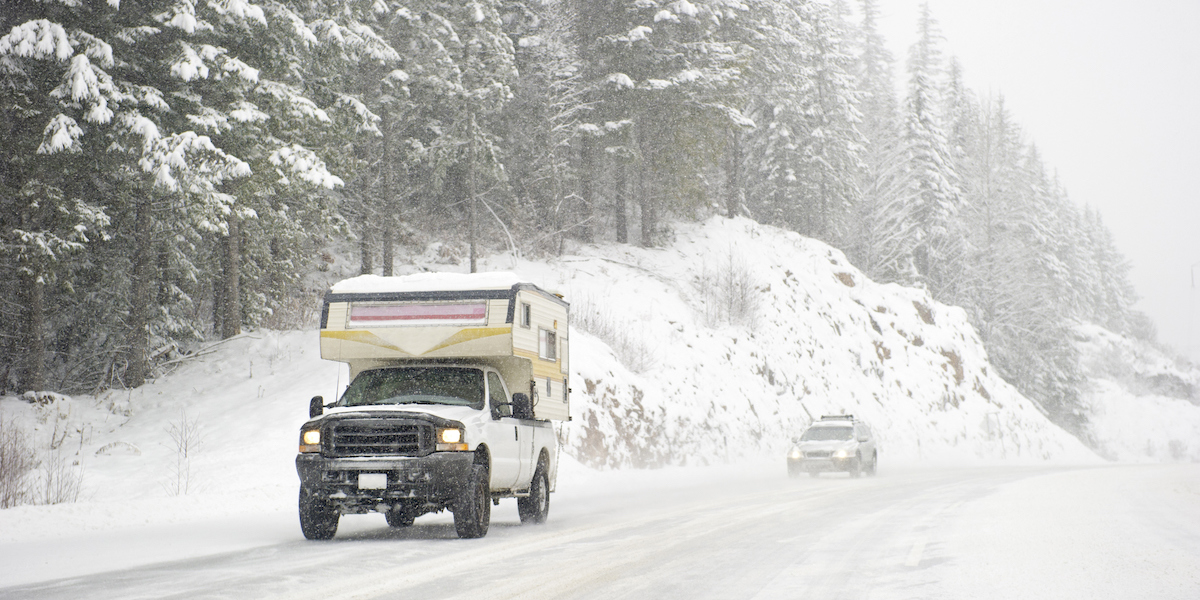
Photo Credit: stockstudioX/Getty
RV FAQ: De-Winterization 101
Say you’re new to RVing—what do you need to do get your rig back out on the road after a winter road break?
You need to de-winterize your RV, which means reversing the winter prep so it’s safe, clean and ready for the road. Most RVs come with instructions from the manufacturer, with model-specific information. Specific instructions can also be found on manufacturers’ websites, and motorhomes require additional steps outlined in their maintenance guides. Here are some generic steps you can take in addition:
Begin with a slow walk-around. Check the roof, walls, seams, windows and doors for cracks, sealant deterioration and gaps. Look for pest nests and water damage. Inspect tires for wear, cracks or dry rot. Inflate them to the manufacturer’s recommended pressure.
Reconnect the RV batteries, clean the terminals, add distilled water if needed and check the voltage (should be close to 12.6 V). Plug in and test all interior lights and outlets. Check the oil and run the generator (if equipped).
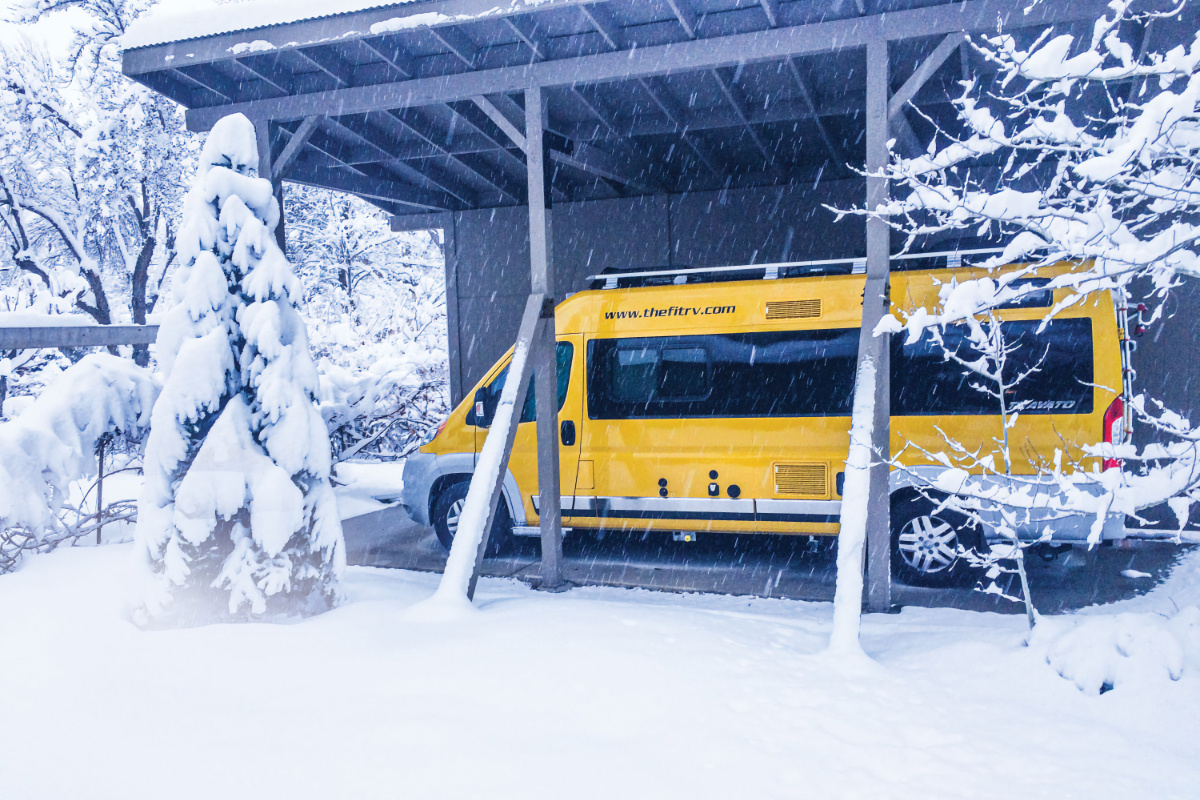
Photo Credit: James Adinaro
If RV antifreeze was used in winterizing, reconnect the water lines and switch the water heater out of bypass mode. Partially fill the freshwater tank with clean water, then run each faucet—hot and cold—until the water runs clear. Don’t forget the shower, toilet and any exterior taps. Sanitize by adding a bleach solution (1/4 cup per 15 gallons water) to the freshwater tank, letting it sit for several hours, then flush thoroughly and refill. Put toilet chemical in the toilet.
Look for leaks under sinks and around fittings. Reinstall drain plugs and the water heater’s anode rod if equipped. Test the water pump, water heater and all appliances—both electric- and propane-powered. Open propane valves slowly. Use a soapy water solution on connections to check for leaks. Light the stove burners to confirm proper flow. Test the water heater and furnace.
Clean and air out the RV. Freshen bedding and restock essentials. Operate any slideout rooms and lubricate their tracks and apply slideout seal treatment to the flexible weatherstrips. Check safety devices like smoke, propane and CO detectors and fire extinguishers.
Test brakes, exterior lights and hitch connections. Replace any burned out bulbs. Confirm that your registration, insurance and roadside assistance are current.
Ask Us Anything!
Share your tech tales and send us your questions: [email protected].