Slide Out Maintenance Simplified
Image Caption:
The RV slide out has revolutionized our expectations of living space and floorplan configurations. Today, the overwhelming majority of new motorhomes built are equipped with slide out rooms. Understanding how slide out mechanisms function and the required maintenance will greatly contribute to their longevity.
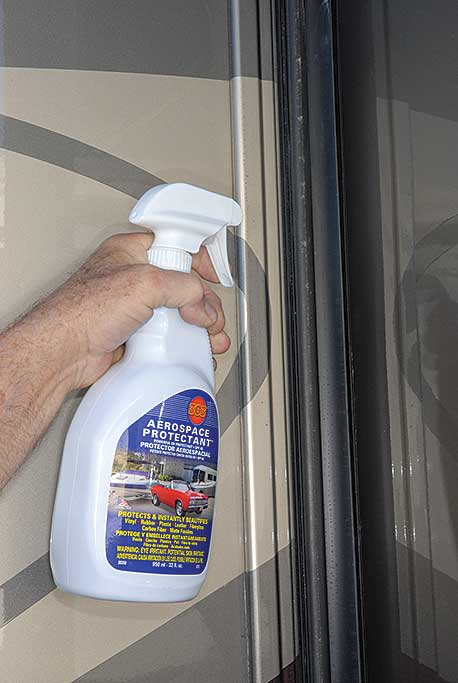
303 Aerospace Protectant helps extend the life of slideout seals. Photos by Bill Gehr and Bob Livingston
Slide outs come in all sizes, from extra-large and full-wall slides to small wardrobe slides. A few years back, one manufacturer of a popular higher-line Class A even designed a slide within a slide on some of its models. The open floorplans afforded by expanding rooms optimize the available space, so much so that many people choose to live full time in their motorhomes.
Living-room slides are probably the most common, followed by those in the bedroom. The mechanisms that move these rooms are varied, depending on the manufacturer; knowledge of your motorhome’s slide out operation and maintenance requirements will help you avoid malfunctions in the future.
Slide Out Best Practices
Most slide outs should not be extended unless the motorhome is level; some systems even require that the leveling jacks be in the extended position before the slide can be operated. This is especially true of oversized and full-wall slides.
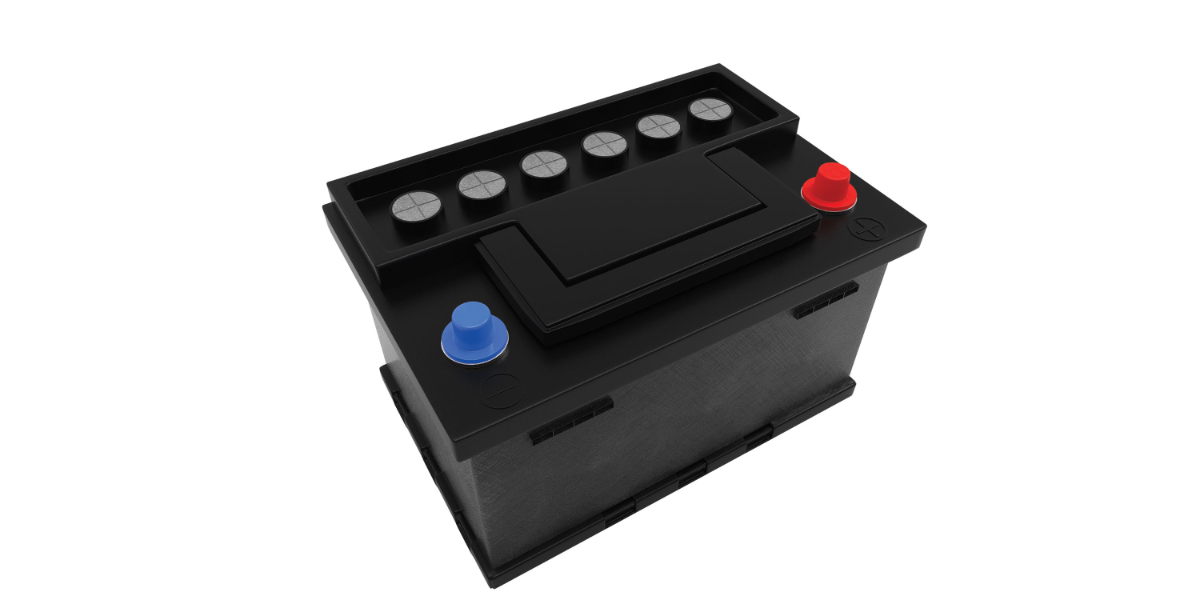
Optimal performance of all slide outs can greatly depend on battery condition; slides pull a lot of amperage and will not operate properly unless batteries are adequately charged. Generally, slide outs will not function unless battery voltage at the motor is at least 10.5 to 11 volts under load, depending on size and weight of the slide — and don’t count on power from the converter if the batteries are discharged to a point where they can’t handle the load. If the batteries are too low, starting the engine is necessary.
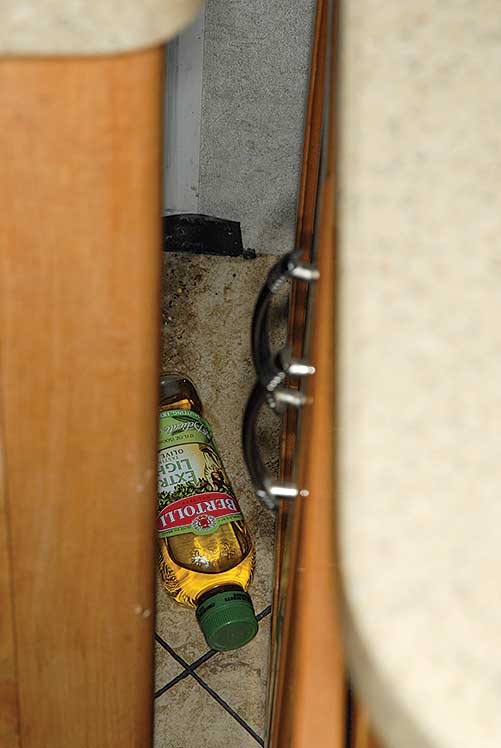
Always inspect the floor before fully extending the slide. This bottle of oil would have produced a mess.
Prior to deploying a motorhome’s slide outs, it is imperative to visually inspect the immediate area to make sure that an item hasn’t fallen from a shelf or a table. Items that fall out of nearby cabinets can be crushed as the slide is extended, creating a very messy situation, especially if pressurized cans are punctured. Be sure to remove any travel latches or travel locks that may prevent the slide from fully extending before pushing the open button. Check the surrounding area of the campsite for any obstacles that may damage the exterior of the slide room — or tear the slide topper — during the extension. Better yet, make it a habit to have someone stand outside to visually confirm that the slide out is clear of obstructions while it is being extended. And don’t forget to look up; you never know when a tree can cause major damage. It’s important for you and your slide buddy to agree on signals that can be used to notify the person operating the slide out switch when to stop, if necessary. Some people knock on the side wall, while others use Family Radio Service two-way radios. This simple plan of action could be a trip — and a marriage — saver. While operating the slide outs, listen carefully; if you hear a strange noise or you’re not sure that the room is acting the way it should, stop immediately. Better to be safe than sorry.
Slide out Types
The complex design of slide outs can invite many challenges as well as problems that can stump even the best service technicians. There are three basic types of electric slide outs: screw jack, rack-and-pinion and cable-driven. The mechanisms may differ in operation, but they are all driven by a 12-volt DC electric motor.
Electric slide out systems are the most prevalent by far. Components that can become problematic include the 12-volt DC motor, gearbox, bearings, pins, bolts or even a cable. These motors can overload, causing a tripped breaker or a blown fuse, which are the first things to check if the system simply does not function. It is not uncommon to have a heavy slide out room system with inadequate wire gauge, excess wire length or a bad connection. A pair of Bosch-style relays with the appropriate wiring can be installed in most systems to alleviate this problem.
Hydraulic slide out systems use a pump that drives rams (pistons) that move the slides in and out. These hydraulic systems are incredibly powerful and capable of moving even the largest of slide out rooms.
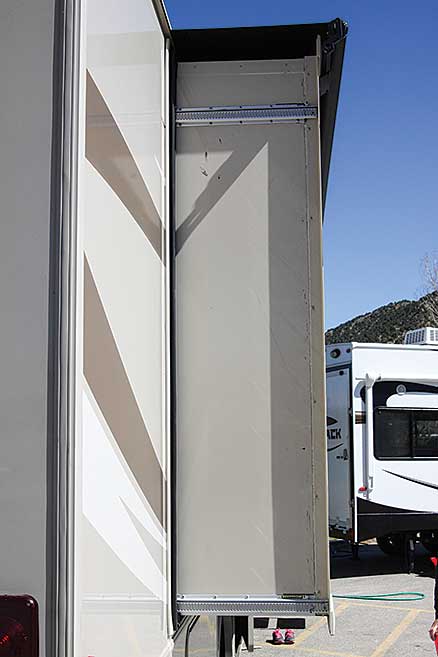
Many slideout rooms feature an upper and lower track for the slideout mechanism. Be sure that each track is free of dirt, grease and/or oil.
Hydraulic systems that are used in heavier slideouts can be set up to power multiple slides. While the power of this type of slide mechanism is unsurpassed, they are much more complex than other slide-mechanism types. The pump, valve assemblies, hoses, springs and of course a printed circuit (PC) board can fail at the most inopportune times. Fortunately, even these slide out mechanisms have some type of a bleeder valve for manual retraction, although some units will require pushing the room in manually if the mechanism fails. Depending on the size of the slide out room, this may require two or more people.
Slide Out Failure
If the room fails to move and the pump is running, the first check is for hydraulic fluid level in the reservoir. This should be done with slides in, when the fluid is at the highest point. If the hydraulic pump does not function, check for blown fuses or tripped breakers. It’s a good idea to carry a small digital voltmeter or a 12-volt DC test light in your motorhome. This will allow you to check if there is voltage to the hydraulic pump, which is an important process in the event of a malfunction. Keep in mind that most hydraulic slideouts will not operate unless the parking brake is set.
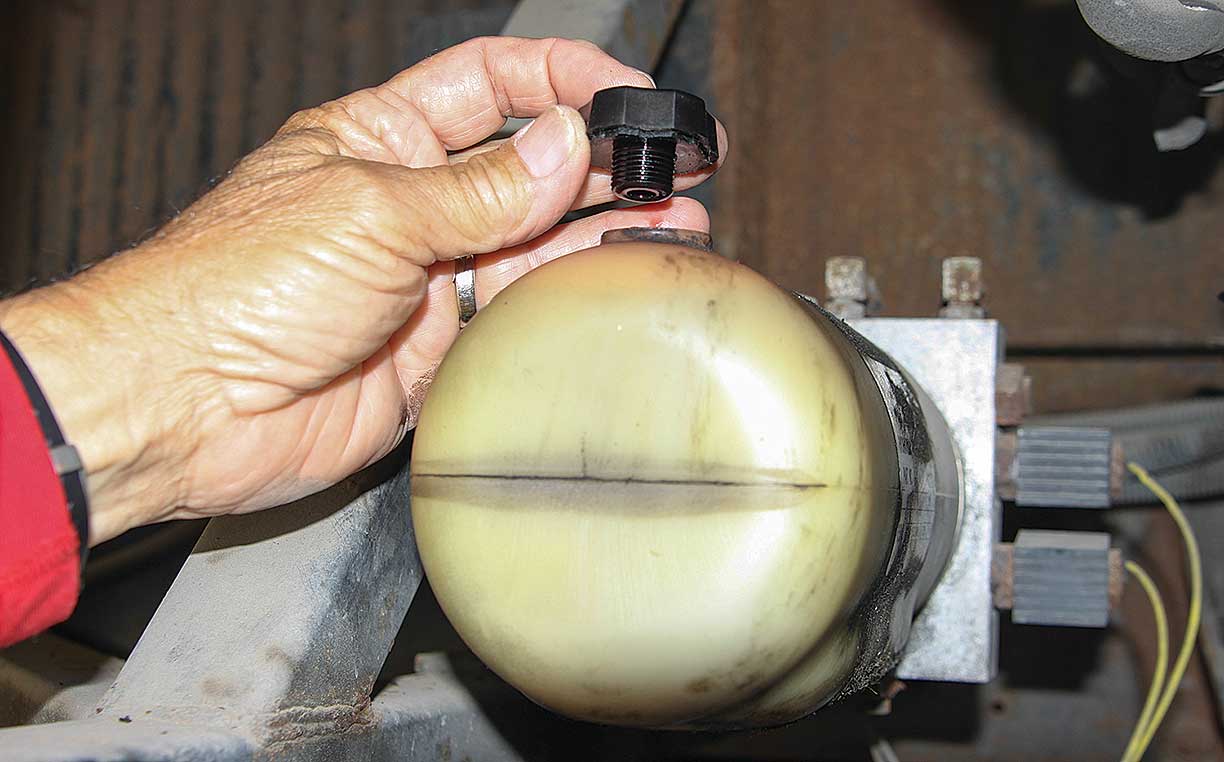
This hydraulic pump reservoir doesn’t have a dipstick. The plastic has become so cloudy that the fluid level can’t be seen. Use a paper or wooden dipstick to determine the actual level.
Cable-driven slide out mechanisms, although not as common these days, can have their own set of problems. Electric motors used on cable-driven systems can suffer the same problems as motors used in other types of slide outs. Cables can stretch over a period of time and even become frayed or broken to the point where the slide room will not function. Pulleys can fail and of course, so can the electric motor gearbox.
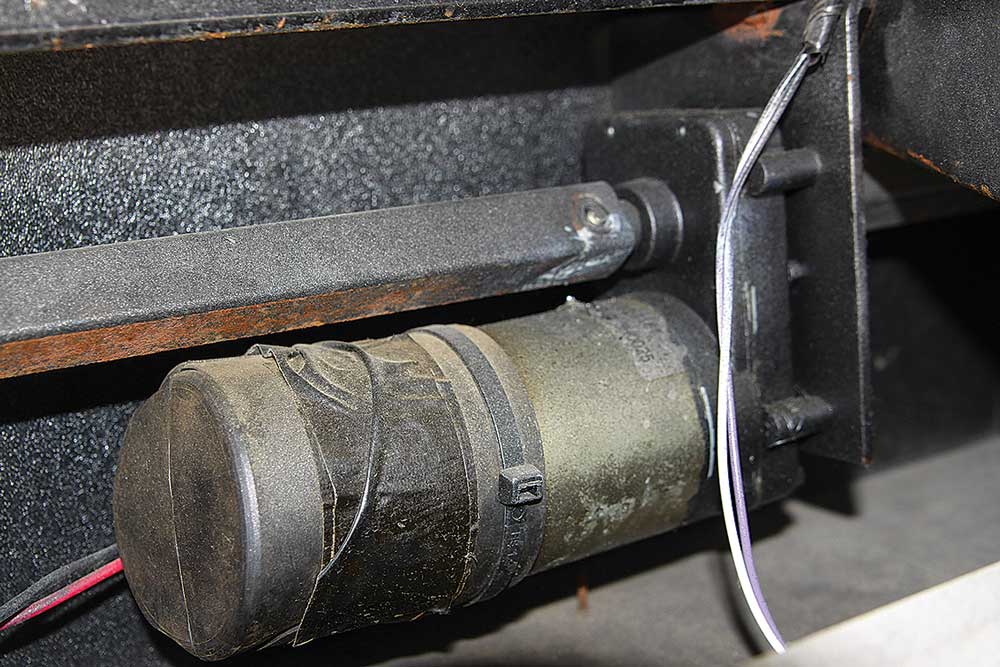
If possible, inspect the slide’s electric motor and gearbox assembly. A loose bolt can cause catastrophic failure.
When the cable is broken there are few options for manually retracting the slide. If you see a frayed cable or suspect that they are stretched out, plan to replace the cable before it breaks, as replacement is easier when the cable is still intact. Once the cable snaps, the slide out room is hard to manage.
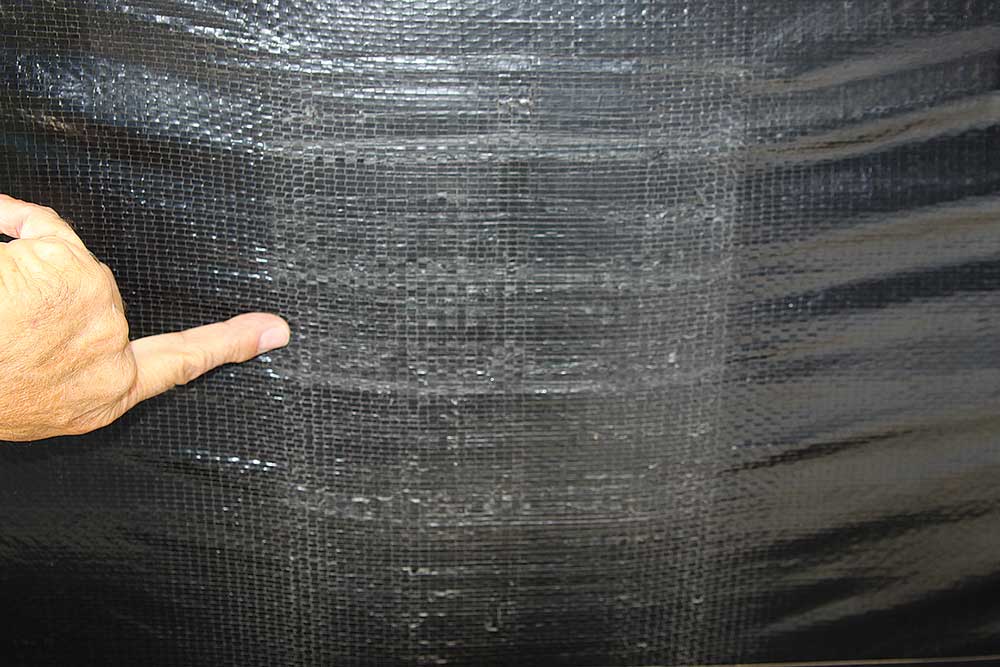
Here, the bottom of this slide was damaged due to an improperly adjusted bolt. Repairs are difficult without removing the entire slideout room.
Slide Out Due Diligence
While no one wants to experience a slide out mechanism malfunction, all owners should know the mechanics of the slide out rooms used in their coaches. It goes without saying that a motorhome with a slide out room stuck in the extended position is not movable. So learn how to retract the room manually, and if the retraction requires a specific tool, make sure it’s in your storage compartment at all times.
Since the manufacturers of the slide out mechanism have specific maintenance and inspection procedures, it’s critical to have the owner’s manual on hand. If the owner’s manual does not have these procedures, check the manufacturer’s website for service information.
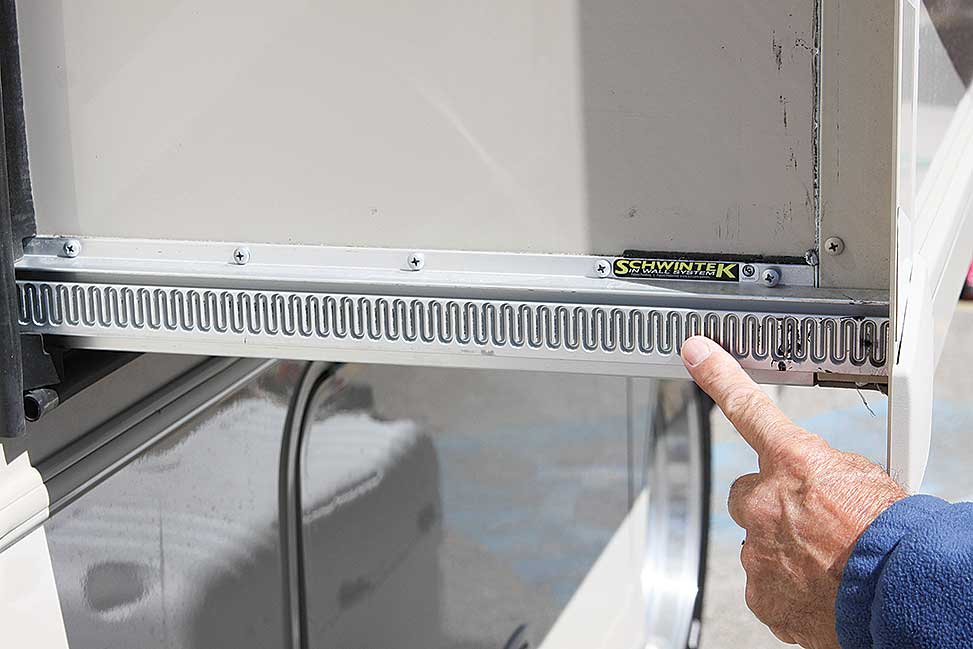
Inspect slideout rails for damage before every outing. A small amount of damage can cause the slide to become unbalanced, which leads to more damage.
Inspect all visible mounting points where the mechanism/hardware is attached to the slide room for integrity. Check the exterior bottom of the slide out room for any damage that may have been caused by rubbing against an object, such as a screw that may have come loose or even a bolt that backed out. It’s amazing how fast the damage can multiply. Have someone operate the slide while you check the exterior opening, making sure that the room structure remains square while opening and closing. Periodically listen to the electric motor or the hydraulic pump for any abnormal noises or variations in speed that may indicate a problem with the drive system or batteries.
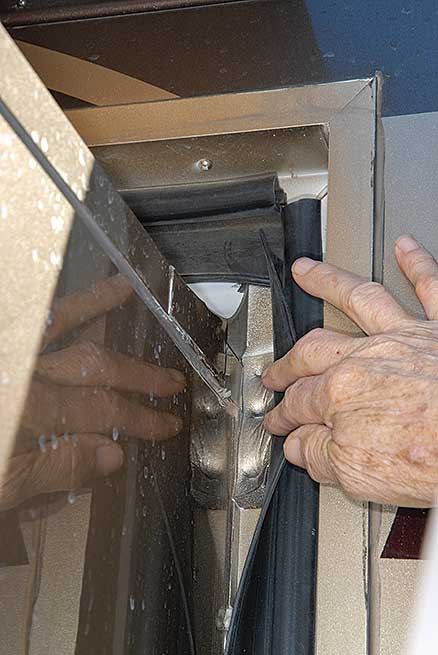
Carefully inspect every area of the slideout seals, inner and outer, for integrity.
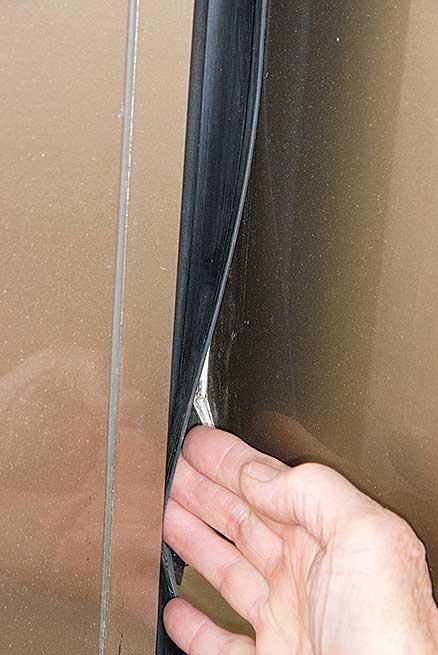
If needed, replace the seals before a bigger problem arises.
Seals and gaskets are the keys to keeping the elements out of the motorhome. It’s a good idea to visually inspect these seals and gaskets every two or three outings. Start by examining the seals at the top of the slide out room. Carefully stand on a ladder or the roof of the motorhome and have another person extend the slide out as you examine where the seals come in contact with the top of the room.
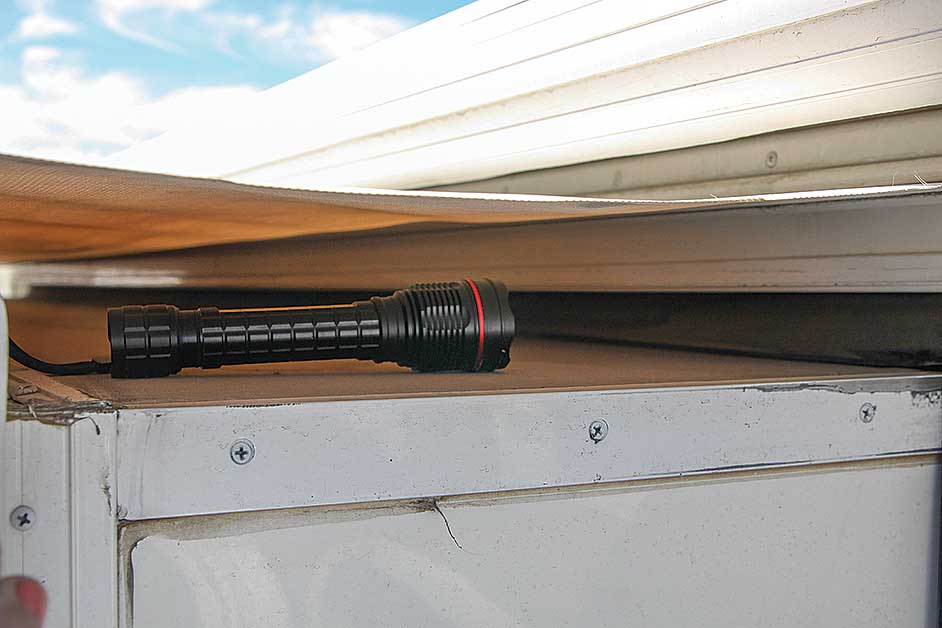
Slide toppers make inspecting the upper seal a little challenging — use a bright flashlight. A small tear can turn into a large tear in a matter of seconds.
Slide toppers can impair visual inspection of the top seal. Use a powerful flashlight to inspect as much of this seal as possible. Pay close attention to the corners where the seals overlap. Next, check the seals that run down the sides of the slide out, and don’t forget to inspect the seal beneath the slide room. Check all seal attachment points. Screws can back out without notice.
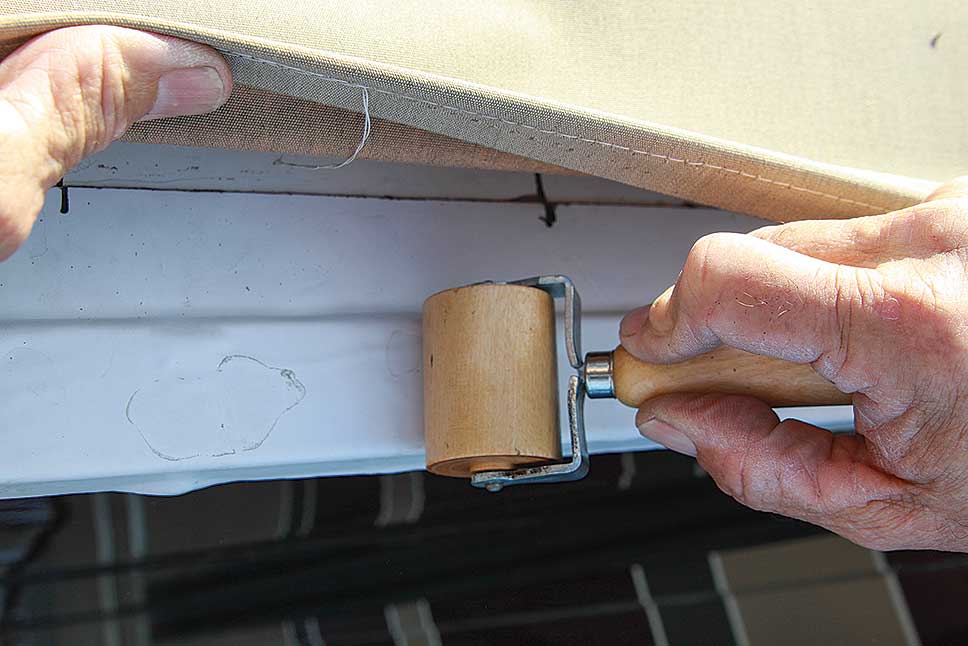
Water leaks can damage the slide’s internal structure. Eternabond tape is an easy and effective repair for the top seam.
Eighty percent of rain leaks in slide outs originate with a breach in a seal. Every six months use a high-quality rubber lubricant or seal conditioner and coat the inner and outer seals.
Manufacturers do not recommend silicone spray, and owners should never use products with petroleum distillates. Seals will deteriorate over a period of time, but with a little care and maintenance they will last for many years. Replacing seals is a big job — and it’s expensive.
In Case of Emergency
Adjusting the slide out mechanism should be left in the hands of a professional. Attempting to make even a small adjustment on a slide out without the proper know-how can cause a major problem down the line — especially if the integrity of the alignment is compromised.
However, emergencies do arise from time to time. If you do need to make an emergency repair, keep these tips in mind:
Before making any adjustments, mark the original position in case a particular adjustment does not work as planned. Remember, when lifting one side of the room, the other side can lower. Keep a log of all changes; this will help the technician if repairs are necessary. Cable and pulley adjustments are very tricky and should only be attempted by a professional. Often, an adjustment may be as simple as returning a loose bolt to its original position. Before attempting any adjustments or manual operation, disconnect the battery(ies).
It’s hard to live without a slide out room these days, and it’s even harder if it fails to go in or out. Close monitoring and a prescribed service schedule will remove the angst — and serious inconvenience — of a potential malfunction.
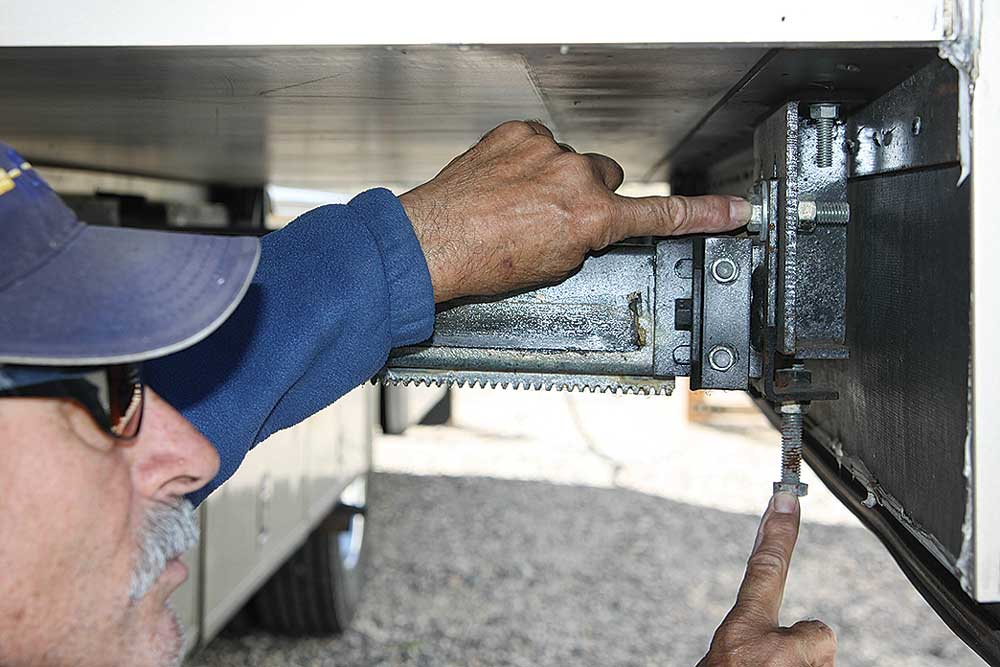
Slideout adjusting bolts allow for infinite corrections in several directions. These critical adjustments should be left to a professional. One small adjustment in the wrong direction could permanently damage the slide.
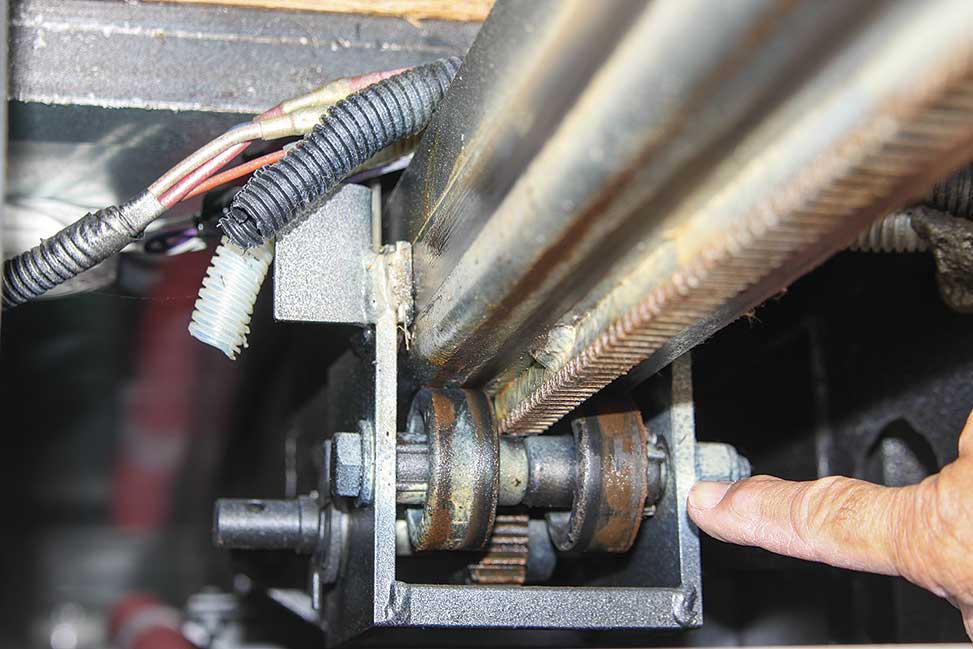
Inspect the slideout rollers annually; they support a tremendous amount of weight.
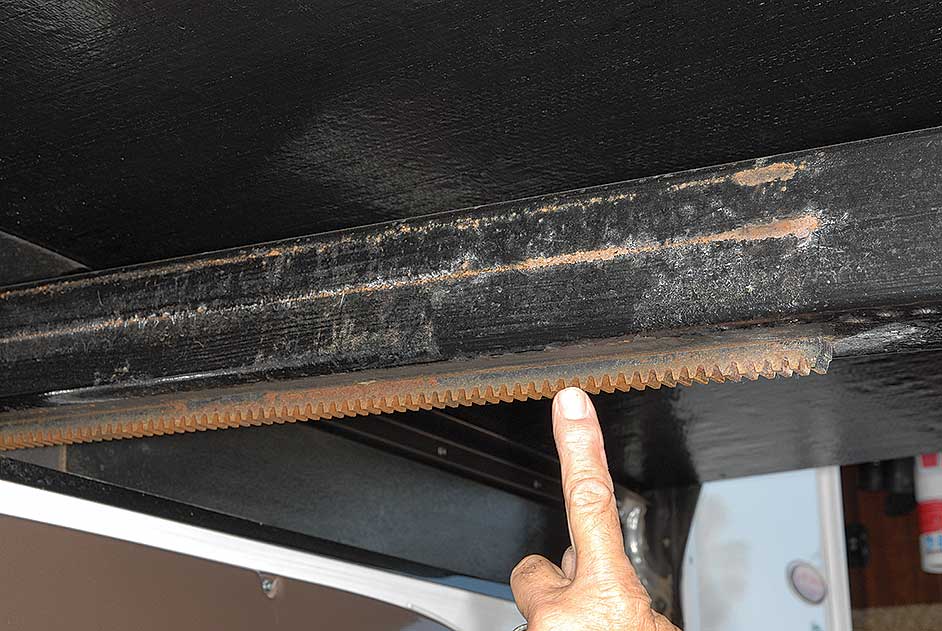
After inspecting the slideout rail, remove any rust to ensure the slide functions smoothly.
Helpful websites when in need of parts
www.dyersonline.com
Electric motors and parts
www.factoryrvsurplus.com
Obsolete parts
www.pellandent.com
Seals and corner moldings
www.powergearus.com
Power gear mechanism parts
www.rvworkshop.com
Hydraulic cylinders/motors
www.uni-grip.com
Trims and seals


