RV Makeover: Amazing Fifth-Wheel
Simple DIY upgrades Turn a Toy Hauler into a Modern Farmhouse Masterpiece
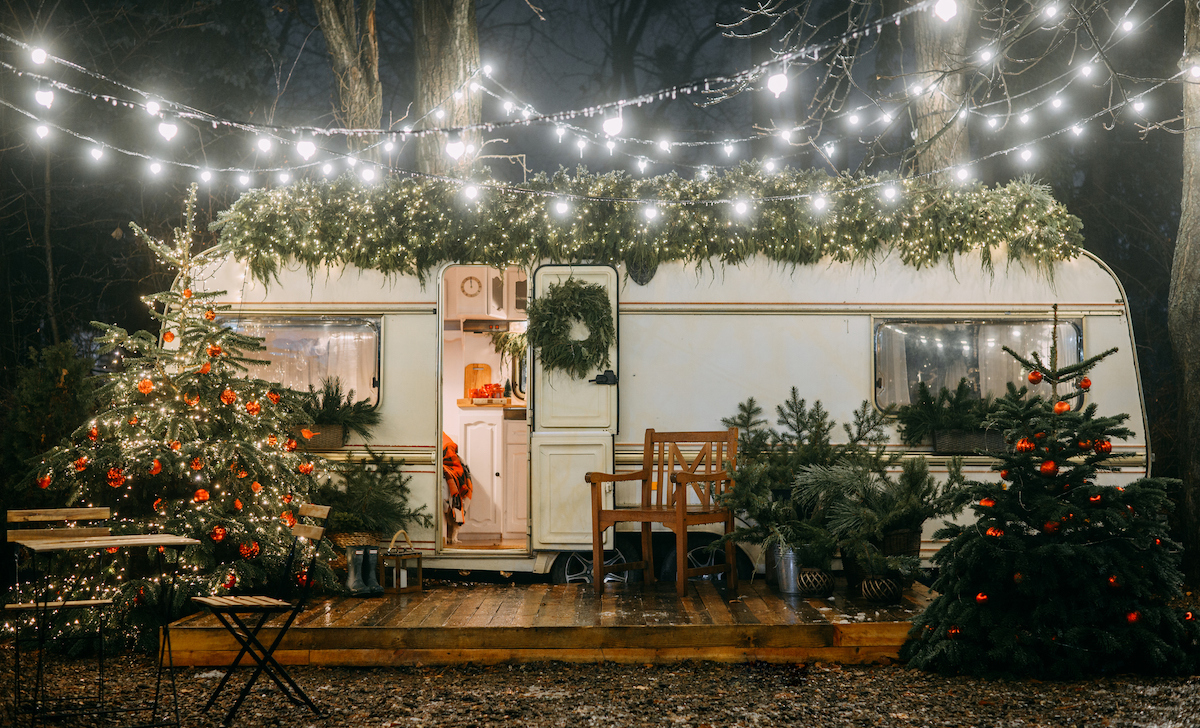
Image Caption:
My fiancé, Luis, and I purchased a slightly used 2016 Heartland Edge fifth-wheel toy hauler in 2016, and it has been the perfect home on wheels for us. We have traveled half the country with our children and shared an enormous amount of family experiences. We adore our trailer so much we have even named her Big Bertha.
While we love our Heartland’s floorplan, the interior was not our style, with every single shade of brown, from the walls down to the flooring. For more than four years I’d dreamed about brightening up the dark interior and making the tiny space seem bigger, more inviting, and homier. Finally, we took the plunge and decided to tackle the ultimate RV interior makeover.
Flooring
We began the renovation process with the flooring because Luis had done flooring before we began RVing, and he could get the job done quickly. We chose a light-gray luxury vinyl tile for its durability and because it’s waterproof.
We should point out that if we had to do the makeover all over again, we would definitely not do the flooring first. As we continued the renovations, we spent so much time trying to protect the flooring from damage that it proved to be counterintuitive.
Master Bedroom
Moving on to the front master bedroom, we figured if anything went wrong, at least it wouldn’t be the first thing we’d see when walking inside the RV.
First, we removed the shades and cornice boards from the windows. Then we wiped everything down with Liquid TSP cleaner to make sure there was no dirt or grime left behind. Once everything was cleaned, we primed with Zinsser Bulls Eye 1-2-3 primer using a handheld paint sprayer. We primed all the cabinets and the walls.
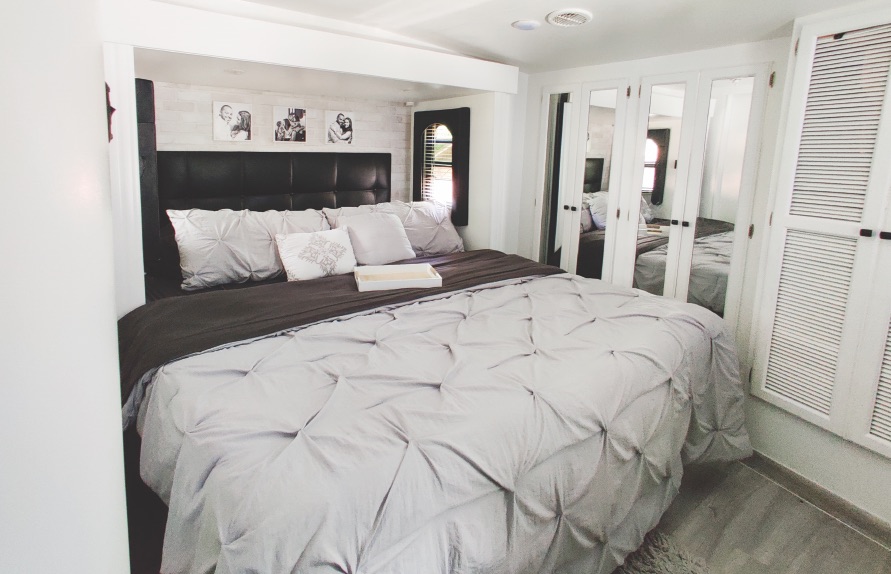
The white walls in this bedroom help brighten things up and make it look bigger.
Rather than removing the wallpaper, we primed over it with two coats to make sure the paint would stick and to prevent the walls from peeling in the future. After letting it dry for a day, we painted the room using a borrowed professional paint sprayer. White Sherwin Williams Semi-Gloss HGTV Home was highly recommended by a fellow RVer.
Once everything dried, we were surprised by how much we loved the new look. We reinstalled the cornice boards because they were one of the few decor elements that were black and they add to the farmhouse/modern-chic vibe.
For the wall behind the original black headboard, we added some contrast with a black brick-style Tic Tac Paper from Amazon, and to keep the paper from falling down, we used a 3M spray adhesive. The final touch was changing the hardware on the closet doors from silver to black.
Garage Area
In the toy hauler’s garage area, we chose to paint and add some faux shiplap to the walls. In order to achieve the shiplap-look without the shiplap weight (because we all know that weight is something that you have to think about in an RV), we picked up eight-foot-by-four-foot plywood sheets that were cut in eight-inch pieces.
We used the shiplap to cover all of the wallpaper, which also covered any imperfections. We used the same primer and paint, but chose not to paint two of the walls to embrace their wood look instead. We also painted inside the cabinets and spray-painted the hinges and knobs gold for contrast.
Finally, we replaced the door with a lightweight, contemporary barn door, which we found at Home Depot for a great price. We bought the hardware on Amazon, and Luis trimmed the bottom of the door for a perfect fit.
Living Area
In the main living area, we covered everything that we didn’t want to paint and rented a professional paint gun from Home Depot to prime the cabinets and walls. We did RV makeover projects are a wonderful learning opportunity for kids of all ages.
We did a total of two coats in the main living area with the Zinsser primer and allowed it to dry before applying two layers of the HGTV paint. Then, we installed more faux shiplap on the living room slideout. We tied the entire living area together with gold hinges, knobs, and curtain rods.
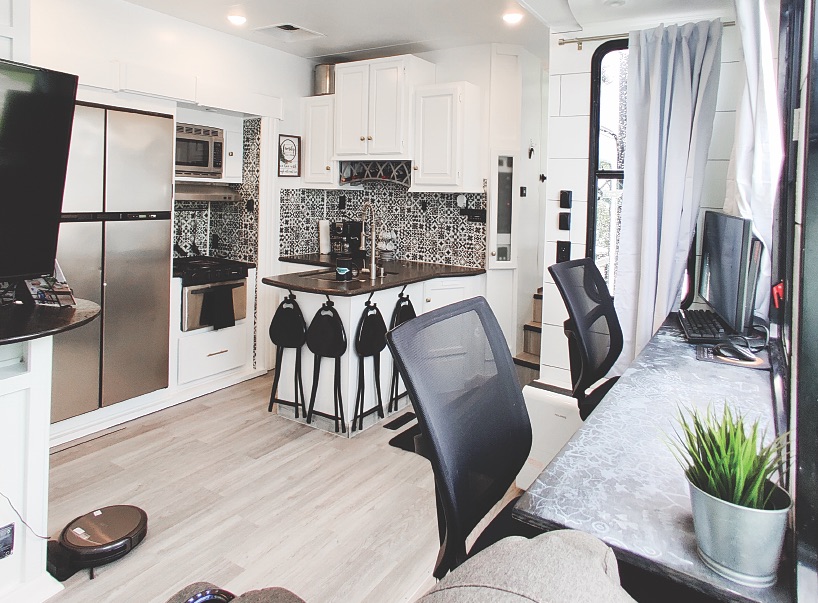
The living space in the RV is multi-purpose and the design mirrors this.
We took out the stock dining room set, and Luis built a custom tabletop high enough to let us see outside the window while we work from our laptops. The architect seats we purchased fit perfectly and are tall enough to reach the new table. Plus, they’re super comfy!
To give the kids an extra space to enjoy, we painted the tabletop with chalkboard paint. We keep chalk markers on top of the table to allow the kids to be creative whenever they choose.
Bathrooms
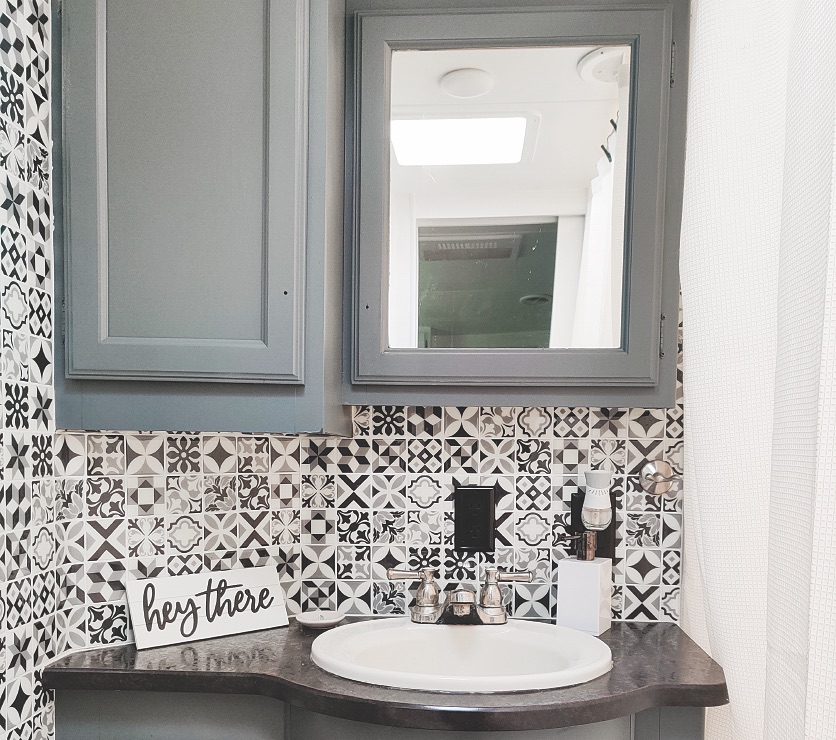
Both bathrooms in the RV feature more or less the same style and design.
Our fifth-wheel has two bathrooms and we settled on the same style and color scheme in each one. We used the same primer but chose Nuvo Cabinet Earl Grey paint for the cabinets. The walls have the same paint as the rest of the RV.
We removed the original countertop and bought a butcher block from Menards and a white above-counter sink and matte-black waterfall bathroom faucet from Amazon. We finished things off with gold accents for the hinges and doorknobs. We may even change out the tubs in both bathrooms, but that’s another story.
Our Own Home Sweet Home

The space was designed specifically for Sandra’s family and they love it.
After renovating Big Bertha’s interior, we feel it was totally worth the long nights, and we are extremely happy with everything we did.
Our entire family loves all the changes, and I personally, love that it makes our home on wheels feel a dark interior and making the tiny space lot bigger, with the perfect marriage of farmhouse and modern chic design.