How to Winterize Your RV: A Complete Guide
Explore all the steps to protect your RV from winter's chill.
Image Caption: Image source: JackF via Getty
We’re Grayson and Ashleigh, the couple behind OurFulltimeAdventure. We’ve spent the last five years living, working, and traveling full-time in our truck camper through every season and type of weather you can imagine. From dry desert heat to freezing mountain snow, our nuCampRV Cirrus 820 has been our constant adventuremobile. After a few too many icy mornings, we can tell you this – if you plan to store your rig or camp through the cold, winterizing your RV isn’t optional. RV winterization is how you keep your home (and your wallet) safe when temperatures drop.
If you’re traveling around in an RV, you already know it’s more than four wheels and an engine. It’s your home or your escape, whether full-time or part-time, it’s a big part of your adventure. When cold weather shows up like a thief in the night, you have to prep your rig or you’ll be crying over busted pipes and soggy floors in spring. Winterizing is not optional unless you like handing money to a repair shop or spending your time in the sunny desert in the Winter.
Every year, some RVers drain their tanks, throw on a tarp over their camper, and call it a day. Truth be told, that does not cut it. You have to go all in and fully winterize your camper. You have to think of RV winterization like tucking your rig in with a heavy blanket and a stocked snack drawer for a nice hibernation.

What winterizing really means
Winterizing your RV means getting it ready for freezing temperatures. This applies to prepping the plumbing, appliances, interior, and exterior to make it through winter in one piece. You are draining every little drop of water that can expand and crack a fitting, running non-toxic RV antifreeze through the lines, sealing up gaps, and protecting the rest of the rig from moisture, critters, and the sun.
Winterization is essential because a single hard freeze can leave an unprotected system cracked and unusable. Pipes burst, valves crack, and water pumps fail —headaches to fix when you can avoid them all up front. Nobody wants to spend their first spring trip parked in a service bay.

Image source: PixelView Media via Getty Images
Common myths we hear all the time
Myth one: “Draining the fresh tank is enough.”
It is not. Water hides in lines, elbows, and fittings. That is what freezes and expands.
Myth two: “Indoor storage means you are safe.”
Not unless it is heated. Uninsulated barns and garages can dip below freezing.
Myth three: “Only people up north need to winterize.”
Southern states get cold snaps too. Ask anyone camping in Texas during a February freeze.

When to winterize your RV
The short answer is before temperatures consistently drop below 32 degrees Fahrenheit (0 Celsius). For most places, that is late October to early November. RVers in mountain towns should try to get it done earlier. Good signs it is time to winterize your camper include morning frost on the roof, lows that sit below freezing for several hours, or you’re parking the rig for more than a couple of weeks.
But full-timers have options. You can stay functional through cold spells with heated hoses, tank heaters, skirting, and a “smart” travel plan. If you are storing in warm states, you may not need a full winterization, but you should still inspect roof and seals, clean and drain tanks, and care for batteries.
If you are asking when to winterize your RV, the answer is sooner than you think. Do not wait for the first real freeze.
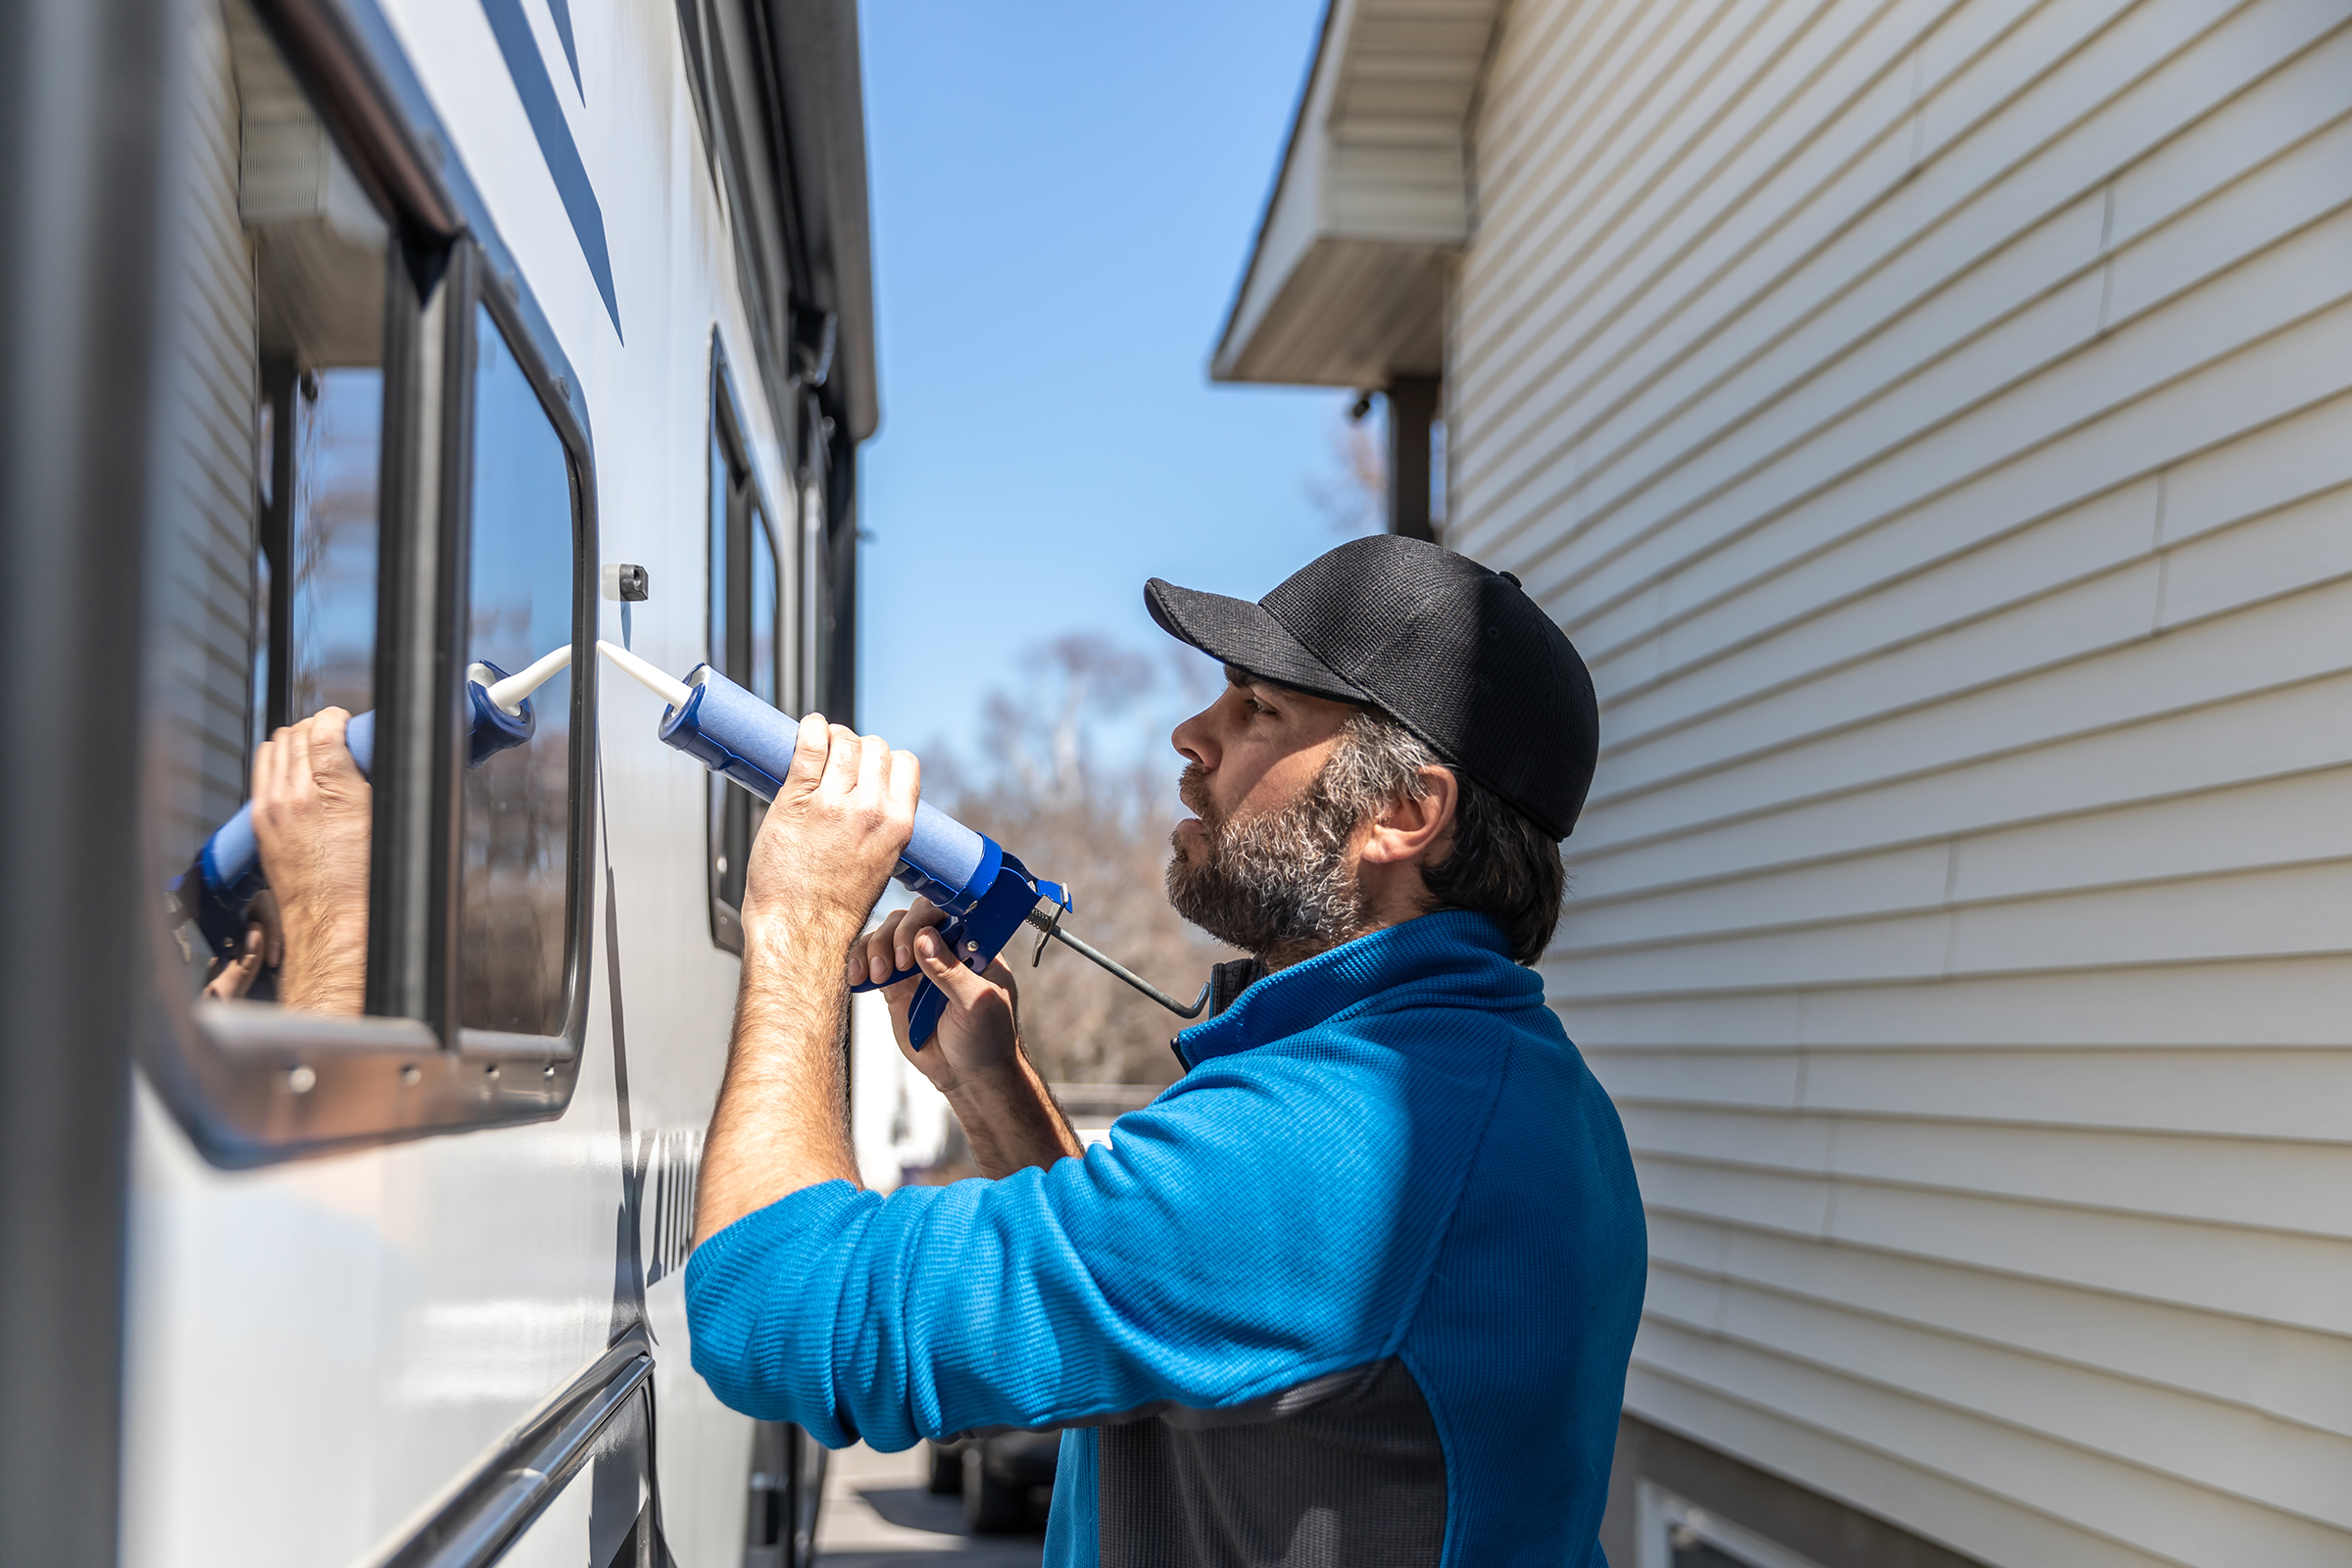
Image source: Onfokus via Getty Images
Your RV winterization checklist
It is highly recommended that you collect all supplies before you start. Nothing is worse than crawling under the rig and realizing the antifreeze is in the garage, or even worse, you didn’t buy any before all the stores ran out.
Here’s a list of what you’ll need :
- Pink non-toxic RV antifreeze
- It is vital that you use specialized antifreeze explicitly designed for potable water systems. Never use antifreeze designed for engines in your drinking water system.
- Water pump converter kit or a hand pump
- This allows you to use your RV water pump to fill your water lines with non-toxic antifreeze.
- Wrench for the water heater plug
- An air compressor and a blow-out plug if you are doing the compressed air method (see below)
- Cleaning supplies for a full wipe down
- RV safe sealant, vent covers, tire covers, and a breathable RV cover
Pro tip : Lay everything out on a table before you begin. It will save you fifteen trips in and out of the camper once your hands are cold.
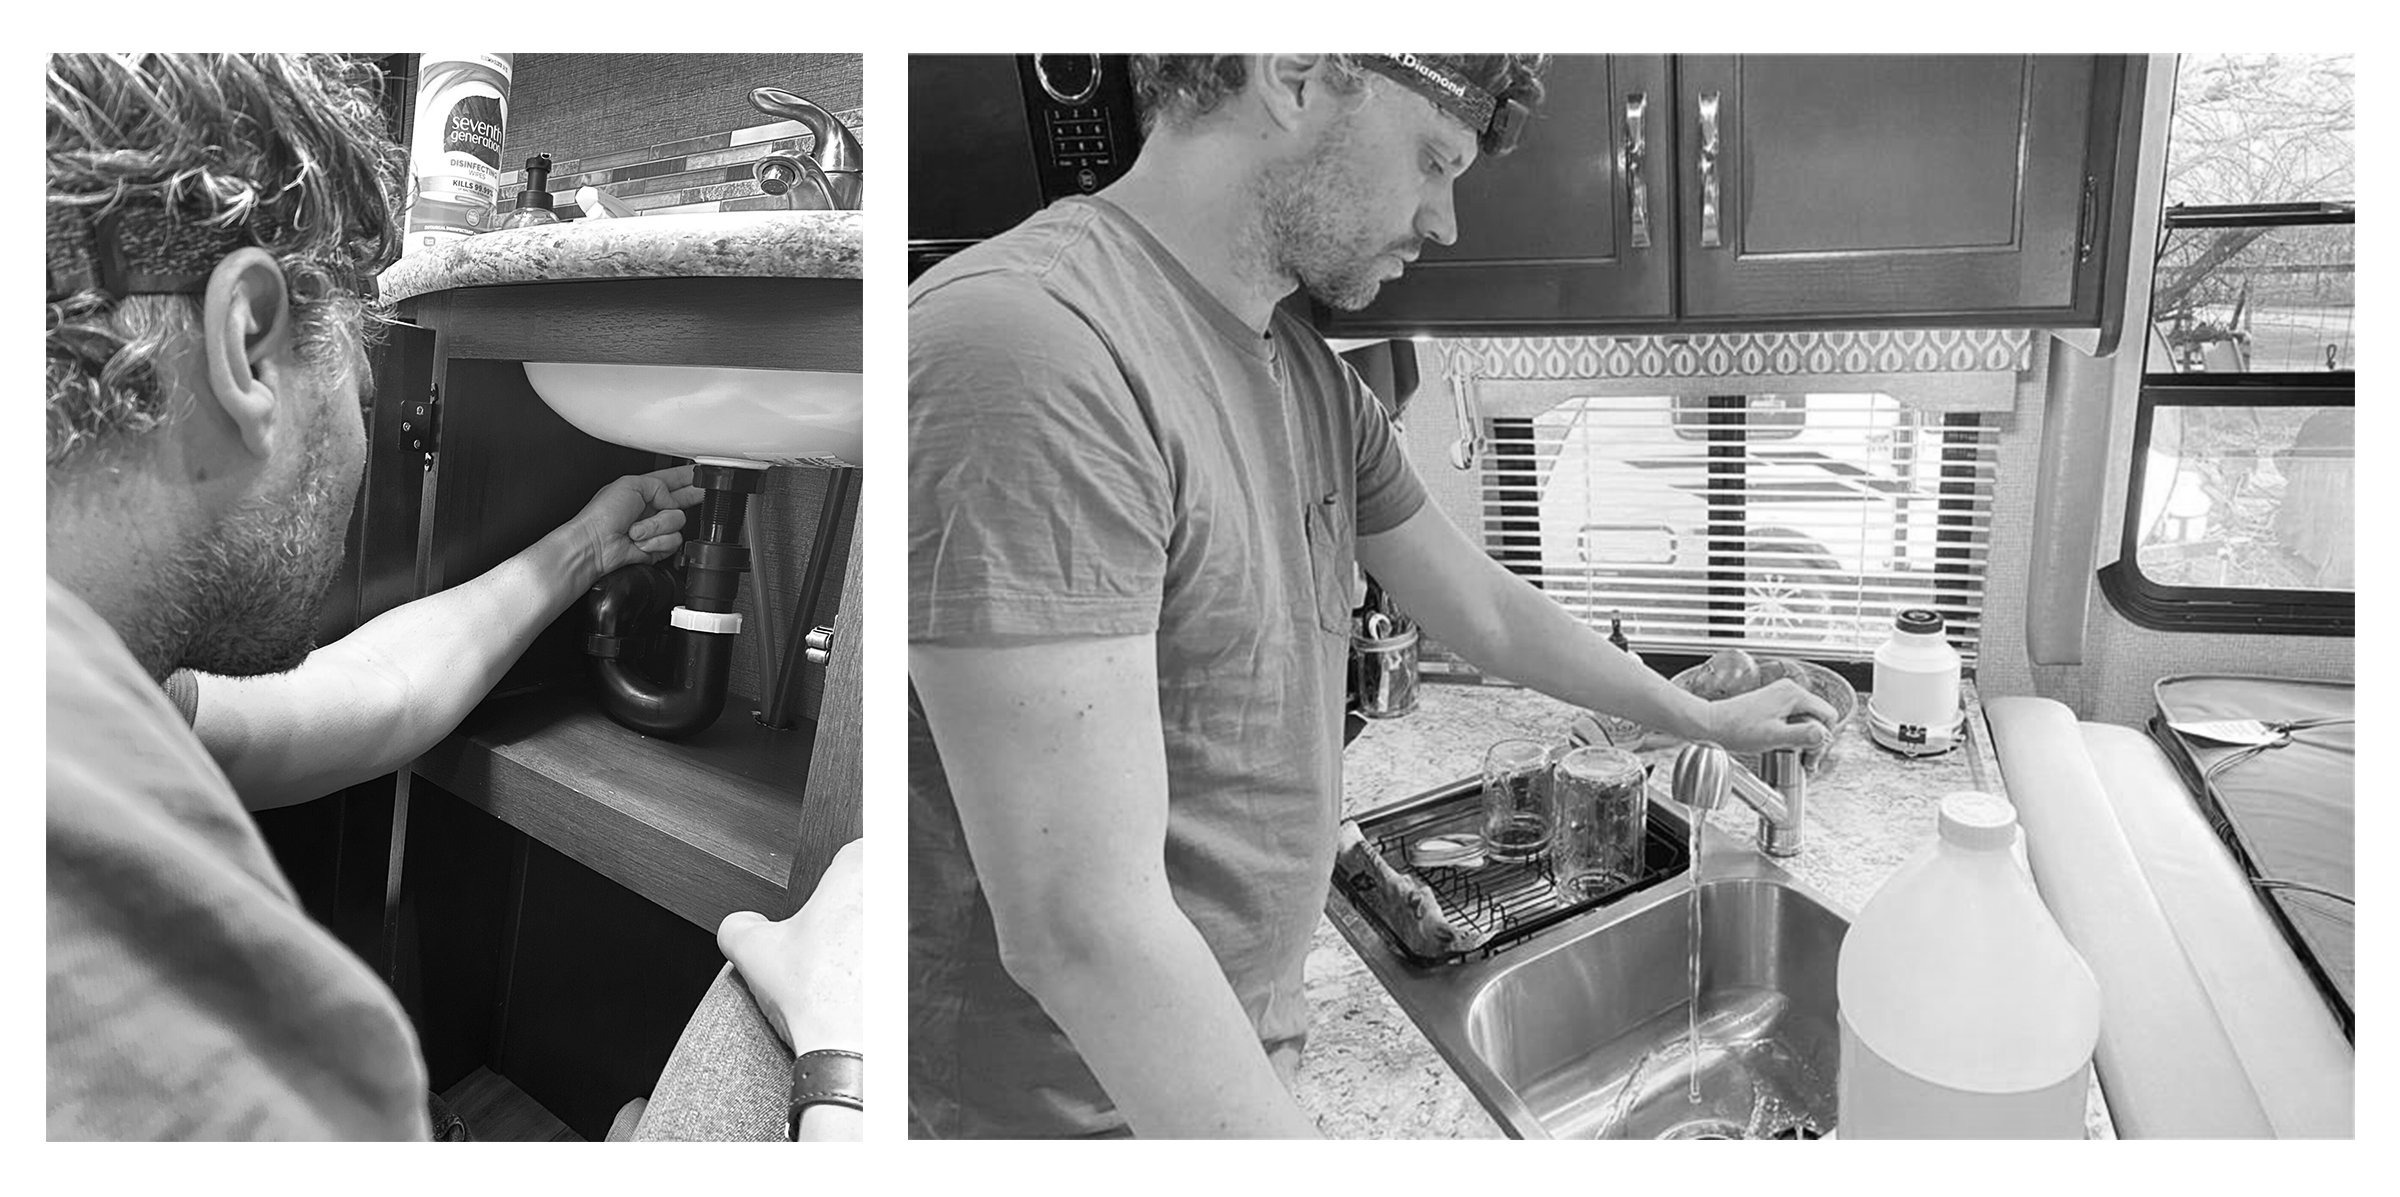
Image source: Good Sam
How to winterize your RV plumbing with the antifreeze method
This is the most reliable method for most owners. It works for travel trailers, fifth wheels, camper vans, and motorhomes.
- Step one: Drain everything. Empty the fresh tank, the water heater, and your black and gray tanks. Open the low-point drains so water can fully exit the lines. If your water heater has a drain plug or anode, first allow the water in the tank to cool. Then remove the plug with the correct socket and let it drain. Leave the plug out for now.
- Step two: Bypass the water heater. Find your water heater’s bypass valves on the back. Turn them to stop the flow into the tank. This keeps you from filling the water heater tank with antifreeze and helps you use less product.
- Step three: Hook up a pump or converter kit. If you have a water pump converter kit, connect the suction hose to your pump inlet. If you are using a hand pump, connect it to the city water inlet. Place the suction end straight into a jug of RV antifreeze.
- Step four: Run antifreeze through the lines. Turn on the pump. Open each faucet one at a time until you see solid pink. Do the kitchen sink, bathroom sink, shower, and the outdoor shower if you have one. Do both hot and cold sides. Flush the toilet until you see pink. If you have a washer hookup or an ice maker, consult your manual and make sure those lines see pink too.
- Step five: Protect the P-traps and finish the job. Pour about a cup of RV antifreeze down every drain and into the toilet bowl. Flush once to protect the valve seal. Reinstall the water heater plug. Close the low point drains. You are done. Your plumbing system is safe from freezing.

How to winterize RV plumbing with compressed air
Instead of the method above, some owners prefer to blow out the lines with air. This works well if you are comfortable with tools. Even with air, you should still add a small amount of antifreeze to P-traps and the toilet bowl for extra protection. You can never be too cautious.
- Step one: Drain all tanks and the water heater. Leave the heater plug out to dry.
- Step two: Bypass the water heater so you do not push air into the tank.
- Step three: Attach a blow-out plug to the city water inlet. Connect an air compressor and set the pressure to 30 to 40 PSI. Do not go higher or you risk damaging lines.
- Step four: Open one faucet at a time until only air comes out. Start from the highest point and work your way down. Do hot and cold on every fixture. Flush the toilet. Run air through the outdoor shower.
- Step five: Add antifreeze to P-traps. Pour a little RV antifreeze into every sink, shower drain, and toilet bowl. This keeps P-traps from freezing and seals from drying out.

Image source: vgajic via Getty Images
Don’t forget the rest of the RV
Interior prep
Empty the fridge and freezer, wipe them down thoroughly, and prop the doors open so you do not come back to mold. Take out all food, soaps, liquids, and anything that can freeze or attract pests. Vacuum and wipe surfaces so you don’t seal crumbs in for months.
Battery care
If you will be parked for more than a month, remove the batteries and store them in a cool, dry place. Put them on a smart maintainer so they do not fall below a healthy state of charge. If you keep batteries in the rig, disconnect the negative cable and check them monthly.
Tires and suspension
Chock the tires to prevent rolling. Use tire covers to protect from the sun. If the rig will sit for a long time, park on wood or plastic pads instead of bare concrete, and move a few inches every month, if possible, to avoid flat spots.
Roof and seals
Inspect the roof, vents, and every seam. Keep your eye out for cracks, lifting edges, or gaps. Use RV safe sealant where needed. Water damage over winter is just as expensive as frozen plumbing.
Covers and protection
If you store your RV outdoors, use a breathable RV cover and skip the blue tarps. Tarps can trap moisture and can rip up your paint in the wind. A proper, fitted RV cover protects from sun, snow, and grit while letting moisture escape.
Common RV winterization mistakes to avoid
- Forgetting to drain and bypass the water heater
- Using automotive antifreeze instead of RV antifreeze is a big no-no! (and it’s dangerous!)
- Forgetting about the outside shower, the ice maker, or the washer hookups
- Skipping roof and seam maintenance
- Pumping antifreeze into the fresh tank instead of using a converter kit
- Not labeling bypass valves or low point drains, which makes spring more confusing than it needs to be
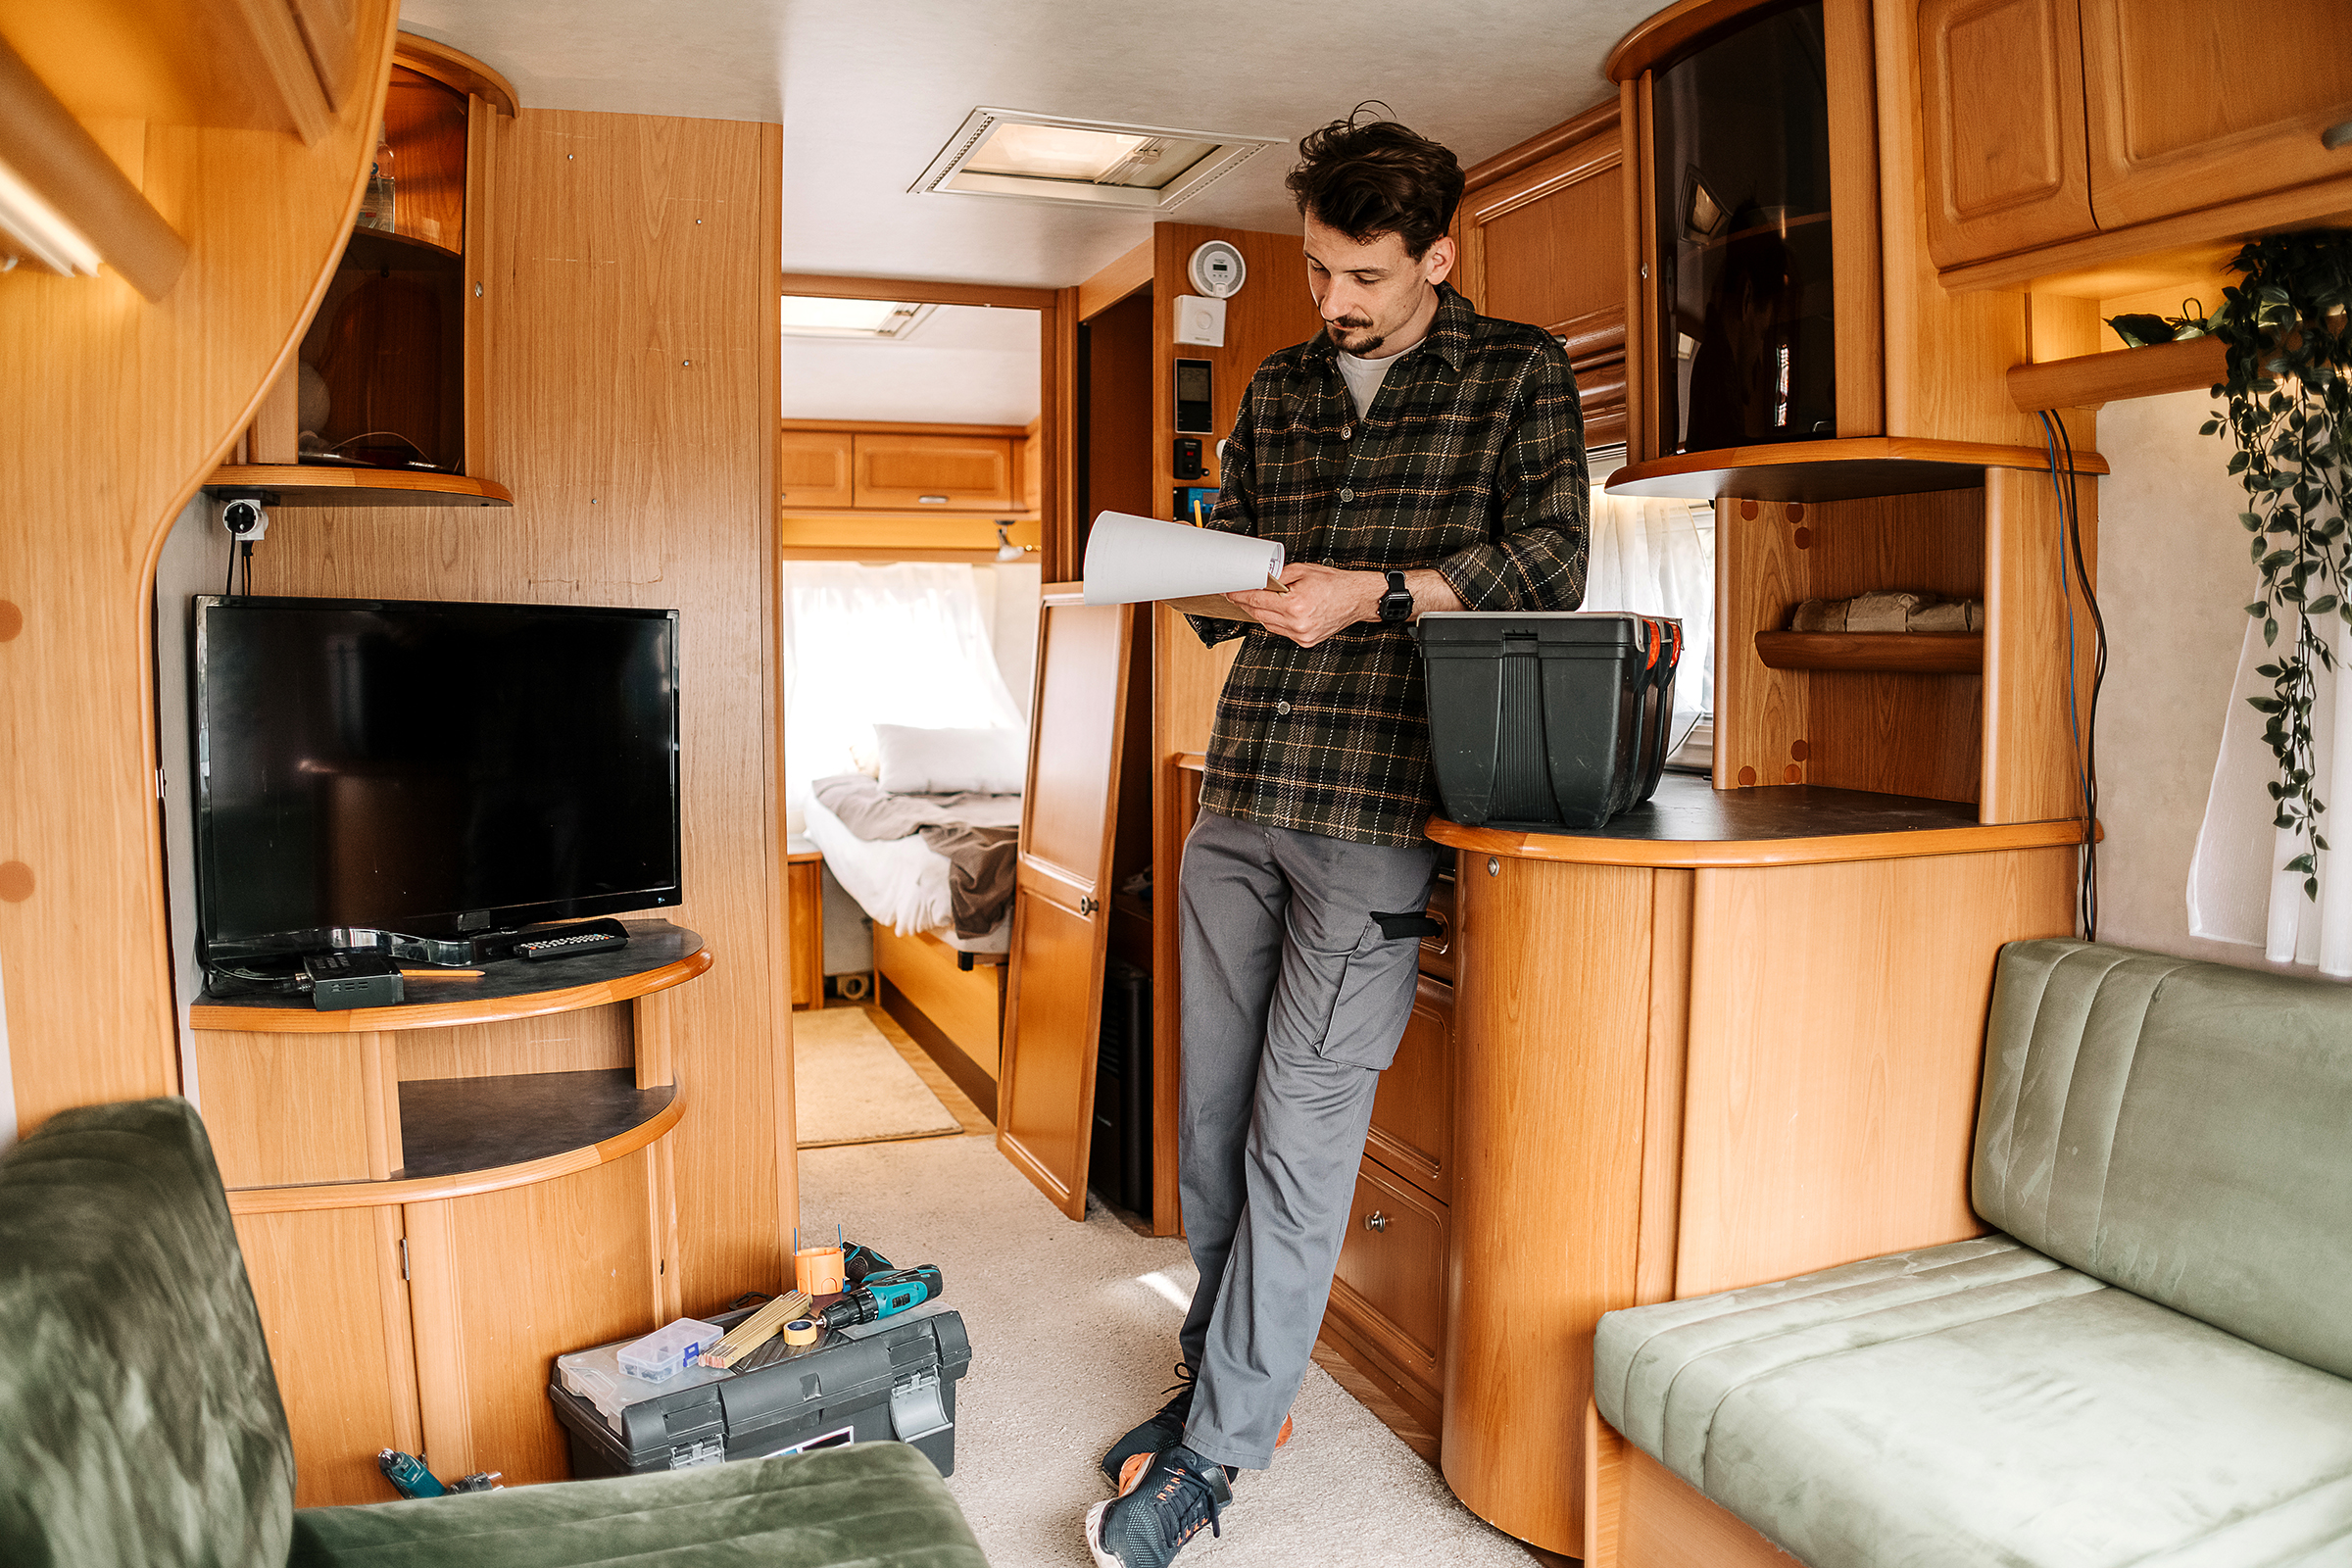
Image source: enigma_images via Getty Images
DIY vs professional RV winterization
Winterizing your RV can be a DIY project, or you can hire a professional. Let’s compare the two.
DIY RV winterization
The typical cost is $20 to $50. You will use two to three gallons of RV antifreeze for most travel trailers and campers. Large motorhomes can use 4 to 5 gallons. You need a hand pump or a converter kit, basic tools, an afternoon, and a coffee or tea – whichever you prefer. The upside is that you learn your system and can fix minor issues right away.
Professional winterization
Typically, this costs $150 to $300 or more, depending on the rig. It’s a good choice for first-time RV owners, luxury motorhomes, or anyone short on time or tools. A shop can offer additional services such as roof inspections, battery testing, and tank sanitization.

FAQs about RV winterization
When should I winterize my RV?
Do it before temperatures consistently drop below freezing. For most regions, that is late October or early November. If you are asking what temperature to winterize an RV, use 32 degrees Fahrenheit as your trigger and the trend of overnight lows as your guide.
Can I winterize my RV without antifreeze?
Yes, you can use compressed air to blow out the lines. We still recommend pouring a small amount of pink RV antifreeze into every drain and into the toilet to protect traps and seals.
How long does RV antifreeze last?
Unopened, RV antifreeze lasts several years on the shelf. Once in your system, it is meant to protect for one winter season. In spring, you will flush and sanitize your freshwater system.
Do I need to winterize if storing indoors?
If the space is not heated, yes. Garages and barns often drop below freezing. Heated storage is the only safe exception.
What happens if I do not winterize?
Frozen water expands and can crack fittings, burst lines, break faucets, and damage the water pump.
What is the best way to winterize an RV?
For most owners, the pink non-toxic antifreeze method is the safest and most foolproof. The compressed air method is great when done correctly and is typically used by experienced owners.
How much RV antifreeze do I need?
Small campers and travel trailers usually need two to three gallons. Large fifth wheels and motorhomes may need four to five gallons.
How do I winterize a travel trailer?
Follow the steps in this guide. Drain everything, bypass the water heater, run RV antifreeze through hot and cold lines, and protect traps.
How do I winterize a motorhome?
Same process as a trailer, but plan for more fixtures and longer lines. Many Class A rigs also have ice makers or washers. Check your owner’s manual for any appliance-specific steps.
How do I winterize my camper with a water pump converter kit?
Connect the kit to the inlet side of the water pump. Place the pickup tube into a jug of RV antifreeze. Turn on the pump and open fixtures one by one until you see pink.
How do I winterize with an air compressor?
Drain the tanks, bypass the water heater, use a blow-out plug at the city water inlet, set pressure to 30 to 40 PSI, then open each faucet until the air runs clear. Pour a little antifreeze into the drains and the toilet afterward.
Do I need to winterize if I am a full timer?
If you will camp through freezing nights, keep the water system active with heated hoses, tank heaters, and insulation around vulnerable areas. If you plan to park for a long stretch in cold weather, winterize the plumbing and use jugs of water for daily needs. You can also use an RV antifreeze jug for toilet ‘flushing’ if your lines are winterized.
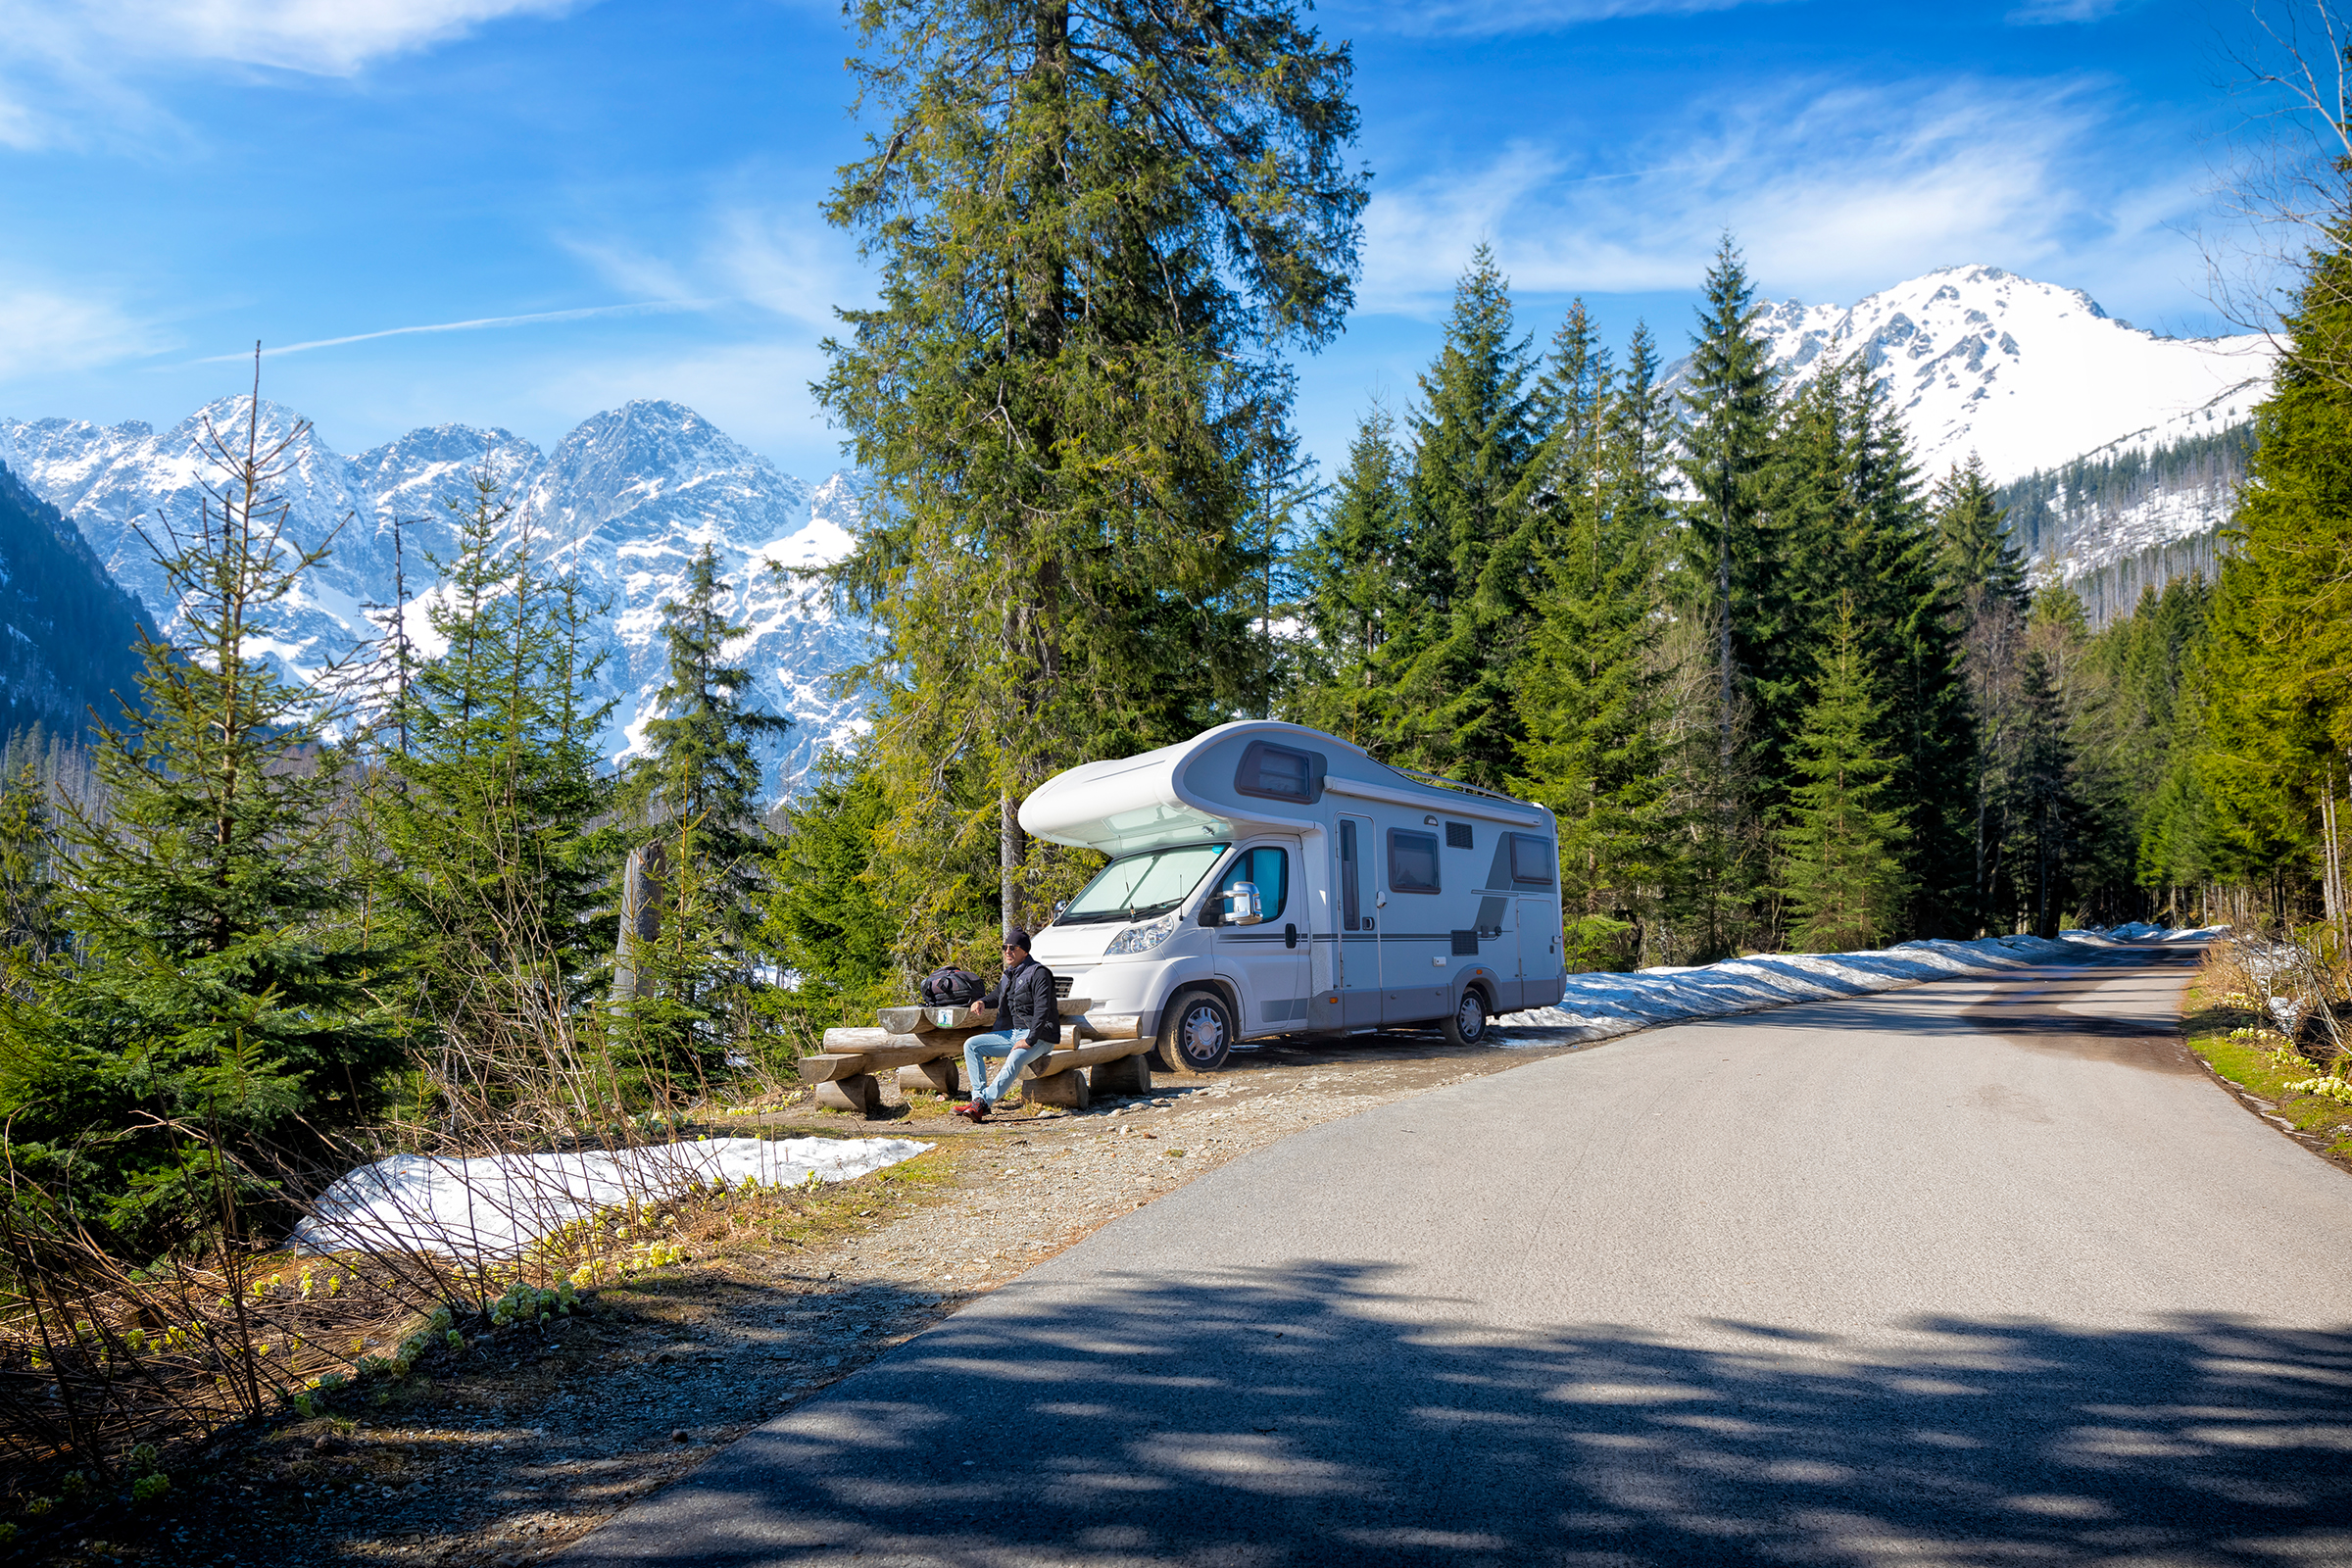
Image source: ewg3D via Getty Images
Final thoughts
Winterizing is not the most fun part of RV travel, but it is one of the smartest. Take a little time now and you will roll into spring without leaks, cracks, or surprise bills. Go step by step, label valves as you go, and double check the little things like the outdoor shower and the toilet seal.
Whether you are tucking the rig in for a cold, winter hibernation or heading south to chase the sun, a proper RV winterization sets you up for an easy start next season. Do it right now and you will spend spring on the road, not in the service center.