A Guide to Dinghy Towing
All You Need to Know About Brining Along a Dinghy Vehicle on Your Motorhome Adventures
Image Caption:
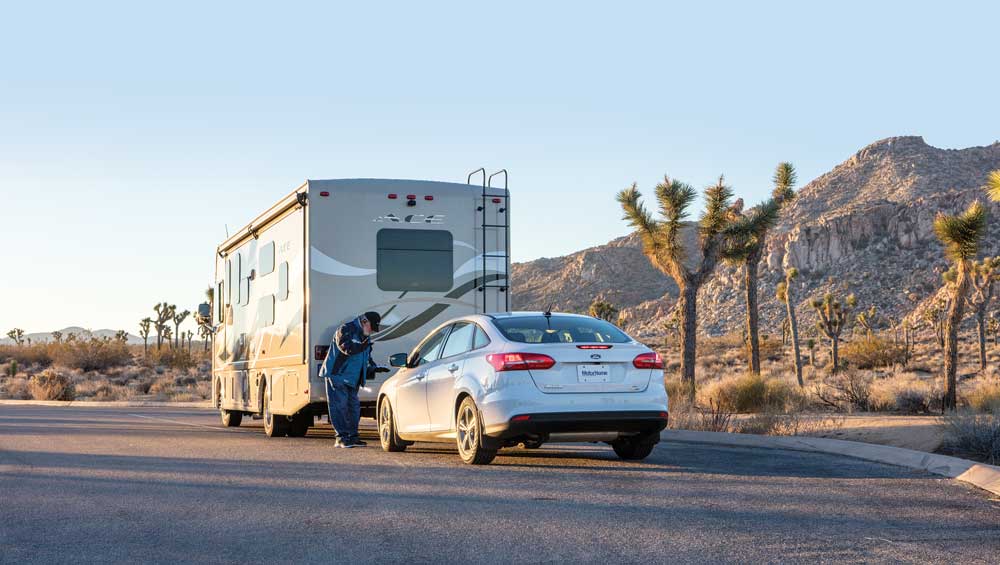
We all know that owning an RV means that travel options are virtually limitless. But even though your home-on-wheels can transport you to your favorite places with ease, there are certain limitations. When visiting popular attractions or navigating narrow, congested roadways, you’ve probably wished for your commuter vehicle that’s infinitely easier to navigate than a larger motorhome. That’s where towing a dinghy vehicle comes in.
So, where do you begin? This Guide to Dinghy Towing section is your one-stop resource for determining which new vehicles are manufacturer-approved for dinghy (all four wheels on the ground, or “flat”) towing, and also to learn about the equipment and procedures needed for a pleasant experience.
Our 2022 listings section can be downloaded as a PDF document here and includes vehicles that have specifically been approved by the manufacturer for recreational (dinghy) towing. While some vehicles are easy to tow, others require that very detailed and lengthy procedures be followed before and during towing to prevent damage. We’ve included some of that information in the listings, but you will still need to check the owner’s manual of the specific vehicle for more detailed procedures.
Once you’ve confirmed that a particular vehicle is dinghy-towable, the next move is to create the vehicle-to-motorhome connection.
Connecting a motorhome and a dinghy vehicle can be a surprisingly smooth operation. It begins with a baseplate, which is a bracket affixed to the dinghy vehicle. Next, a dinghy tow bar is placed in the motorhome’s hitch receiver and then connects to the dinghy vehicle’s new baseplate. A number of accessories are also available to help protect the dinghy while on the road.
Properly wiring a dinghy tcle is another consideration. It is essential that the brake- and taillights on the dinghy work in concert with those on the motorhome, and there are many options to do not only that, but also to help keep the dinghy’s battery charged while on the road.
The final component of safe dinghy towing is an auxiliary braking system. Today’s motorhomes can accommodate a lot of dinghy weight. While many new chassis have tow ratings of at least 4,000 pounds, certain luxury coaches have a gross combined weight rating (GCWR) of 60,000 pounds or more — with up to 25% (15,000 pounds) of that available for towing. Dinghy brakes are mandatory in most states and Canadian provinces; besides, when extra weight is added, there needs to be a way to slow everything down without overtaxing the brakes on the motorhome. Braking systems are available in both portable and permanently mounted configurations.
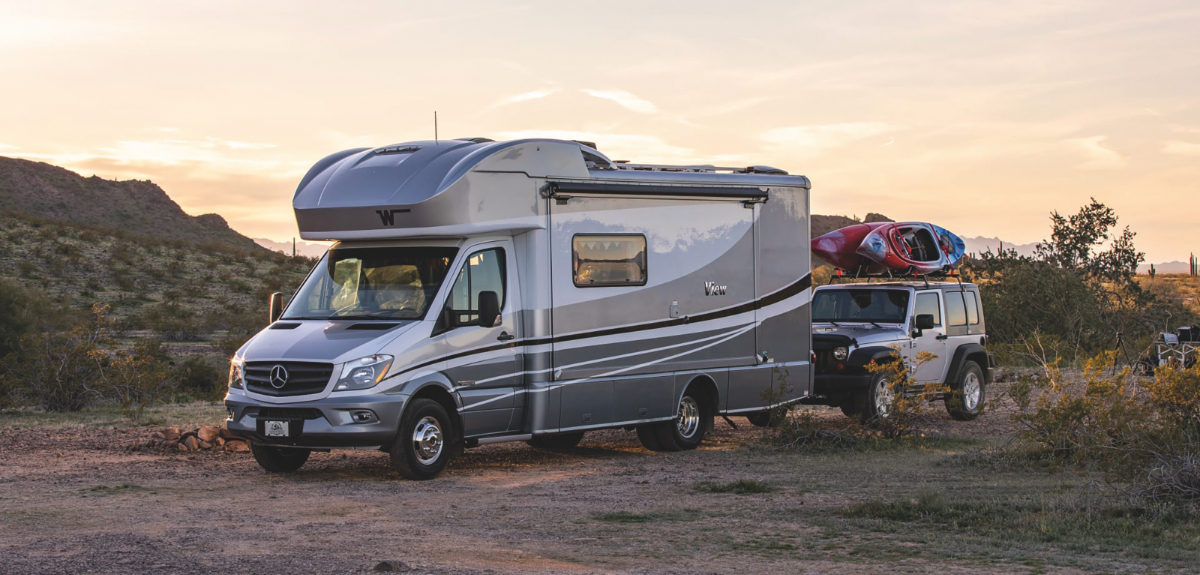
With a dinghy vehicle, it’s easy to continue to enjoy the mobile lifestyle while maximizing that mobility with an easier-to-maneuver vehicle for exploring.
Get Ready to Tow
We’ve established that towing a vehicle behind your motorhome opens up a world of travel possibilities. But make no mistake: There is more to it than simply hitching up and heading down the road. Understanding what components are required ahead of time will make prepping your dinghy vehicle easier and prevent any unwanted surprises or unplanned expenses.
The Baseplate
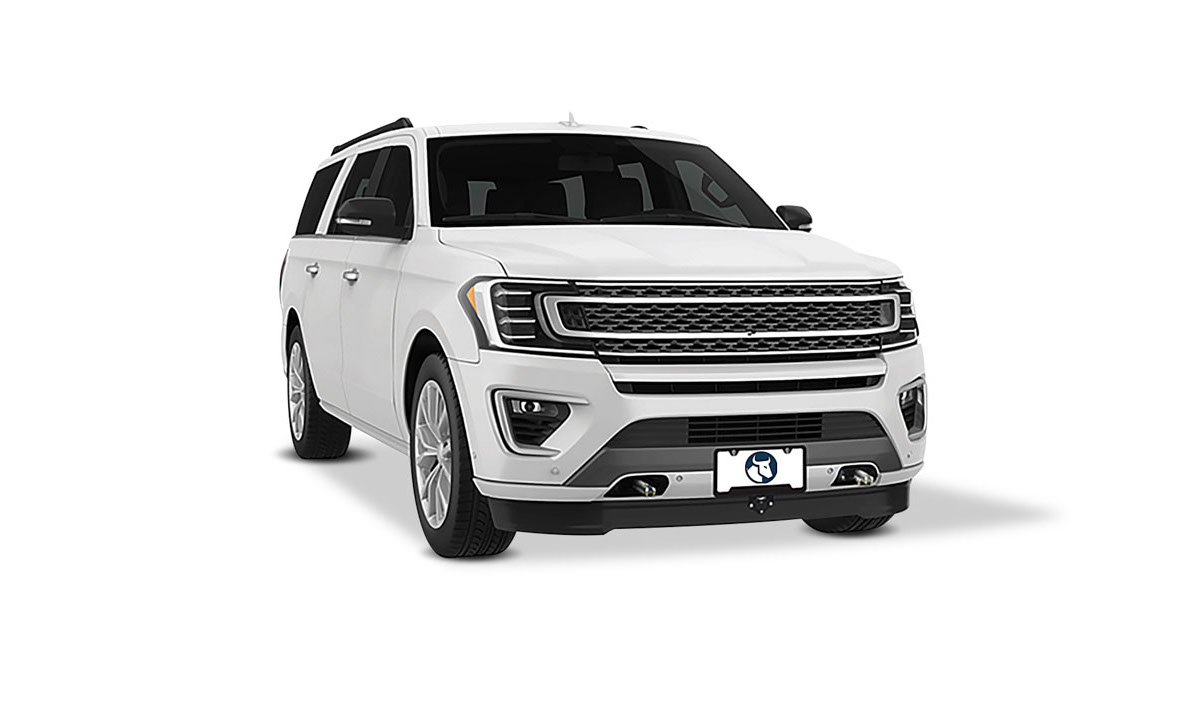
A travel trailer that you would typically tow behind a truck or SUV is equipped with an A-frame that terminates at the coupler and accommodates the hitch ball. A car, truck, or SUV you plan to tow behind a motorhome has no such thing, so the first step is to equip your dinghy vehicle with a baseplate.
A baseplate is not so much a “plate” as it is a bracket; it’s an application-specific steel structure that attaches to the vehicle’s frame and/or bumper brackets, enabling a tow bar to be connected. Not all baseplates require the same amount of effort to install, and may require trimming of the front fascia, grille, or other area. That’s why it’s a good idea to research baseplates for your vehicle first.
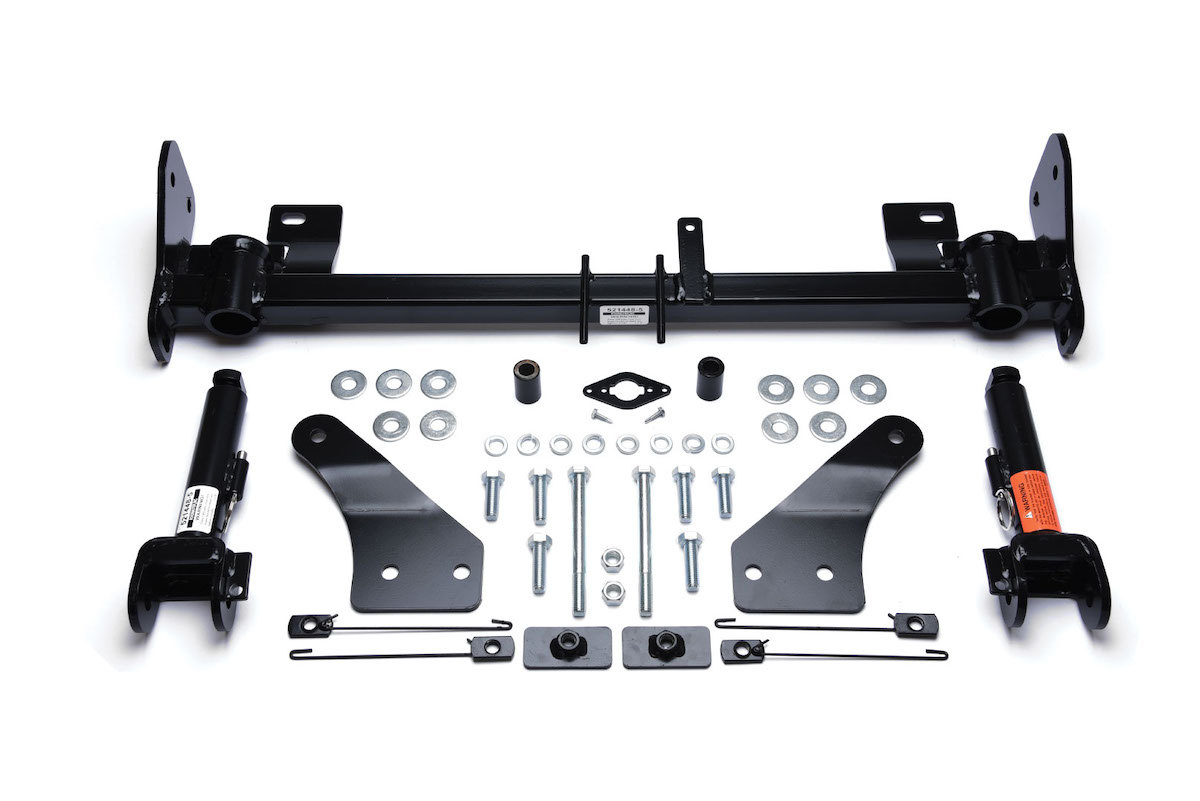
Image Courtesy of Roadmaster
Blue Ox, Demco, and Roadmaster have fit lists on their respective websites that specify whether a baseplate is available: simply enter the year, make, and model of the vehicle. Installation instructions can also be downloaded so you can determine how much work will be involved, which can be important for budgetary considerations.
Because not all companies offer the same baseplate designs, make sure you shop each company’s website to find what works best for you. If you don’t have a local RV dealership or repair center that’s comfortable installing a baseplate system, the product manufacturer in question should be able to point you to a qualified dealer. One such dealer is Carizona in Mesa, Arizona, which not only installs most of the dinghy-related equipment discussed in this section, but it also sells pre-owned dinghy vehicles.
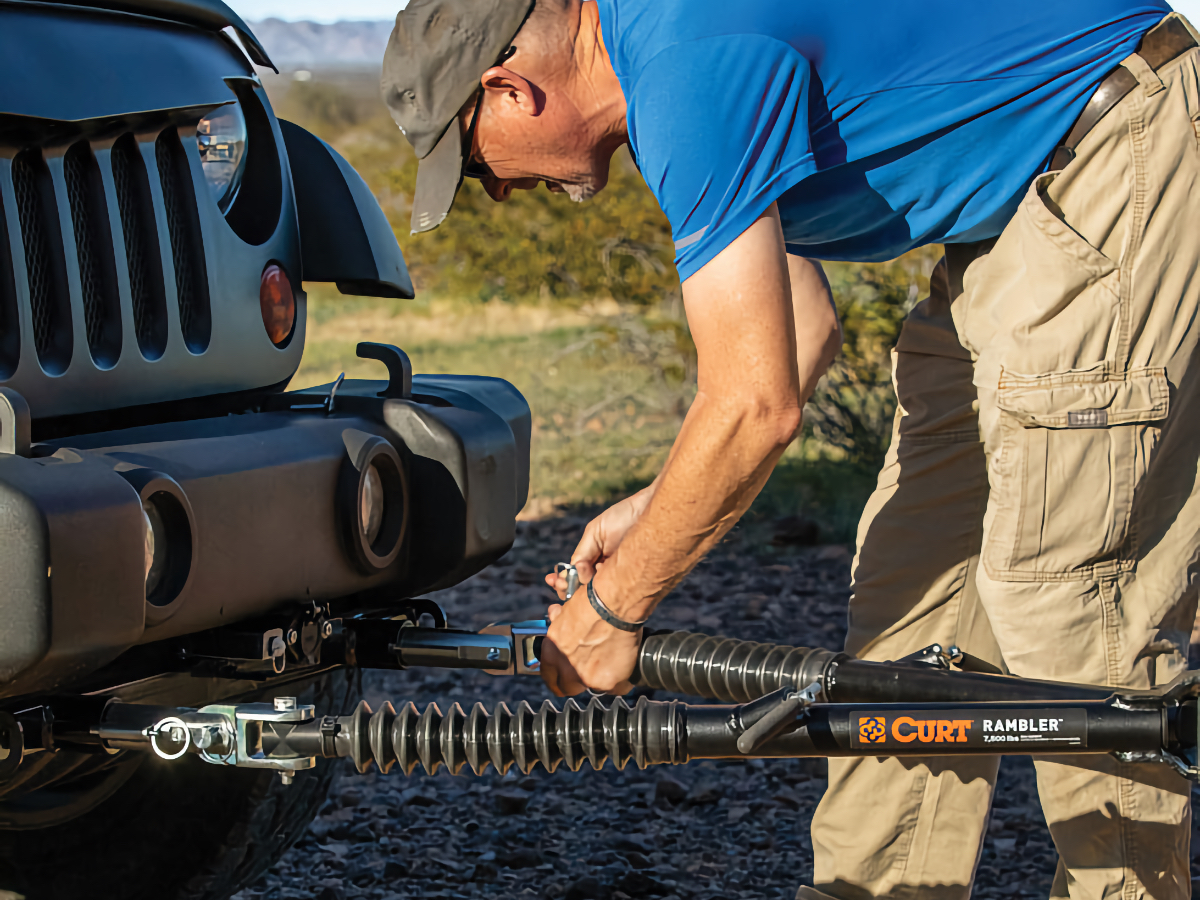
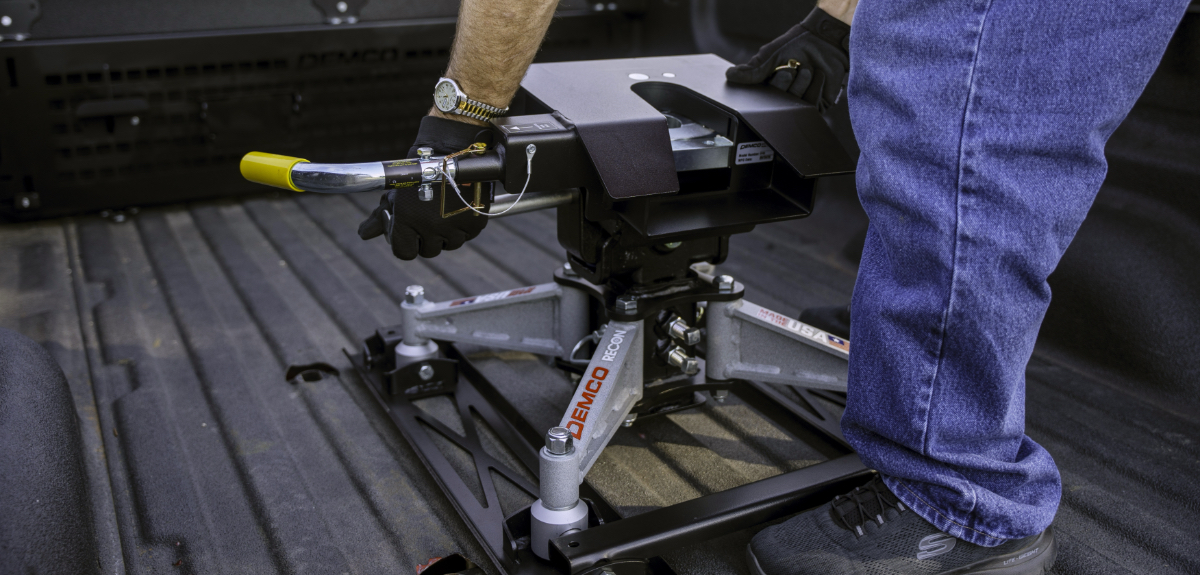
The Tow Bar
Like trailer hitches, tow bars have weight ratings, so the first step is to determine how much your dinghy vehicle weighs when it’s full of fuel and cargo. Look for a bar that has capacity to spare; after all, it’s the component responsible for keeping the dinghy vehicle attached to the motorhome.
Not surprisingly, many tow bar manufacturers offer unique features or benefits in their products, so compare carefully and determine what’s really important to you.
Next, determine how the tow bar is stowed (on the vehicle or on the motorhome) and whether the bar is a traditional or non-binding design. Traditional tow bars may be less expensive, but they are more difficult to connect and can be impossible to disconnect if youfind yourself on uneven ground (which is entirely possible at an unimproved campground). So-called “non-binding” bars offer arms that move independently of one another so the dinghy doesn’t have to be perfectly aligned with the motorhome, and latches can be released to make it easy to connect/disconnect in less-than-ideal circumstances.
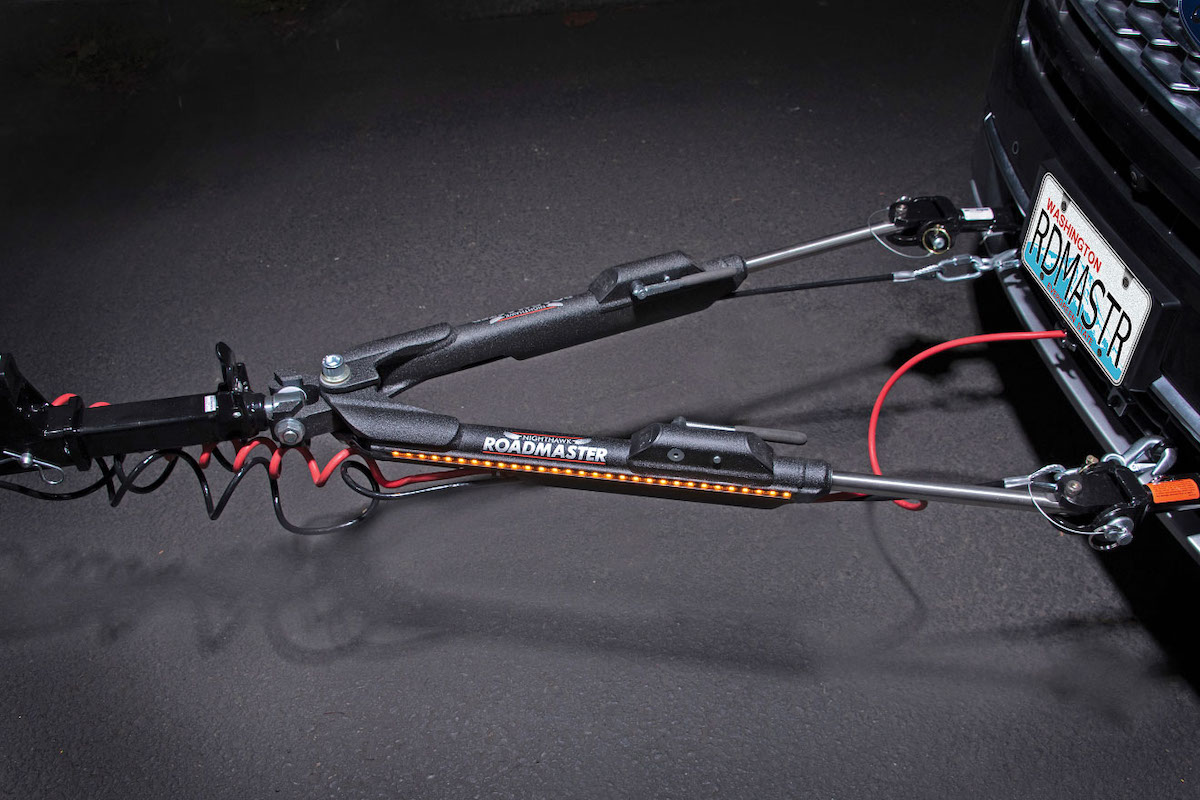
Image Courtesy of Roadmaster
Another benefit of these newer designs is that they don’t use a ball-and-coupler (trailer hitch) design—the shank goes directly into the motorhome’s hitch receiver and stays there. When you’re not using it, the bar simply folds up out of the way and stays on the motorhome.
Keep in mind that each equipment manufacturer engineers its products to work with other products in the same family, and not necessarily with another manufacturer’s products, so mixing and matching may not be possible in some cases. Most manufacturers provide details on mounting considerations and available solutions.
The next thing you’ll want to consider when comparing tow bars is weight. Depending on the construction materials, design, and weight rating, tow bars can weigh 50 pounds or more, which is a lot to handle, especially while bent over a hitch receiver. While it’s true that the bar will spend most of its time mounted to either the vehicle or motorhome, there will be times when you’ll have to remove it (for storage, theft prevention, etc.) so, unless you’re a bodybuilder, you’ll probably want the lightest model possible.
Always ask what is included with the tow bar and what else may be required. Be sure to find out what you will (and won’t) need ahead of time.
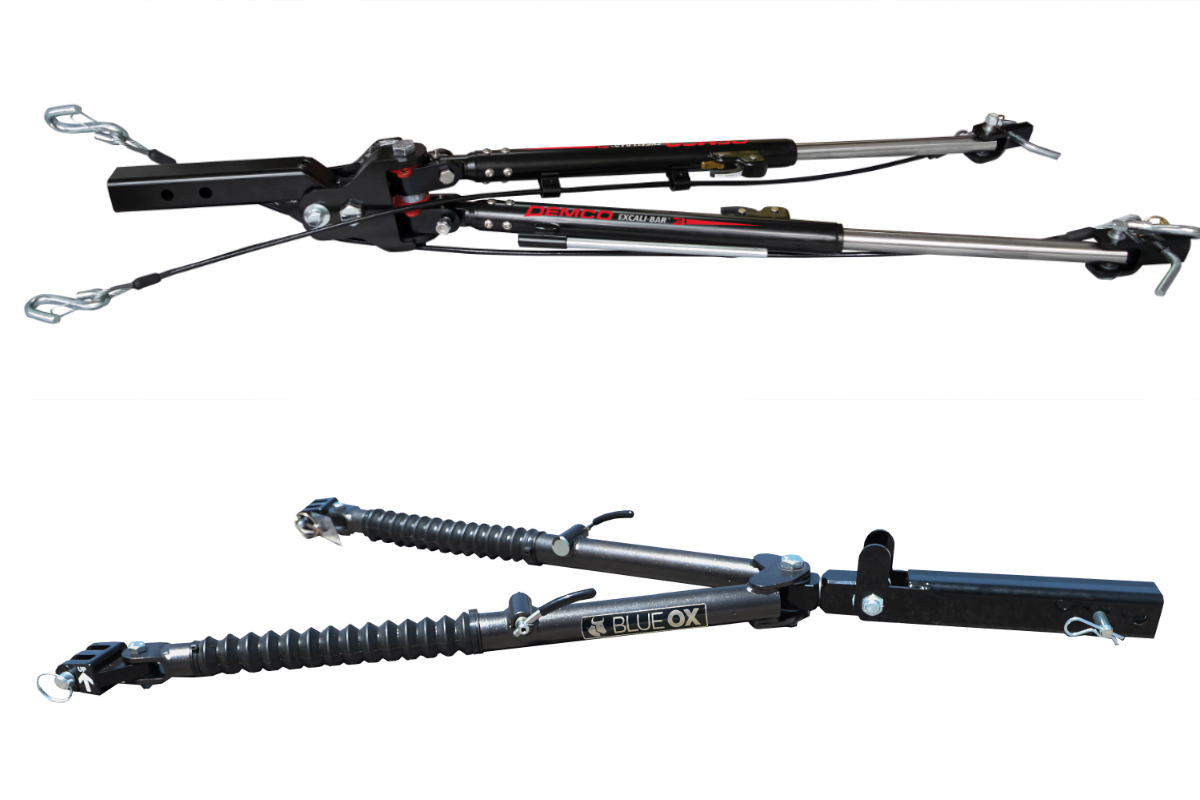
Image Courtesy of the Manufacturers
Dinghy Wiring
If you plan to tow a car, truck, or SUV, you’ll have to modify its electrical system so that you can plug it in and make its running lights (also known as marker lights), brake lights and turn signals work in tandem with the motorhome.Thankfully, dinghy towing is such a common practice today that there are ready-made kits that enable an electrical connection to the motorhome in just a few hours.
Whichever system you choose will include a wiring harness that is routed from a receptacle located in the front of the towed vehicle to another receptacle in the back of the motorhome. In some cases, wiring kits that incorporate the vehicle’s electrical system may also include one-way diodes that prevent electrical “backflow” from the motorhome’s electrical system to the dinghy (and vice-versa), which can cause damage to both vehicle systems. Companies like Blue Ox, Demco, Hopkins Towing Solutions, and Roadmaster offer viable choices, and when in doubt, can help you find what you need for your specific vehicle.
Another alternative is an auxiliary light bar that attaches temporarily to the dinghy vehicle, using either magnets or suction cups. These may be a good choice if there is no application-specific wiring harness available for your vehicle and you don’t want to go through the trouble (and expense) of installing a universal wiring kit or bulb-and-socket system.
The manufacturers mentioned throughout this guide can usually help with any electrical question or concern and help get you down the road safely and legally.
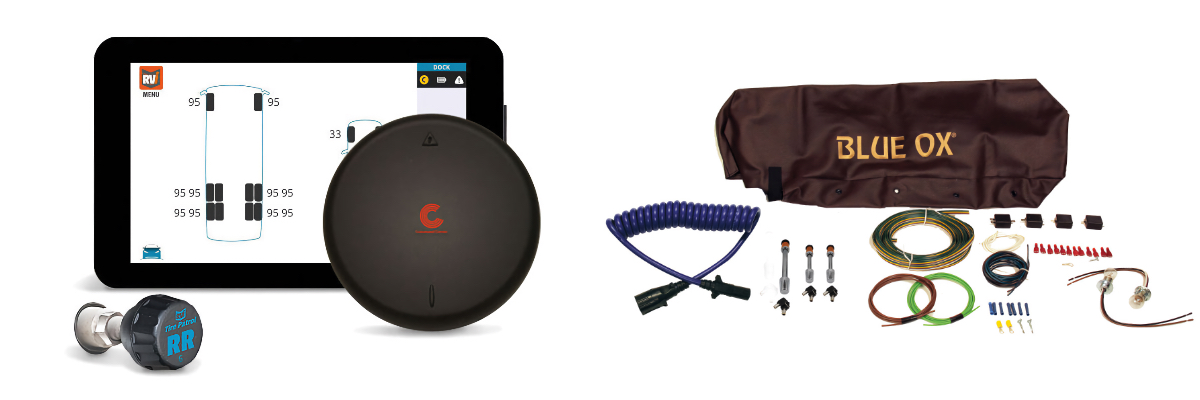
Image Courtesy of the Manufacturers
The Accessories
Once you’ve chosen the baseplate and tow bar, you’ve got what you need to make your dinghy vehicle towable, but there are some accessories that you should probably consider. For example, try hitching up to the motorhome and see if the tow bar is level. If it’s not level, you might need a drop/rise receiver adapter that can relocate the receiver opening up or down as needed.
You would probably never closely follow a truck at high speeds (we hope not, anyway) but that’s essentially what your dinghy vehicle will be doing when it’s connected to the motorhome. If you’ll be towing a new or well-preserved vehicle, you’ll probably want to protect it from rocks, gravel, tar, fresh paint, and who knows what else that can be kicked up from the motorhome’s rear wheels, right into the front of the dinghy.
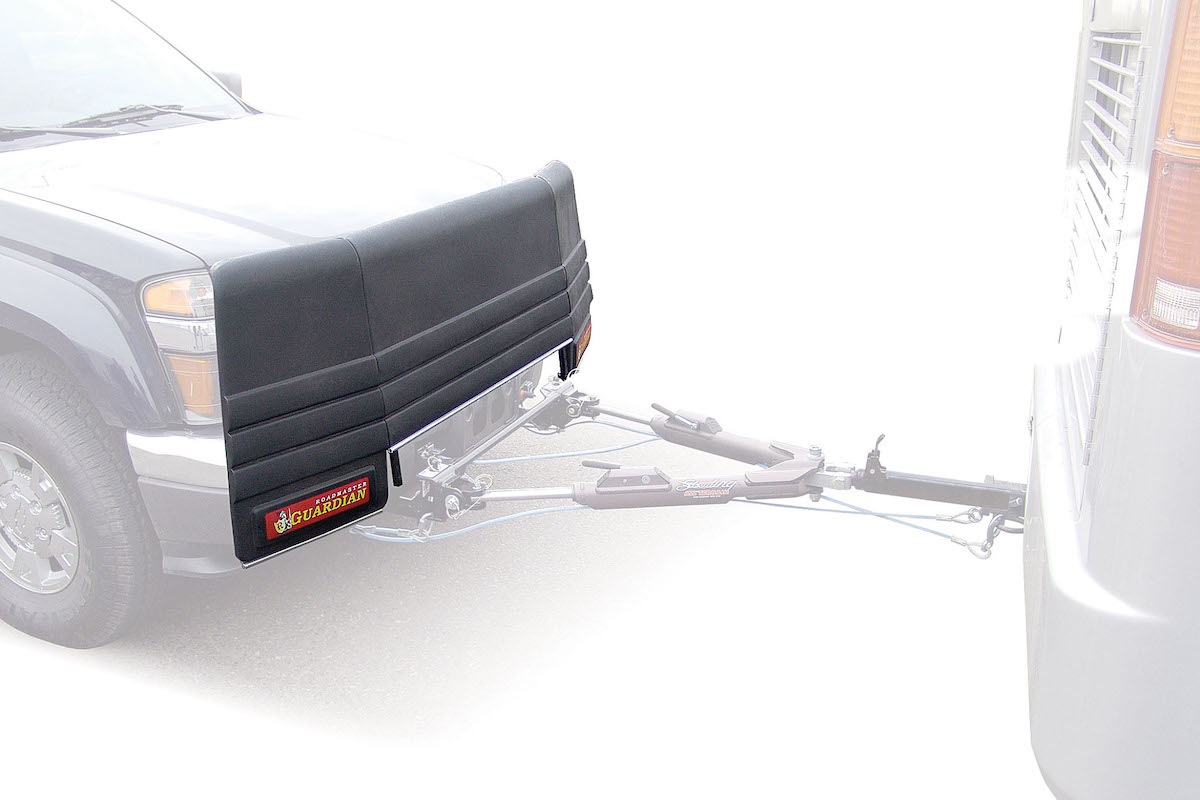
Image Courtesy of Roadmaster
A rock guard mounted to the rear of the motorhome is a good start, but for further protection, consider a product like the Blue Ox KarGard, Demco Sentry Deflector, or Roadmaster Guardian to ward off rocks and other debris. But first, check the dinghy vehicle’s owner’s manual to make sure the manufacturer doesn’t warn against the use of such products.
Transmissions require a steady flow of air through the fluid cooler (located in the front of the engine compartment) and if the air is blocked by a shield, the transmission could overheat and become damaged. You can also have a detailing shop apply paint protection film to the front of the dinghy vehicle, which will help stop small incursions.
Images Courtesy of the Manufacturers
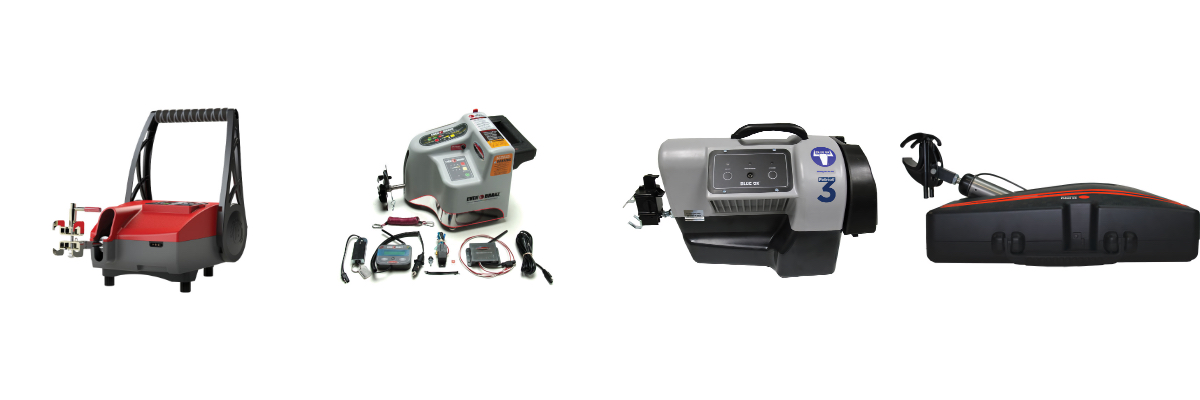
Dinghy Braking
Another consideration is which type of braking system to buy. Just about everyone has towed a trailer at one time or another. A brake system helps maintain control of the trailer and can greatly shorten stopping distance, reducing the likelihood of an accident.
The same principles apply to a dinghy vehicle towed behind a motorhome, but we’d be willing to bet that you’d give anything for more braking power when you crest a highway rise at 60 mph and find the traffic ahead is at a dead stop.
Besides the obvious safety aspect of a dinghy braking system, they’re also required by law in most of the United States and in all provinces in Canada.
The most popular type of dinghy braking device is the portable system. These locate between the driver’s seat and the brake pedal and incorporate an arm and pedal clamp that depresses the vehicle’s brake pedal when the motorhome’s brakes are applied. Portable systems are a good option if you tow more than one vehicle or may be considering another dinghy vehicle in the future.
Features vary greatly in portable systems, but proportional braking is a major benefit. Proportional braking means that the system in the dinghy is designed to mirror the brake application in the motorhome, both in timing and in the amount of force. As you brake harder, so does the dinghy braking system.
Images Courtesy of the Manufacturers
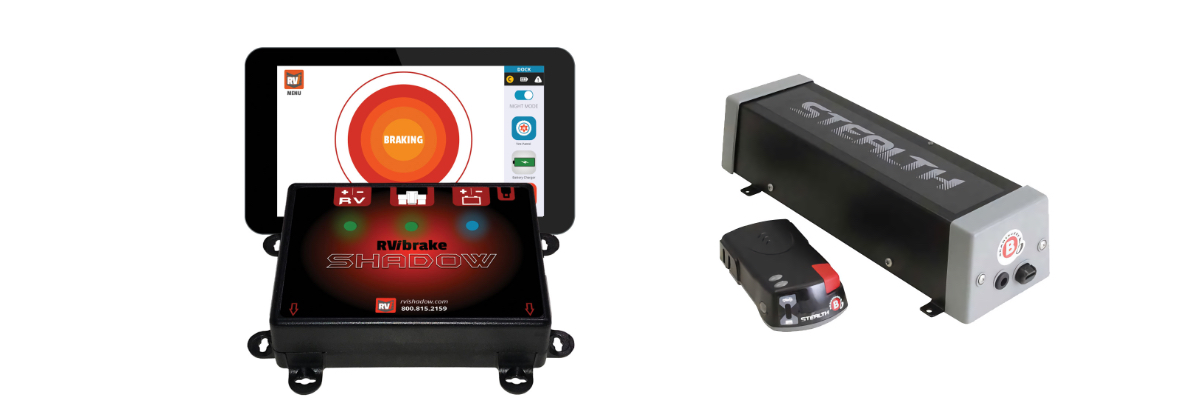
Other (typically less expensive) systems use “on/off” braking, which can cause a jerking sensation when the brakes are applied. It works and meets the legal brake requirements, but it’s not as smooth and can accelerate brake wear.
A permanently installed system is a great choice if you only tow one vehicle and plan to keep it for a long time. While the initial cost of these systems may be comparable to some portable units, they typically require several hours of labor to install, which must be factored into the overall cost. The upside is that, once installed, permanent systems remain in the vehicle and require very little preparation before towing; just plug in a power cord and/or quick-disconnect and the system is operational.
Because permanent units tie into the air or hydraulic-brake system in the motorhome and/or its electrical system (brake signal) to activate the brakes in the towed vehicle, they are inherently proportional. They are designed to be practically invisible, typically consisting of a small control unit that mounts underneath the hood or out of view in the passenger compartment.
Towing can be stressful, but with some careful planning and the right equipment, you’ll be able to enjoy the benefits of dinghy towing without the anxiety.